


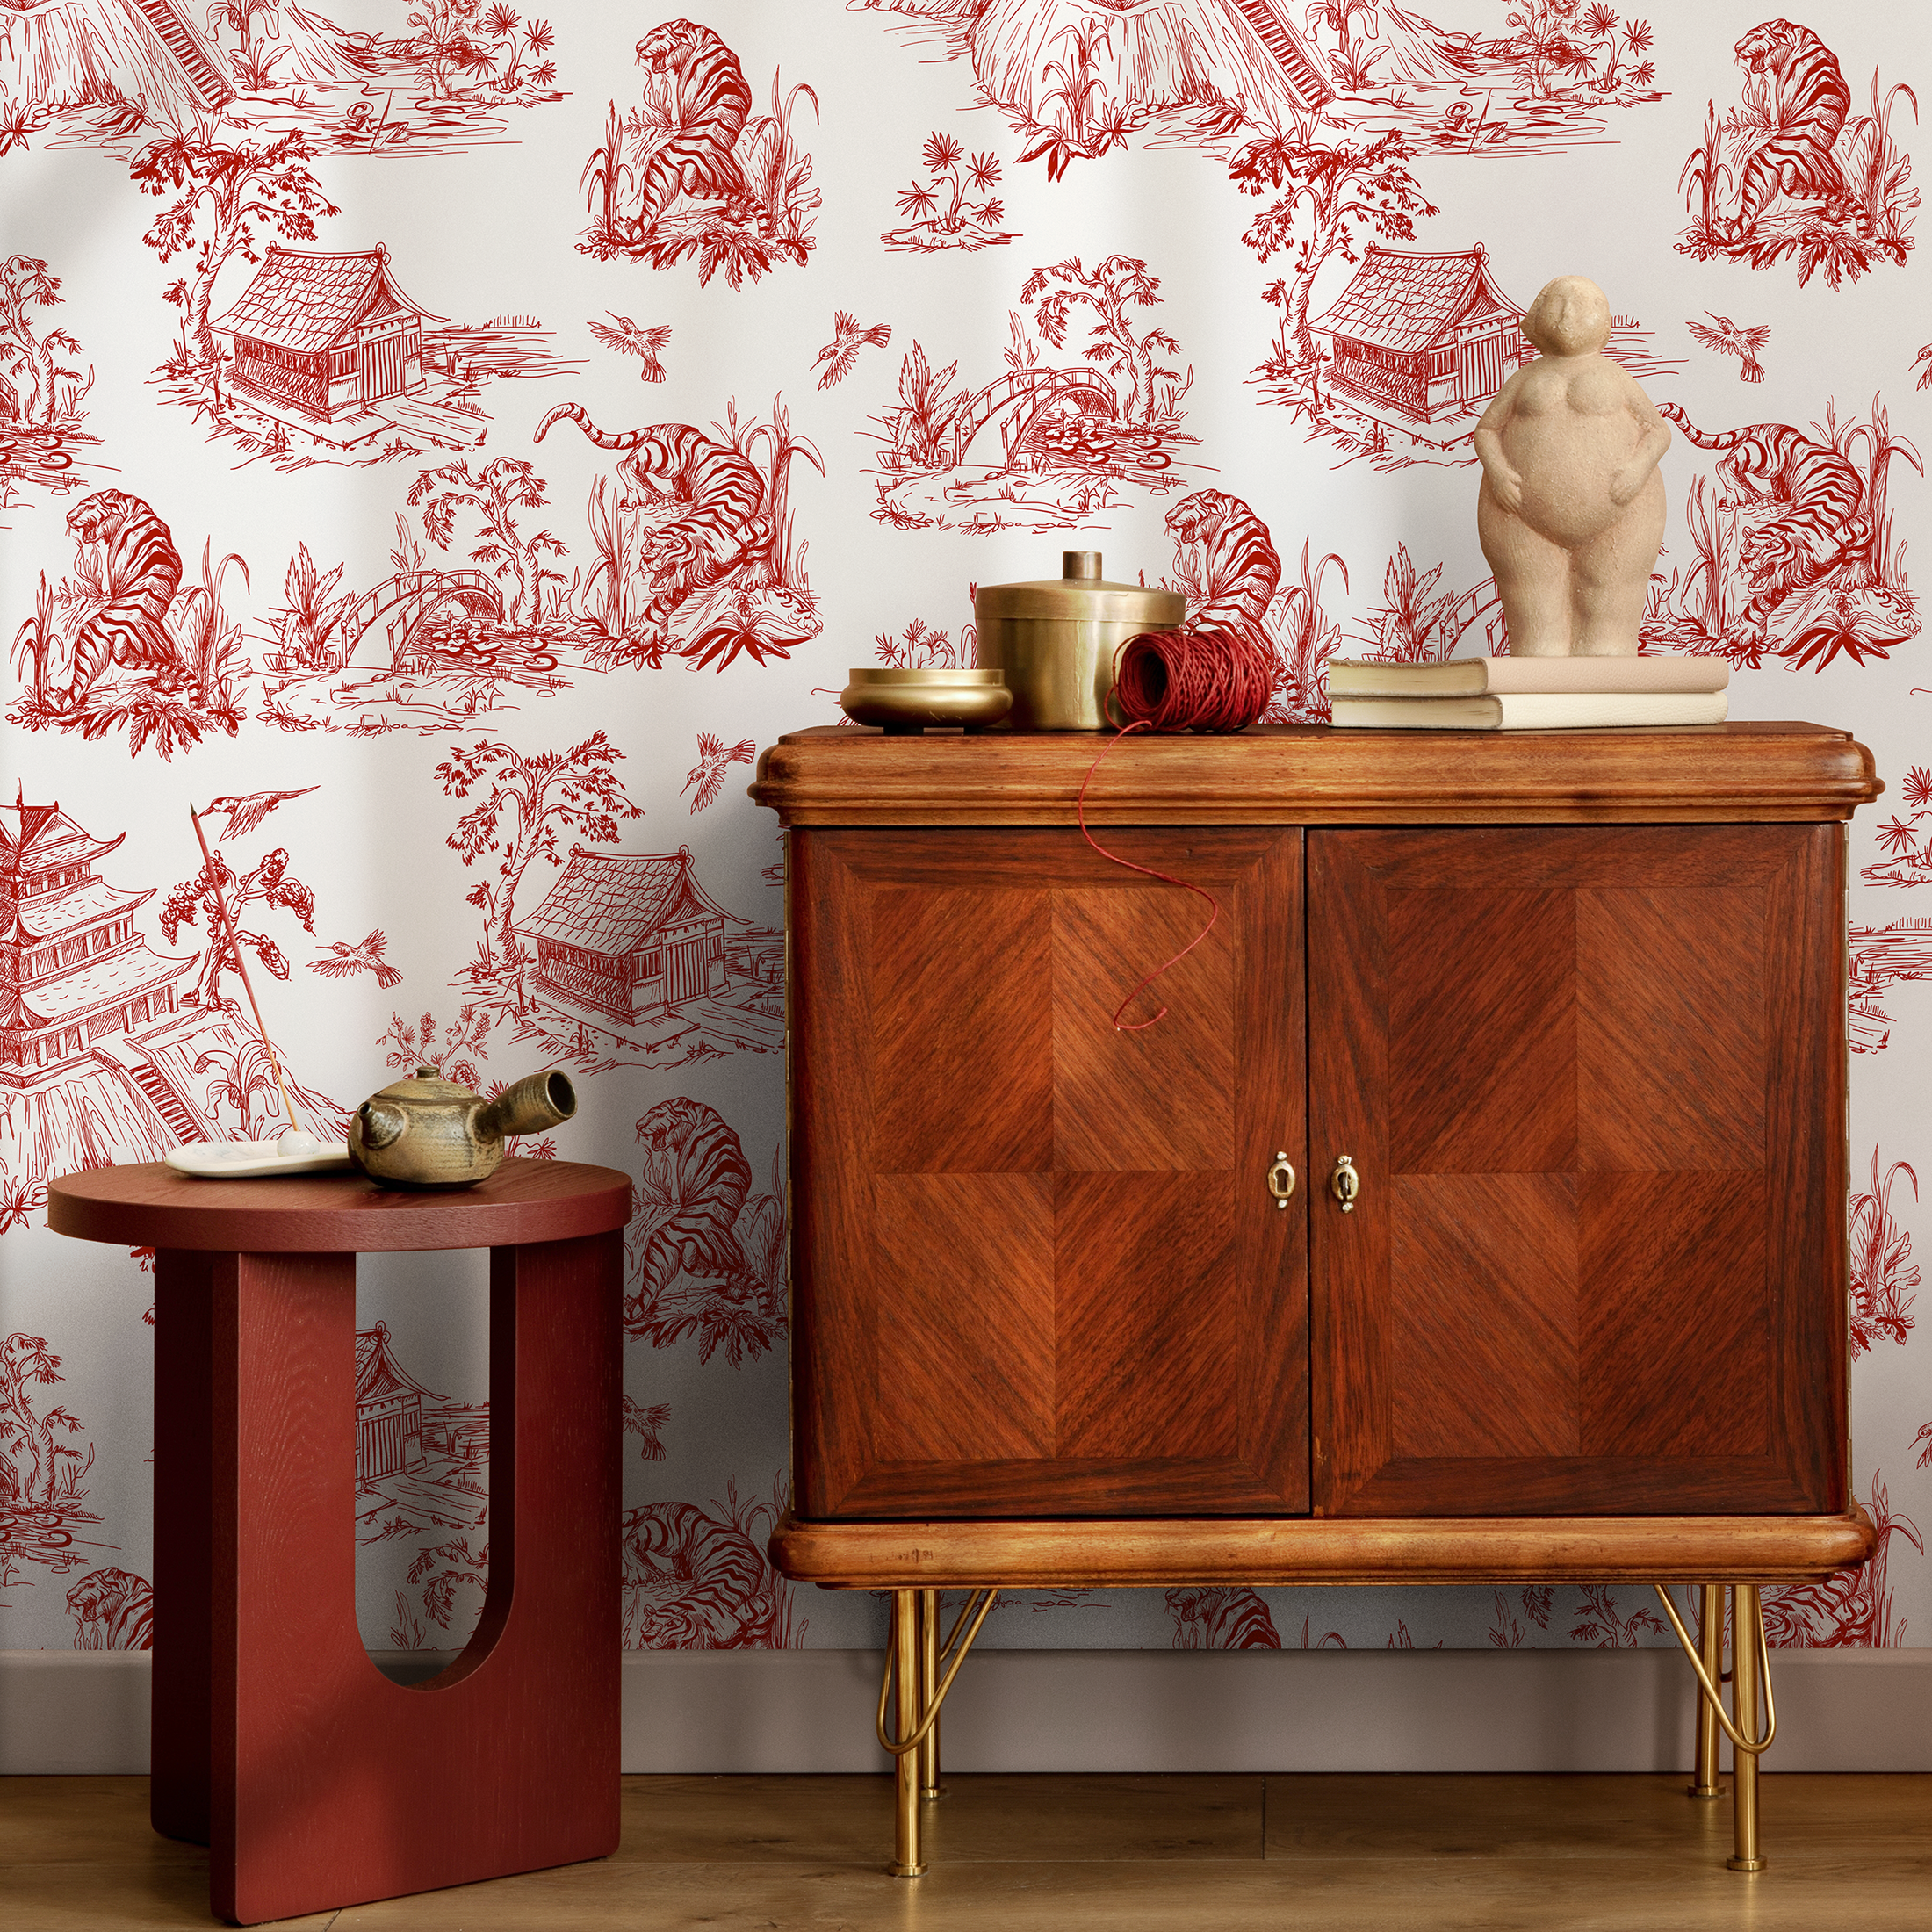

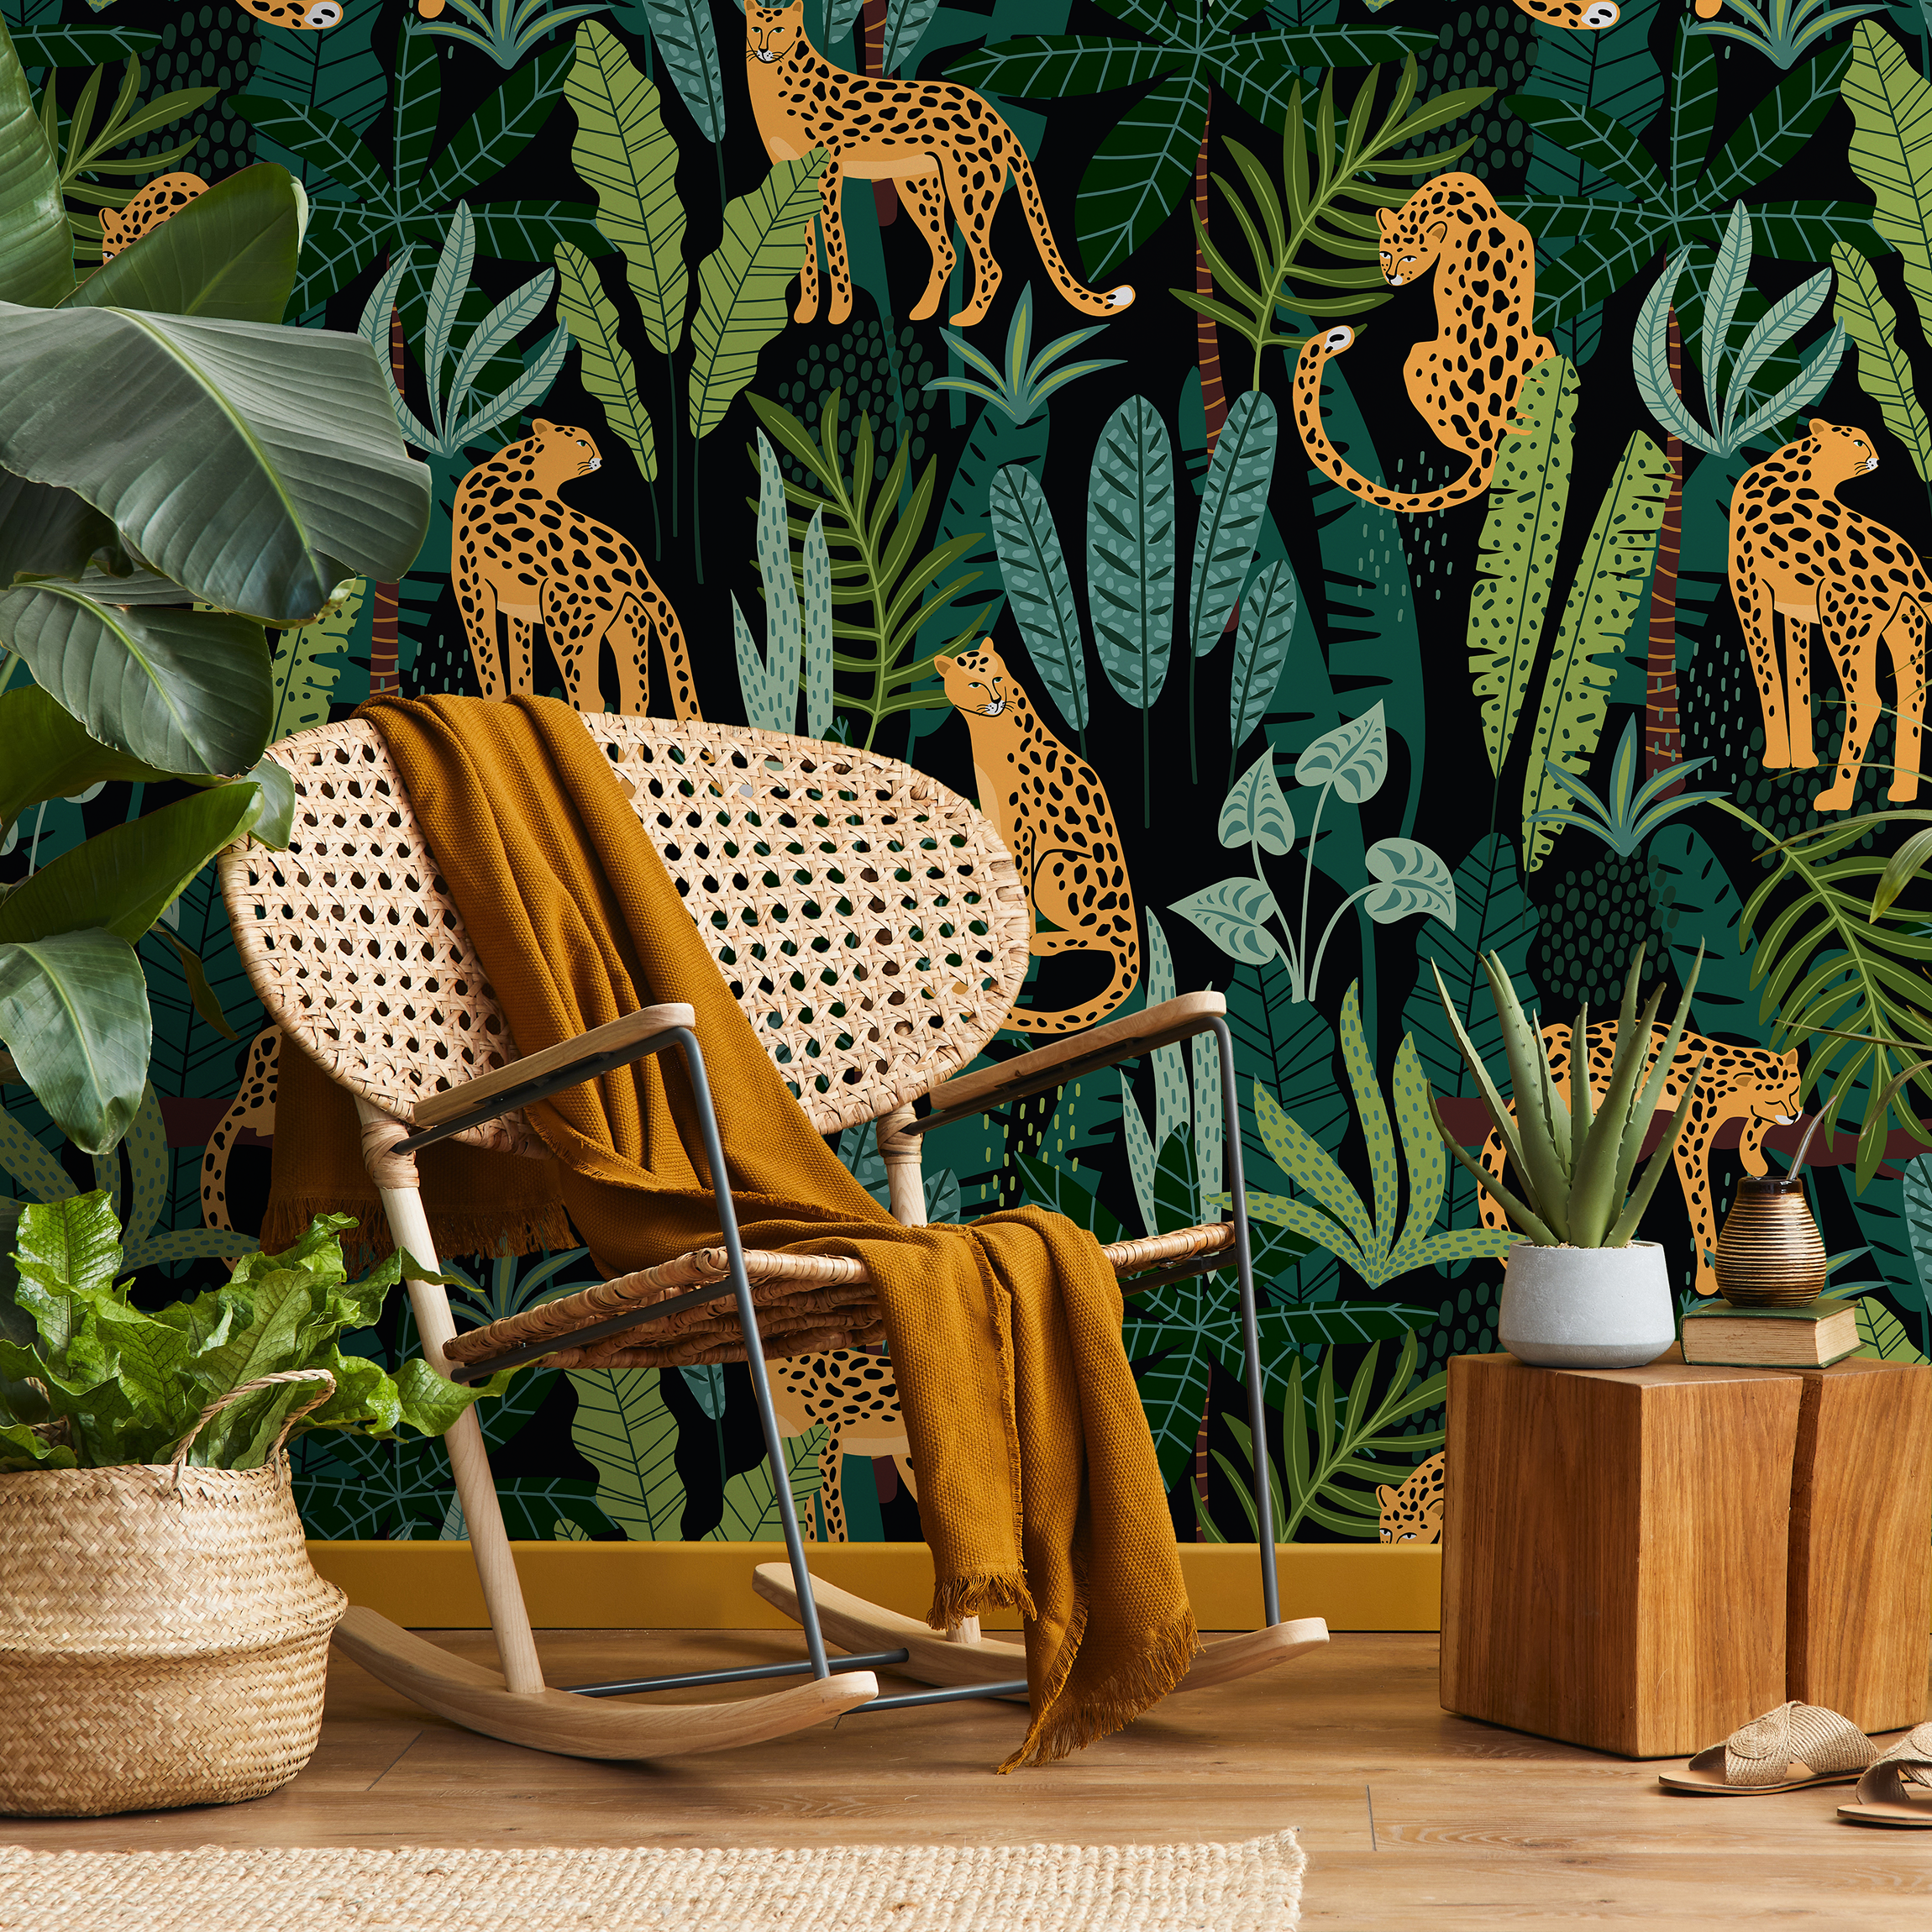
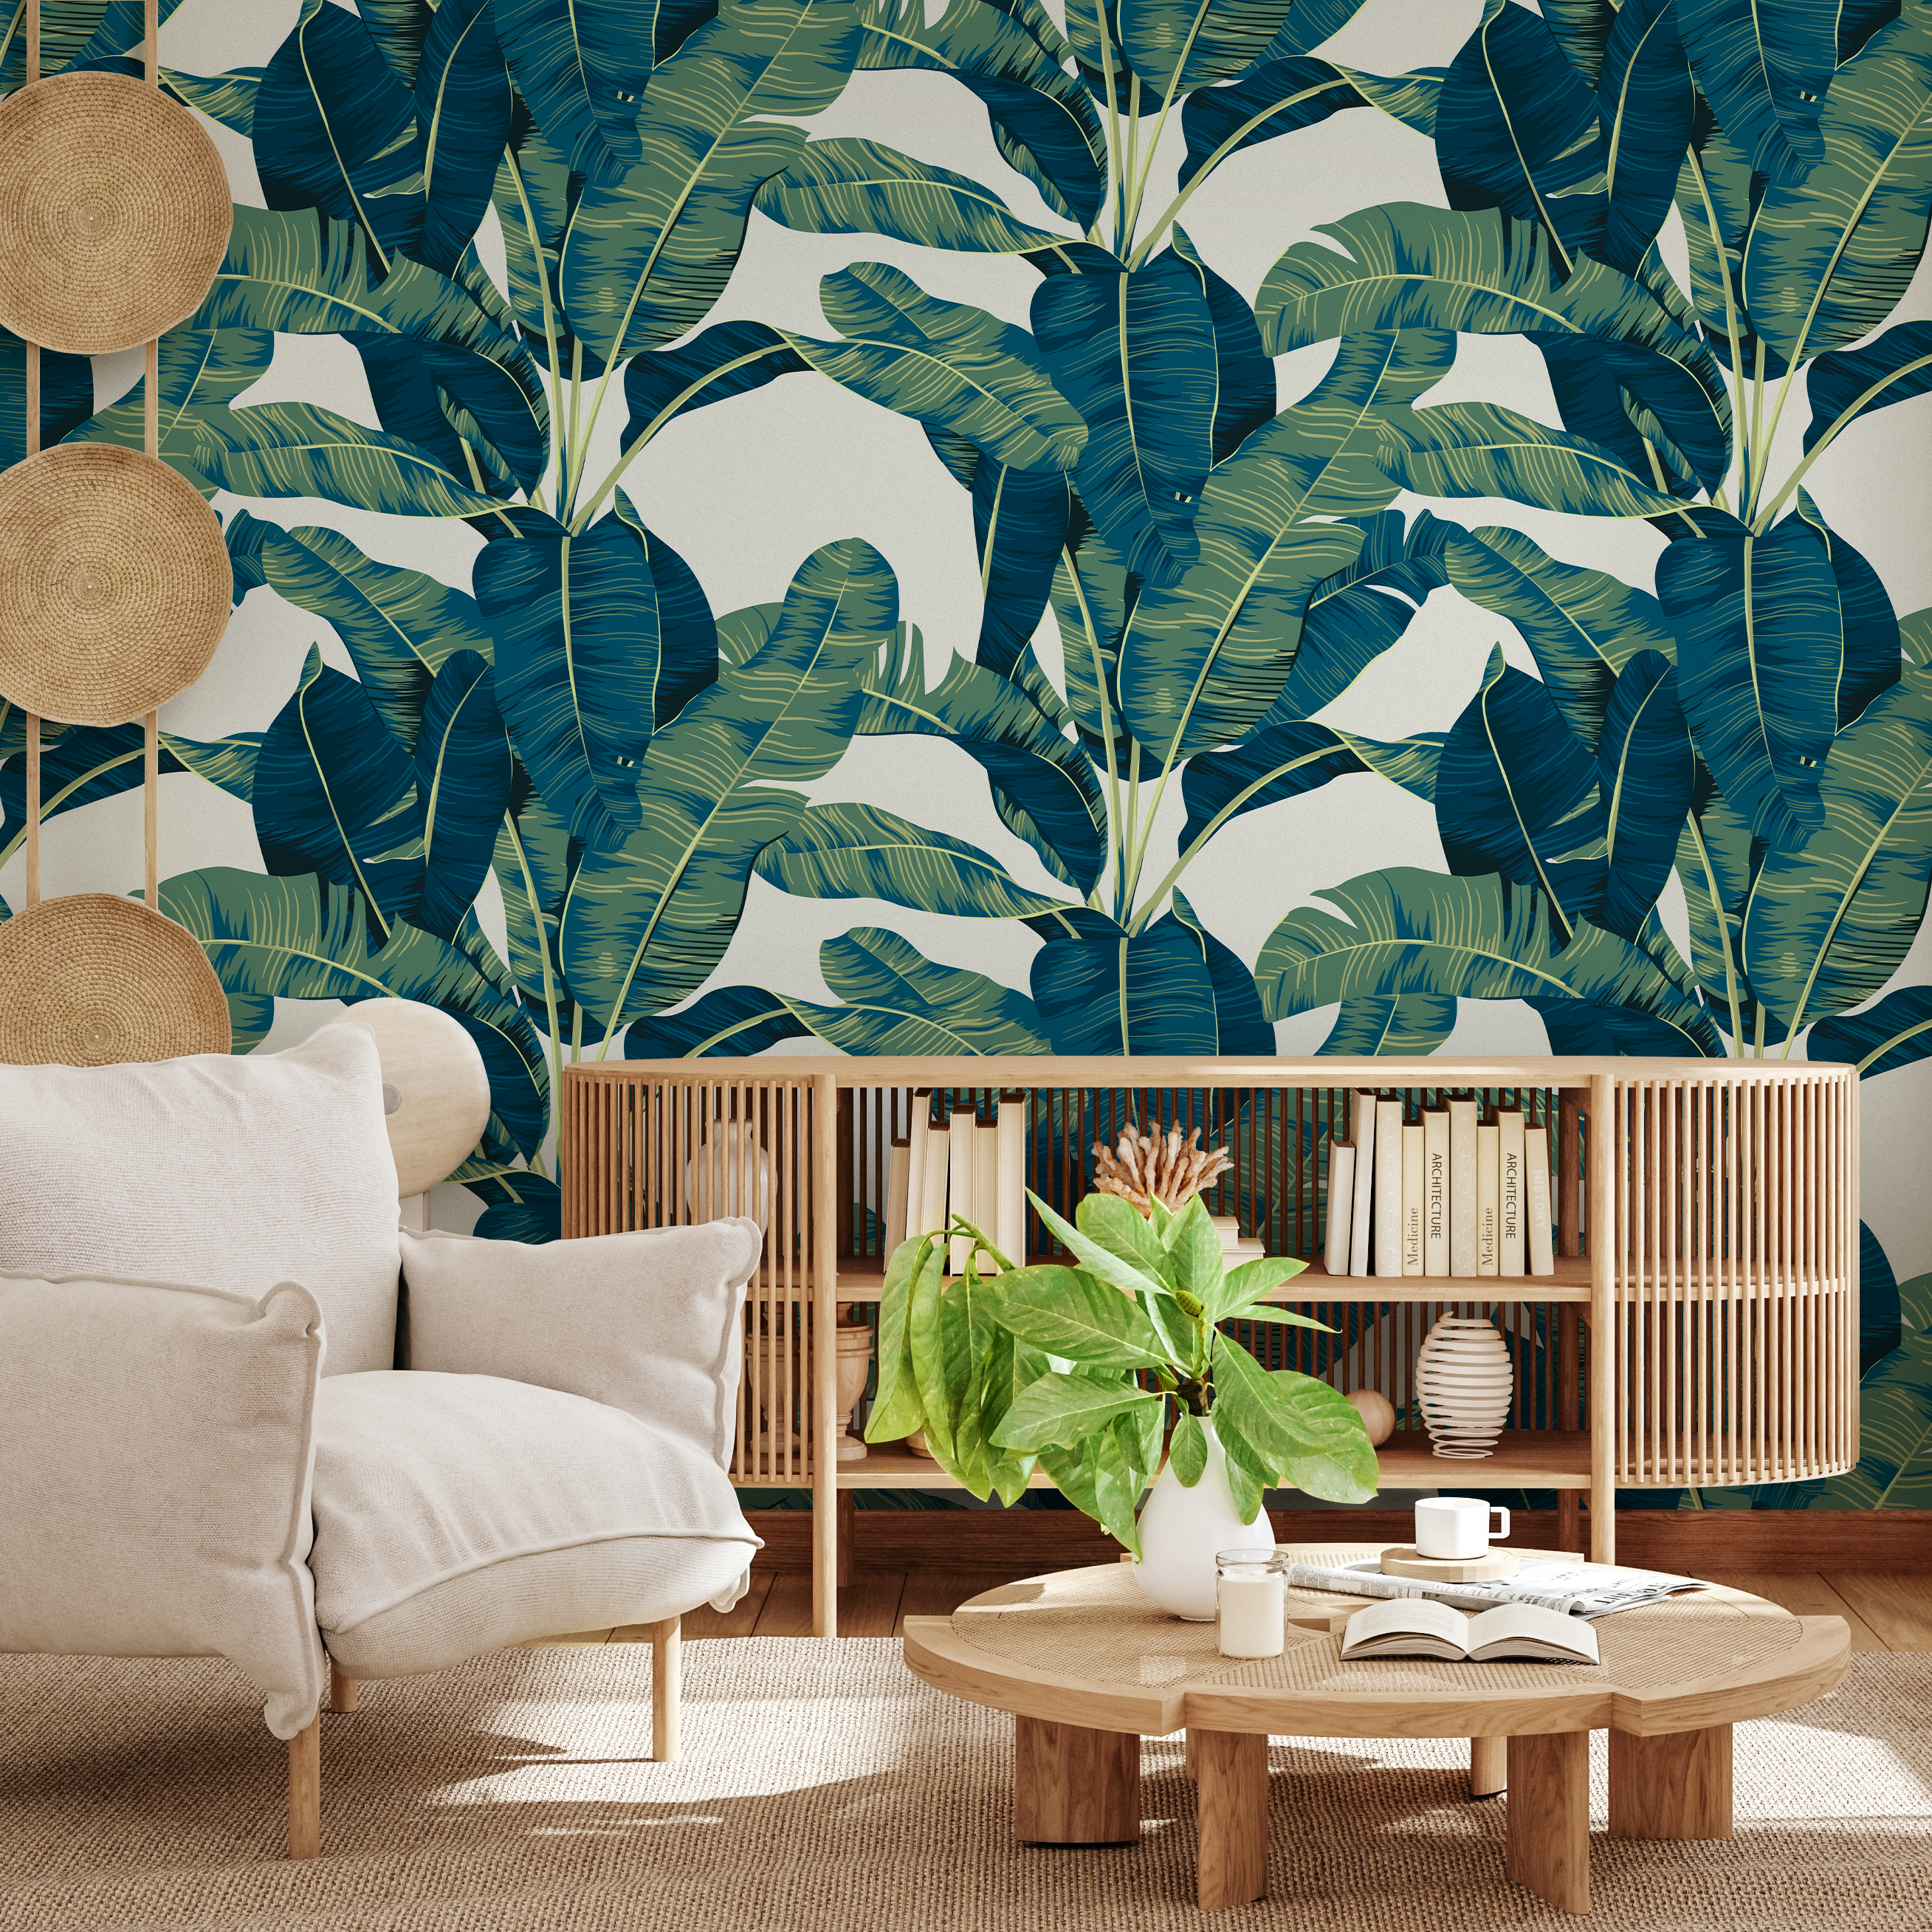
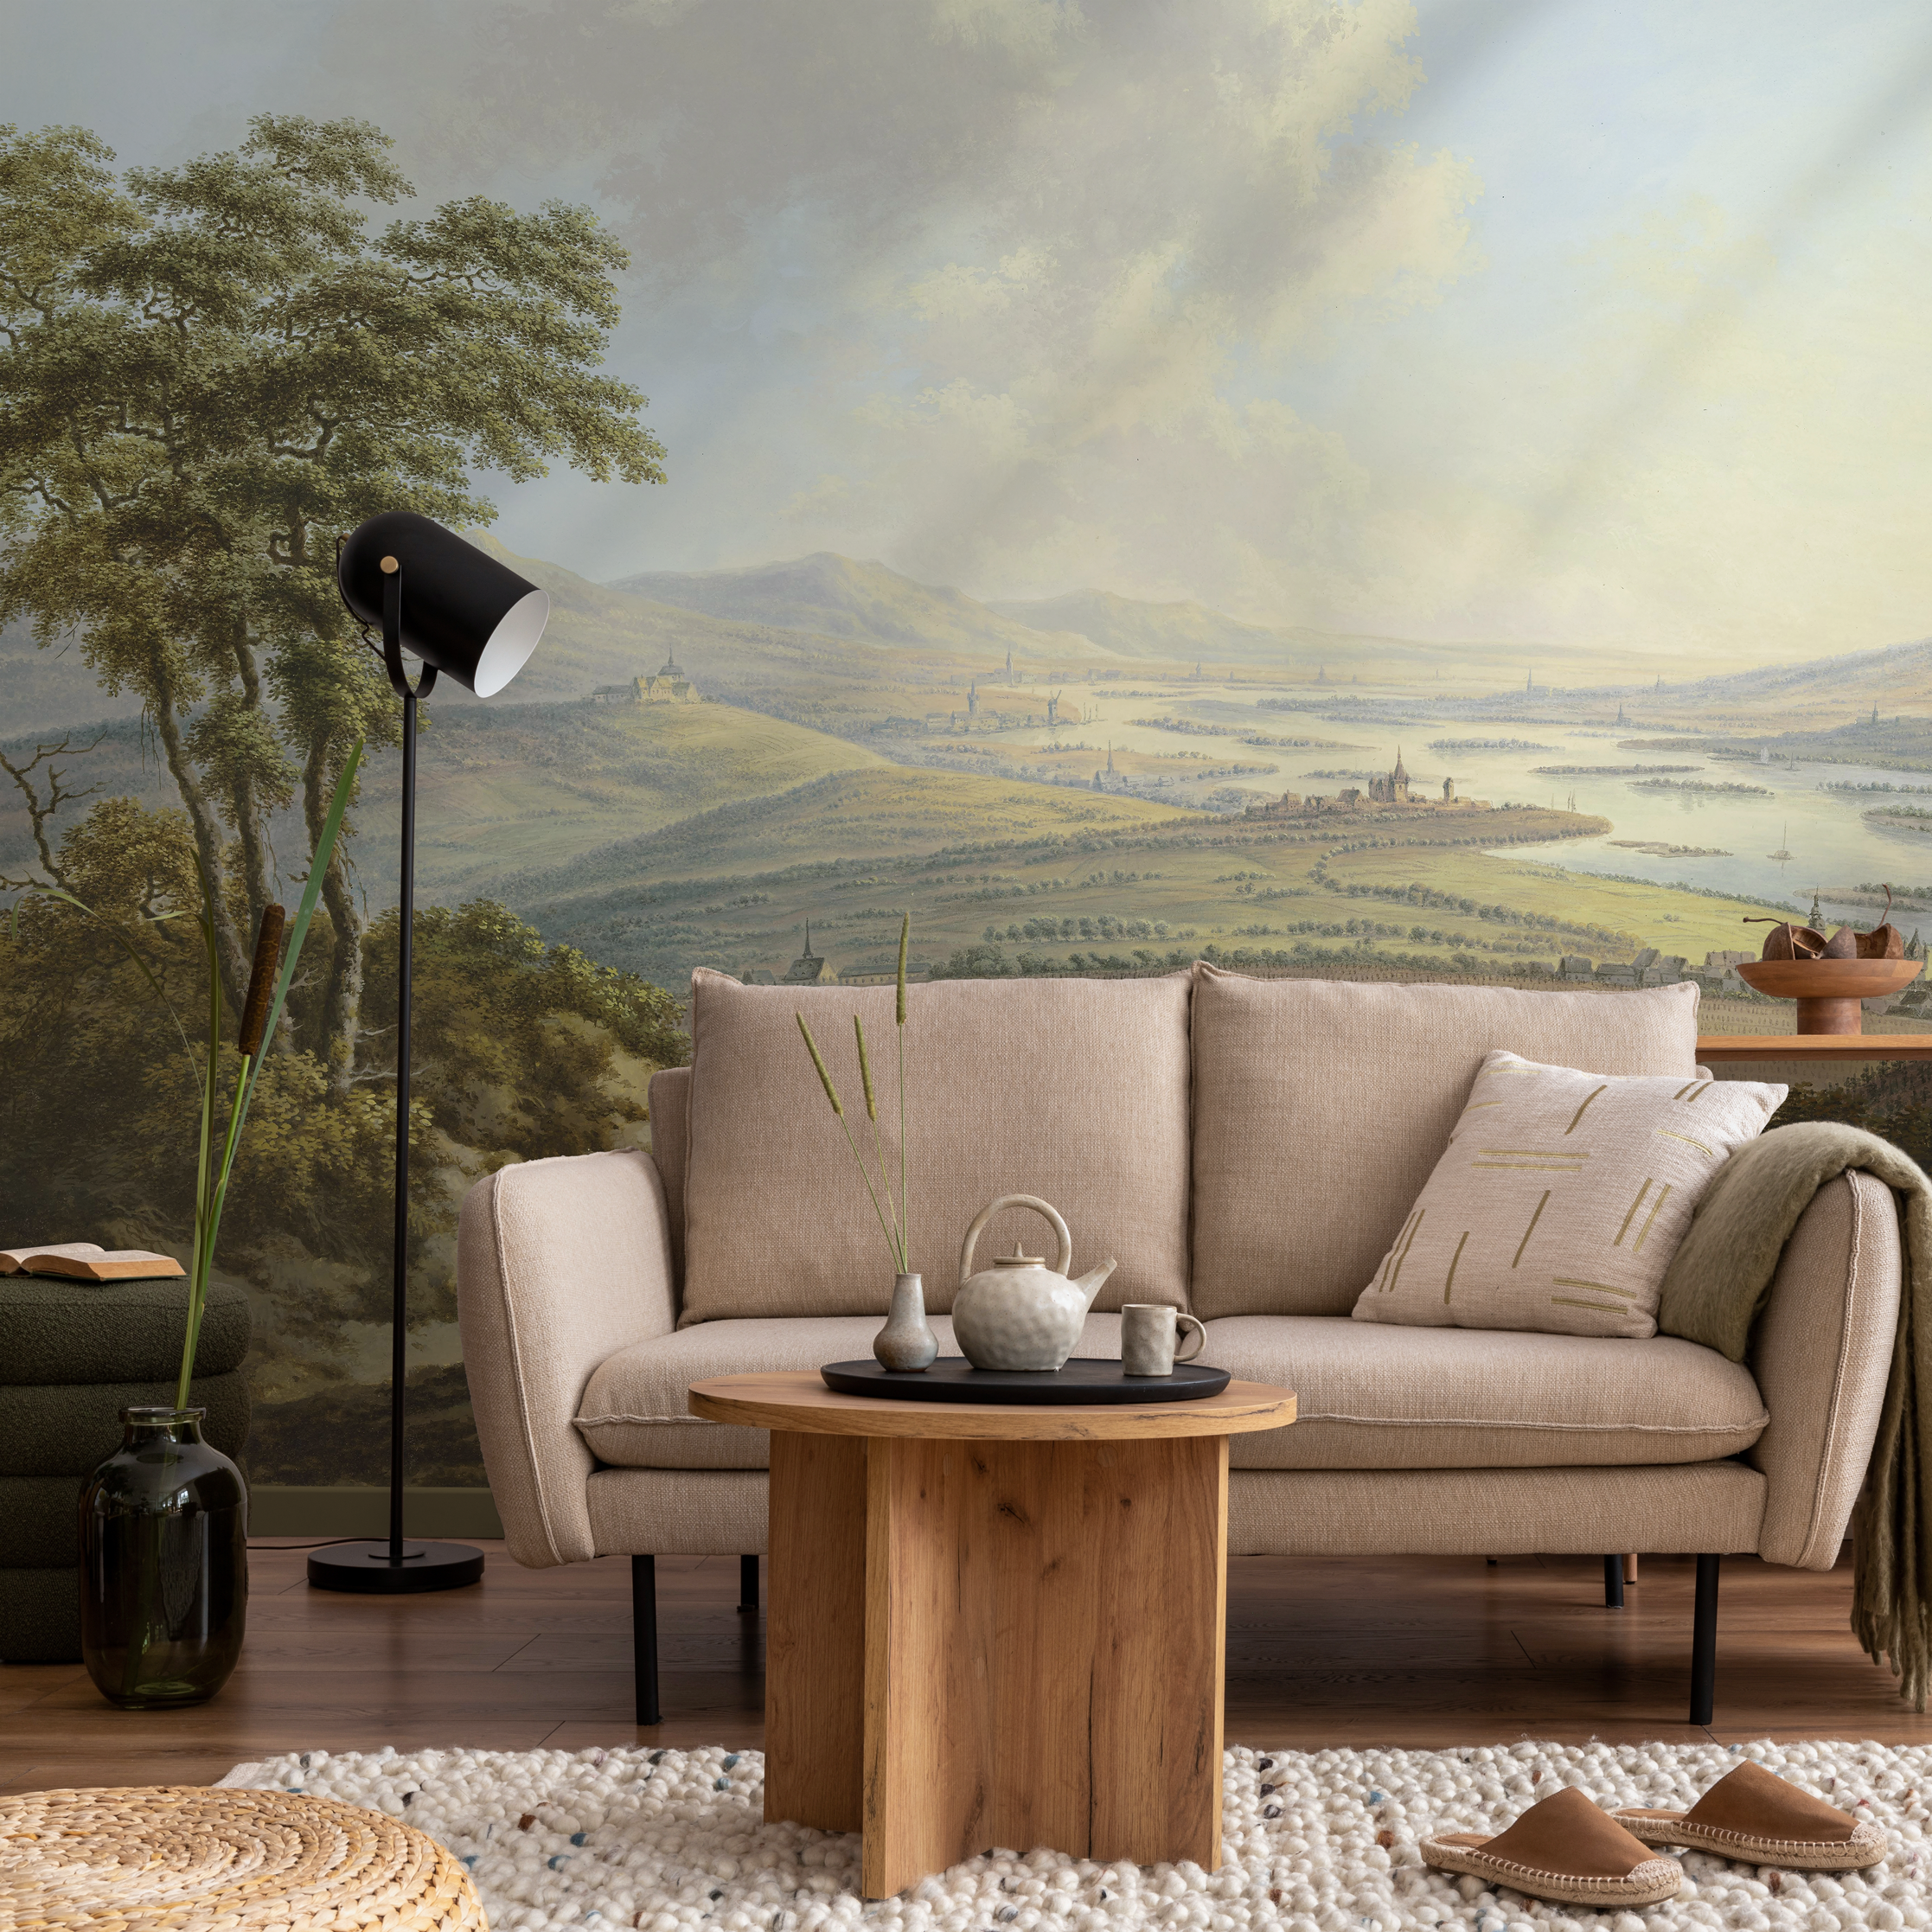

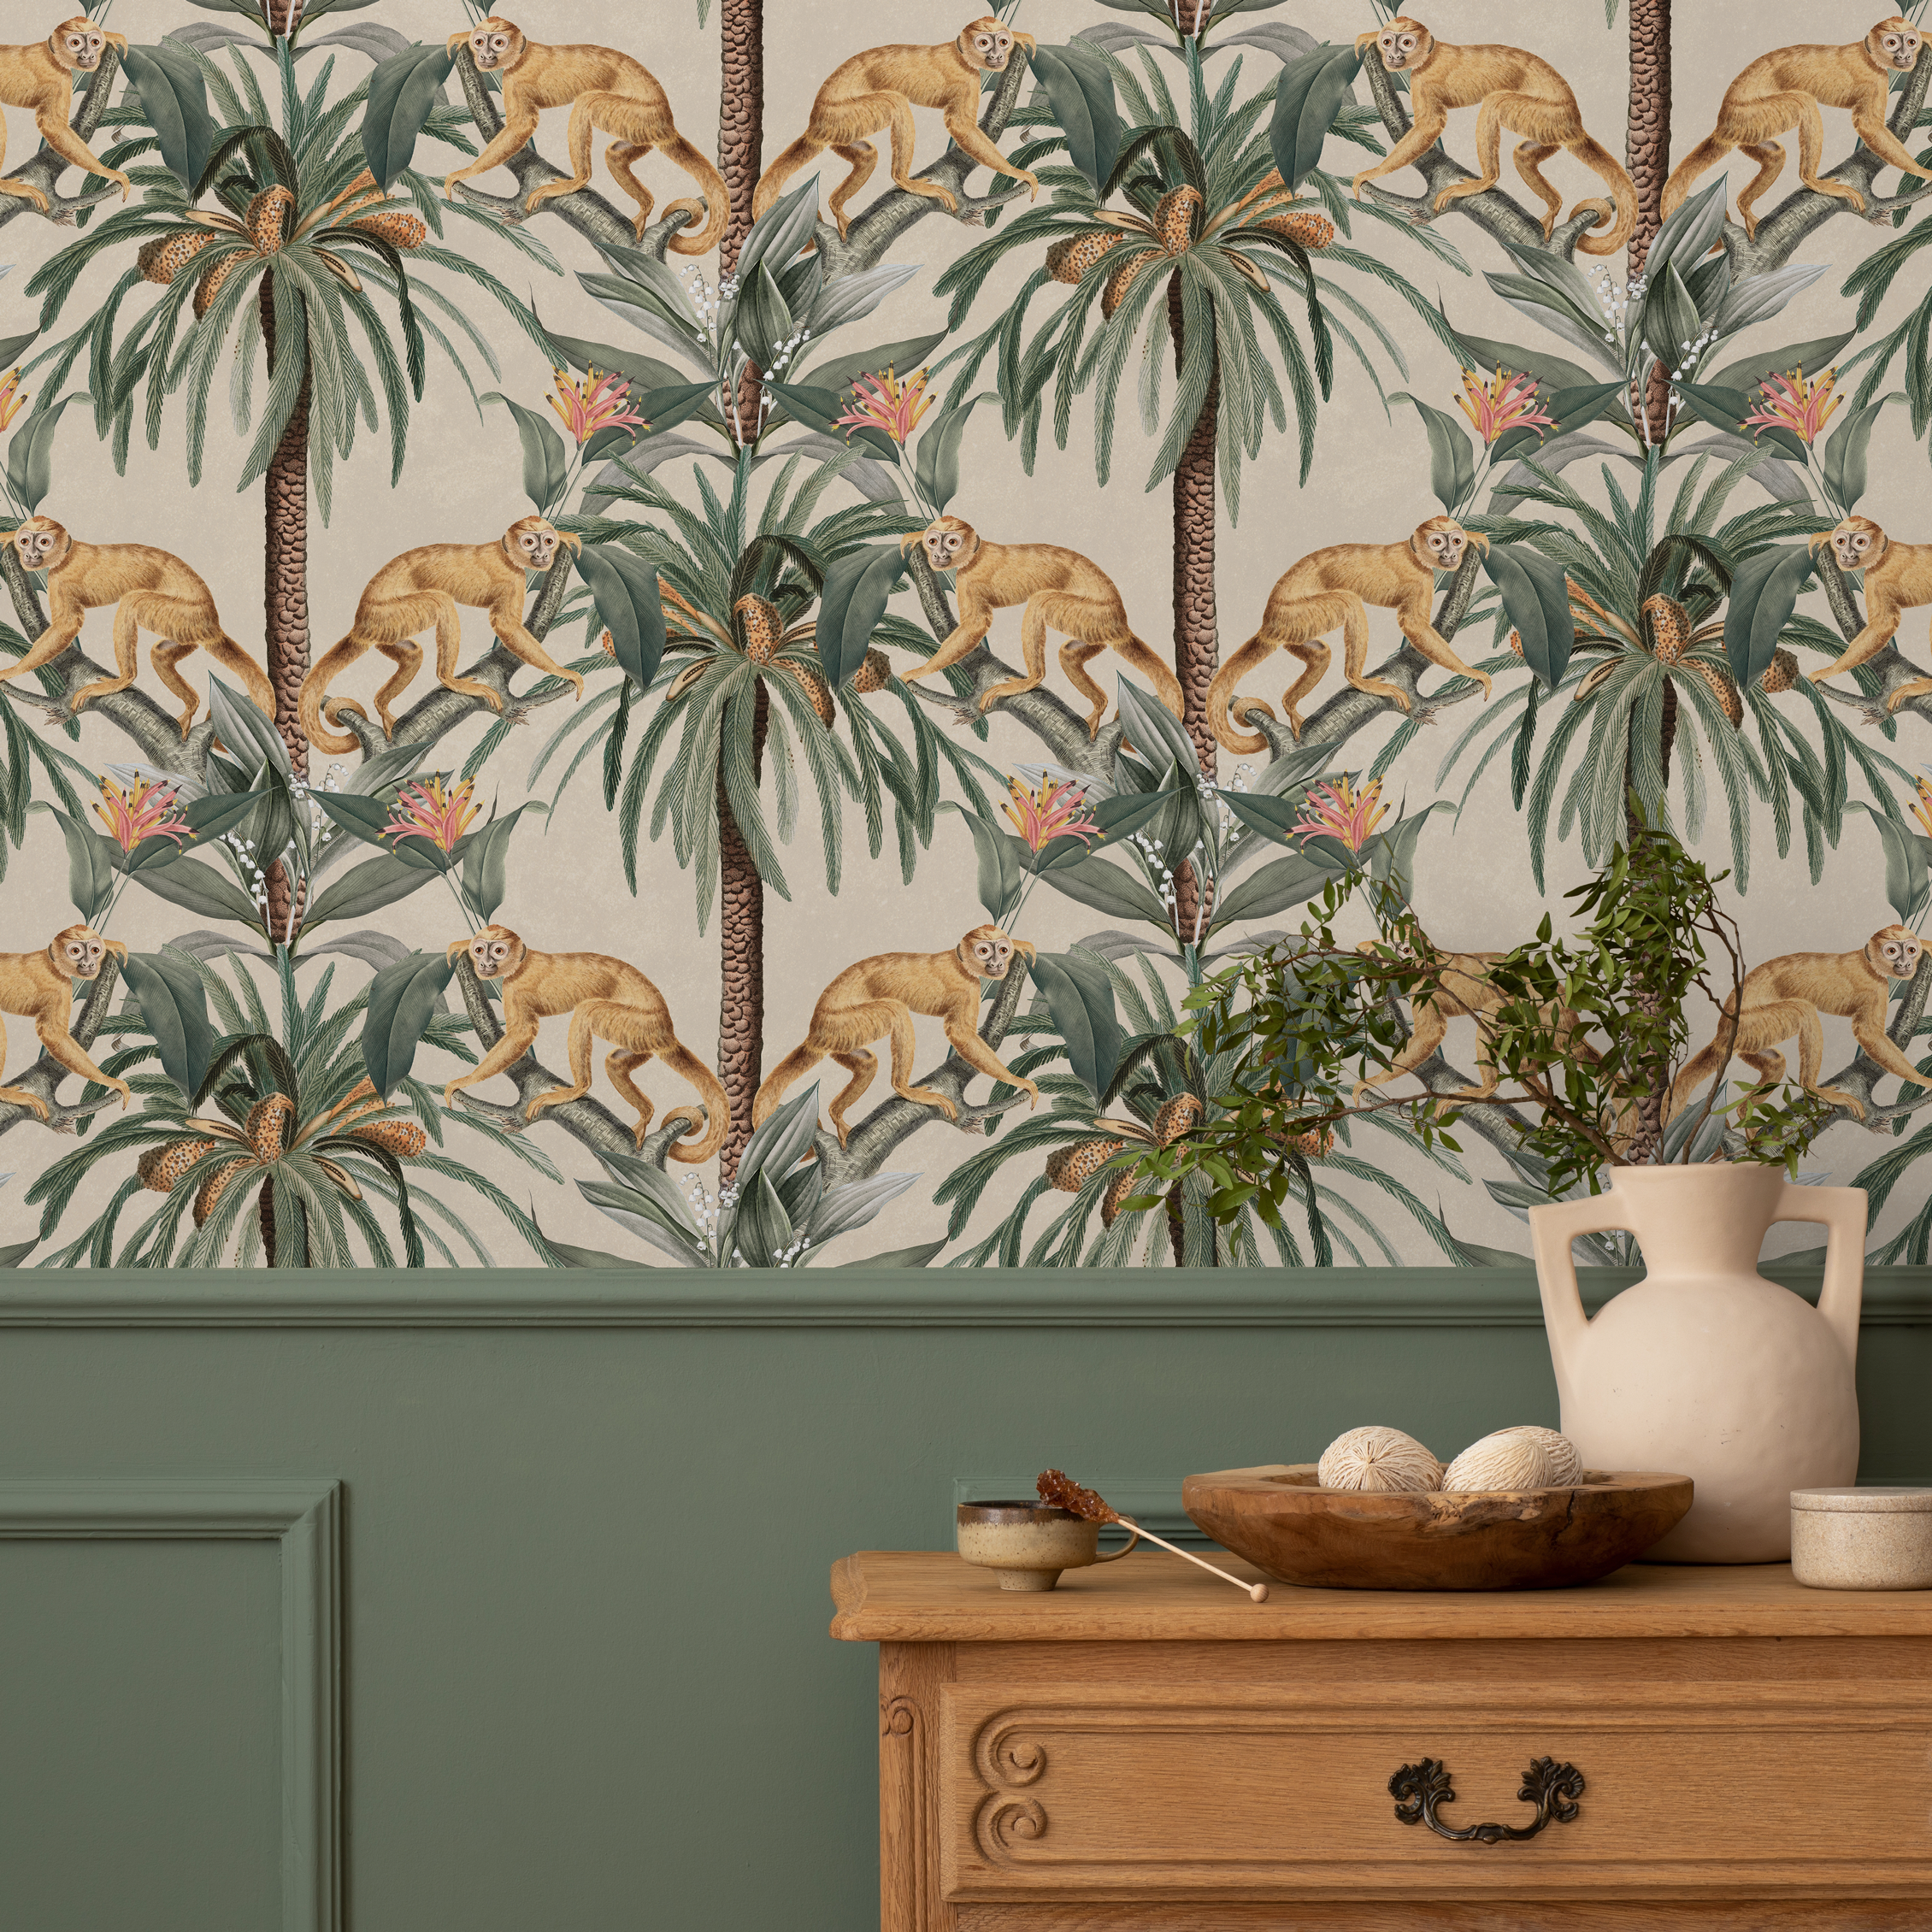


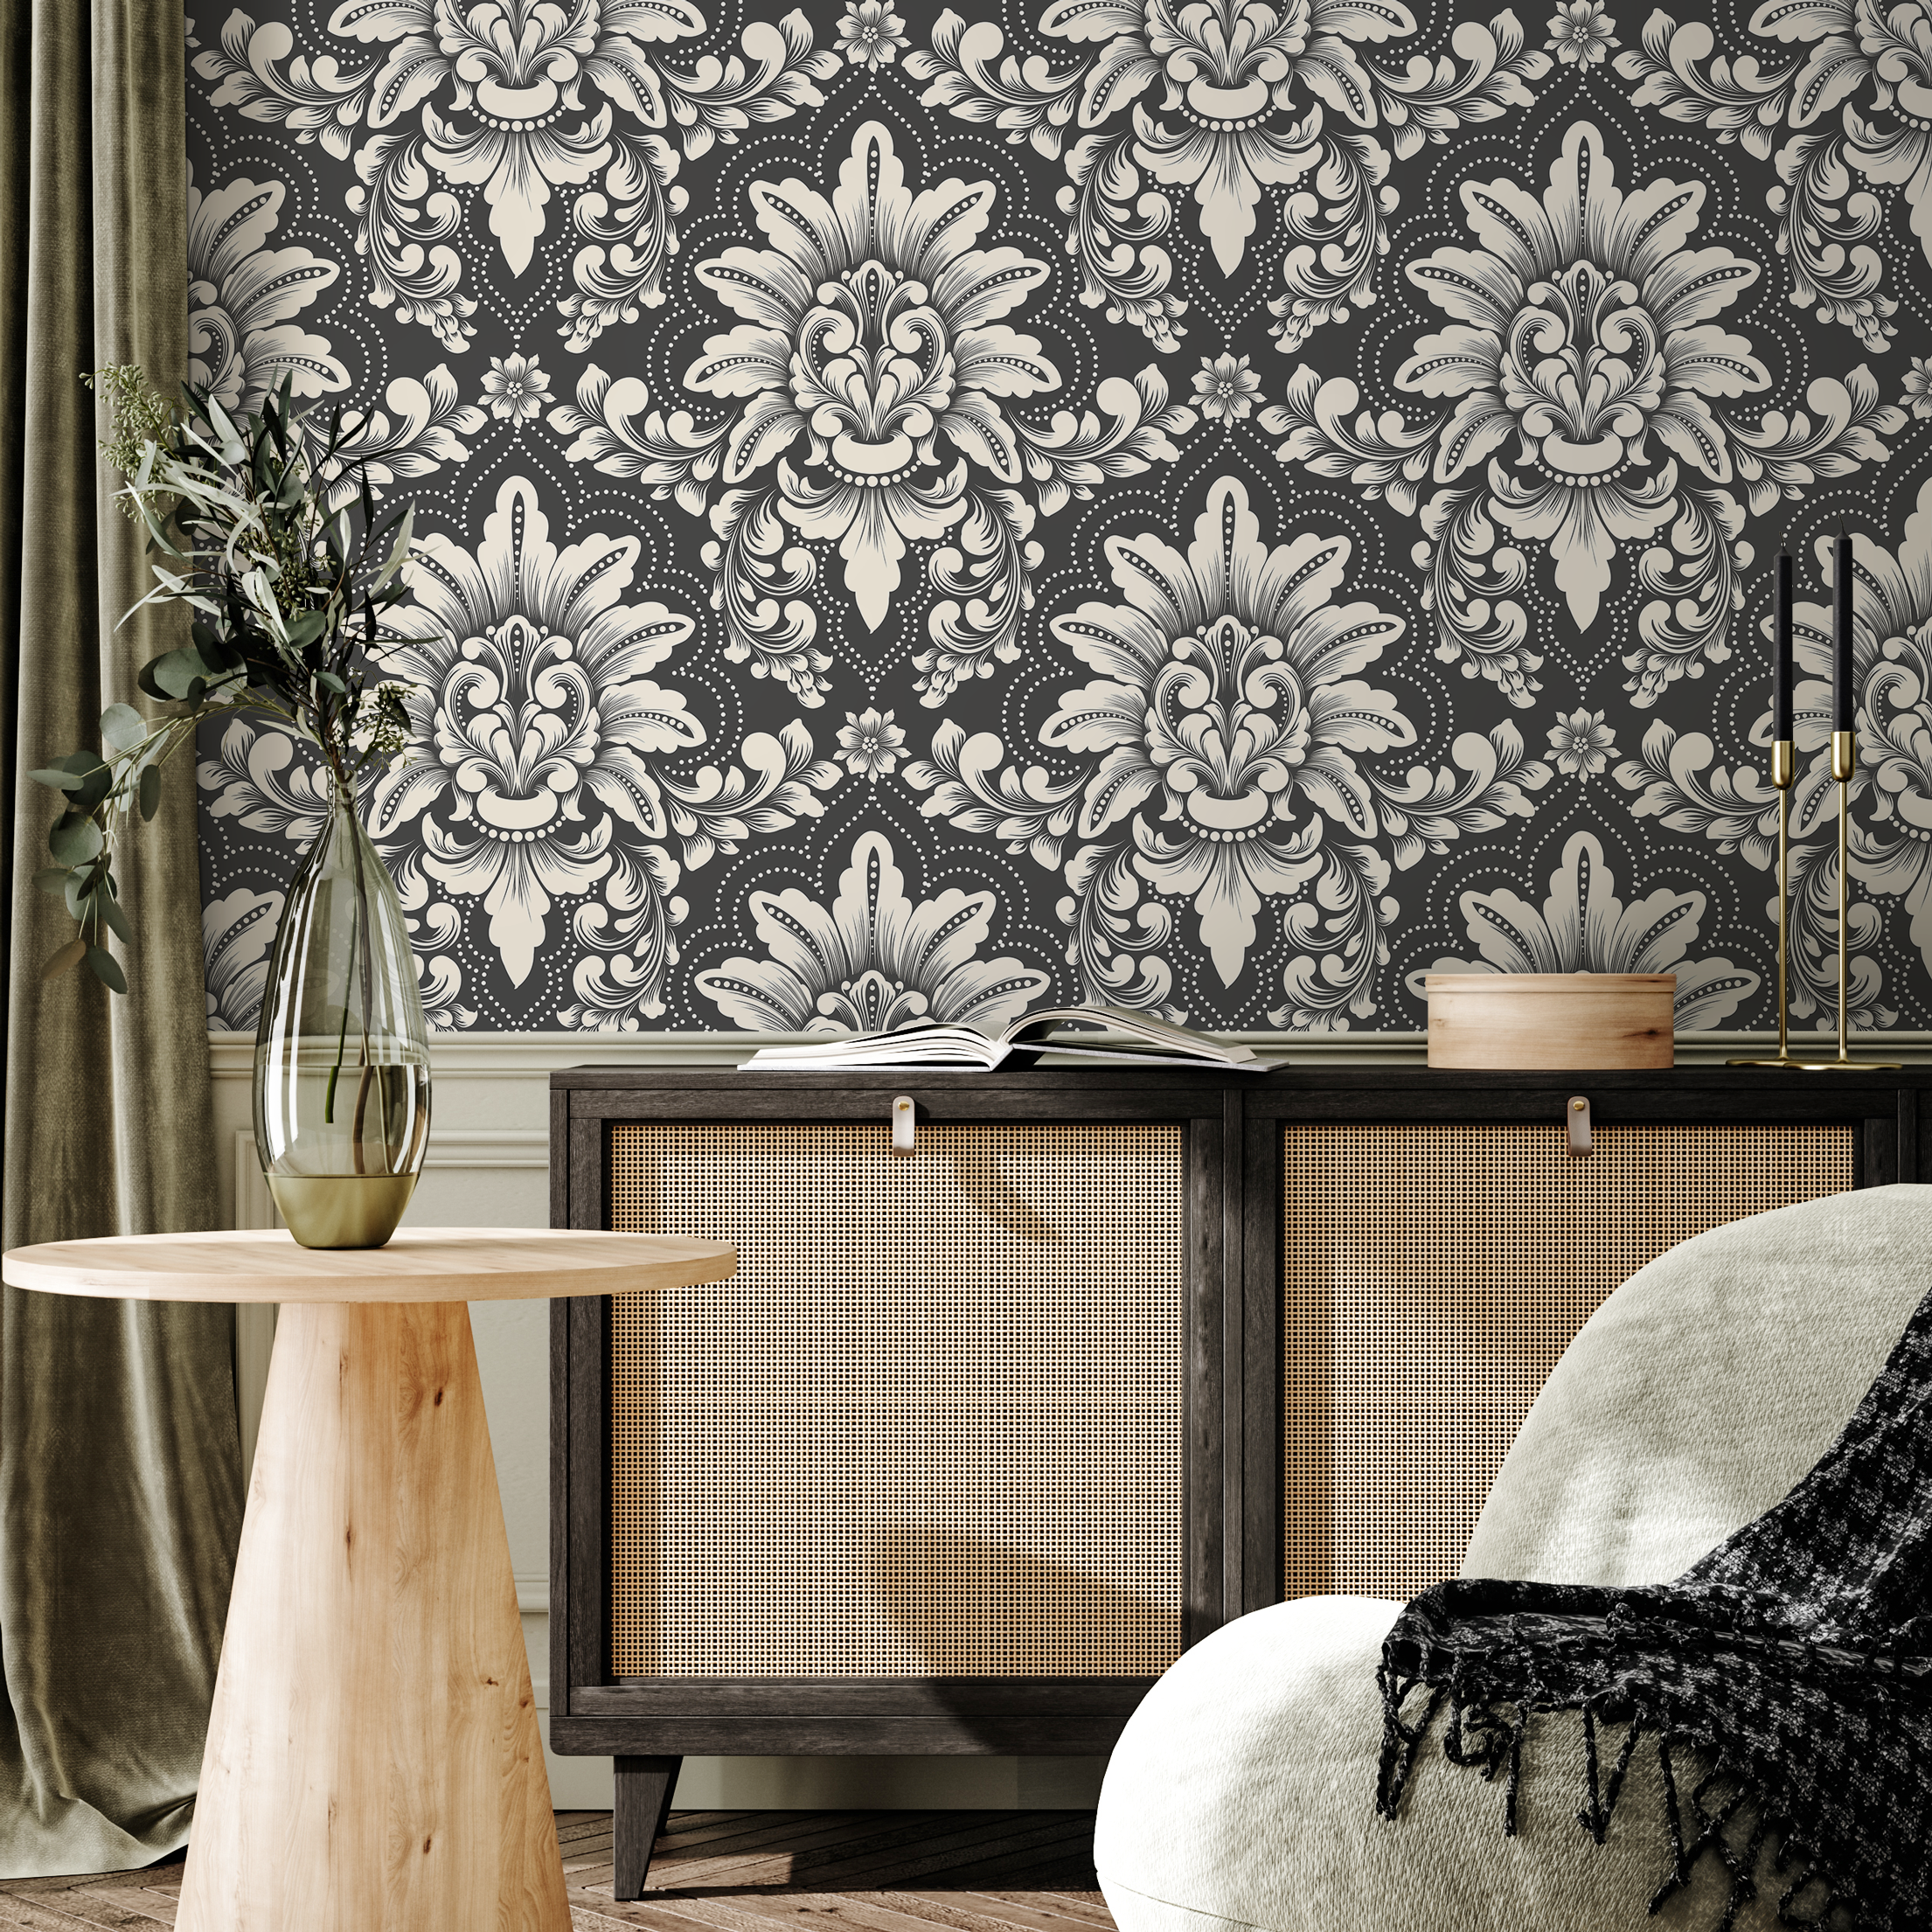
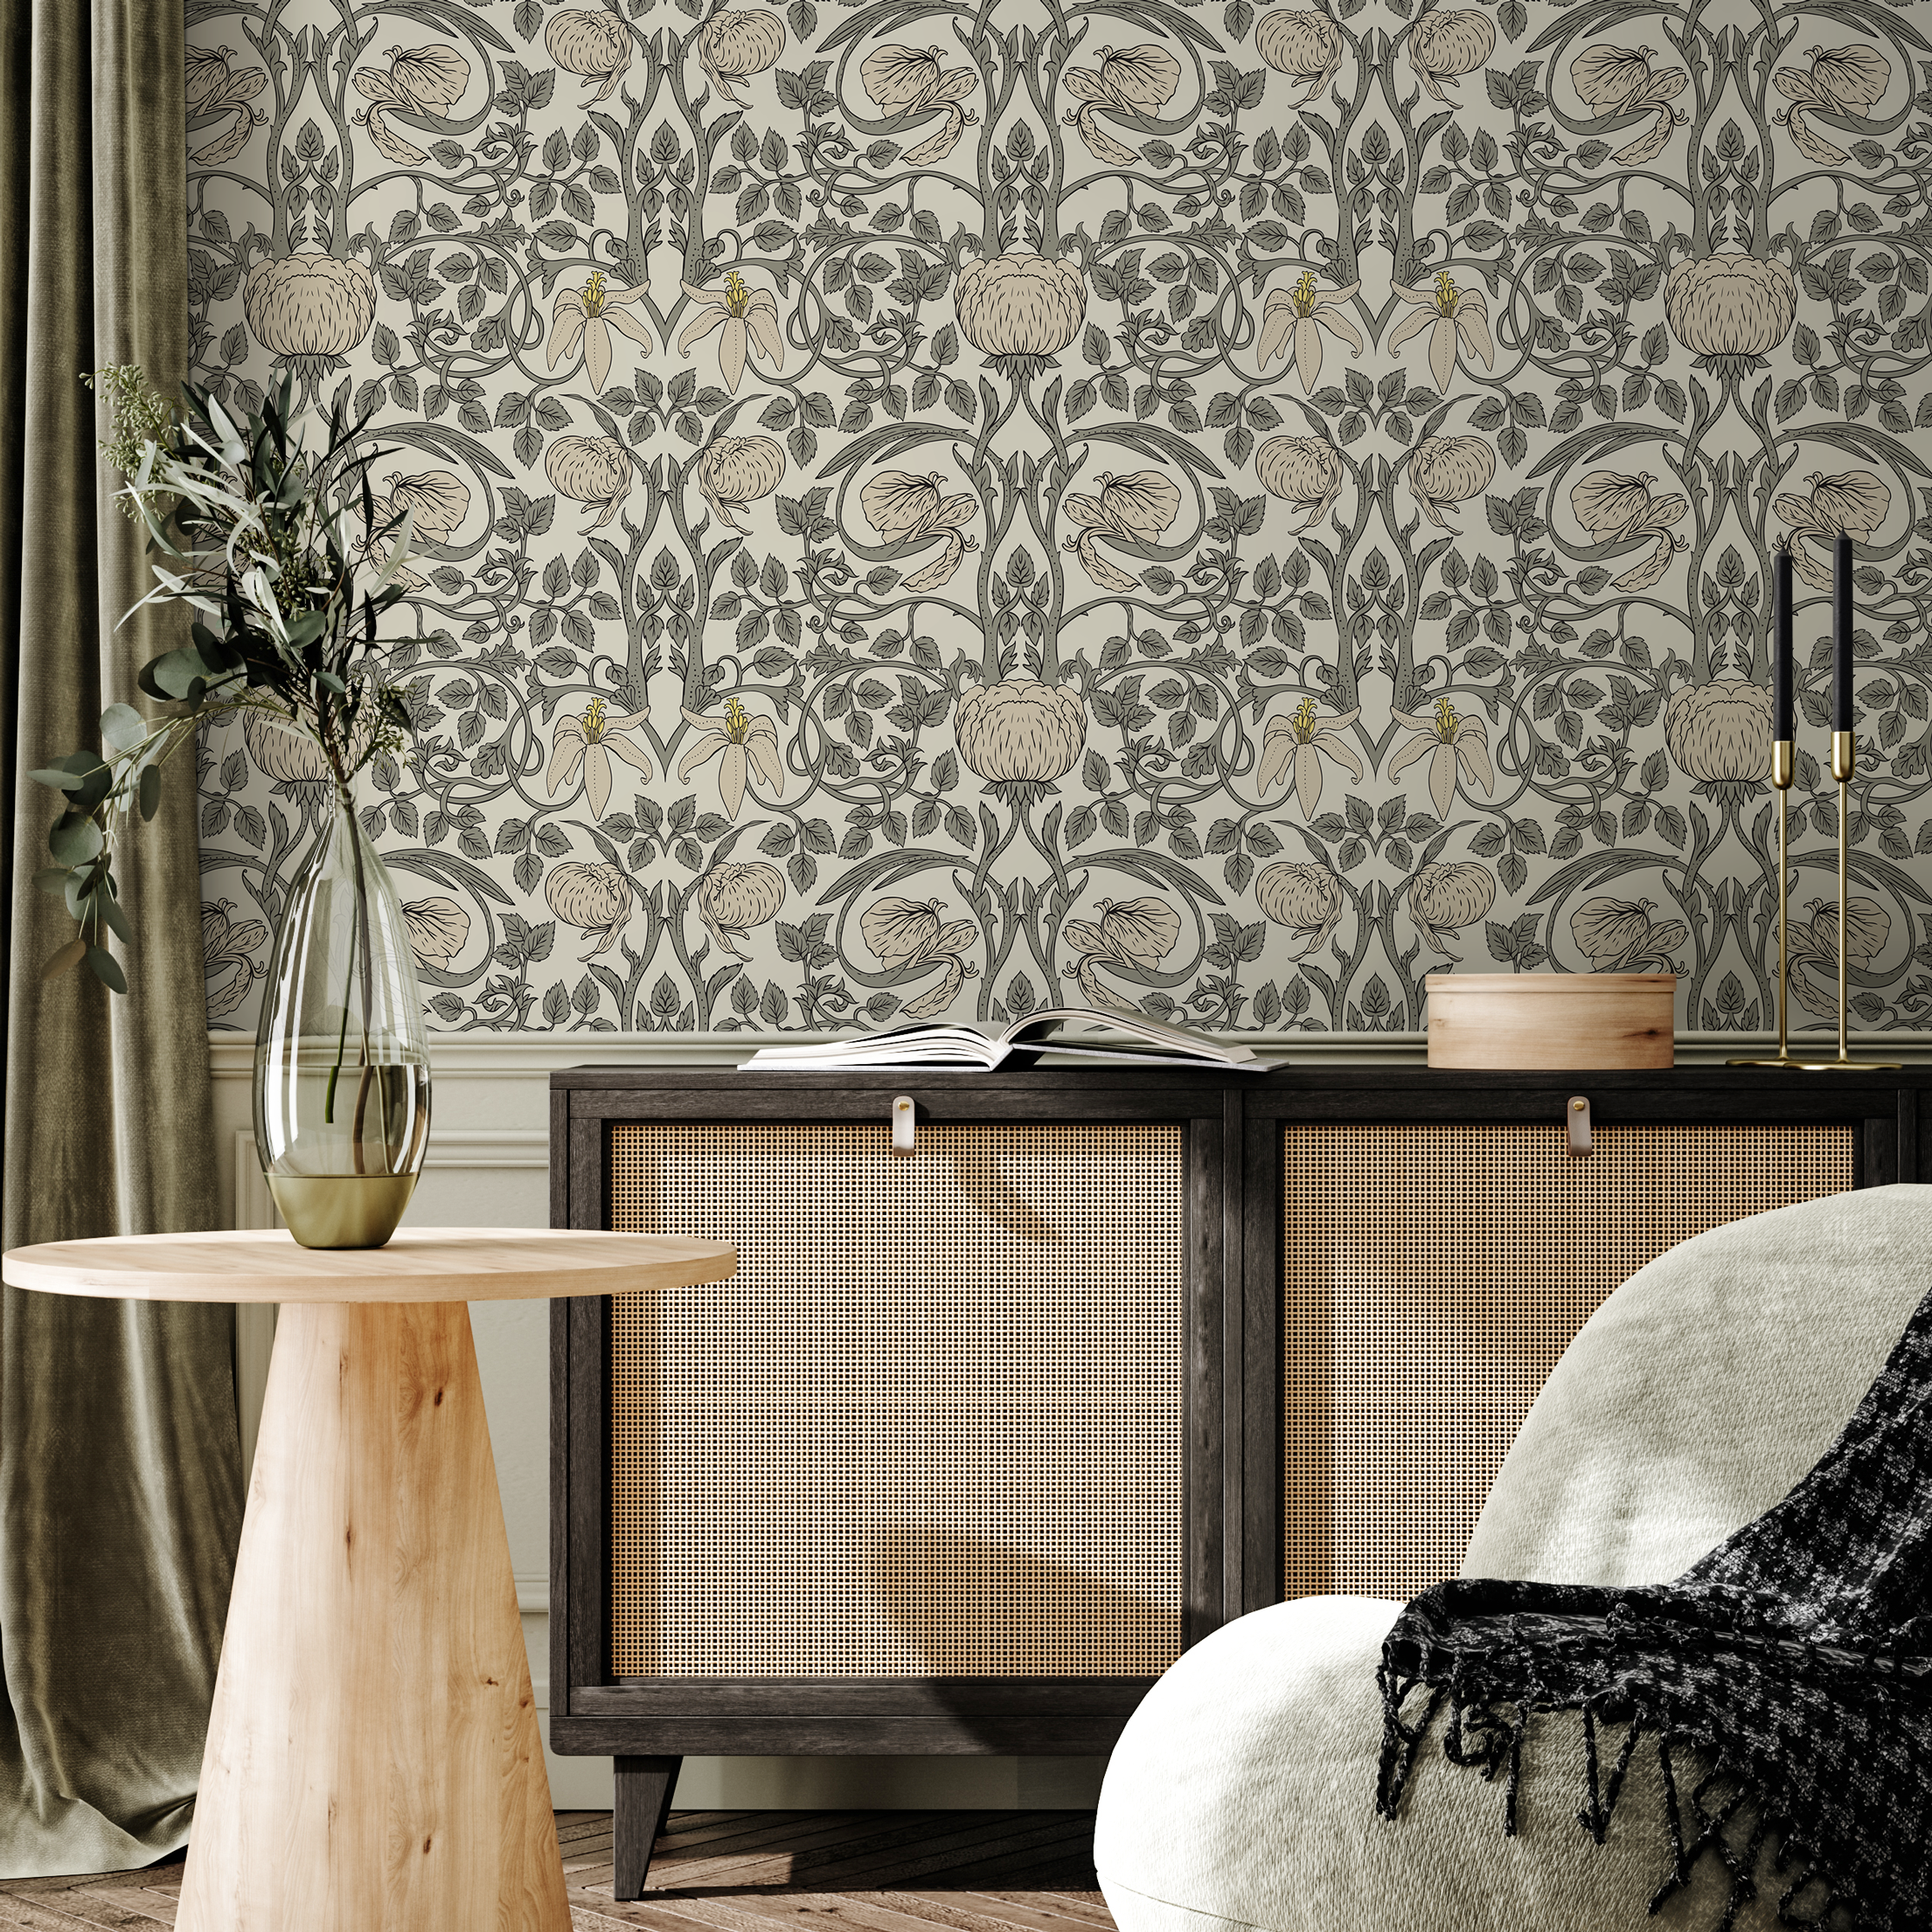

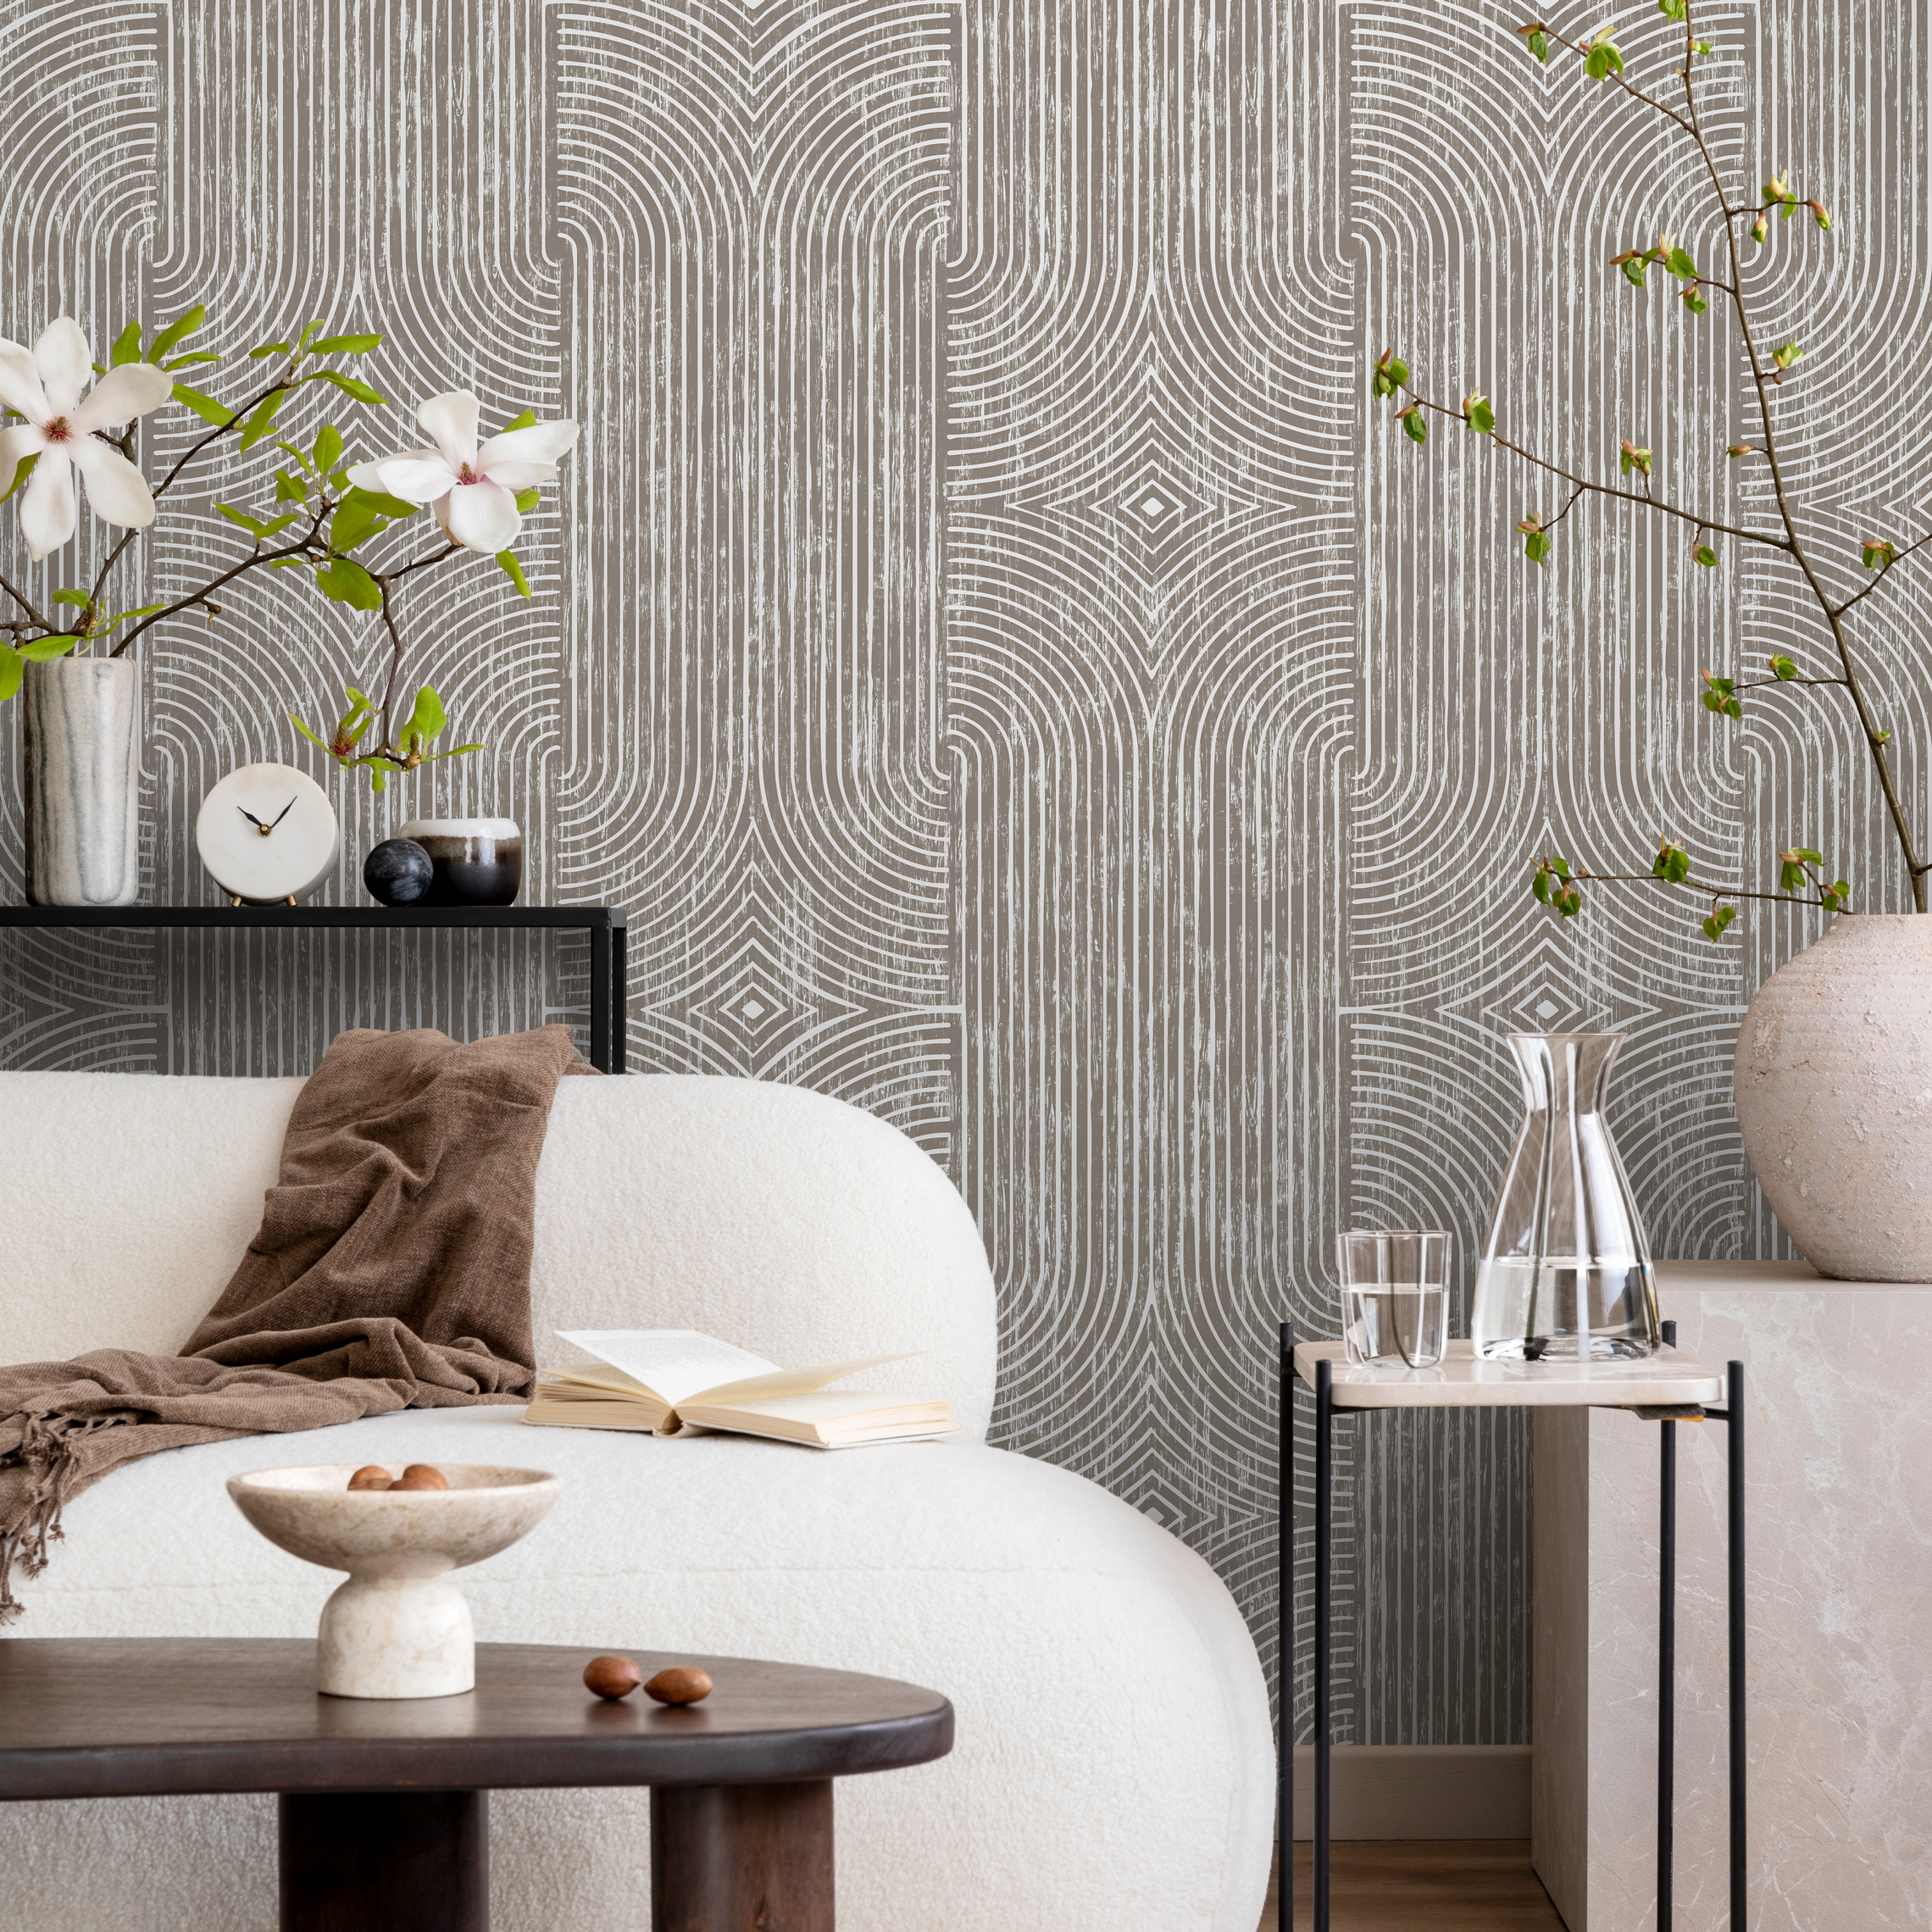
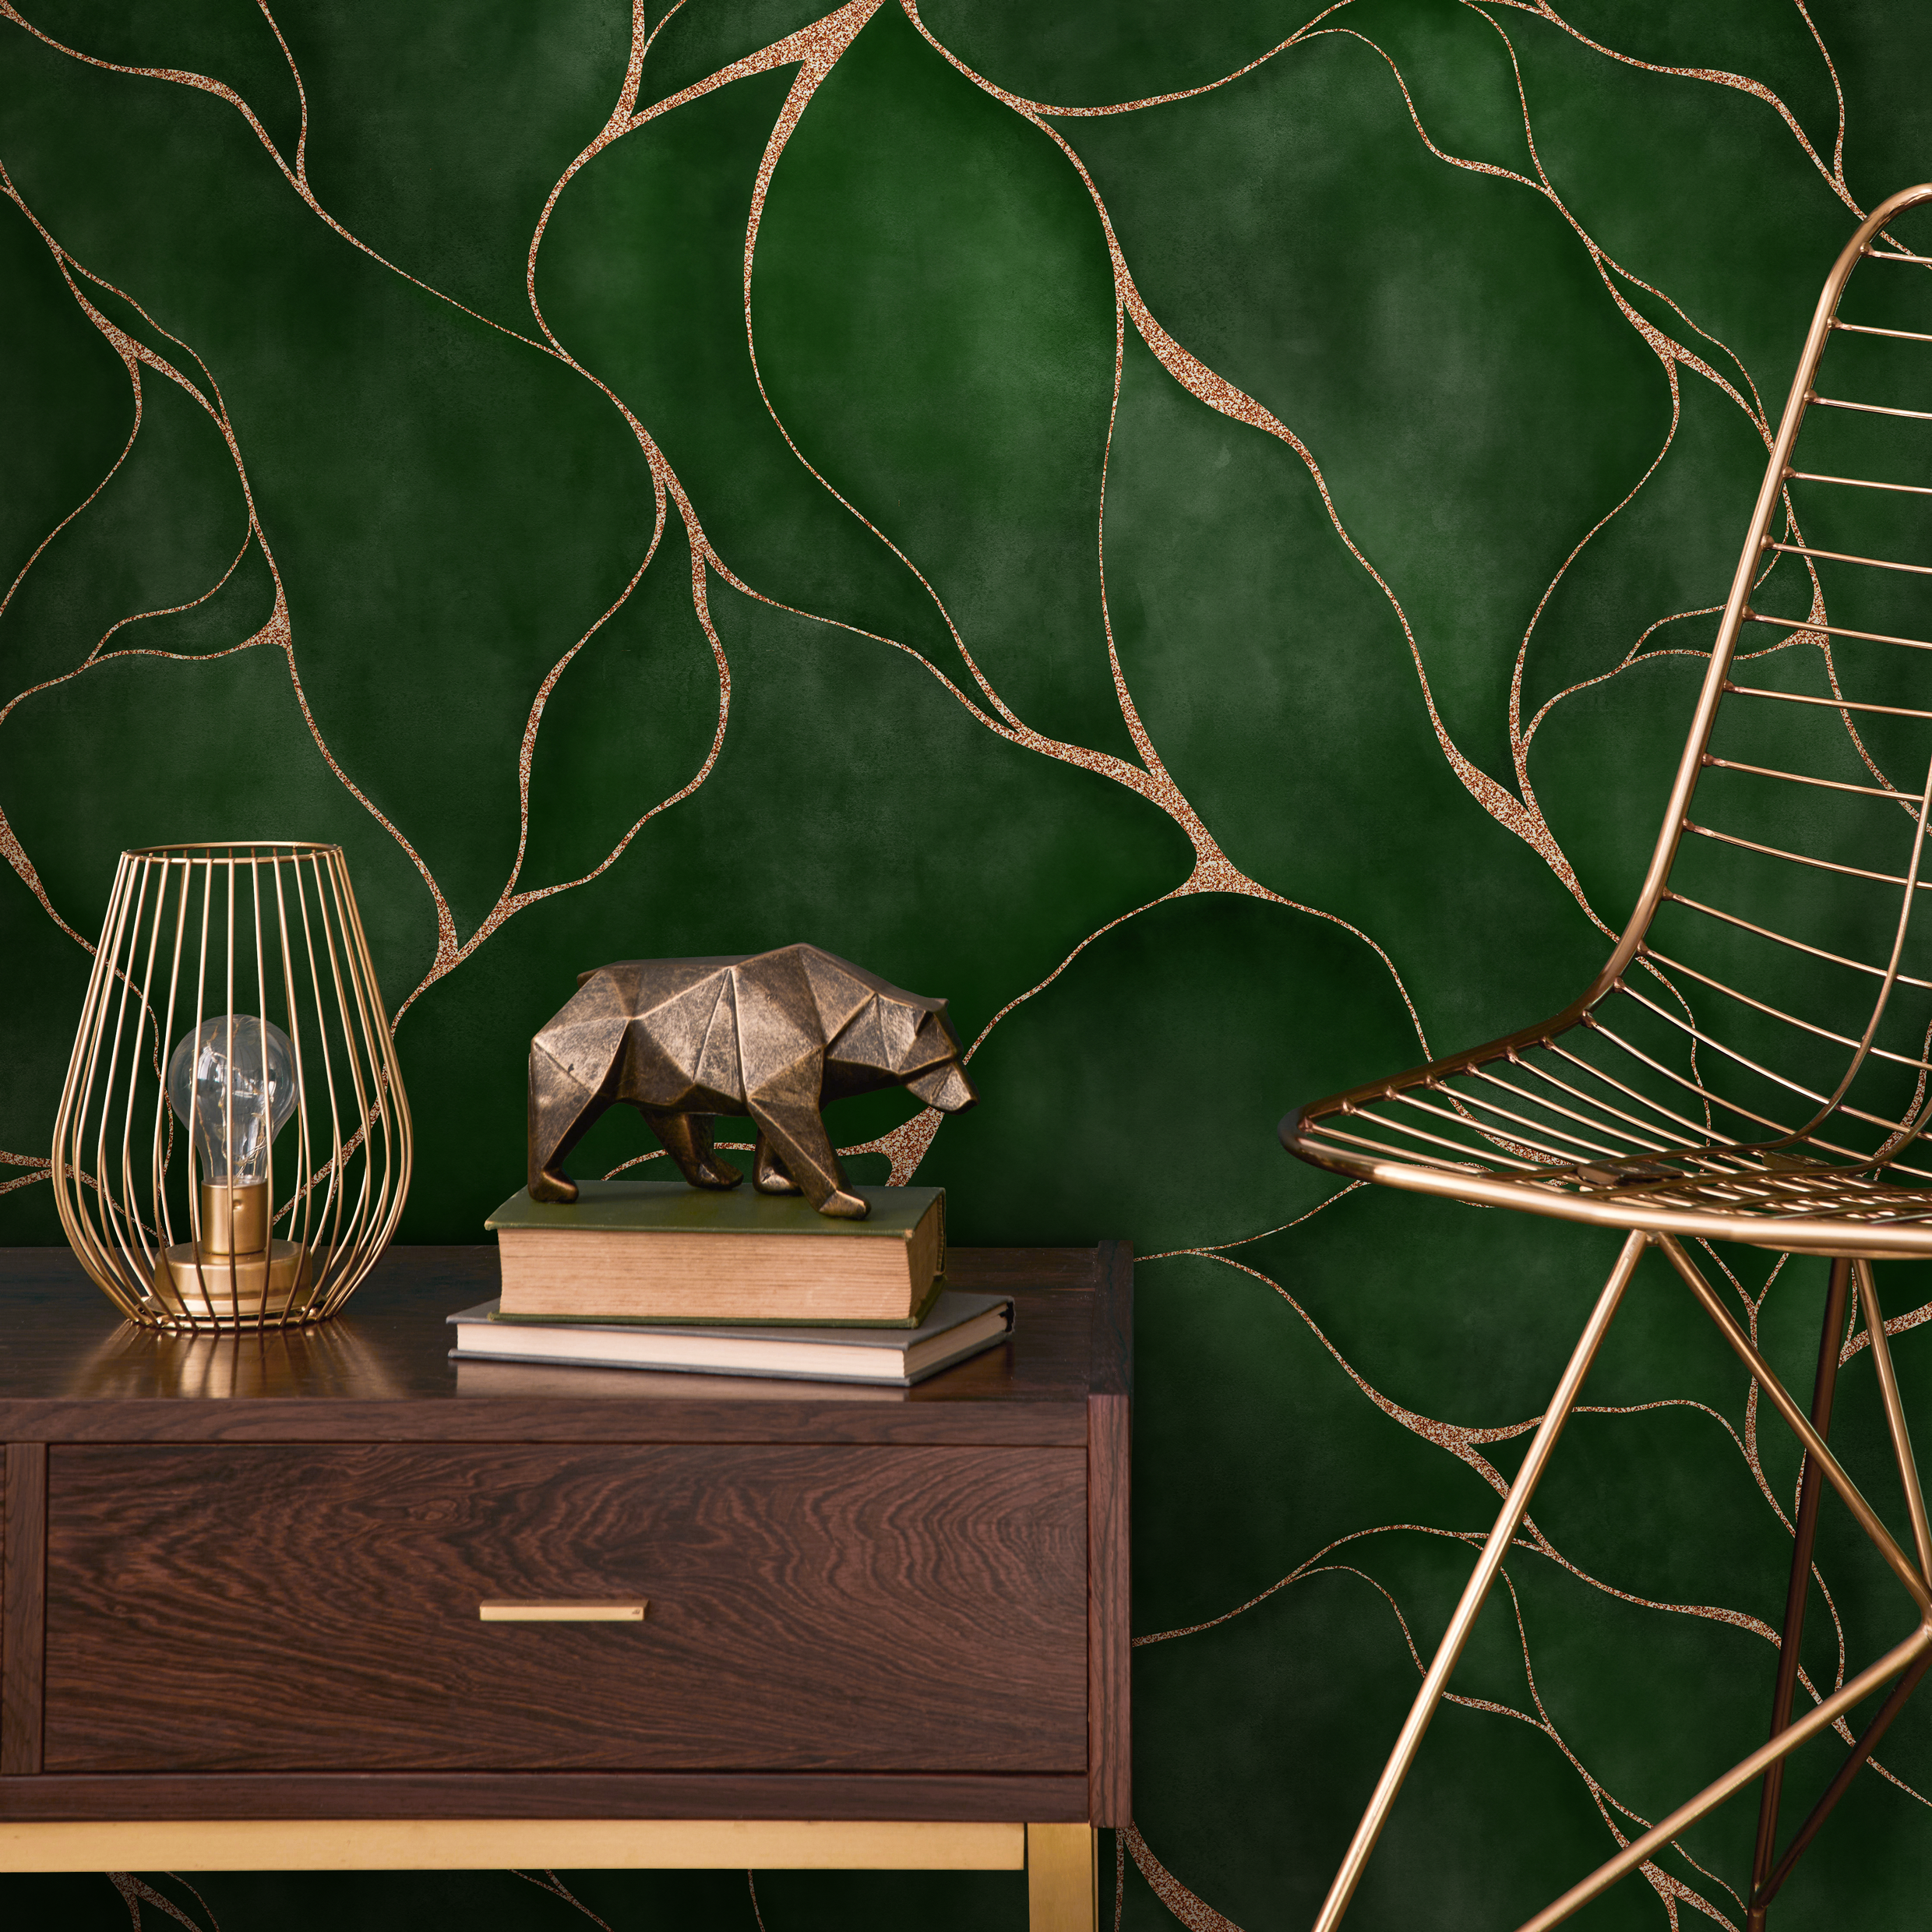

Can You Wallpaper Over Painted Wallpaper? A Step-by-Step Guide
Wallpapering over painted wallpaper is a unique home improvement task that can breathe new life into a room without the need to strip old wallpaper. This step-by-step guide will help you navigate the process, ensuring that you achieve a professional-looking finish. From evaluating the current wall conditions to applying new wallpaper and adding finishing touches, this guide covers all the essentials for a successful wallpaper-over-wallpaper project.
Key Takeaways
- Assess the condition of the painted wallpaper to determine if it's suitable for over-wallpapering, addressing any dampness or unsound surfaces beforehand.
- Gather all necessary supplies, including the right type of wallpaper, adhesives, paints, and tools for a smooth and seamless application.
- Prepare the room by moving furniture, protecting flooring, and ensuring the walls are clean, primed, and ready for the new wallpaper.
- Apply the new wallpaper meticulously, ensuring strips are cut and aligned correctly, and use color pens for seamless edges, as recommended by experts.
- Finish with professional touches by painting or sealing the wallpaper, using techniques like decorative glazing or dry brushing for an enhanced appearance.
Evaluating the Condition of Your Painted Wallpaper

Identifying Types of Paint and Wallpaper
Before we embark on the journey of transforming our space with new wallpaper, it's crucial to identify the types of paint and wallpaper currently adorning our walls. Understanding the existing materials is essential for ensuring compatibility with the new wallpaper and adhesives we plan to use.
- Paint Types: The type of paint on the wallpaper can affect adhesion. Glossy finishes may require sanding for better grip, while matte finishes might be more receptive to new wallpaper.
- Wallpaper Materials: From traditional paper-backed to modern peel-and-stick varieties, the material of the existing wallpaper will dictate the preparation needed.
It is imperative to assess whether the current wallpaper is stable and free of peeling or bubbling, as these issues could compromise the new application.
Lastly, we must consider the possibility of painted wallpaper that may have been applied to conceal imperfections. Such surfaces may need special attention to ensure that the new wallpaper adheres properly and looks seamless.
Assessing the Suitability for Over-Wallpapering
Before we embark on the journey of transforming our walls, it's crucial to assess the suitability of the existing painted wallpaper for over-wallpapering. We must ensure that the surface is clean, dry, and stable to support the new wallpaper. Any presence of dampness or unsound surfaces can lead to complications such as bleed through wallpaper, which may not be immediately apparent but can emerge over time, casting unwanted shadows on your beautiful new walls.
When considering over-wallpapering, it's imperative to address any issues with the current wall conditions. Absorbent surfaces, like newly plastered walls, require sizing to prevent the wallpaper adhesive from being absorbed too quickly, which can compromise the wallpaper's adhesion and appearance.
To achieve the best results, we recommend cross lining the walls with a quality lining paper. This process involves horizontally applying a midweight to heavyweight lining paper, which should be left to dry for at least 12 hours before the new wallpaper is hung. This step is essential for creating a smooth and even surface, especially if the existing paint is glossy or flaking.
Here is a checklist to help you determine if your walls are ready for over-wallpapering:
- Clean and dry surface free of dirt and old wallpaper
- No flaking paint or unsound surfaces
- Absorbent surfaces properly sized
- Glossy surfaces sanded for better adhesion
- Cross lined with quality lining paper for an even base
Addressing Damp or Unsound Surfaces
Before we embark on the transformative journey of wallpapering, it is crucial to address any damp or unsound surfaces. Damp walls require appropriate treatment to ensure a stable and receptive base for your new wallpaper. Similarly, surfaces previously painted with gloss or other non-absorbent finishes must be sanded to achieve a good key for the wallpaper to adhere properly.
When dealing with unsound surfaces, it is imperative to seal them with a priming product. This step cannot be overlooked as it guarantees the longevity and aesthetic quality of your wallpaper.
For a successful application, follow these preparatory steps:
- Treat damp walls with the correct method to prevent future issues.
- Sand glossy or non-absorbent painted surfaces to create a suitable texture for adhesion.
- Seal any unsound paint with a quality priming product.
- Size newly plastered or absorbent surfaces to ensure optimal wallpaper grip.
By meticulously preparing your walls, we set the stage for a wallpapering process that not only looks professional but also stands the test of time.
Gathering the Necessary Supplies and Tools

Choosing the Right Wallpaper and Adhesives
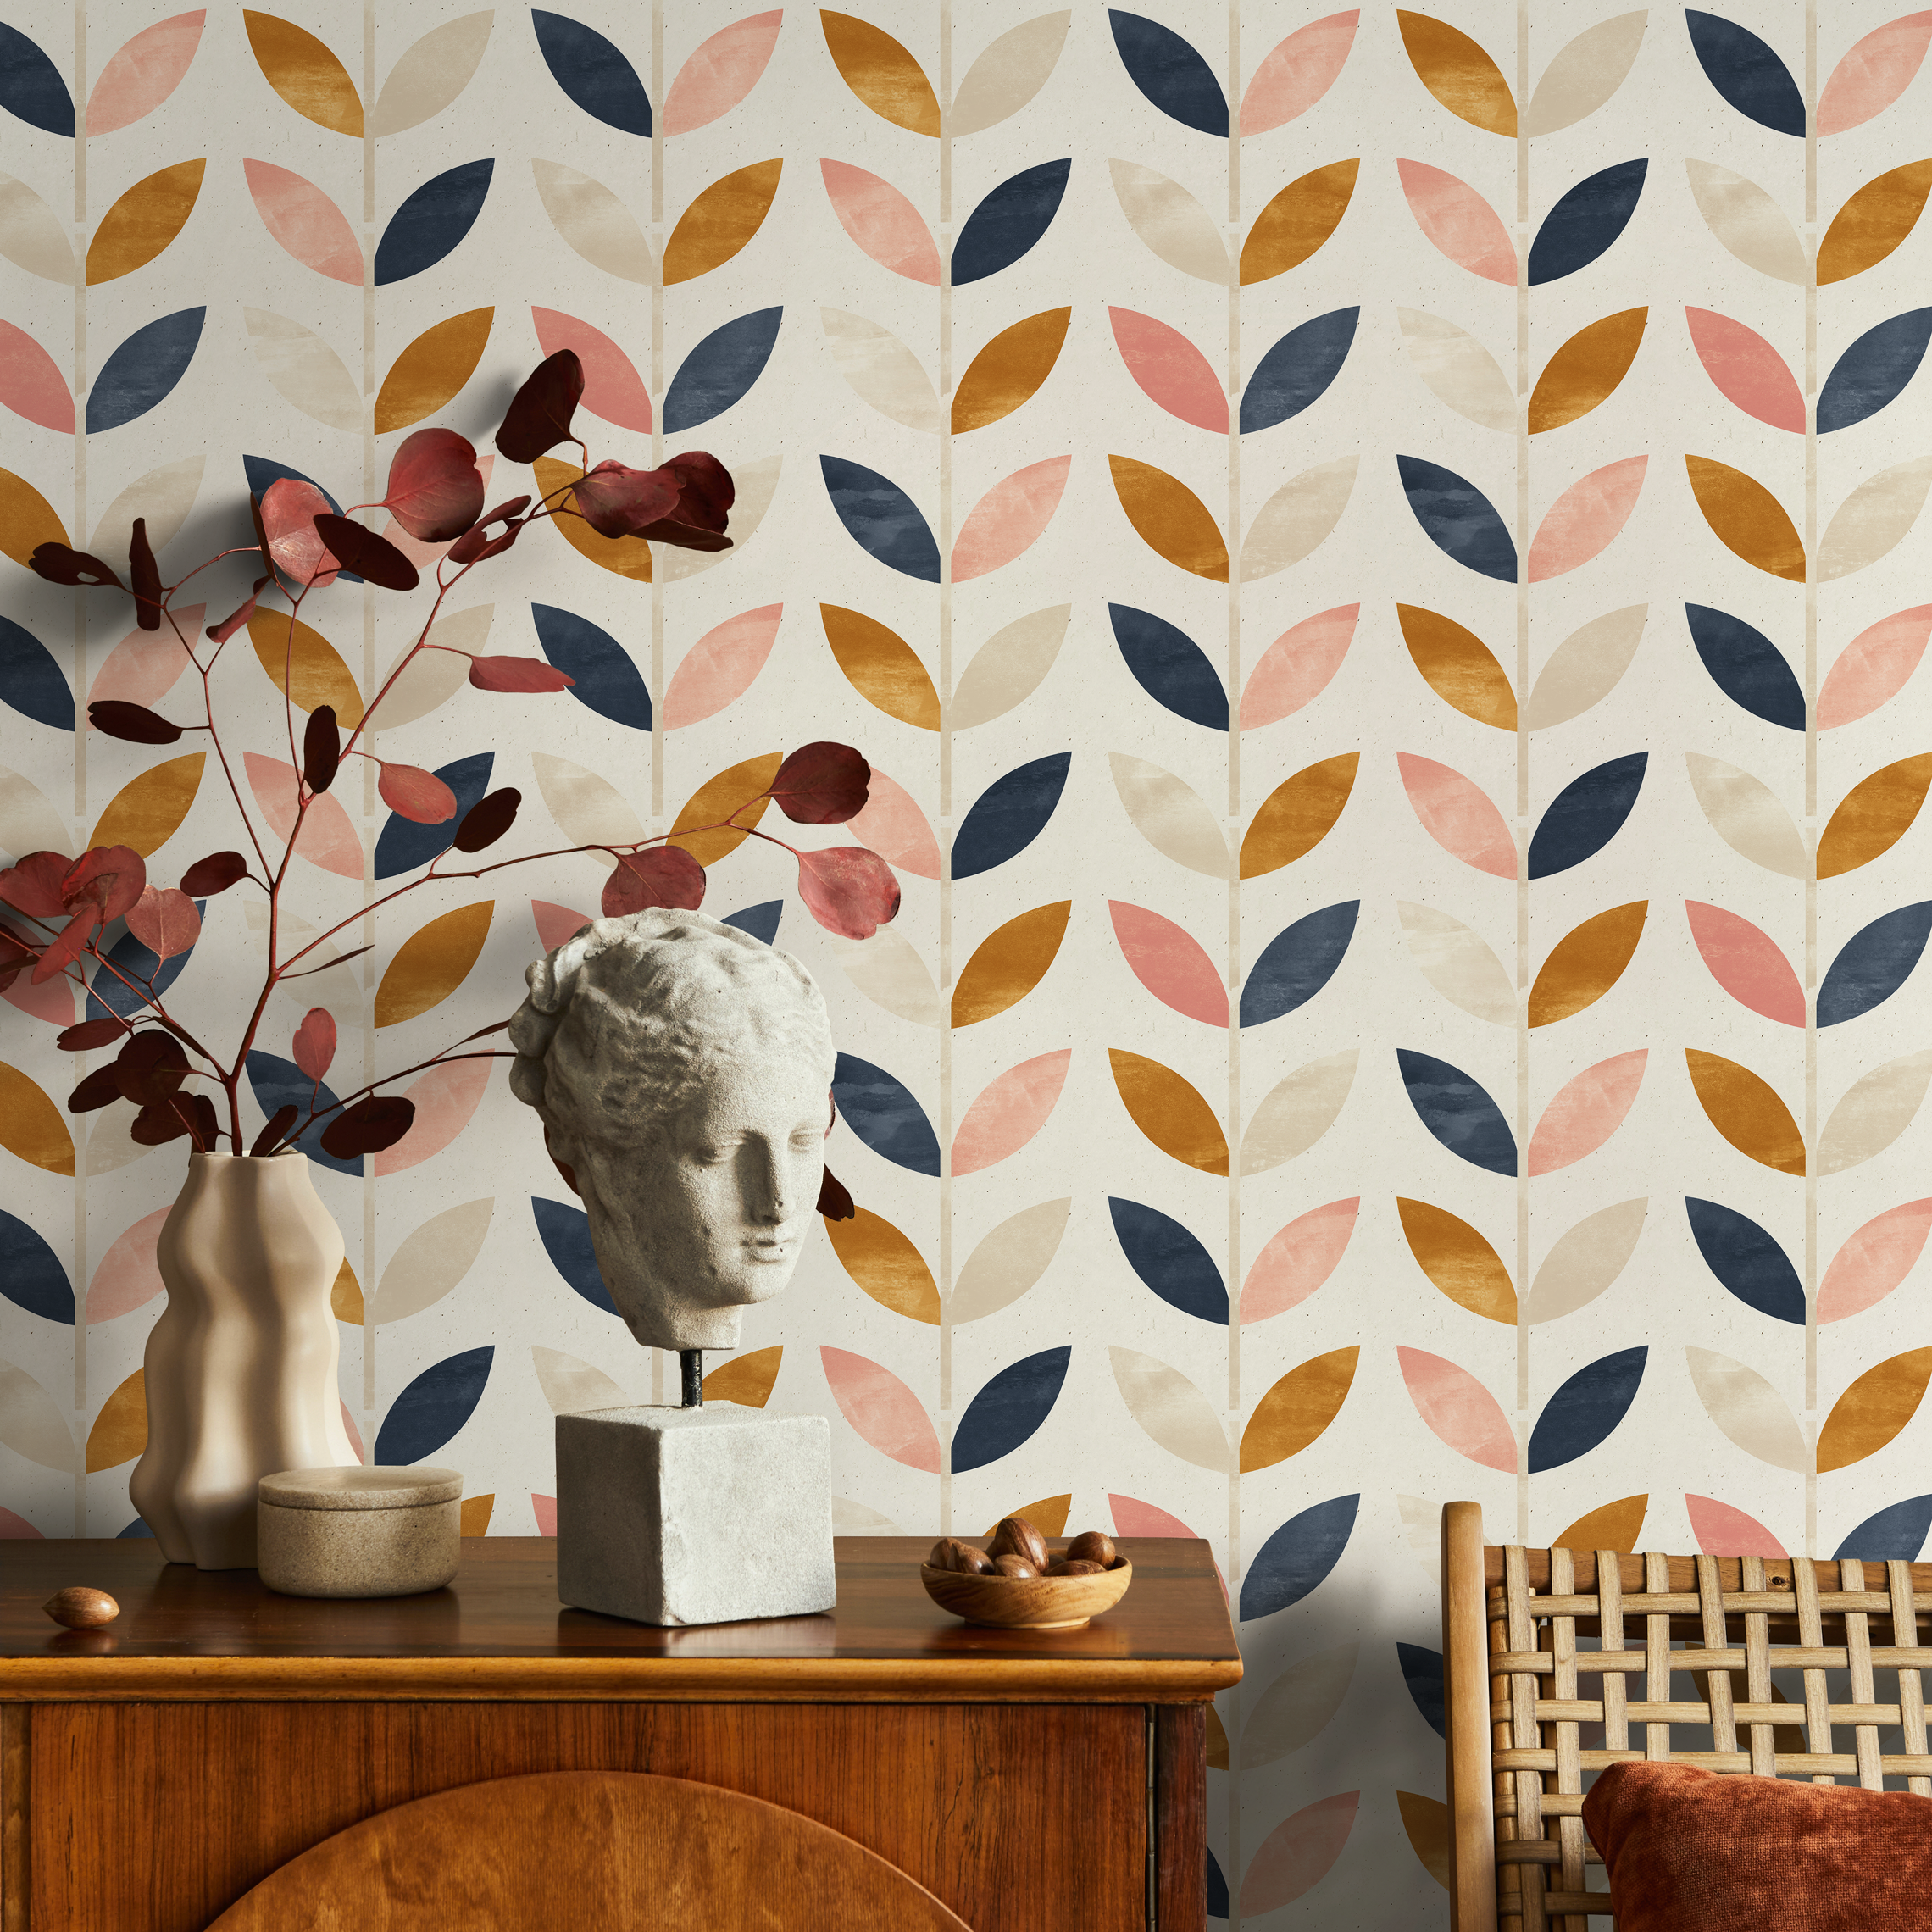
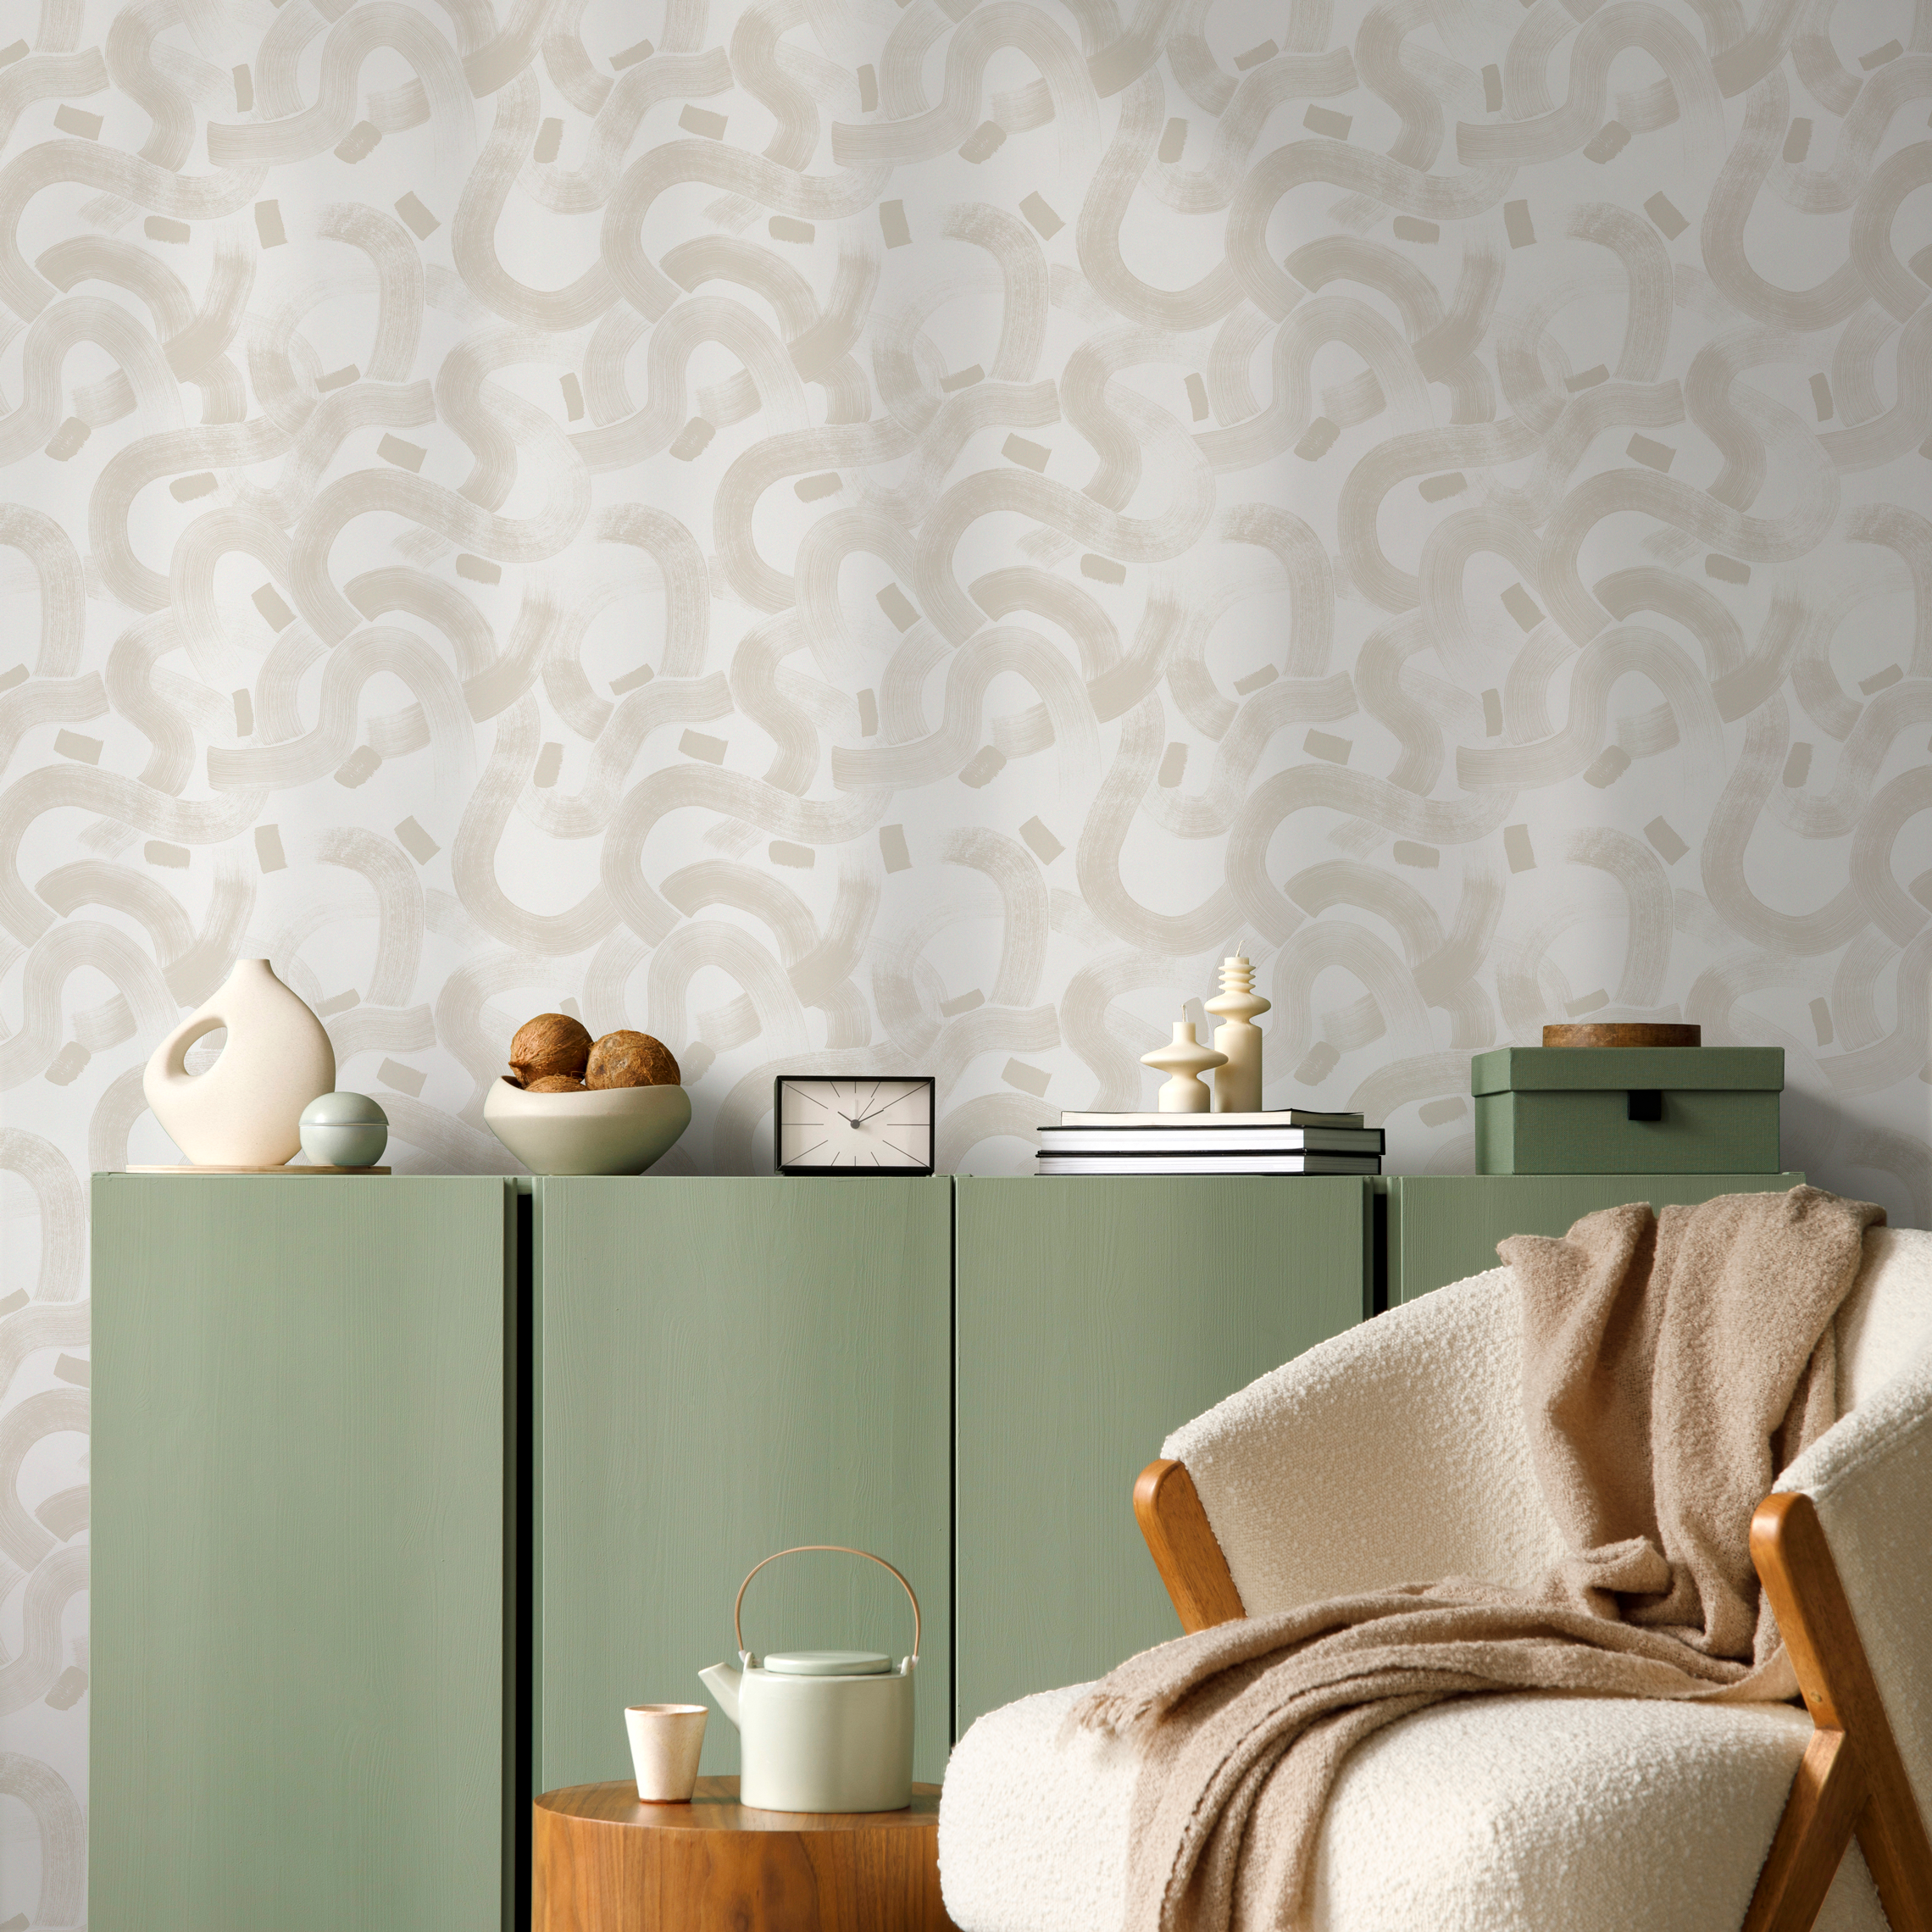
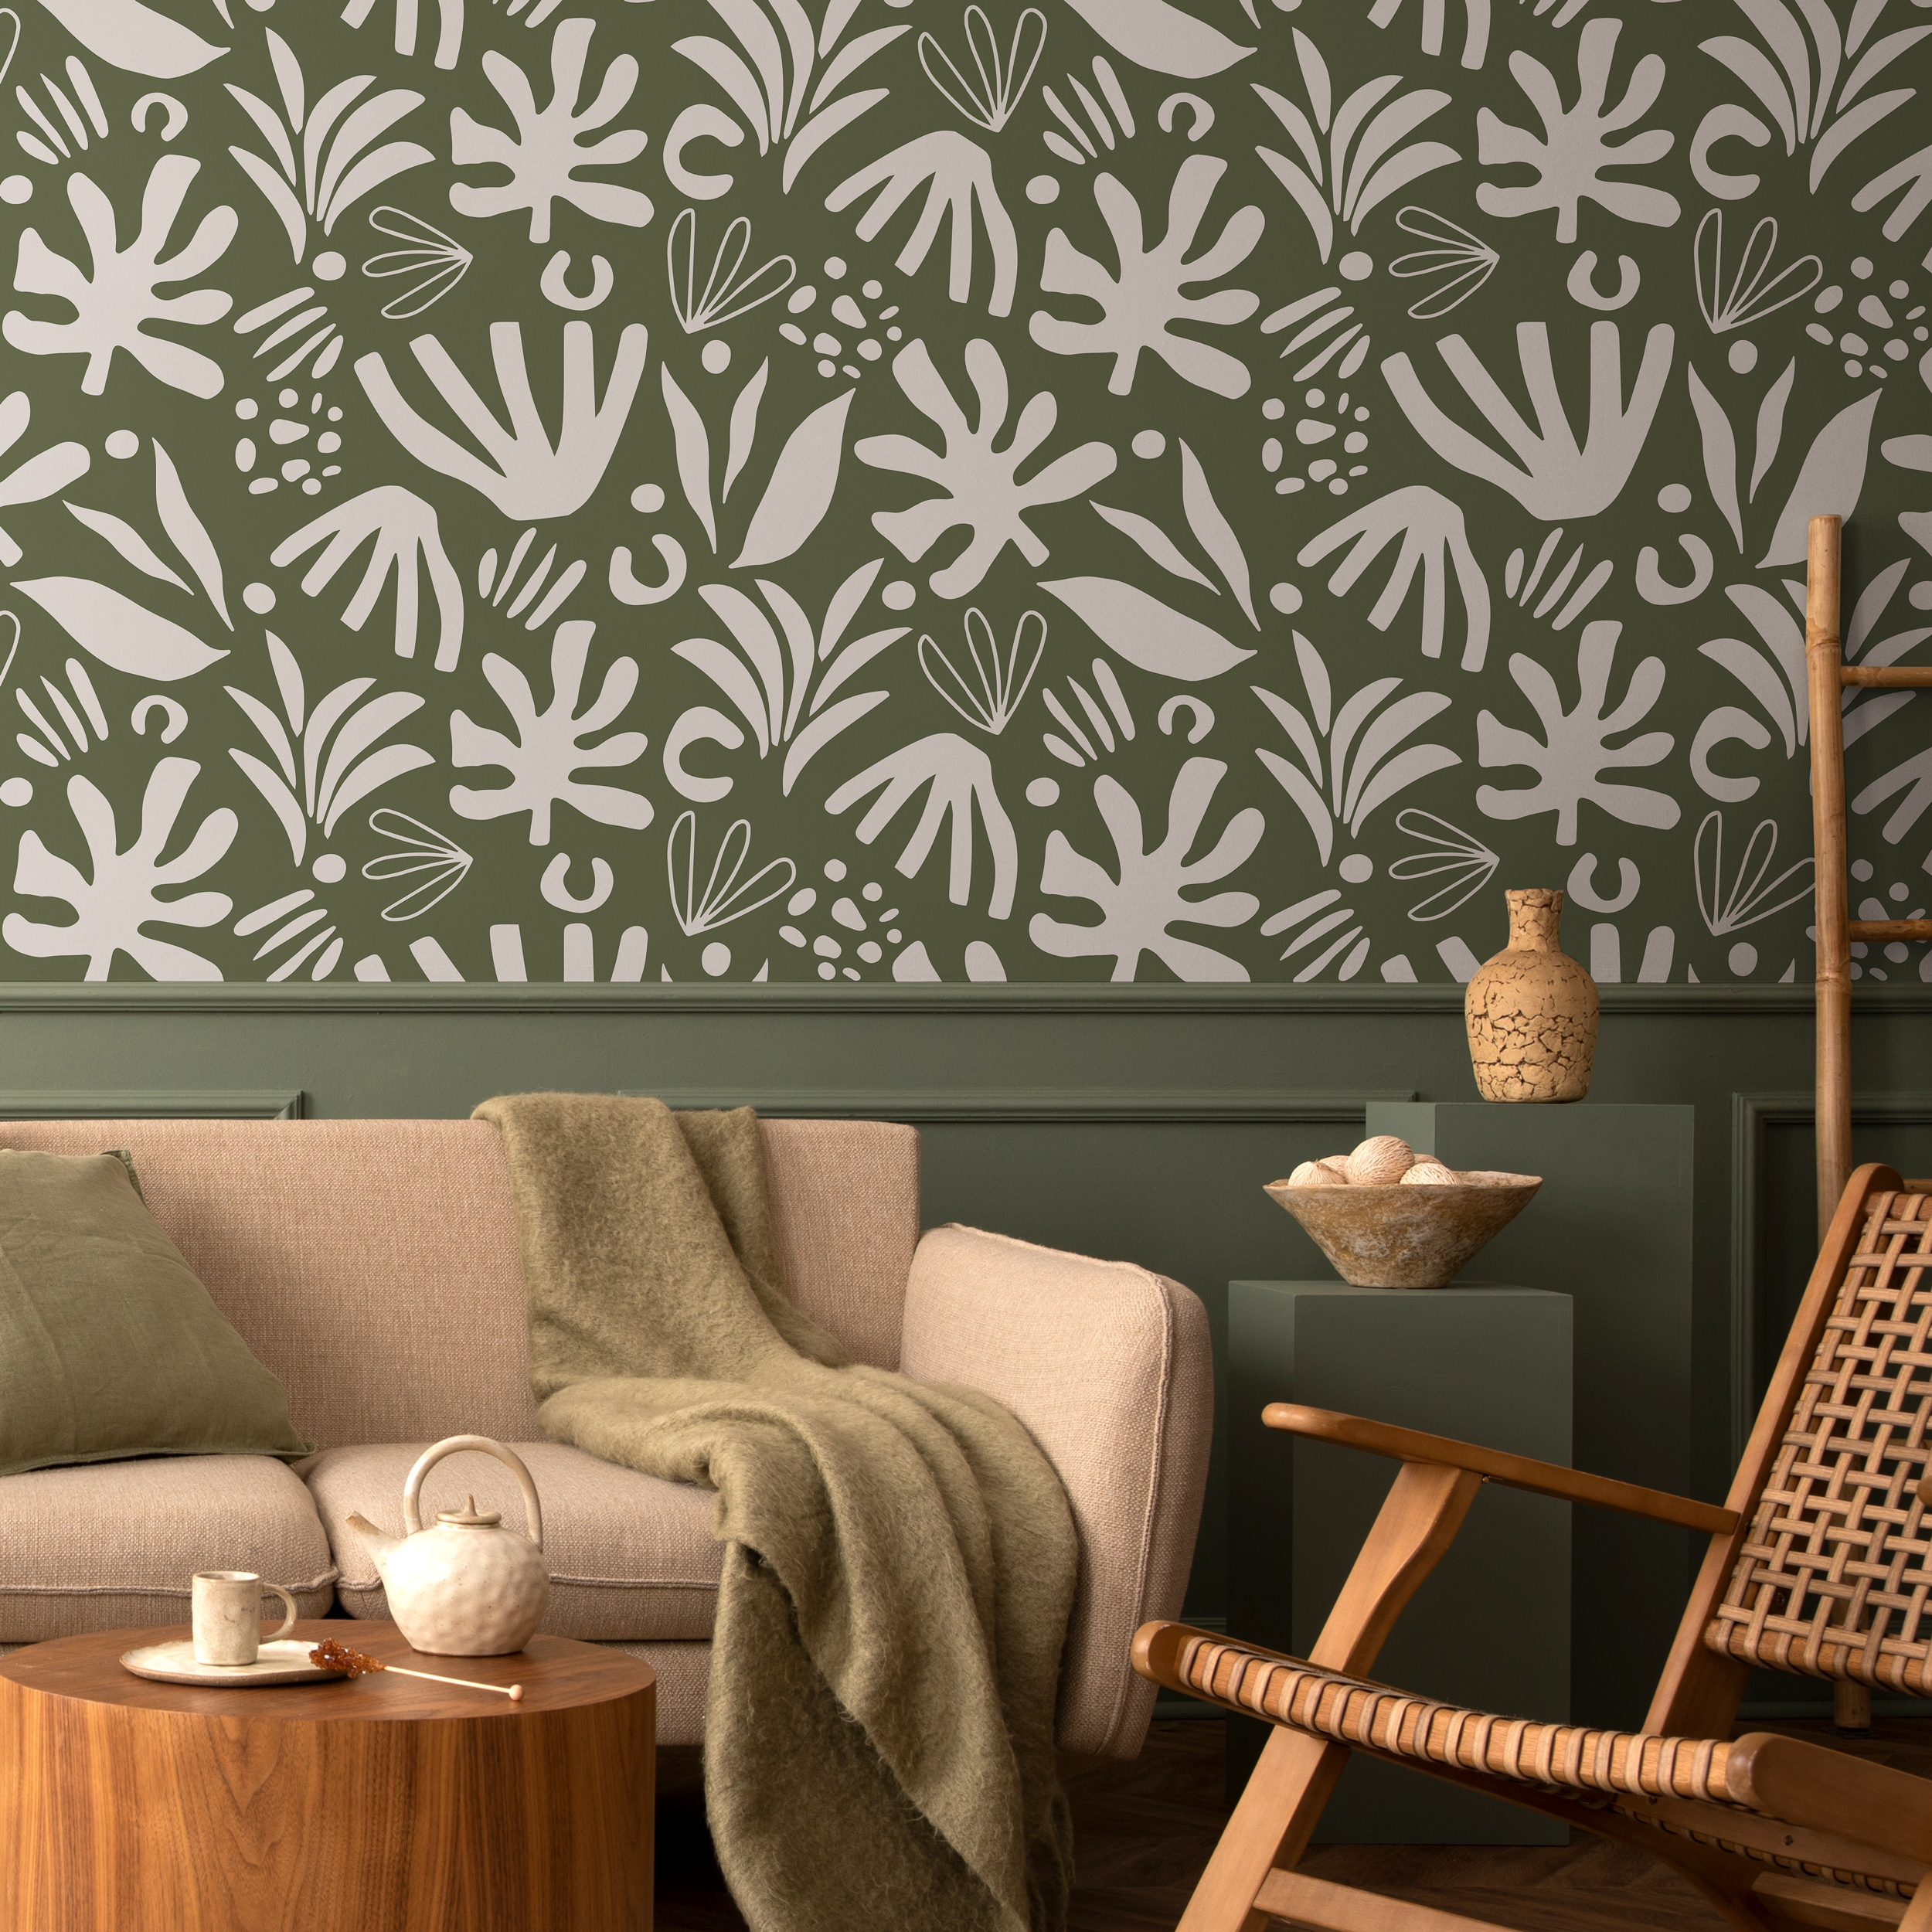
When we embark on the journey of wallpapering over painted surfaces, selecting the appropriate materials is crucial. The choice of wallpaper and adhesive will significantly impact the final outcome. For instance, non-woven paste-the-wall wallpapers are known for their resistance to expansion and contraction, making them a reliable choice for a lasting application.
It's essential to verify that the wallpaper rolls are undamaged and that the design and colorway match your expectations. If the rolls are batch numbered, it's advisable to hang them in consecutive order. Here's a simple list to help you choose the right wallpaper and adhesive:
- Opt for non-woven wallpapers for their dimensional stability
- Ensure rolls are undamaged and colors are consistent
- Avoid pre-pasted, paper-backed, solid-vinyl wallpapers due to potential instability
- Consider eco-friendly options, such as those printed with Canon Oce Colorado technology
When considering eco-friendly wallpaper options, it's beneficial to refer to a website page that offers technical details, roll height, and quantity guidance, as well as material options for peel and stick or traditional wallpaper.
Remember, the adhesive is just as important as the wallpaper itself. A good quality paste will ensure a smooth application and longevity of your wallpaper. Avoid pre-pasted options if you're looking for a more durable solution.
Selecting Paints and Primers for the Task
When we embark on the task of wallpapering over painted surfaces, the selection of paints and primers is crucial. We must ensure that the primer is compatible with both the existing paint and the new wallpaper adhesive. It's important to dilute the paint with water to avoid negating the primer's ability to hold down the seams effectively.
The type of paint finish we choose will affect the final appearance and durability of our project. Here's a simple guide to help us decide:
- Semi-Gloss: Highly durable and easy to clean, ideal for smooth surfaces.
- Eggshell or Satin: Offers a softer look with easy cleanup, suitable for high-traffic areas.
- Flat or Matte: Best for textured walls, as it is non-reflective and hides imperfections well.
We must remember that the right primer can make a significant difference in the wallpaper's adherence and longevity. A well-chosen primer will facilitate a smoother application and contribute to the overall success of our wallpapering endeavor.
In addition to the paint and primer, we'll need various tools and supplies for a professional finish. These include drop cloths, painter's tape, paint trays, brushes, and rollers. Each tool plays a part in ensuring a clean and precise application.
Essential Tools for a Smooth Application
To ensure a flawless finish when wallpapering over painted surfaces, we must equip ourselves with the right tools. The smoothing of wallpaper is not just about eliminating air bubbles; it's crucial for enhancing adhesion and expelling excess paste. A comprehensive toolkit is indispensable for this task.
- Smoothing tool or brush: To firmly press the wallpaper, ensuring it sticks properly.
- Seam roller: To flatten the seams and prevent peeling.
- Sharp utility knife: For precise cutting of excess wallpaper.
- Level and plumb line: To guarantee straight and aligned application.
- Sponge and bucket: For cleaning the wall and smoothing tool.
Remember, a well-prepared toolkit is the foundation of a successful wallpaper application. Without the proper tools, even the highest quality wallpaper can fail to adhere correctly, leading to unsatisfactory results.
As we gather our supplies, let's not forget the importance of quality. Browse our range of essential tools for wallpapering today to find everything from adhesives and wallpaper accessories to wallpapers and murals.
Preparing the Room and Walls for Wallpapering

Moving Furniture and Protecting Flooring
Before we embark on the transformative journey of wallpapering over painted surfaces, it is imperative to prepare the room meticulously. We begin by relocating all furniture either out of the room or towards the center, safeguarding it from any potential damage during the process. Ensuring a clear workspace is not only conducive to efficiency but also prevents any accidental damage to your belongings.
Once the furniture is positioned safely, our next step is to protect the flooring. For this purpose, we recommend utilizing drop cloths or plastic sheeting. A practical tip we've discovered is the use of inexpensive plastic shower curtain liners as an alternative to traditional canvas drop cloths. They are not only cost-effective but also easy to fold and store post-application.
- Position furniture centrally or remove from room
- Use drop cloths or plastic sheeting to protect floors
- Consider plastic shower curtain liners for a budget-friendly option
It is essential to cover the flooring adequately, extending the protective materials by at least 12 to 18 inches beyond the area to be wallpapered. This precaution ensures that any stray adhesive or debris does not mar your flooring, maintaining the pristine condition of your space.
Cleaning and Priming the Walls
Before we proceed with the wallpaper application, it is crucial to prepare the walls to ensure a smooth and lasting finish. We begin by thoroughly cleaning the walls to remove any dust, dirt, or grease. A mild detergent solution is often sufficient for this task, and we make sure to wipe down the walls with care. After cleaning, the walls must be completely dry before moving on to the next step.
Priming the walls is an essential part of the process. A good primer seals the surface, providing a stable foundation for the wallpaper adhesive. It prevents the paste from being absorbed too quickly by the wall, which can compromise the wallpaper's adhesion. We recommend using a primer like Gardz for its ability to penetrate and bind materials together, creating a hard, durable surface.
It is important to note that priming is especially necessary if you are transitioning from a darker to a lighter wallpaper, or if the room has high moisture, like in kitchens or bathrooms.
Lastly, ensure that all furniture is moved and the floors are covered to protect against any drips or spills during the priming process. Once the primer has been applied and allowed to dry according to the manufacturer's instructions, the walls will be ready for the wallpaper application.
Techniques for Masking and Taping Edges
When we embark on the task of wallpapering over painted surfaces, meticulous preparation of edges is crucial. We must ensure that all edges are taped properly to facilitate easy trimming and to achieve a clean, sharp finish. Begin by applying tape to the borders around areas that will be wallpapered, pressing firmly to secure the tape and prevent wallpaper paste from seeping underneath.
To achieve the best results, we recommend using a finish roller and finish paint to spot-prime areas where drywall mud has been used. This step ensures a smooth surface before we proceed with wallpapering.
Additionally, it's essential to protect the flooring and baseboards. Here's a simple list to guide you through this process:
- Lay down drop cloths to cover the floor, extending at least 12 to 18 inches from the wall.
- Use white painter's tape to secure the drop cloths and protect the baseboards, especially if carpet is present.
- Tuck the tape between the carpet and baseboard to conceal any potential cut lines after painting.
By adhering to these techniques, we create a safeguarded workspace that allows for a seamless application of the new wallpaper.
Applying Wallpaper Over Painted Surfaces

Cutting and Aligning Wallpaper Strips
When we embark on the task of wallpapering over a painted surface, precision in cutting and aligning the wallpaper strips is paramount. We must ensure that each strip is measured and cut meticulously to fit the intended space. This is where a laser level can be an invaluable tool, allowing us to mark the exact locations for our seams, especially when working with non-woven wallpapers that do not expand significantly.
To minimize the visibility of seams, we can adopt a technique known as banding. This involves painting vertical stripes on the wall where the wallpaper panels will meet. The color of these stripes should closely match the wallpaper to camouflage any potential discrepancies.
Here are the steps we follow for a seamless alignment:
- Measure the wall and calculate the width of each wallpaper panel.
- Use a laser level to mark the wall where the seams will align.
- Paint stripes (banding) on the wall in the color of the wallpaper.
- Cut the wallpaper strips to the precise measurements.
- Align the first strip with the marked line and ensure it is straight.
- Proceed with the subsequent strips, checking alignment with the previous one.
By adhering to these steps, we can significantly reduce the chances of misalignment and create a professional-looking finish.
Seamless Application and Edge Coloring
Once we have aligned our wallpaper strips meticulously, the next step is to ensure a seamless application. This involves careful smoothing to eliminate air bubbles and prevent the edges from lifting. We must pay particular attention to the edges, as they are prone to showing if not handled correctly.
To address the common issue of white edges on darker wallpapers, we've adopted a simple yet effective technique. By coloring the edges with a crayon or chalk that matches the wallpaper, we can significantly reduce the visibility of seams. This step is crucial for non-woven wallpapers, which are thicker and less likely to shrink, making their edges more conspicuous.
It is essential to color the edges from behind the wallpaper to avoid marking the visible surface. If any coloring material does get on the front, it should be wiped off immediately to maintain a clean look.
Remember, the goal is to achieve a professional finish, where the joins between strips are virtually undetectable. The table below outlines the tools we use for edge coloring and their respective purposes:
| Tool | Purpose |
|---|---|
| Crayon | Coloring white edges of dark wallpapers |
| Chalk | Coloring edges of non-woven wallpapers |
| Water color marker | Minimizing visible seams |
By following these steps and utilizing the right tools, we ensure that the final appearance of our wallpaper is impeccable, with no distracting lines or gaps.
Drying and Setting: Patience for Perfection
After meticulously aligning and applying our wallpaper, we must now exercise patience. Allow the wallpaper to dry as naturally as possible for 48 hours in a well-ventilated space. This crucial step ensures that the adhesive sets properly and the wallpaper adheres smoothly to the surface without any uneven drying issues.
During this period, we recommend avoiding any unnecessary heating or cooling that could affect the drying process. It's not just about preventing any sort of uneven drying issues; it's about ensuring that all elements are on our side for a flawless finish.
To achieve the best results, we should also smooth the wallpaper thoroughly. This is not only to eliminate air bubbles but also to apply sufficient pressure to increase the tack and push any excess paste out at the edges.
Finally, if any paste does ooze out at the seams, gently wipe it off with a soft cloth. And remember, some wallpapers, particularly the peel-and-stick variety, may require acclimation to the room's climate—always check the manufacturer's instructions.
Finishing Touches for a Professional Look

Painting and Sealing Over Wallpaper
Once we have successfully applied the new wallpaper over the painted surface, our next step is to ensure its longevity and aesthetic appeal through painting and sealing. We must carefully select the right type of paint and sealant to complement the wallpaper and ensure a durable finish.
For a professional look, we recommend starting with a base coat of General Finishes Milk paint in Linen, followed by a sealant such as High-Performance Flat. This combination not only enhances the wallpaper's appearance but also protects it from wear and tear.
To hide wallpaper seams effectively when painting, apply joint compound over them and sand thoroughly until smooth. This will create a seamless look that can be further perfected with two layers of paint and sealant.
Finally, for an added touch of sophistication, consider using decorative glazing techniques such as Van Dyke Brown or a dry brush application of Champagne pearl effects on textured sections of the wallpaper. These methods will not only cover any imperfections but also add depth and character to your walls.
Decorative Glazing and Dry Brush Techniques
After we've applied the wallpaper and it's fully adhered to the wall, we turn our attention to the finer details that will elevate the overall appearance. Decorative glazing and dry brush techniques can add depth and character to the wallpaper, creating a bespoke finish that truly stands out.
For a subtle yet impactful effect, we recommend using a glaze over the wallpaper. This technique involves applying a thin, transparent layer of color that enhances the wallpaper's design. The glaze should be applied sparingly and with a soft, dry brush to avoid saturating the wallpaper and to achieve that coveted artisan touch.
When using the dry brush technique, it's essential to remove excess paint from the brush before lightly dragging it across the wallpaper's surface. This will highlight the textures and patterns without overwhelming them.
To ensure consistency and high color quality, we often refer to eco-friendly wallpaper options that utilize advanced printing technology. These wallpapers not only provide a stunning backdrop but also contribute to a healthier environment. For those interested, a visit to our website page will offer details on design, roll height, quantity, and materials for both peel and stick or traditional wallpaper options.
Maintaining and Cleaning Your New Wallpaper
Once our new wallpaper is perfectly applied and the room is brought back to life, maintaining the pristine condition of the wallpaper is crucial for long-term satisfaction. Regular cleaning and careful maintenance will ensure the wallpaper remains as vibrant and intact as the day it was installed.
To keep the wallpaper in top condition, we recommend a gentle cleaning routine:
- Dust the wallpaper regularly using a soft, lint-free cloth or a duster.
- For light stains, a damp sponge can be used, taking care not to oversaturate the paper.
- Avoid using harsh chemicals or abrasive cleaners that could damage the wallpaper's surface.
In the event of more stubborn stains, it's advisable to consult the wallpaper manufacturer's guidelines for specific cleaning instructions.
Remember, the key to longevity is gentle care. By adhering to these simple practices, we can preserve the beauty and integrity of our wallpaper for years to come.
Conclusion
In conclusion, wallpapering over painted wallpaper is not only feasible but can also be a rewarding DIY project. With the right tools, preparation, and attention to detail, you can transform your space with a fresh, new look. Remember to test techniques like color matching seams and using paintable wallpaper on furniture in inconspicuous areas first. Whether you're covering up damage, adding texture, or simply craving a change, the steps outlined in this guide will help you achieve professional-looking results. Embrace the challenge and enjoy the creative process of making your walls truly your own.
Frequently Asked Questions
Can you wallpaper over painted wallpaper?
Yes, it's possible to wallpaper over painted wallpaper, but it requires proper assessment of the wall's condition, suitable supplies, and careful preparation and application techniques.
How do you assess if painted wallpaper is suitable for over-wallpapering?
Examine the existing wallpaper for damage, peeling, or dampness. Ensure the surface is sound and the paint isn't glossy, as it may need sanding for better adhesion.
What supplies are needed to wallpaper over a painted surface?
You'll need the new wallpaper, appropriate adhesives, primers if necessary, and tools for application such as brushes, rollers, and a wallpaper smoother.
How do you prepare walls for applying new wallpaper over painted wallpaper?
Move furniture, protect flooring, repair any wall damage, clean the walls, and apply primer if needed to ensure the best adhesion for the new wallpaper.
What is the best way to hide seams when wallpapering over a painted surface?
Use water color pens to color the seams, wiping away excess with a damp cloth. This technique makes seams less visible and should be tested in an inconspicuous area first.
Can you paint and seal over the newly applied wallpaper for a professional finish?
Yes, you can paint and seal over the new wallpaper. Use a suitable paint like General Finishes Milk Paint, seal it with a flat finish, and apply glazing or dry brush techniques for texture.
Share