


Transforming Bumpy Walls: Unveiling the Secrets to Wallpaper Application Success
In the world of interior design, the condition of your walls can make or break the overall aesthetic of your home. One particular challenge that homeowners often encounter is figuring out how to apply wallpaper on bumpy walls. This task can seem daunting and complicated, but with the right knowledge and materials, it's entirely possible to transform your textured walls into a sleek and stylish surface.
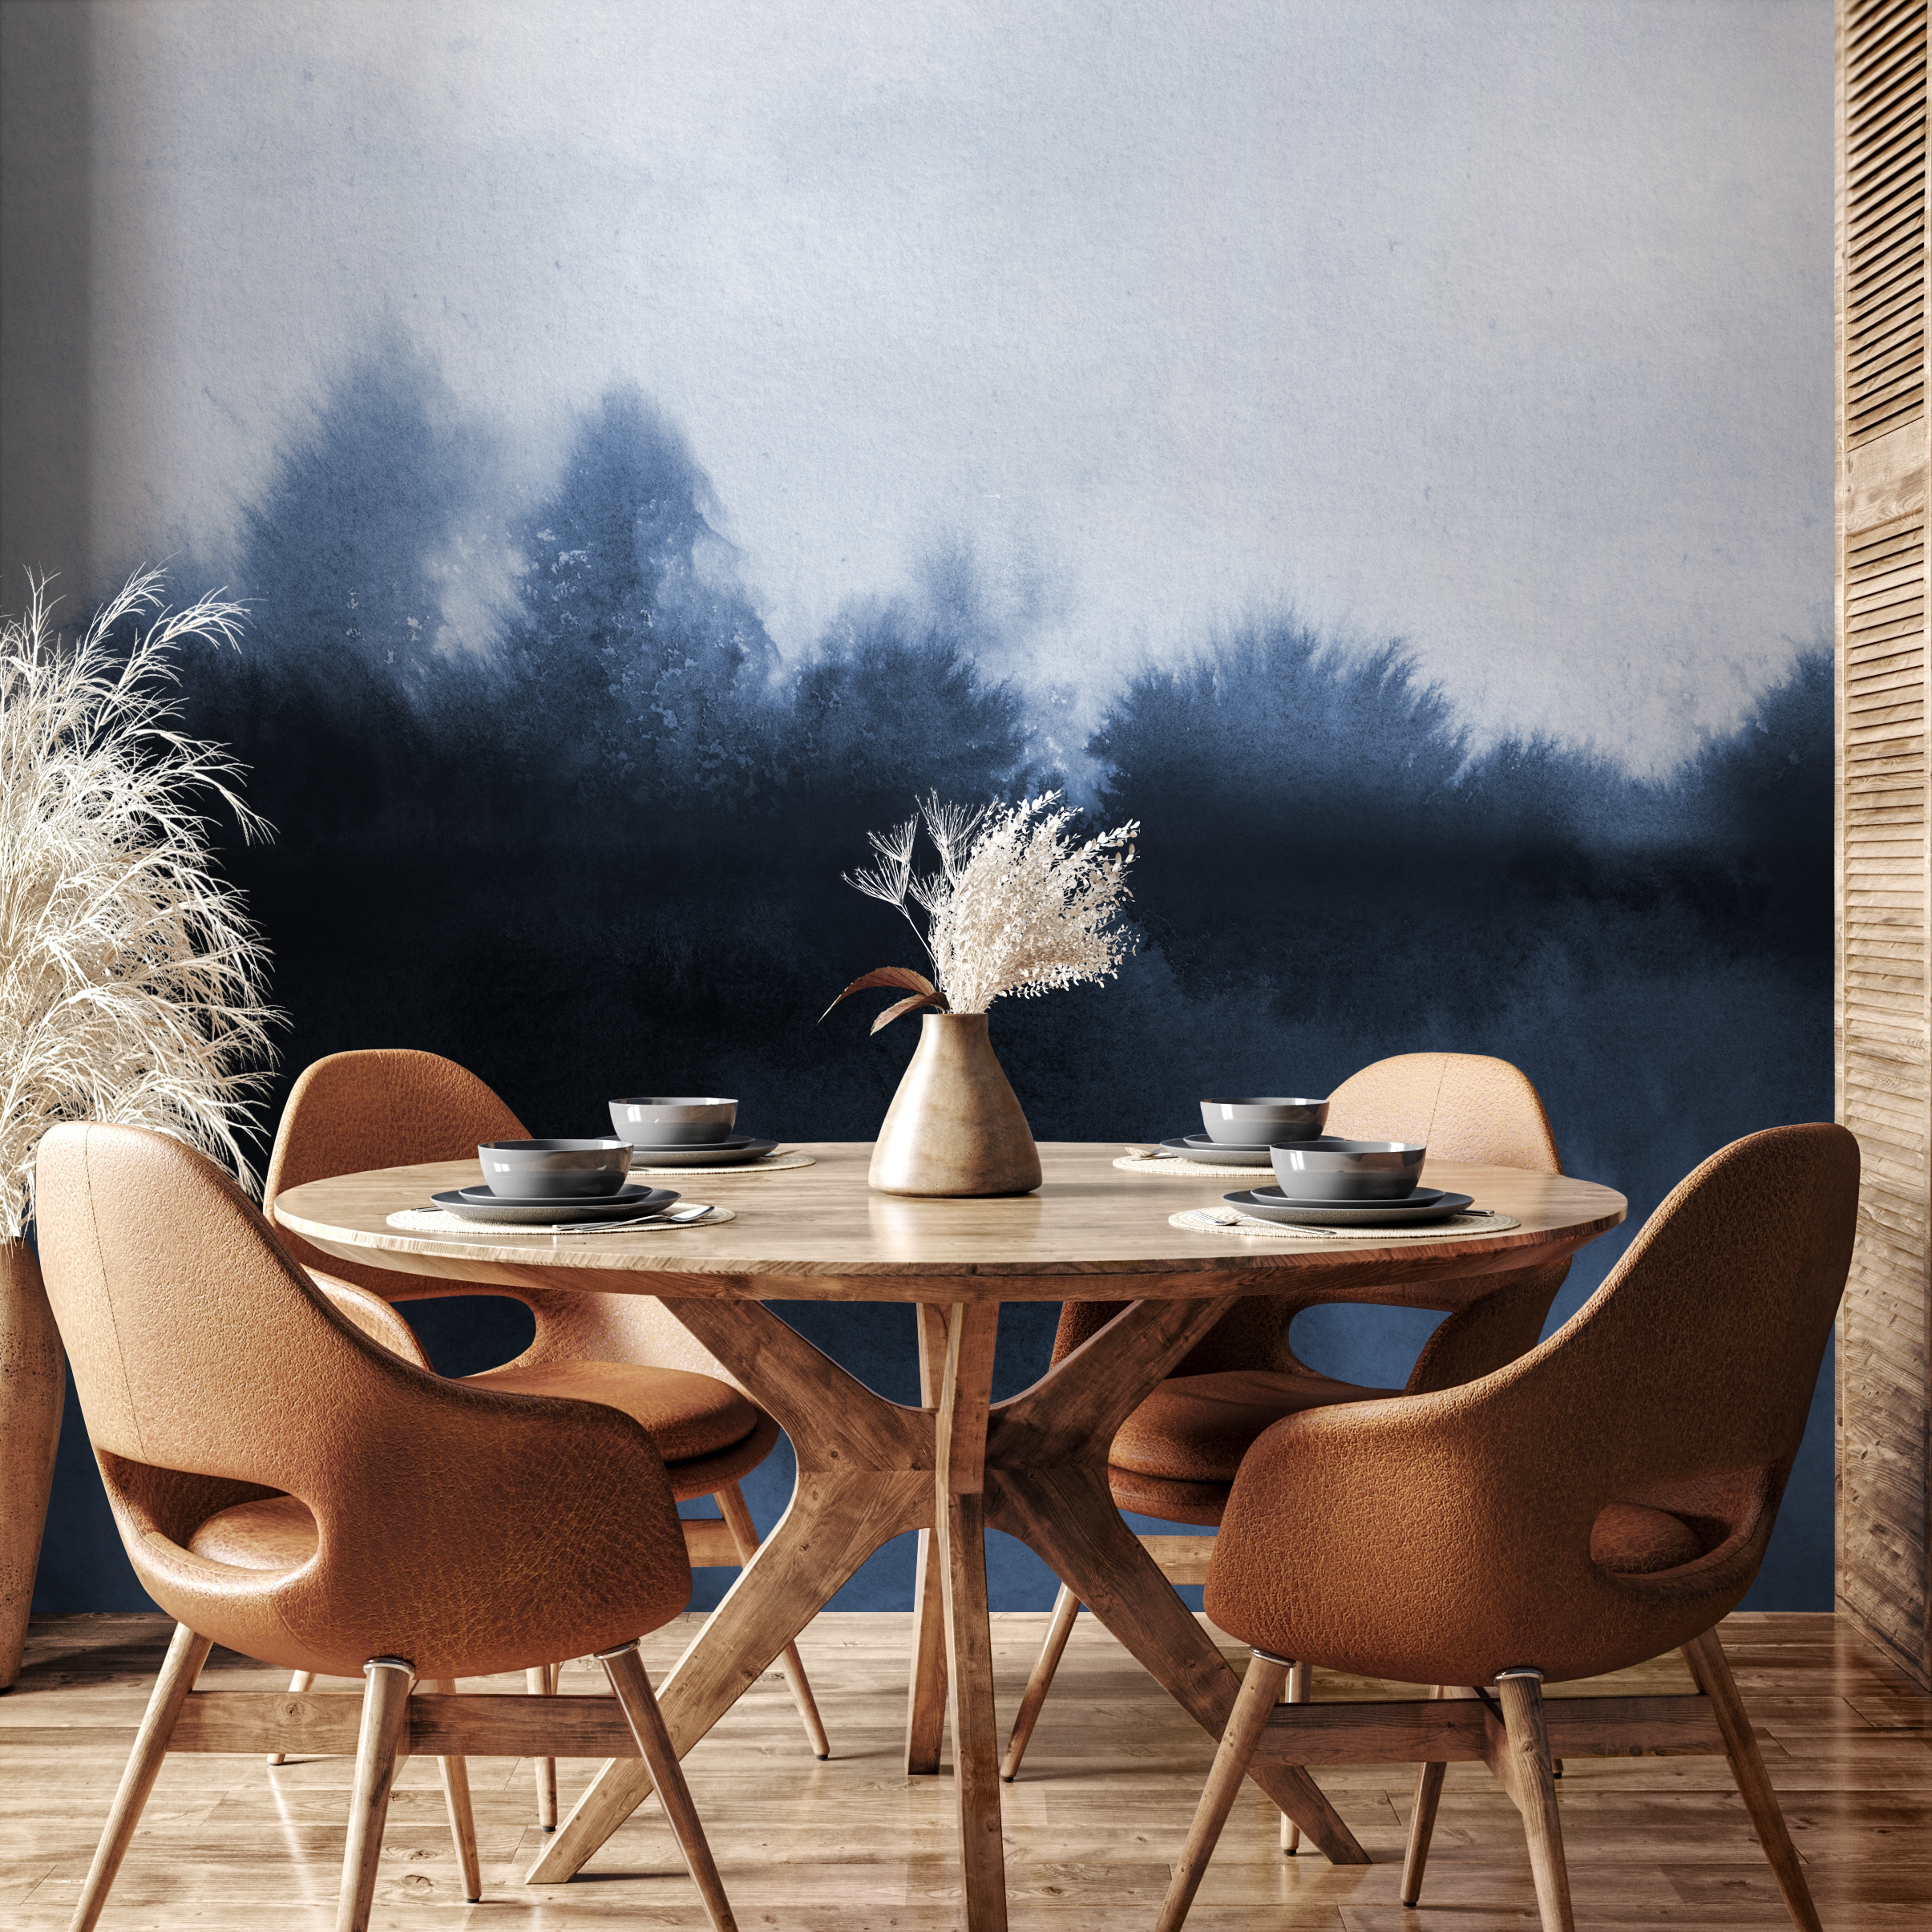
Wallpapers are an excellent way to add a touch of personality and elegance to your home. However, when it comes to textured or bumpy walls, many homeowners are left wondering, "Can you put wallpaper on textured walls?" The answer is yes, but it requires a bit more preparation and the right materials to ensure a smooth and durable finish.
In this guide, we will unravel the secrets to successful wallpaper application on textured walls. We'll explore the different types of wall textures, how they impact wallpaper application, the importance of preparing your walls, and how to choose the right wallpaper for your needs. So, whether you're dealing with light orange peel textures or more pronounced popcorn and knockdown textures, we've got you covered. Let's dive in and transform those bumpy walls into a stunning canvas for your chosen design.
Understanding Wall Textures and Their Impact on Wallpaper Application
Textured walls may add a unique aesthetic element to your home, but when it comes to applying wallpaper, they can pose some challenges. To ensure a successful outcome, it is important to understand the different types of wall textures and how they can impact the application and appearance of your wallpaper.
The Different Types of Wall Textures: Orange Peel, Popcorn, and Knockdown
When we talk about textured walls, there are three common types that you might encounter in your home: Orange Peel, Popcorn, and Knockdown.
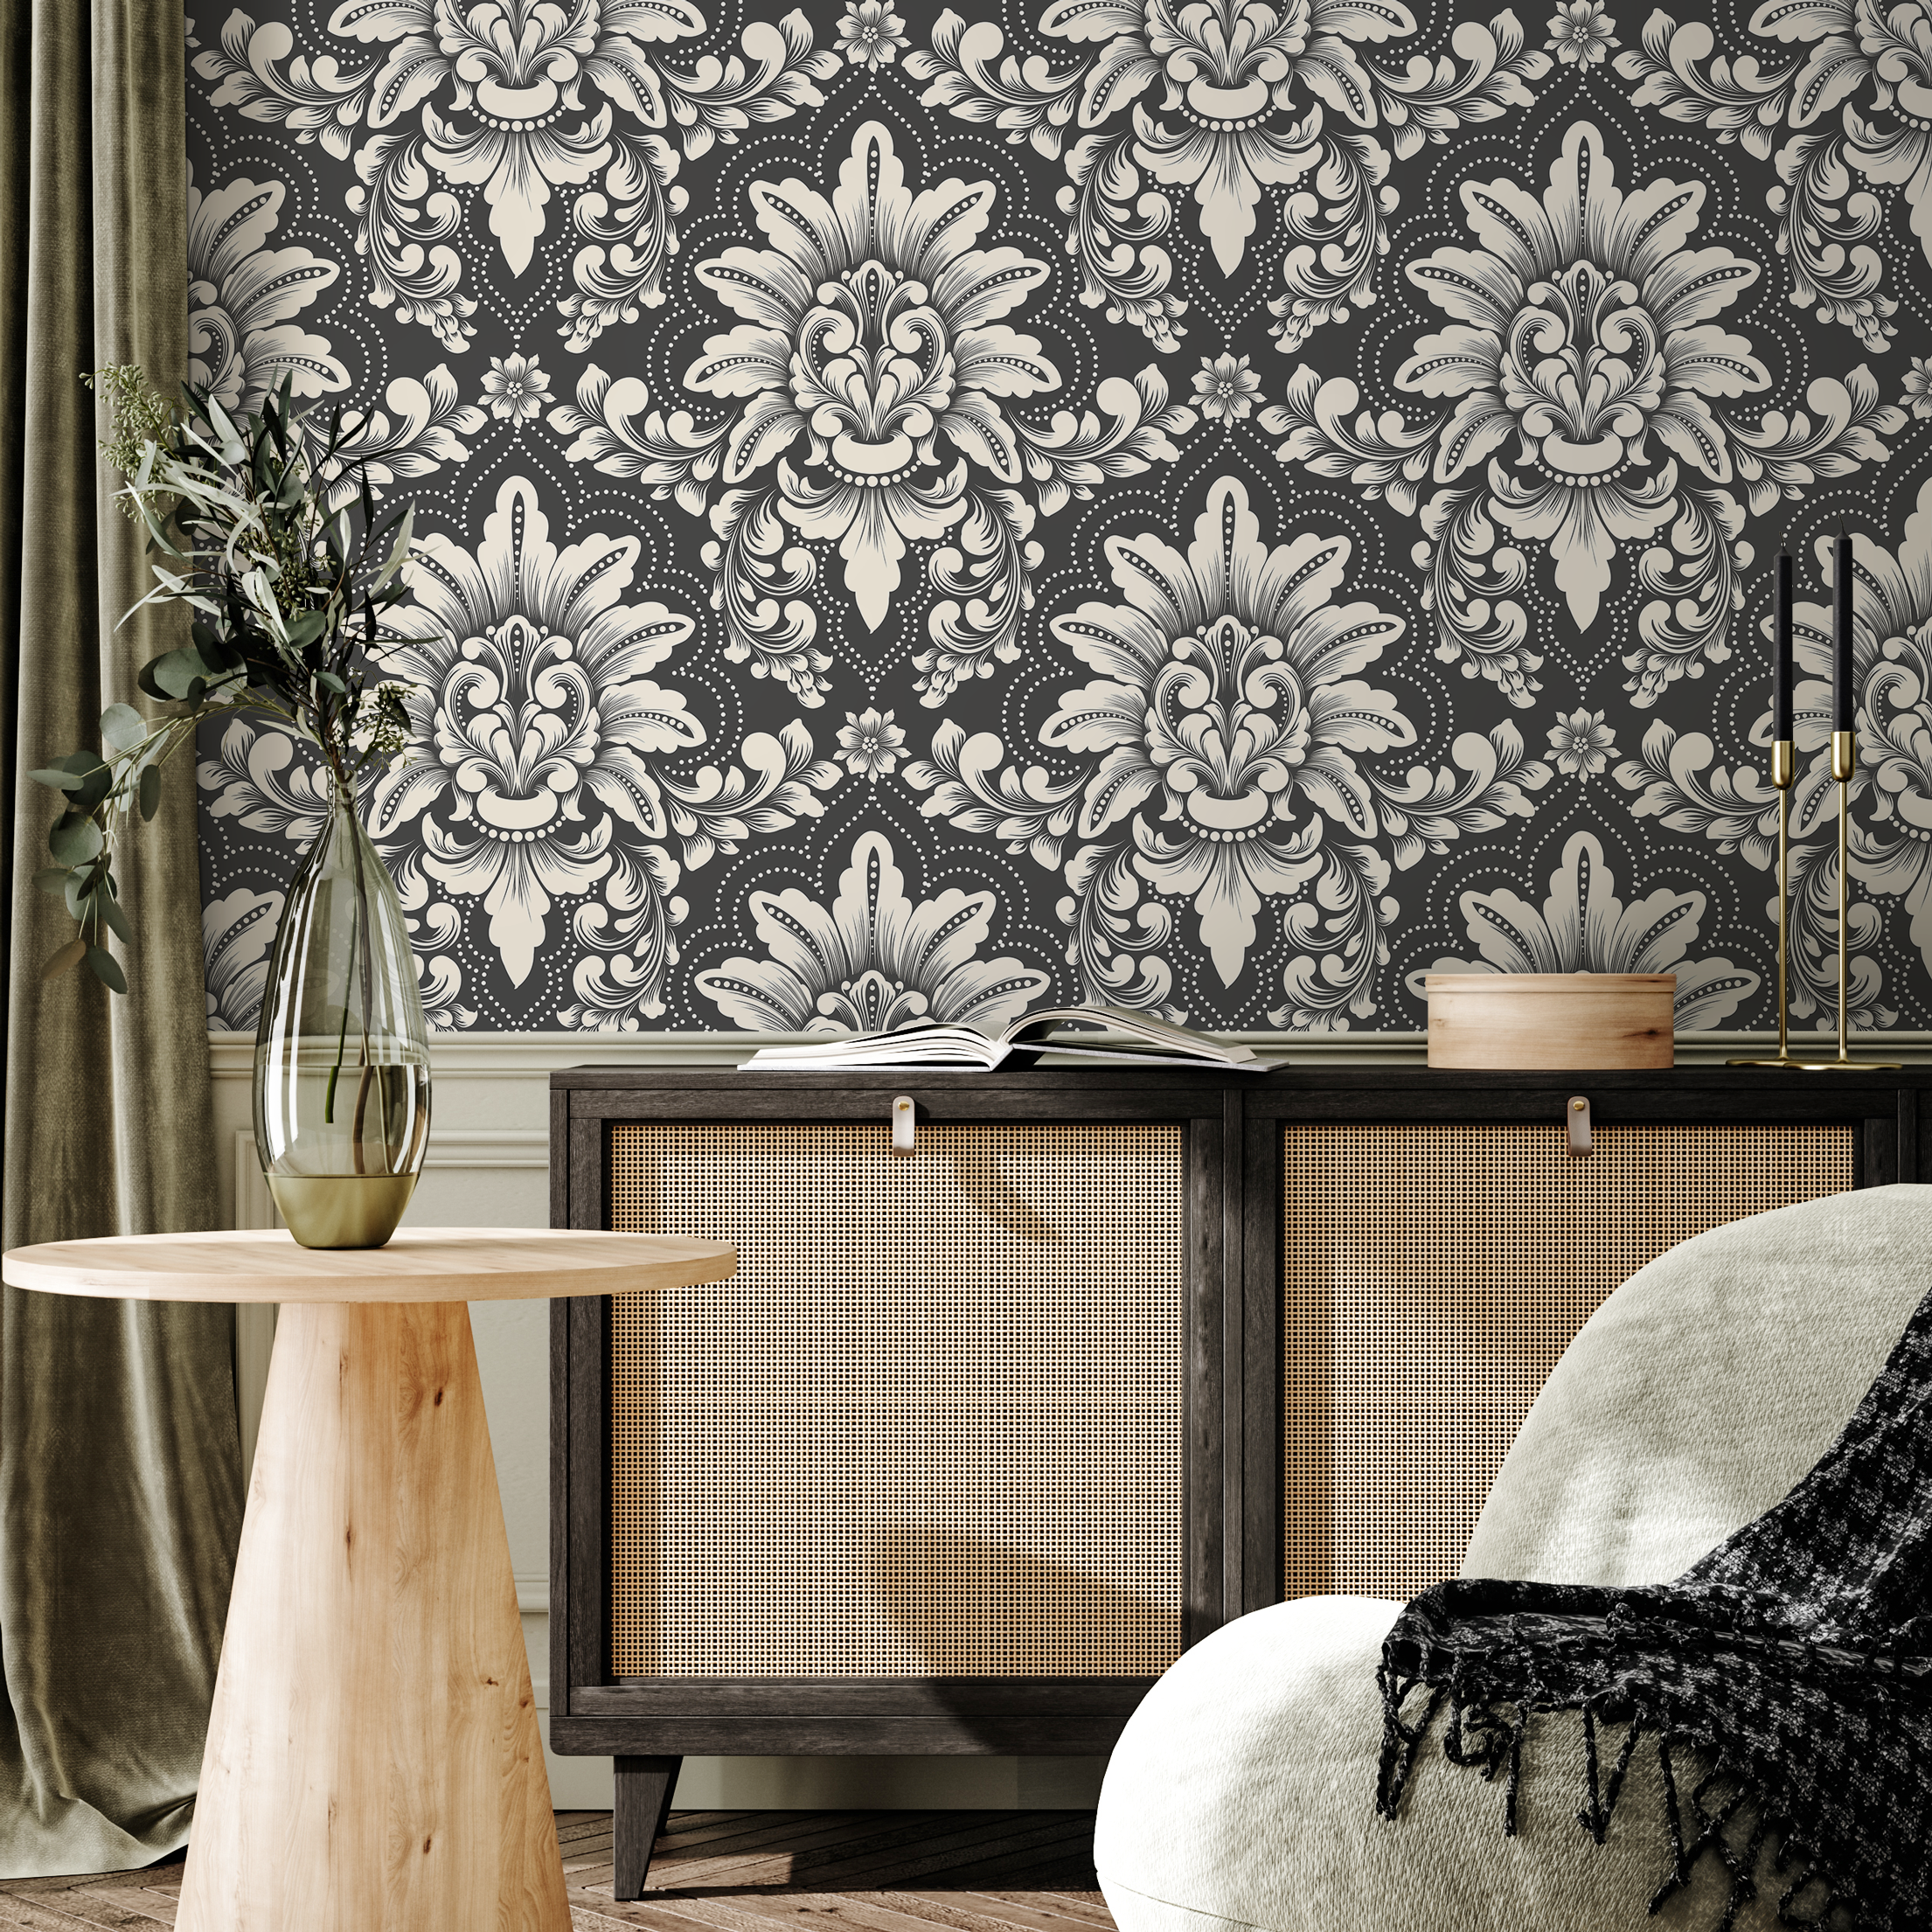
Orange Peel texture closely resembles the surface of, you guessed it, an orange peel. It's a light texture that won't interfere much with your wallpaper's function, but it can subtly alter its aesthetics.
Popcorn texture is a bit more problematic. This rugged, pointy texture can not only show through your wallpaper, but it can also damage it during installation and cleaning.
Knockdown texture, while not a barrier to wallpaper adhesion, can create a visually odd effect, especially with wallpapers mimicking smooth surfaces like wood or wainscoting design.
How Wall Texture Affects Wallpaper Adhesion and Appearance
The main concern with applying wallpaper on textured walls is not so much about whether the wallpaper will stick. A good quality paste-the-wall non-woven wallpaper, like the ones offered by ONDECOR, will generally stick well to these surfaces.
The real issue lies in the aesthetics. The texture of the wall can cause bumps and ridges to appear on the surface of the wallpaper, affecting its smooth finish and overall look. This is especially noticeable with light-colored or simple patterned wallpapers where the bumps become more evident.
In addition, if you are installing wallpaper in a high humidity area like a laundry room or bathroom, the texture can provide spaces for moisture to build, creating a conducive environment for mold and fungus to grow.
Understanding the impact of wall textures on wallpaper application sets the stage for a successful transformation of your bumpy walls. Armed with this knowledge, you're now ready to explore the next critical step: preparing your walls for wallpaper.
The Importance of Preparing Your Walls for Wallpaper
Just as a chef primes his ingredients for a culinary masterpiece, so too must you prepare your walls before they can be transformed with wallpaper. This step is crucial, especially for textured walls, as it ensures the best adhesion for your wallpaper and results in a smoother, more professional finish.
Why Skim Coating is Essential for Wallpapering Textured Walls
Skim coating involves applying a thin layer of joint compound over your textured walls to create a flat, smooth surface. But why is it essential, you might ask? Textured walls, with their numerous dips, holes, and gaps, offer less surface area for the wallpaper to adhere to. This can lead to your wallpaper falling down more easily, especially in warm and moist environments.
Additionally, wallpaper seams need to match in depth. Textured walls, with their thousands of slight texture differences, can make this a challenge. Furthermore, the texture of the wall can show on the surface of the wallpaper, even if you apply it lightly. For these reasons, skim coating your textured walls before wallpaper application is not just recommended, but vital.
How to Skim Coat Your Walls for a Smooth Surface
Now that we understand the importance of skim coating, let's dive into how to do it effectively. You'll need a wide drywall knife, clean microfiber cloths, TSP (a cleaning product), a drywall pan, drywall sander, and pre-mixed drywall joint compound.
Start by running a wide drywall knife across the walls, knocking off any sharp points. This helps to create a smoother surface for the joint compound to adhere to. Thoroughly clean the walls using TSP and clean microfiber cloths. This ensures that any dust or debris that could hinder the application of the joint compound is removed.
Next, add the joint compound to a drywall tray and spread it across the wall in long strokes using the edge of your drywall knife. The goal is to fill in low spots but leave high spots, so that the skim coat is flush with all high spots. Once the entire wall is covered, let the skim coat dry for at least two hours, or better yet, 12 or more hours.
Finally, lightly sand the wall with fine-grit drywall sandpaper to smooth out any imperfections. Clean off the drywall dust before applying wallpaper, and voila! Your walls are now primed and ready for transformation with ONDECOR's beautiful, high-quality wallpapers.
In the next section, we'll delve into choosing the right wallpaper for your newly prepared walls. Stay tuned!

Choosing the Right Wallpaper for Your Walls
Applying wallpaper on textured walls can be a daunting task, but with the right materials and a little preparation, it can be done successfully. The type of wallpaper you choose can make a significant difference in the final result.
Why Paste-the-Wall Non-Woven Wallpaper Works Best for Textured Walls
When it comes to textured walls, paste-the-wall non-woven wallpaper emerges as a top choice. Unlike traditional wallpapers, this type of wallpaper has a non-woven backing that doesn't expand or contract when wet, making it more dimensionally stable. This stability can be especially advantageous for textured walls that may have uneven surfaces.
Another advantage of paste-the-wall non-woven wallpaper is its ease of application. As the name suggests, you apply the paste directly to the wall, rather than the paper, making for a cleaner and less messy installation process.
The combination of dimensional stability and easy application makes paste-the-wall non-woven wallpaper a great choice for wallpapering textured walls.
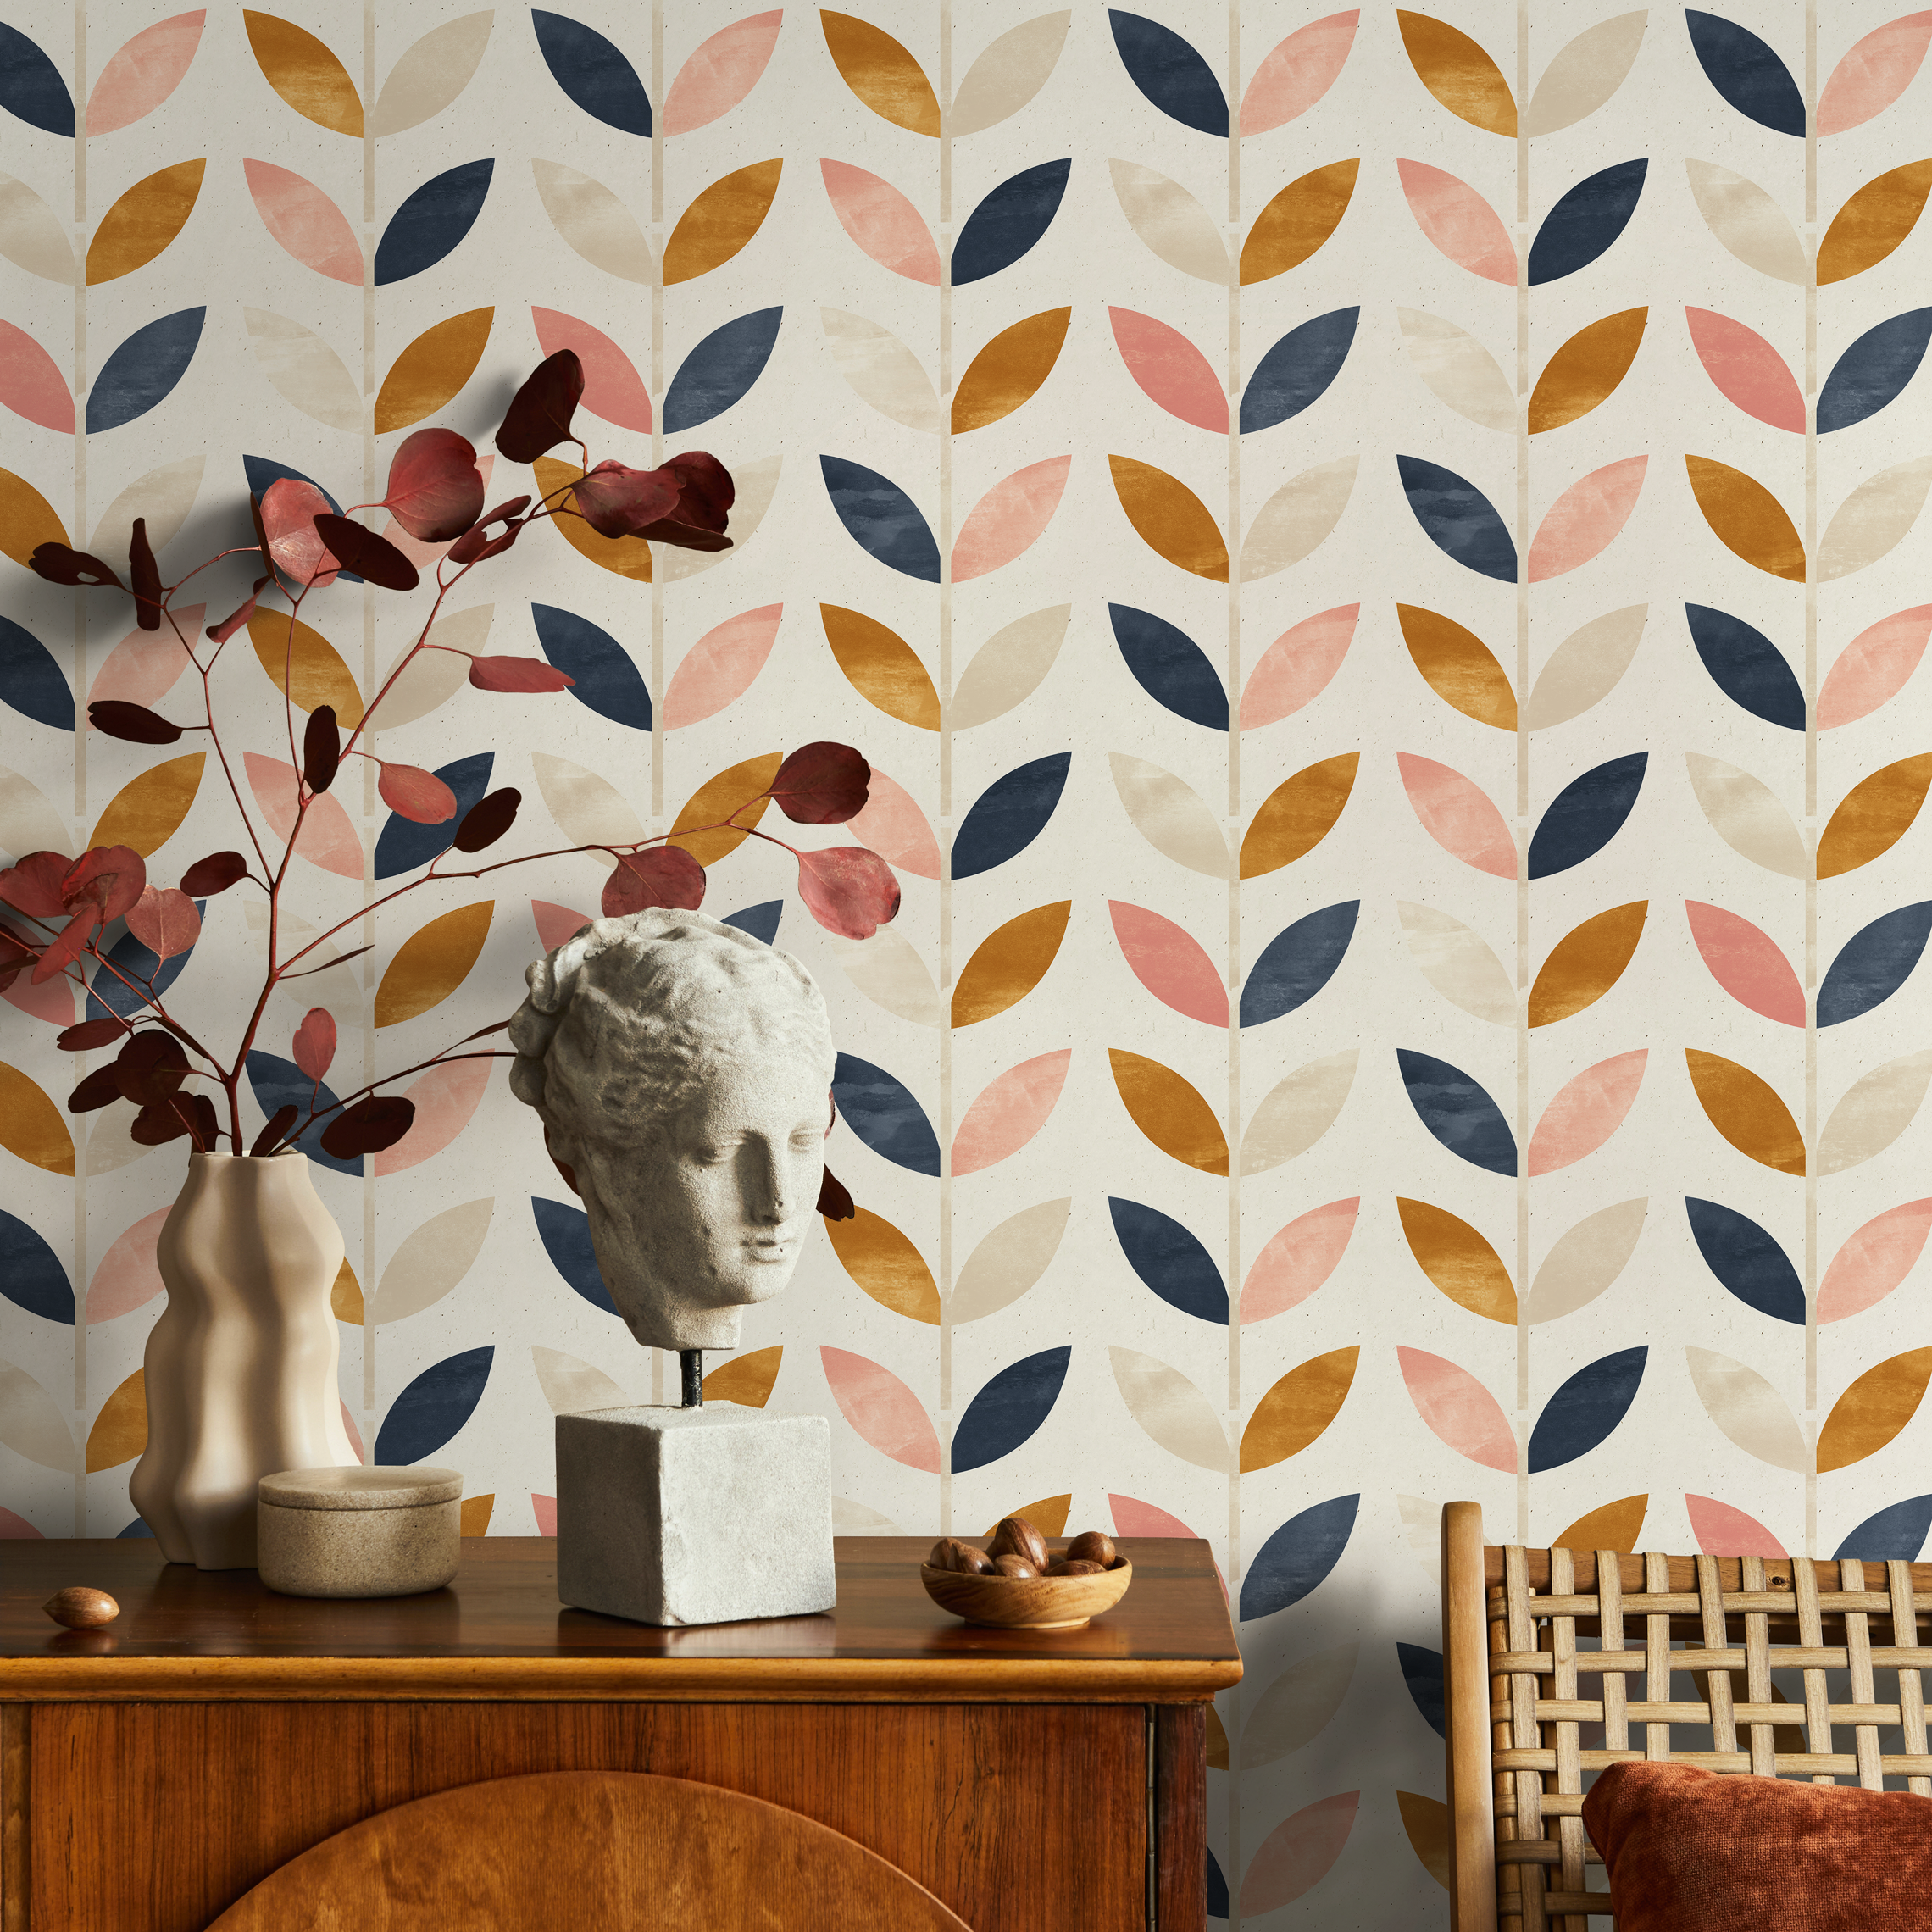
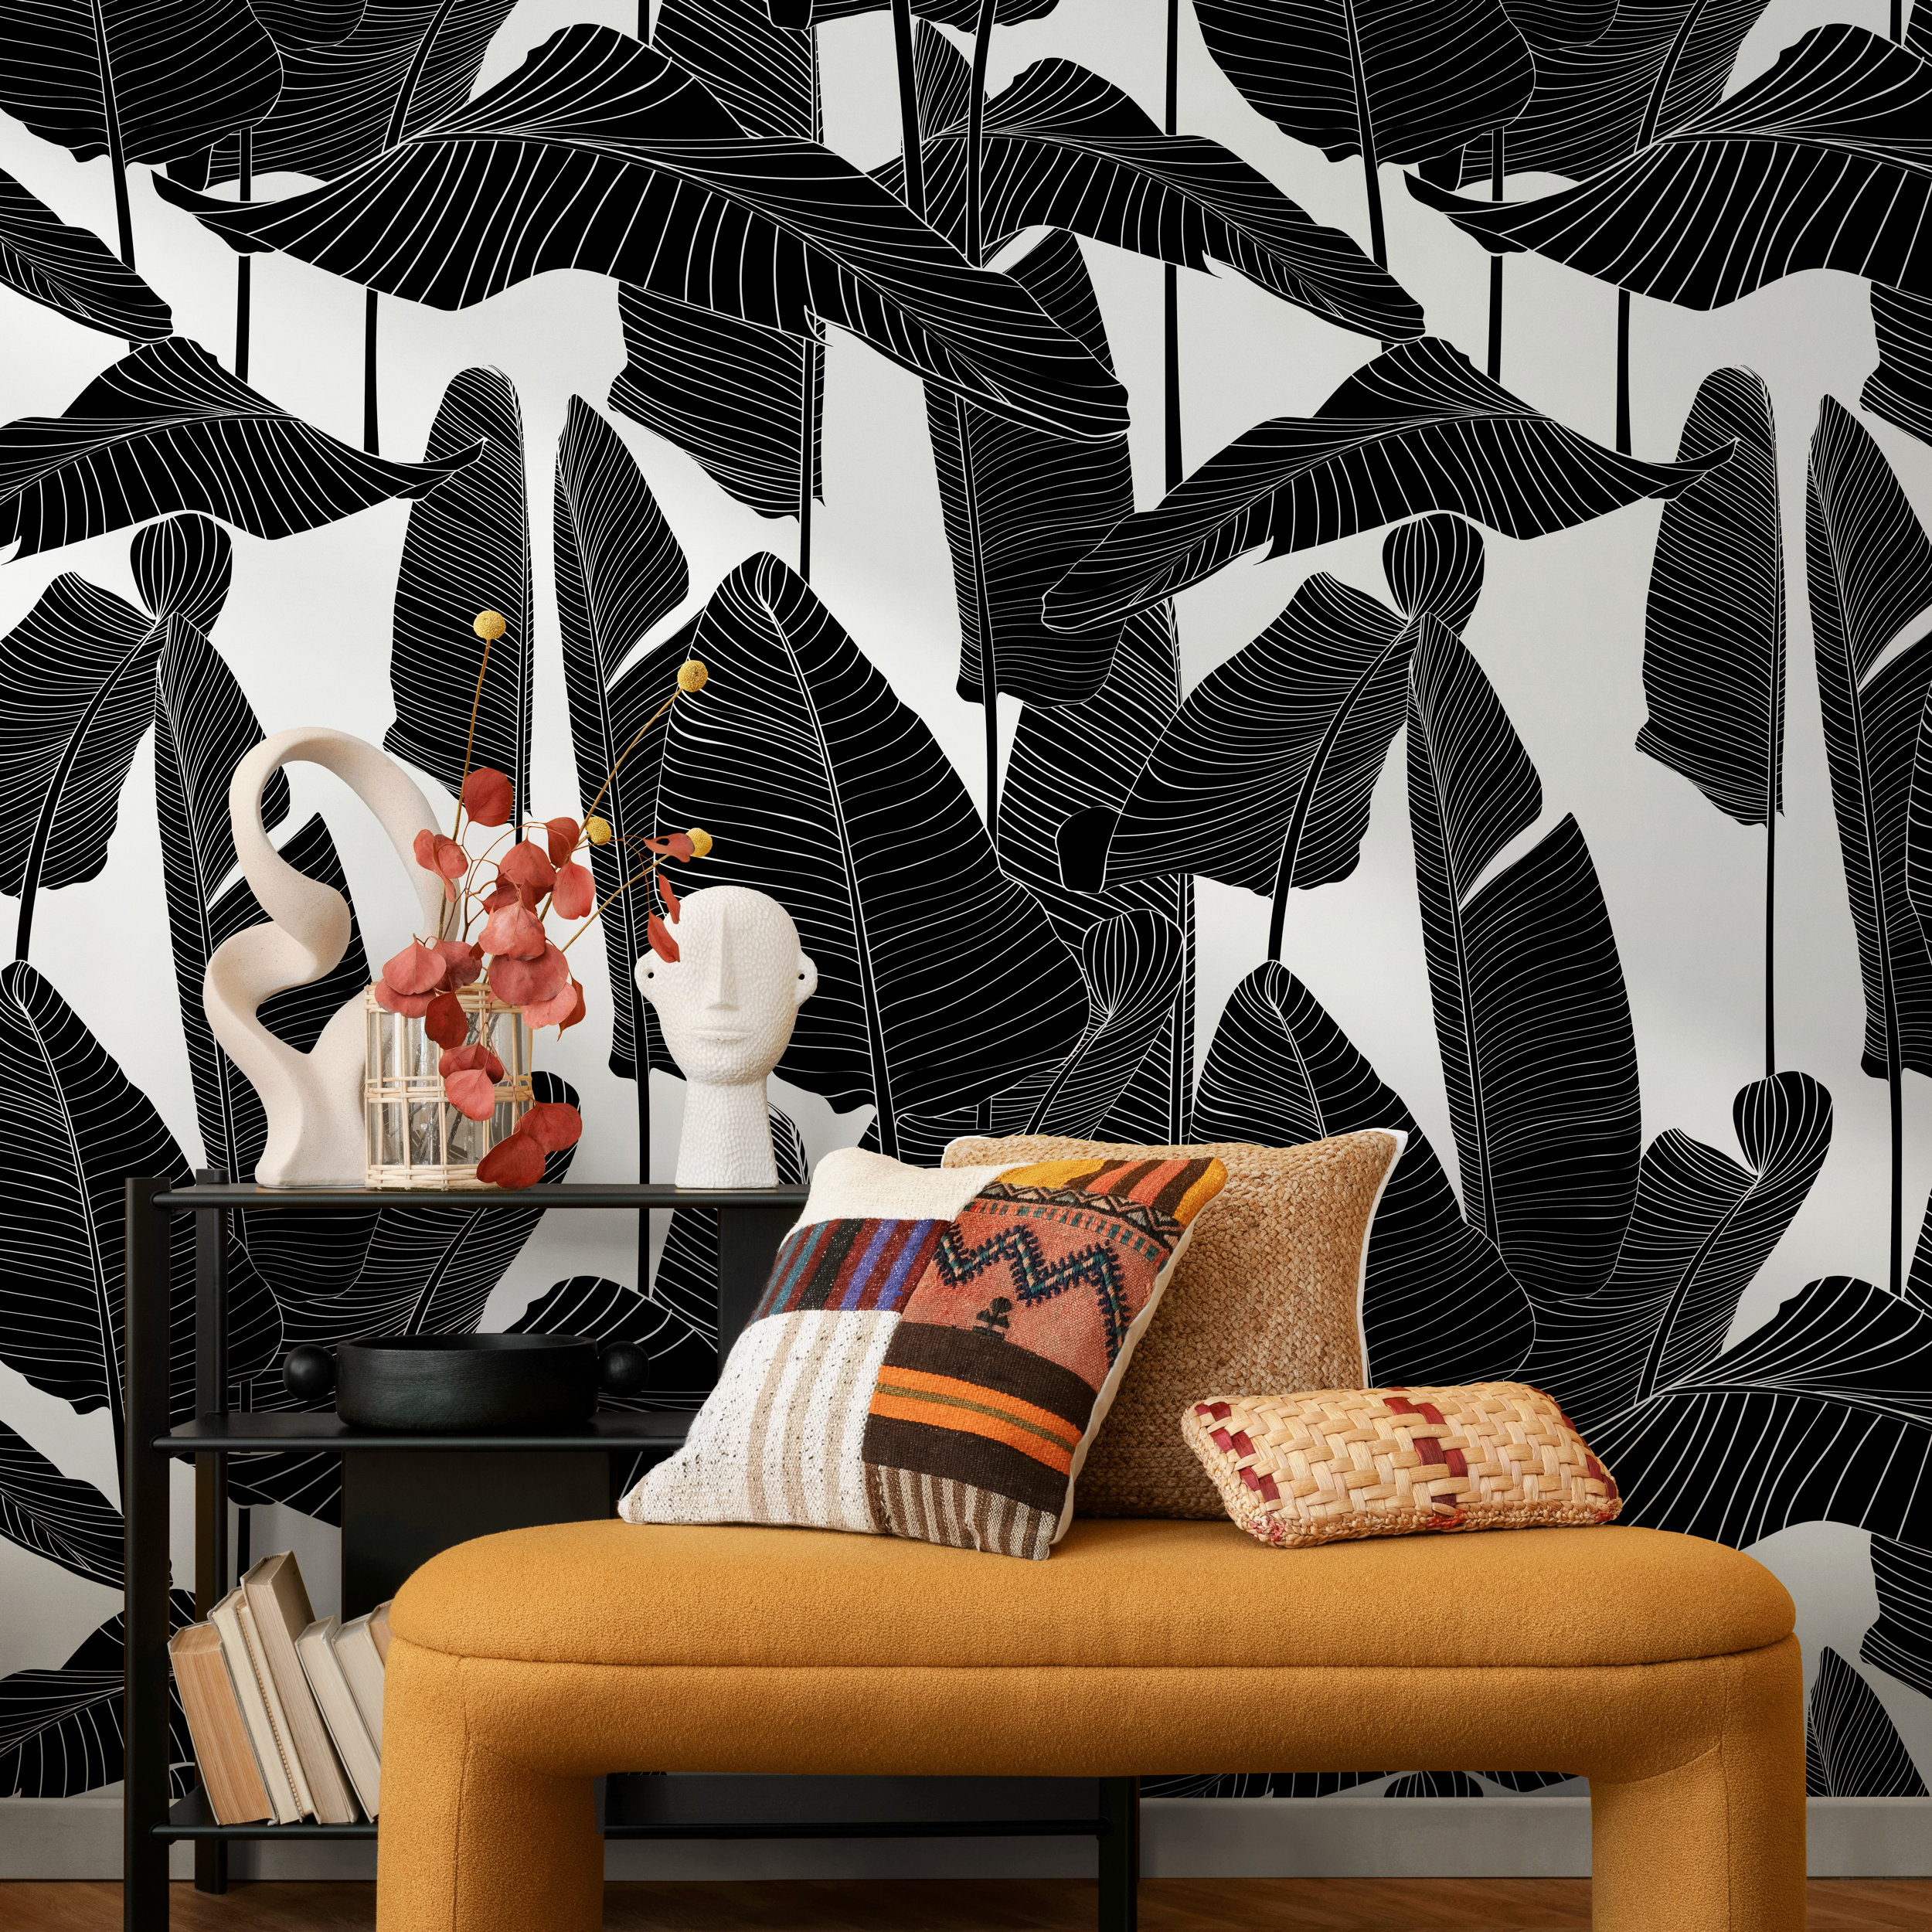
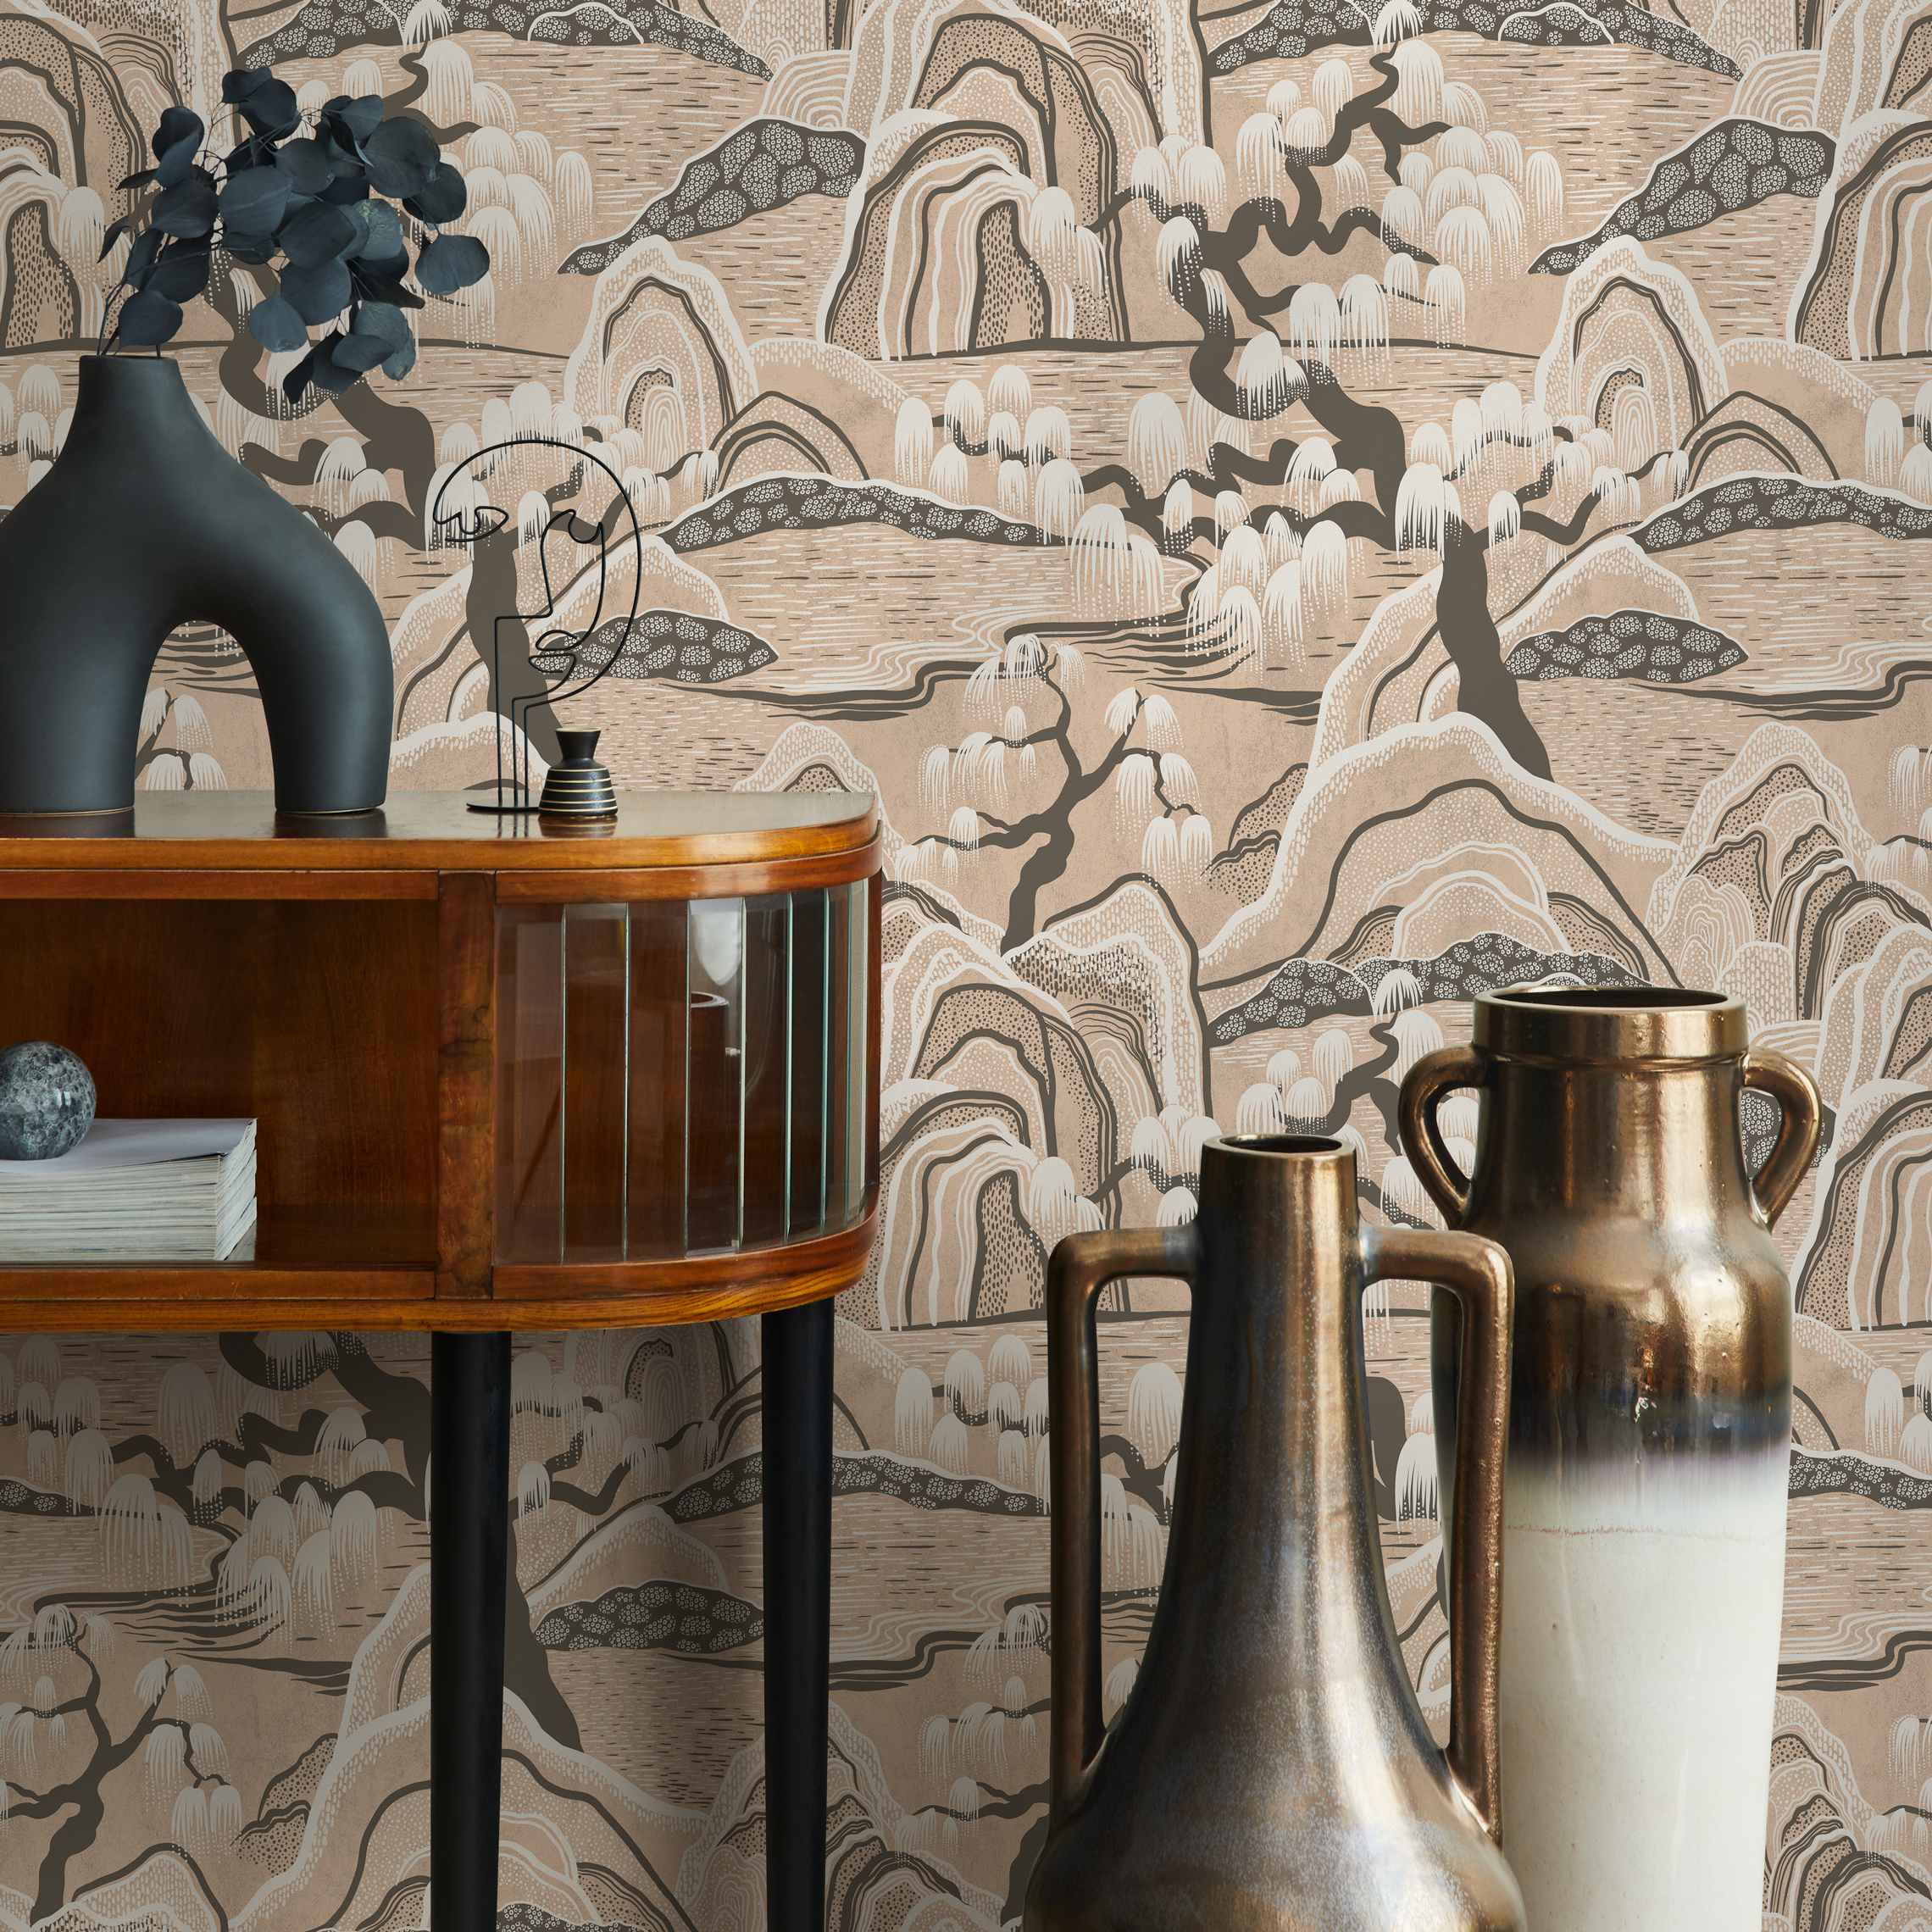
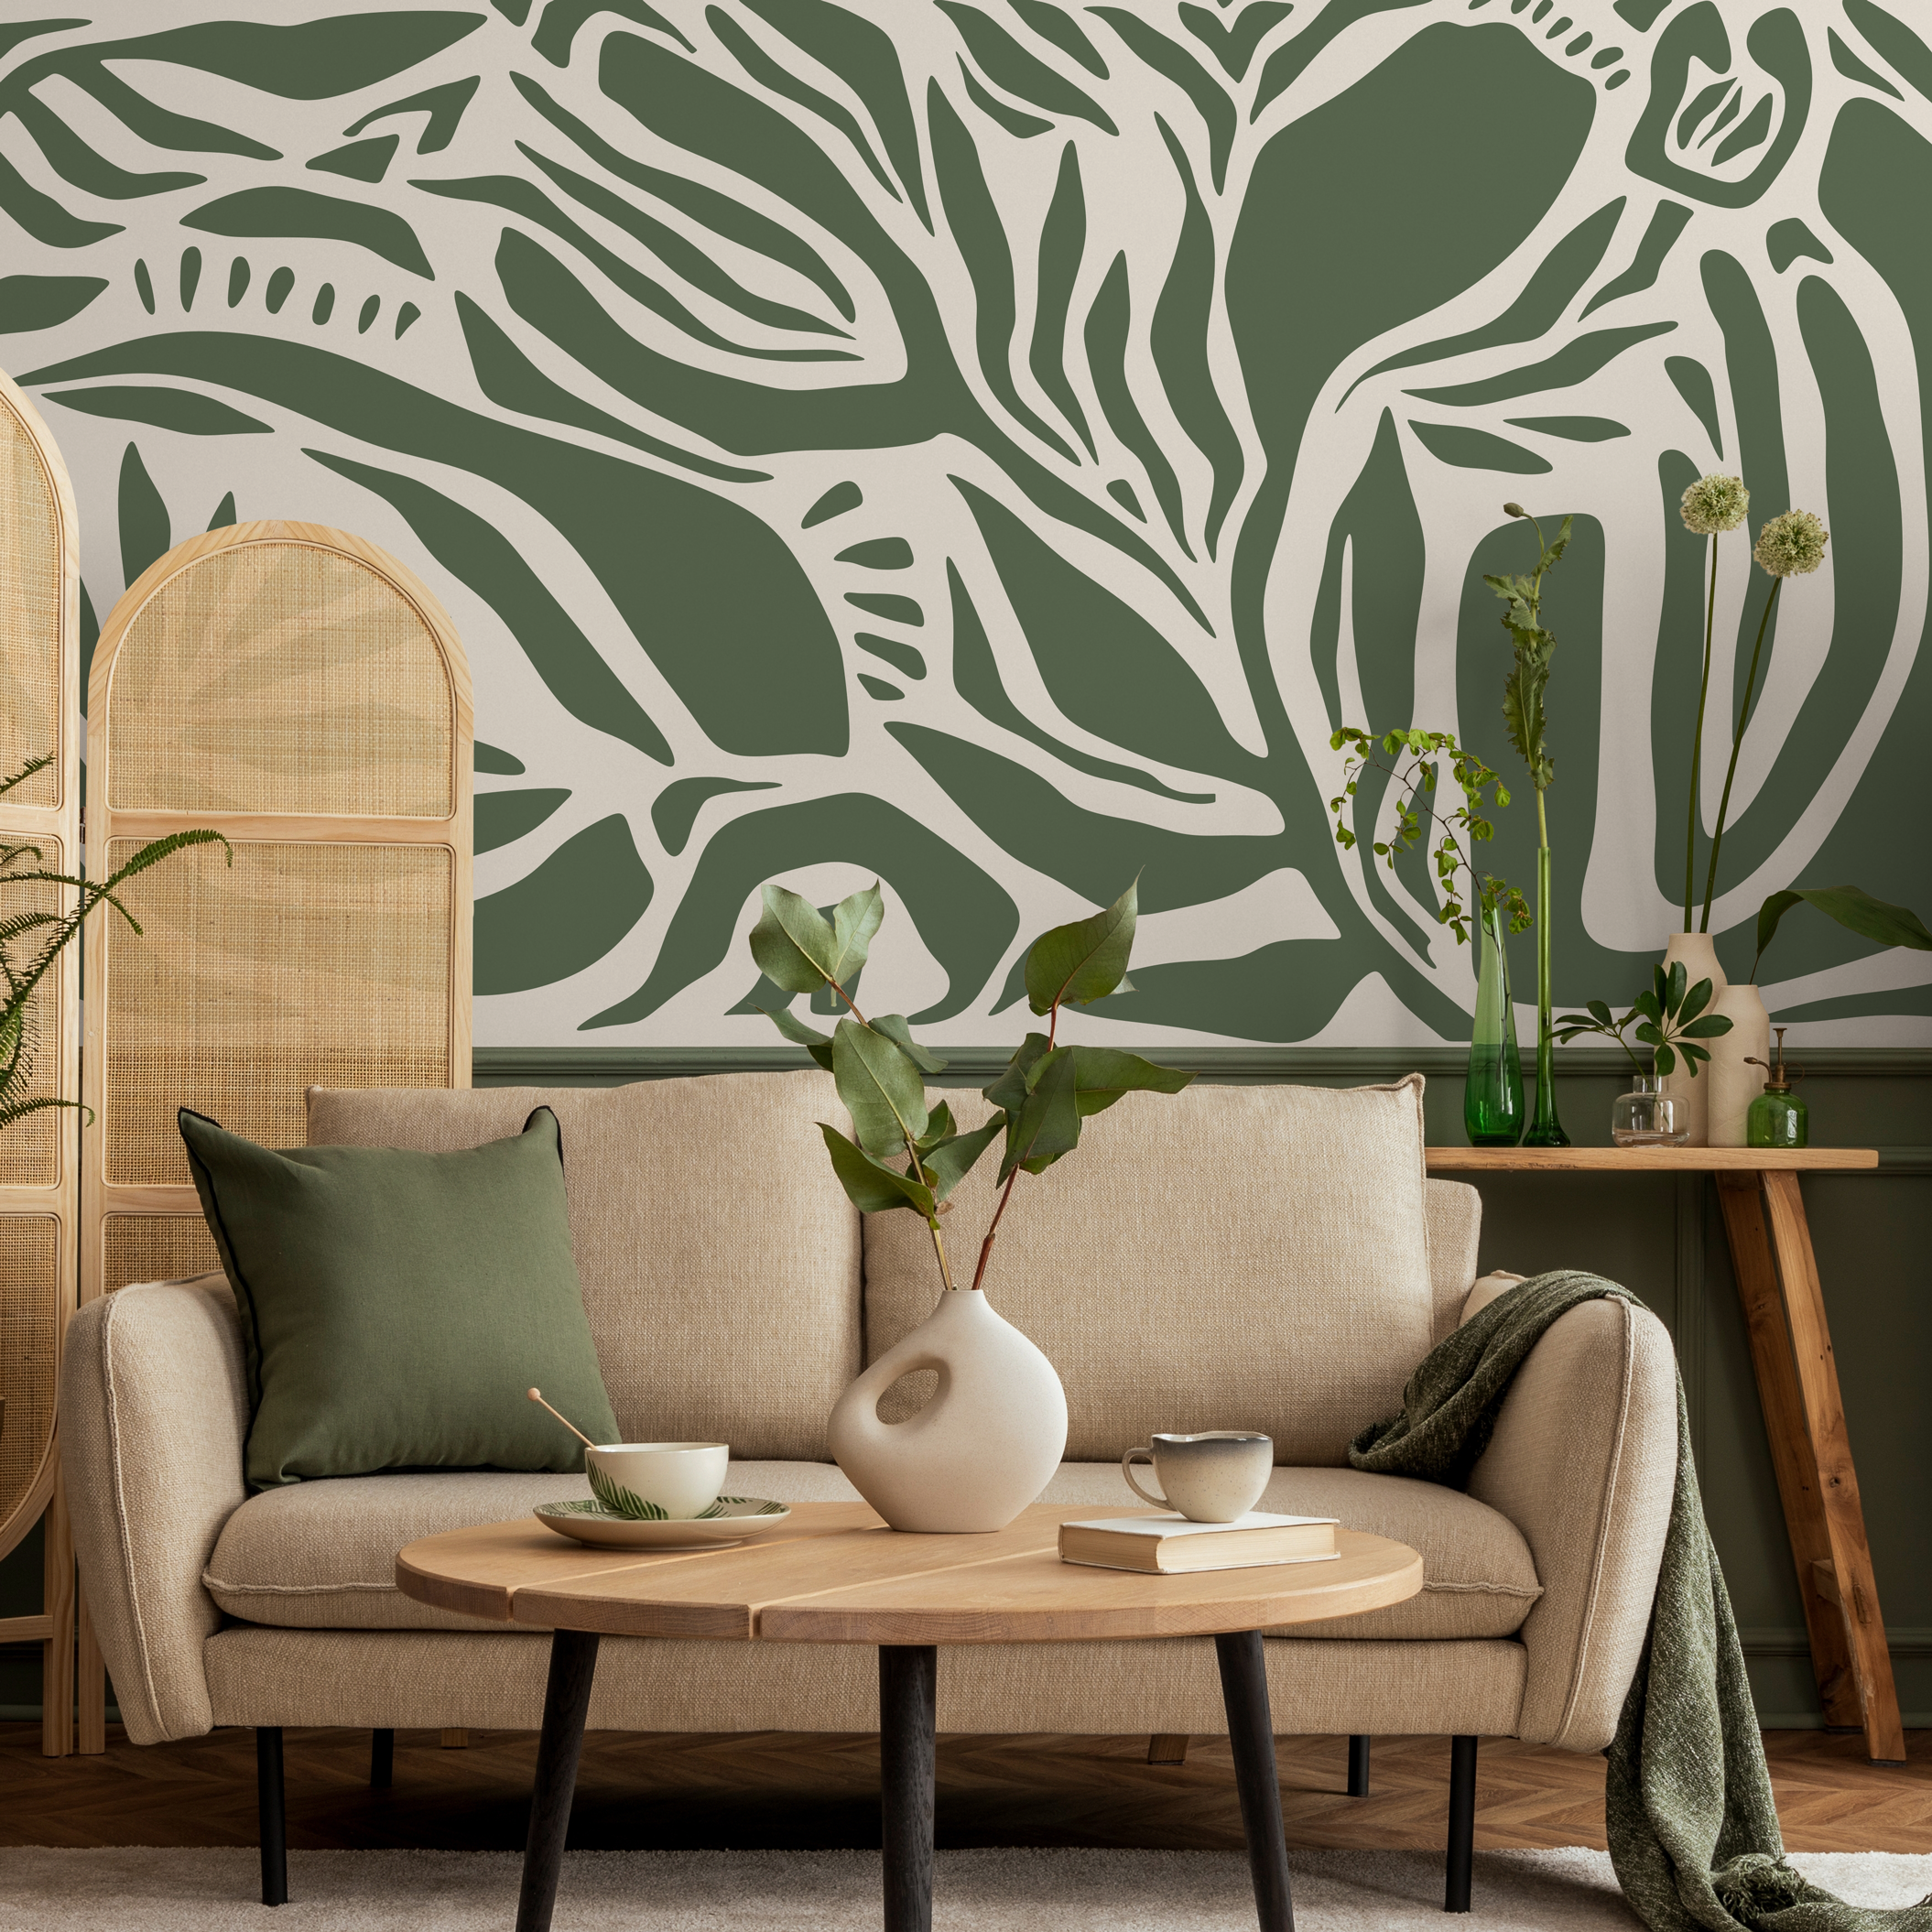
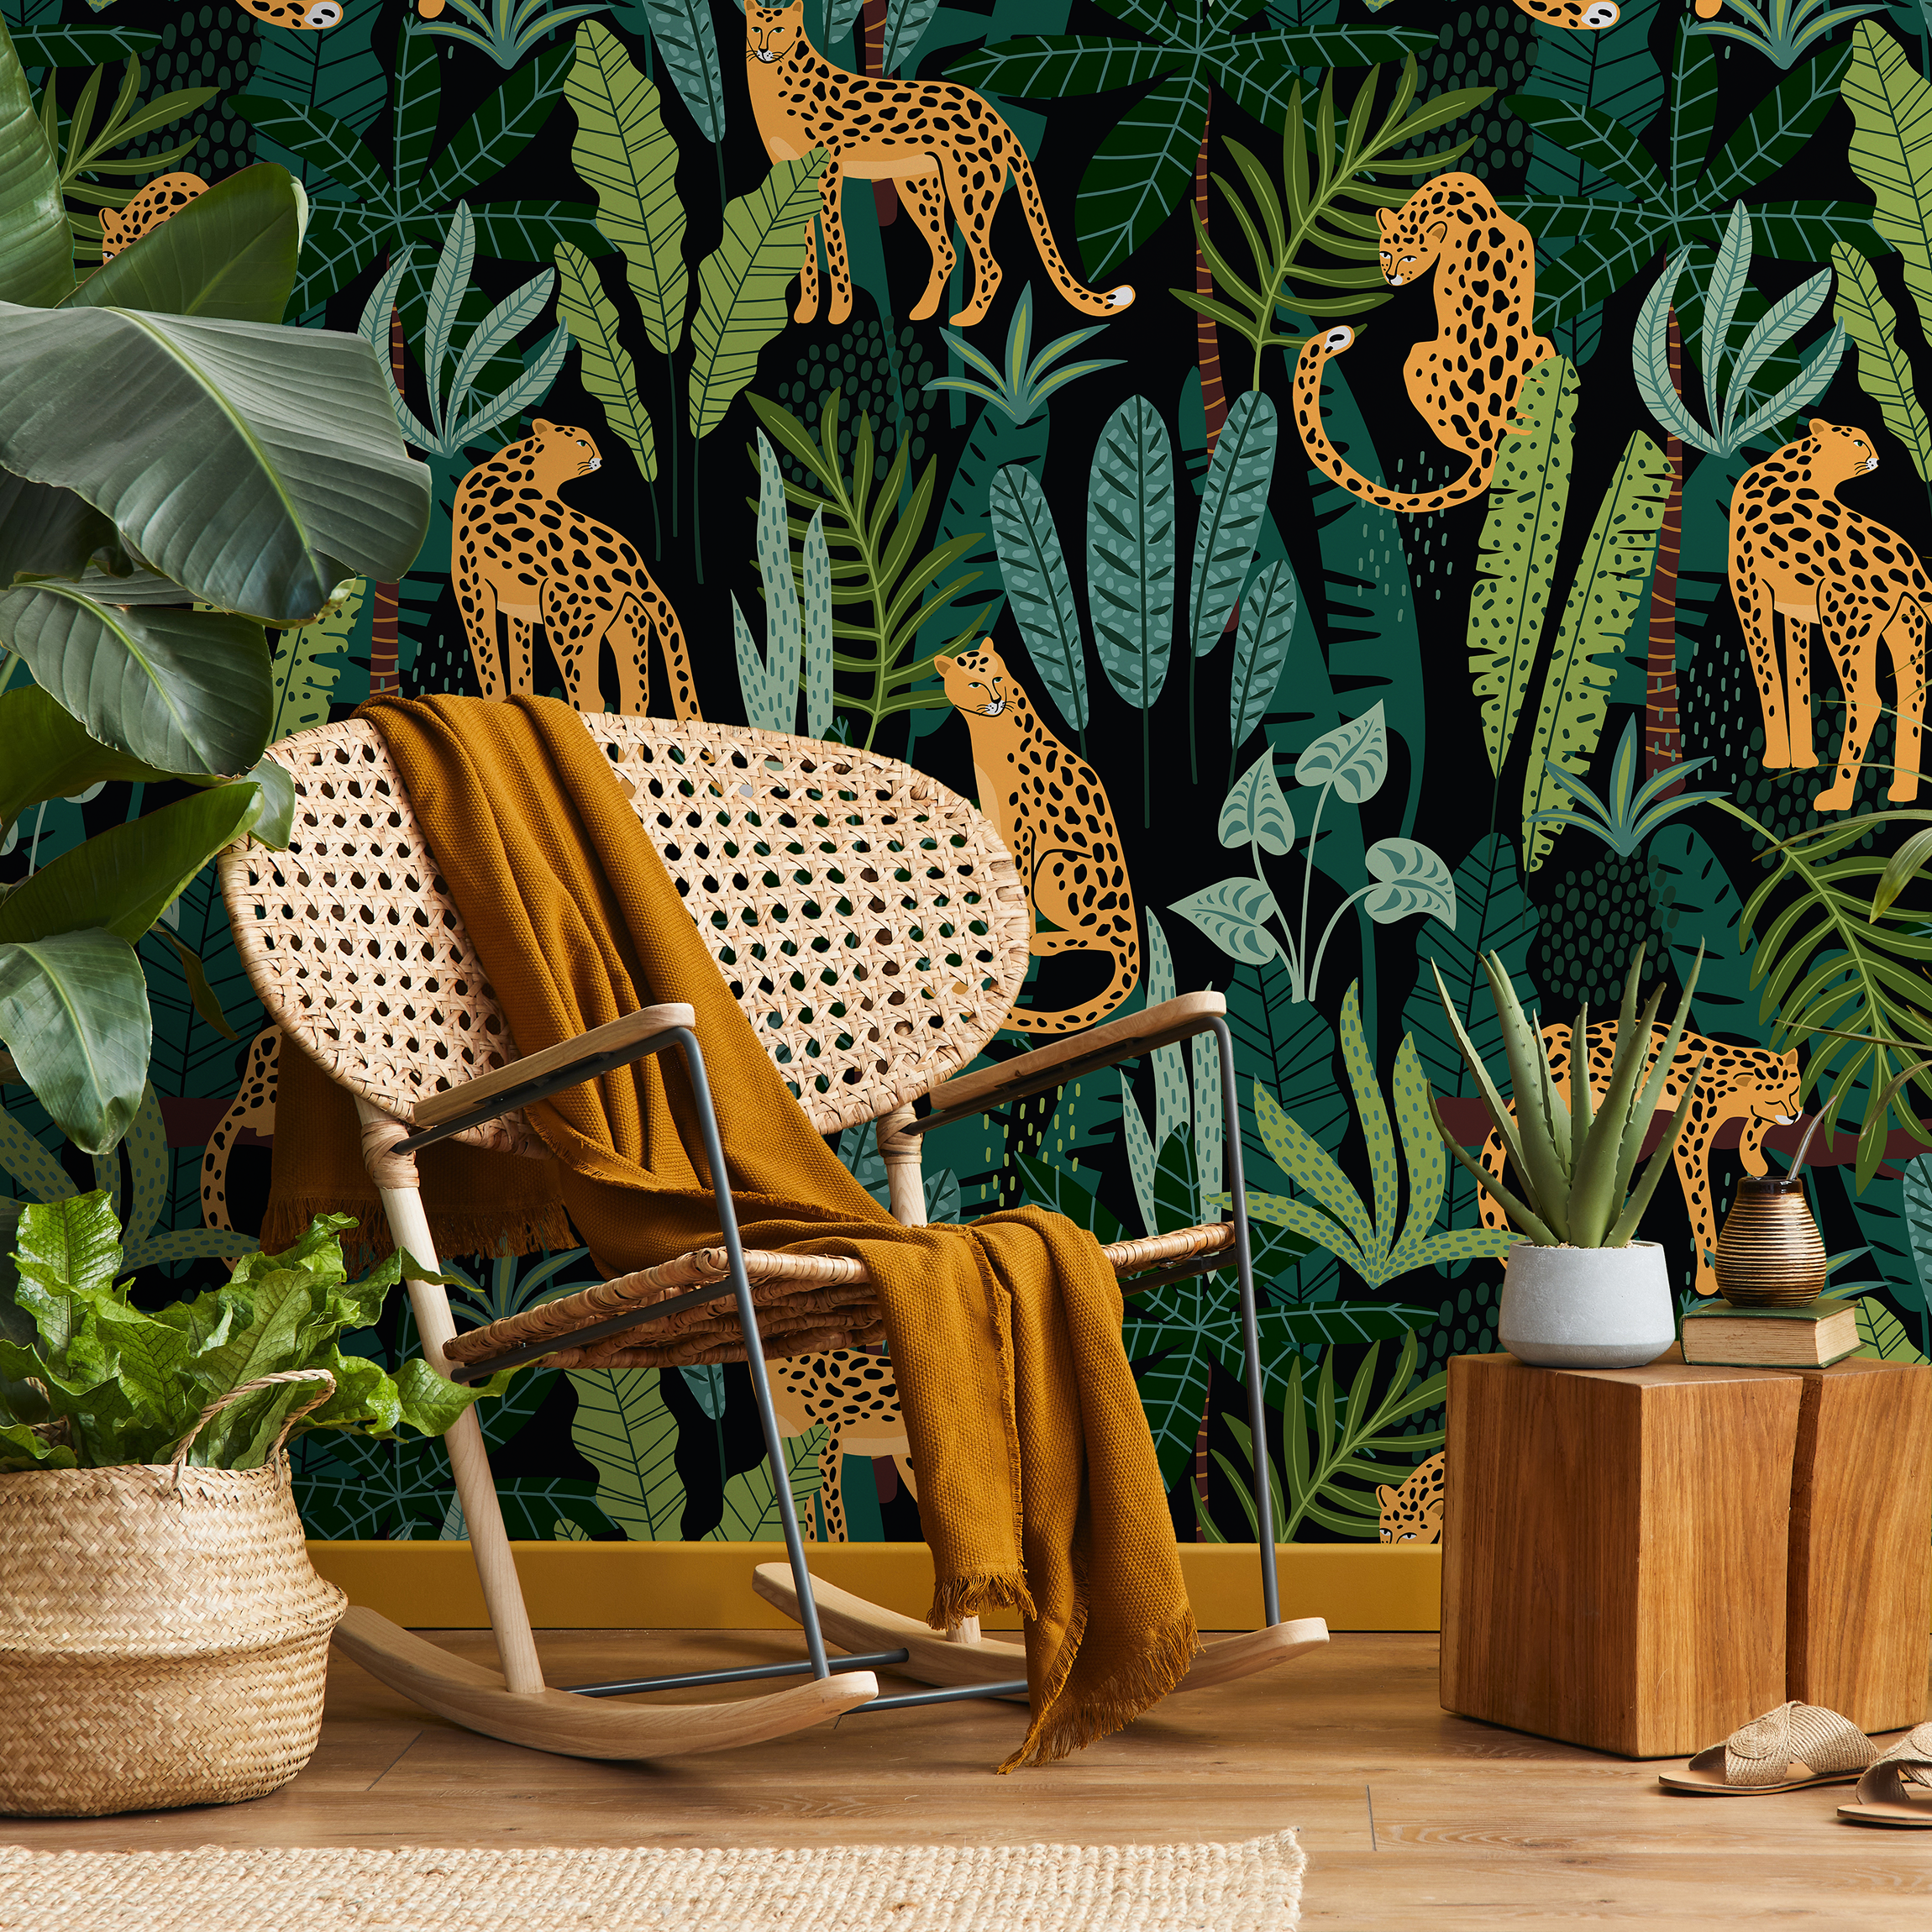
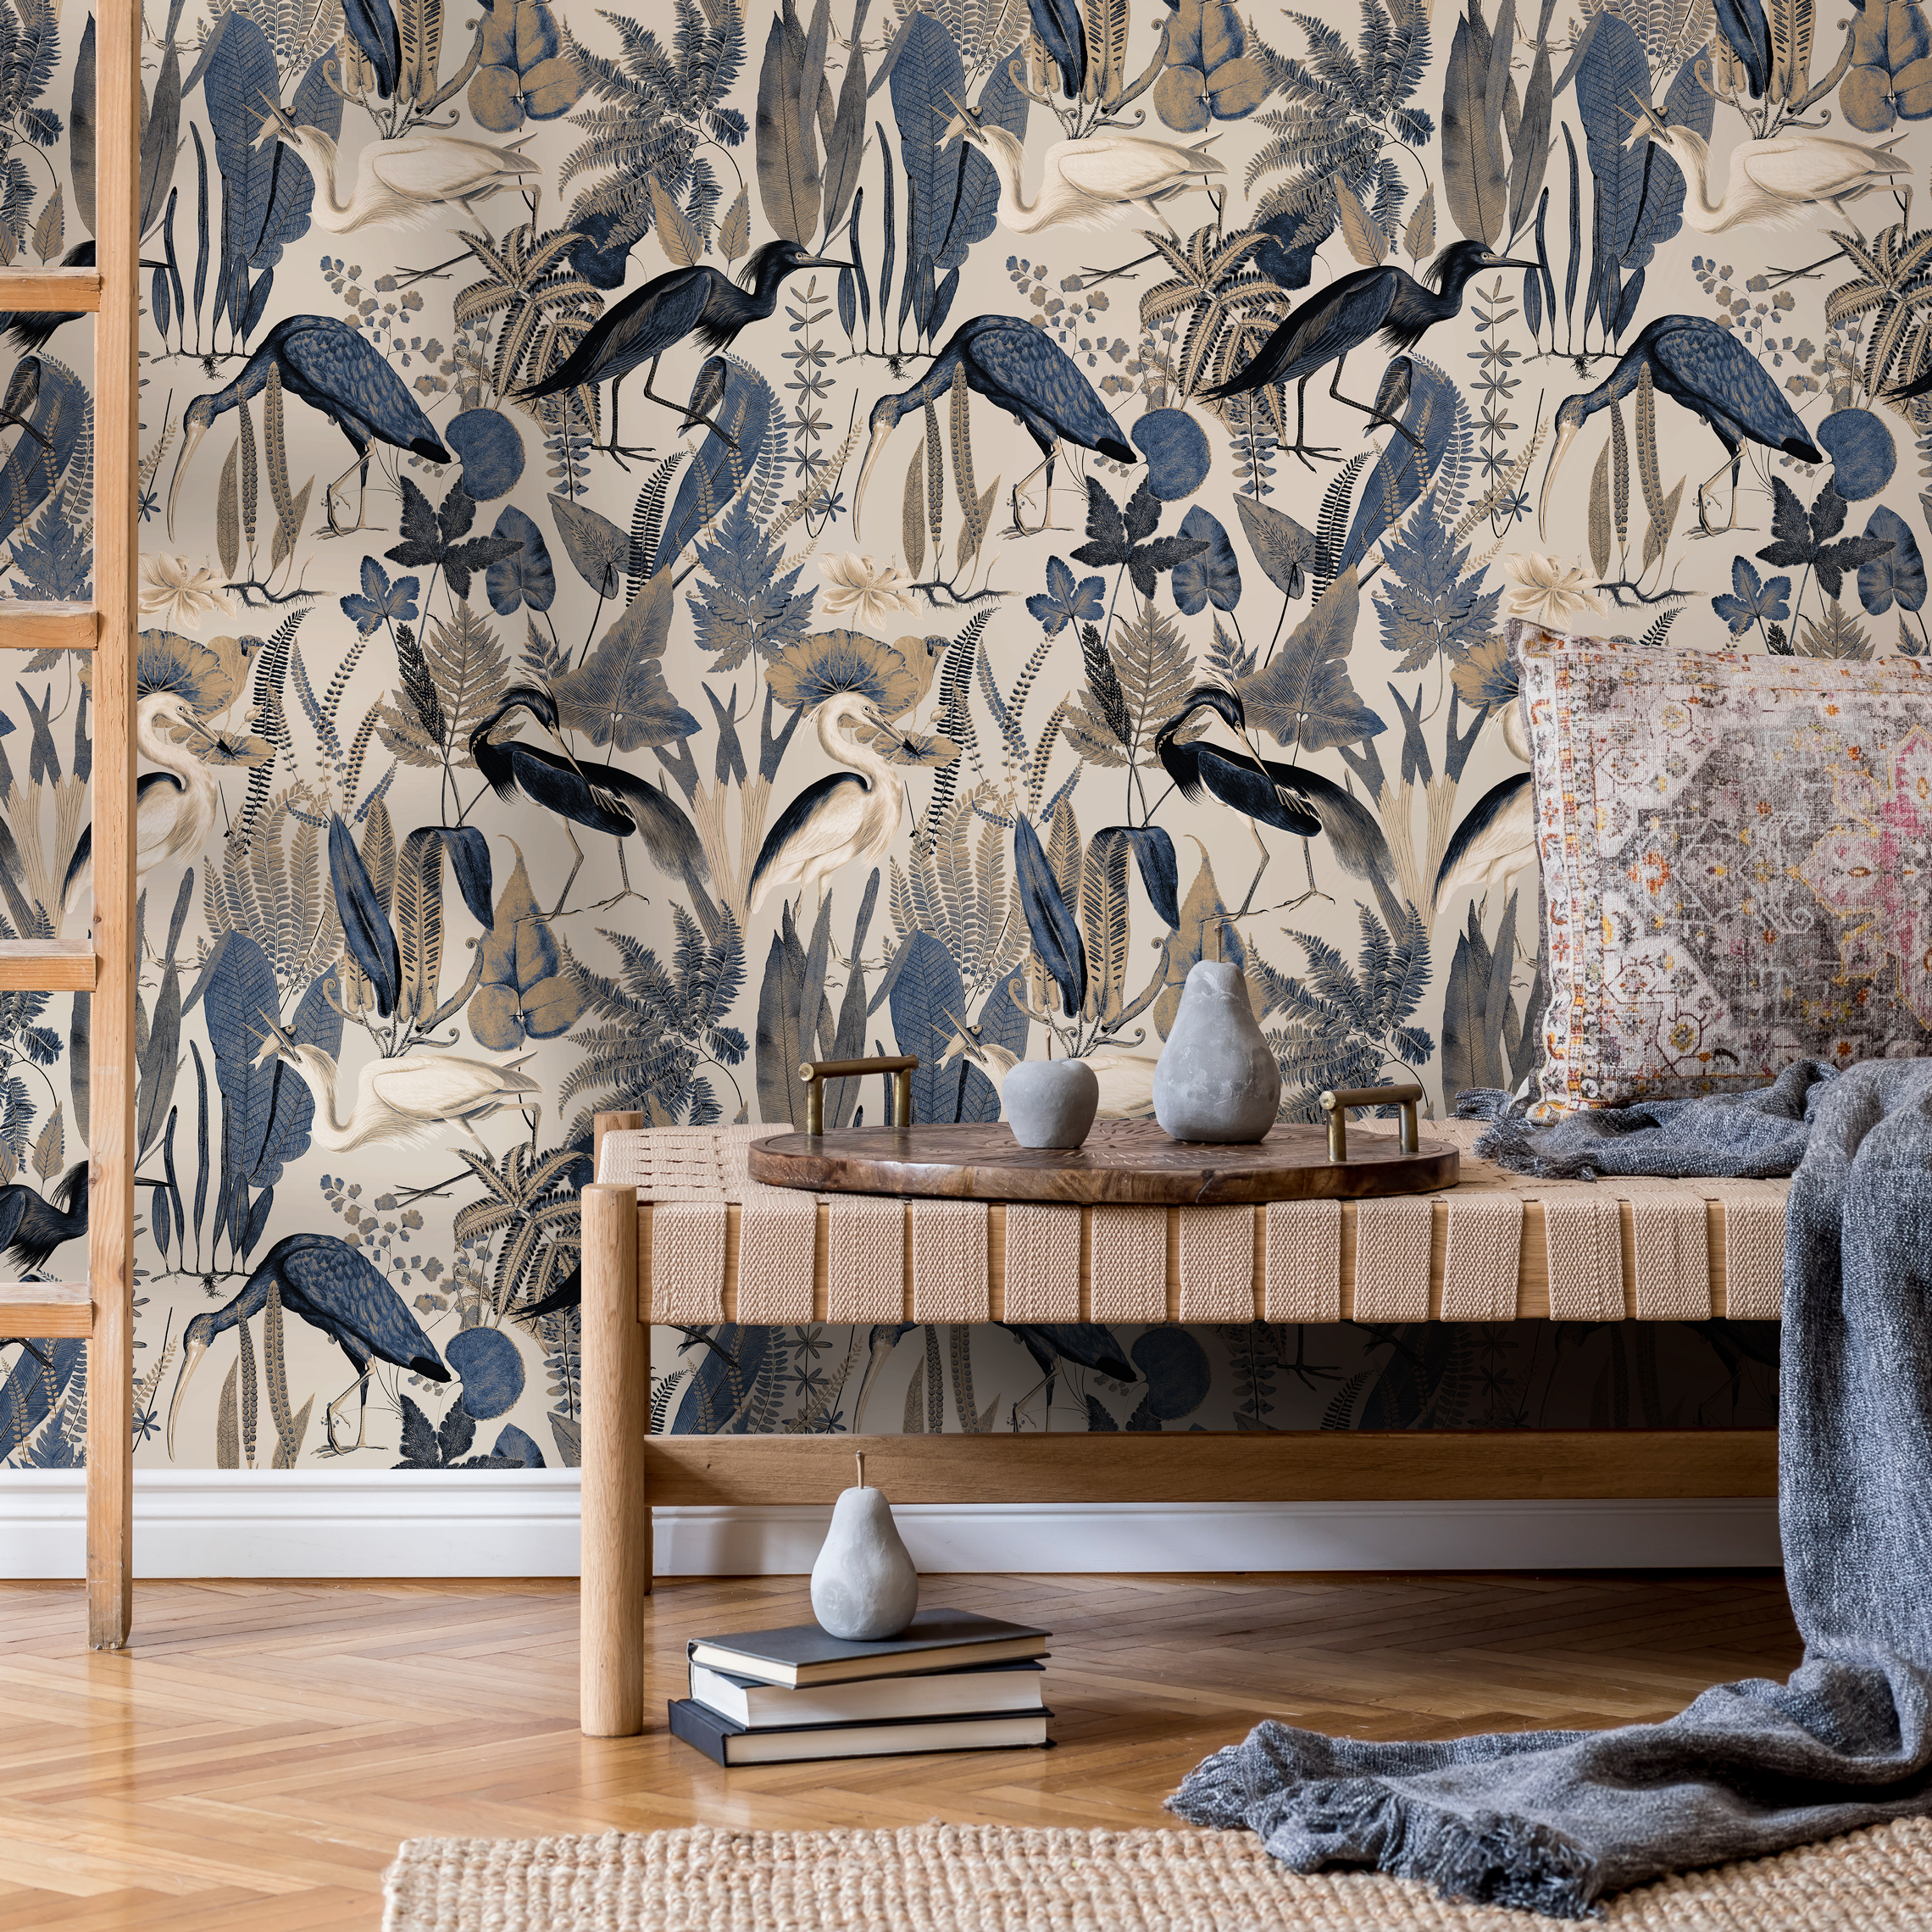
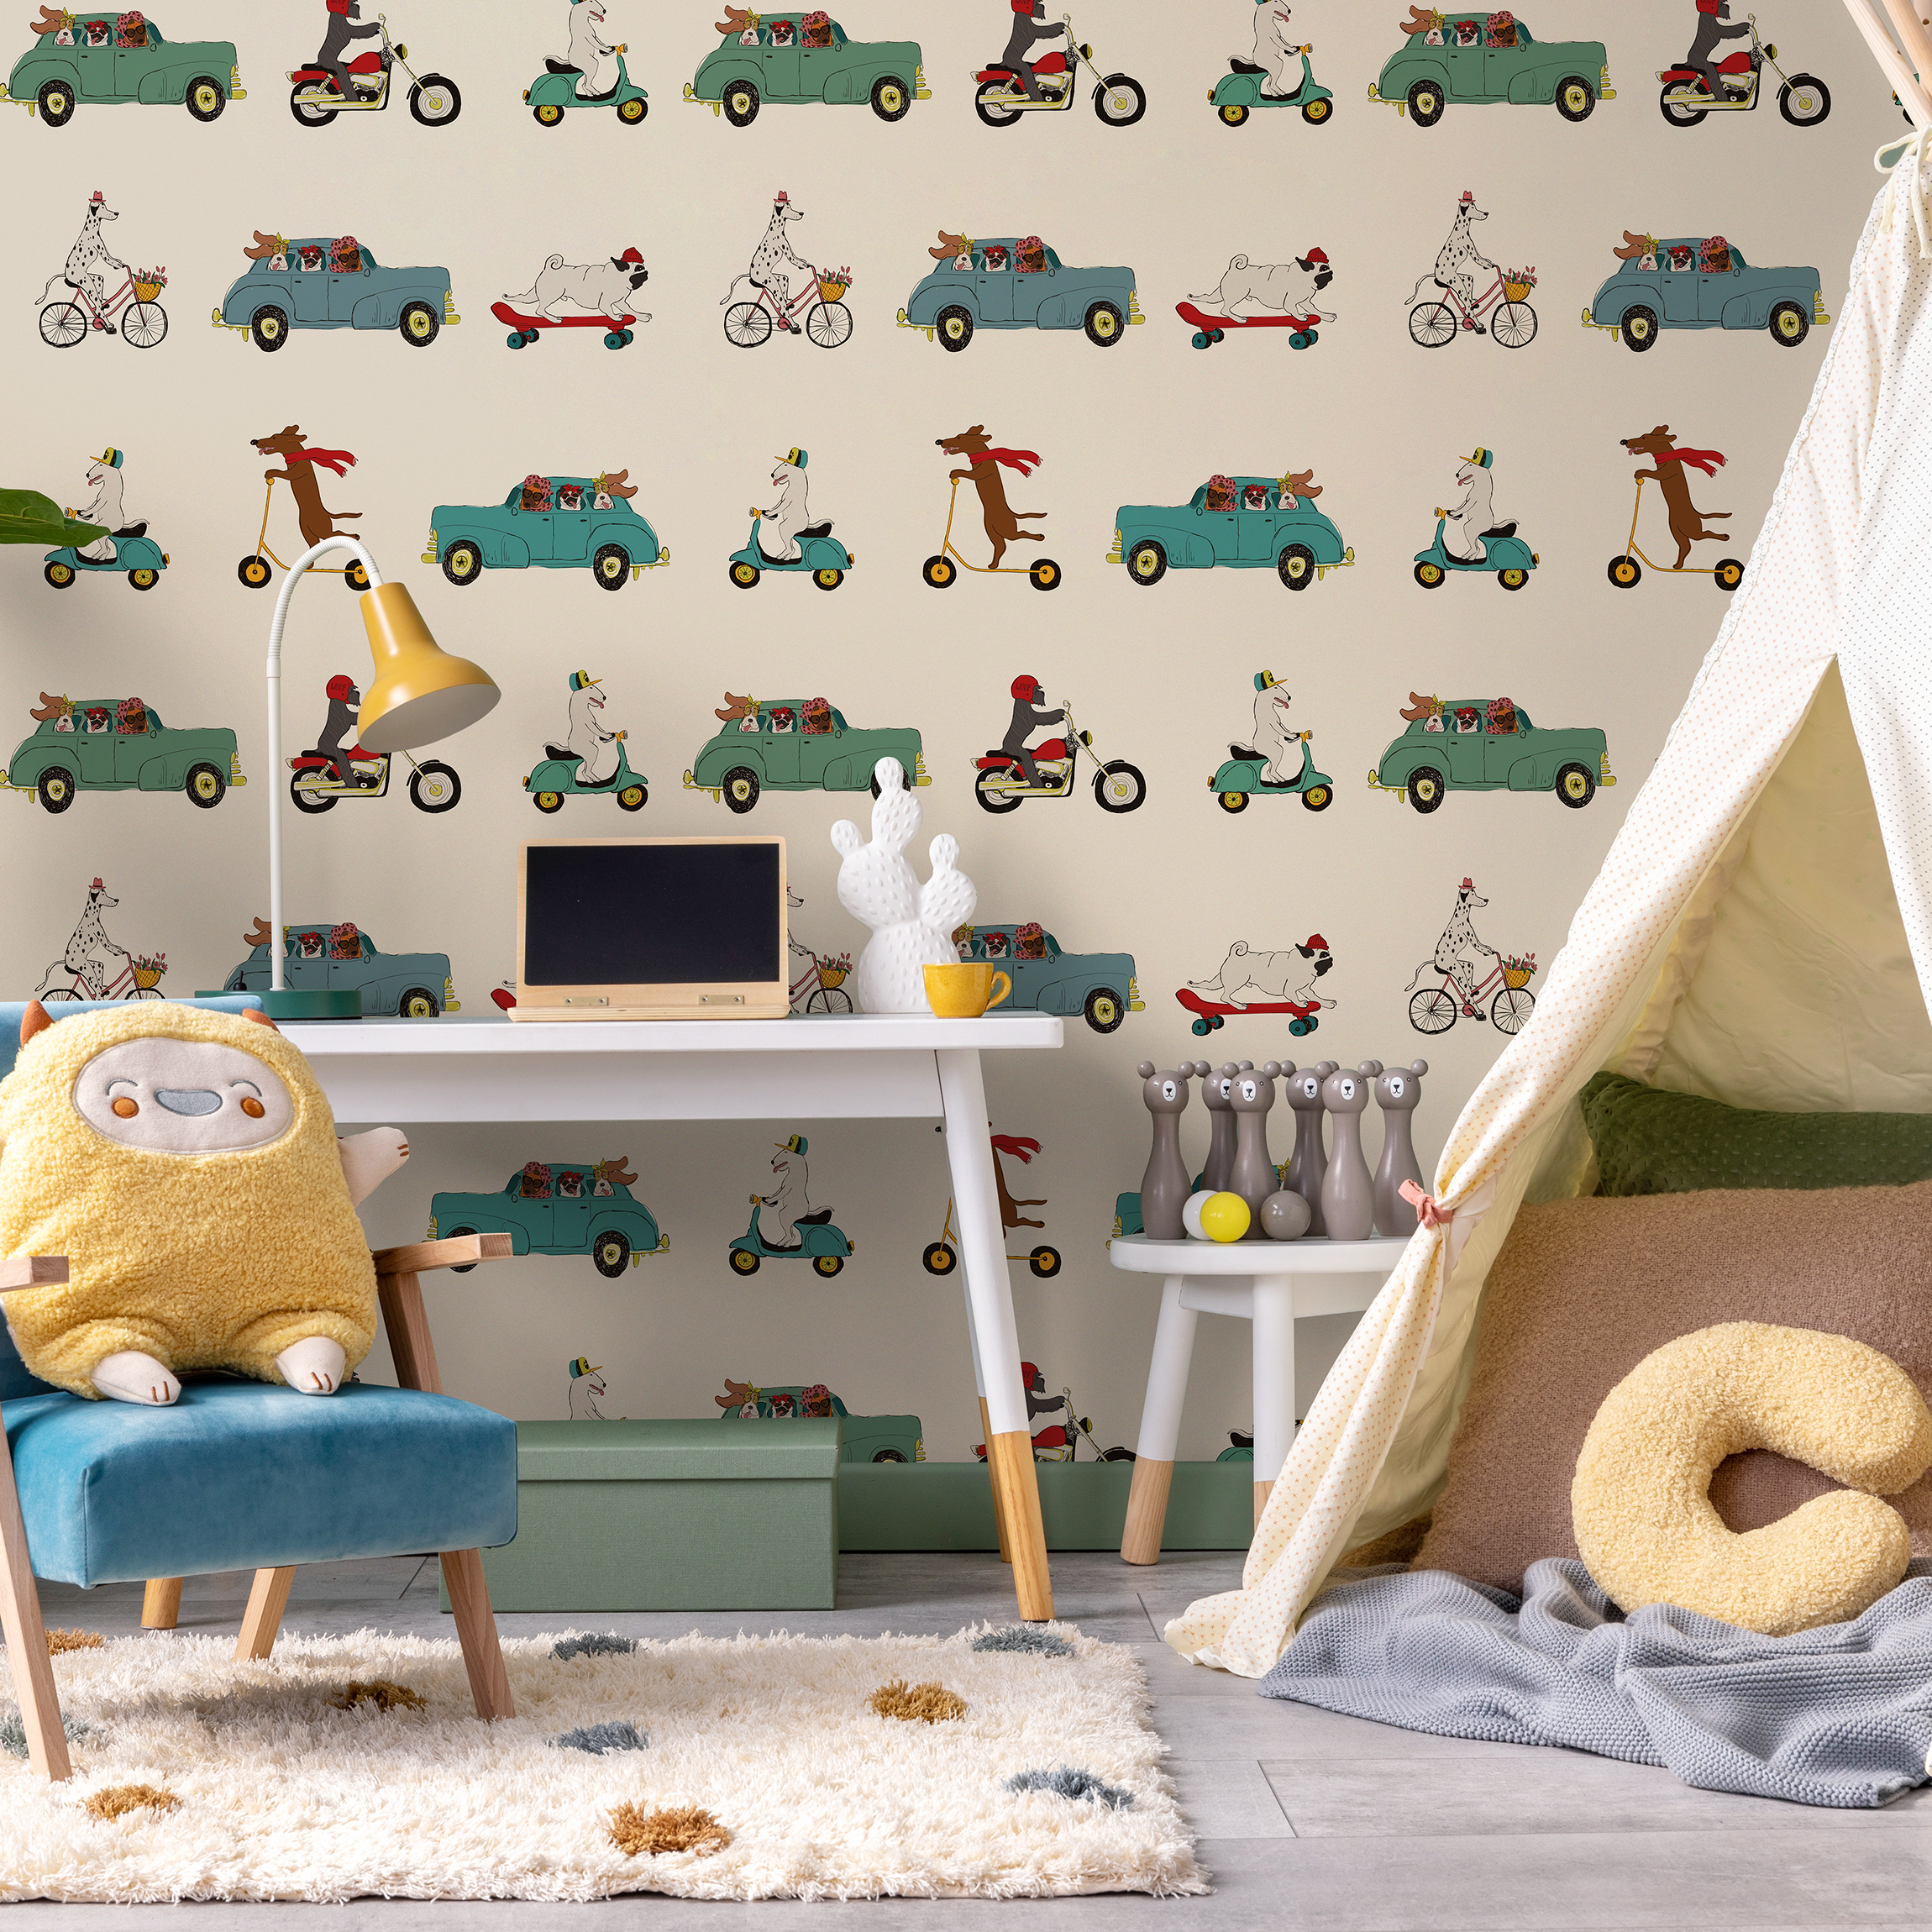
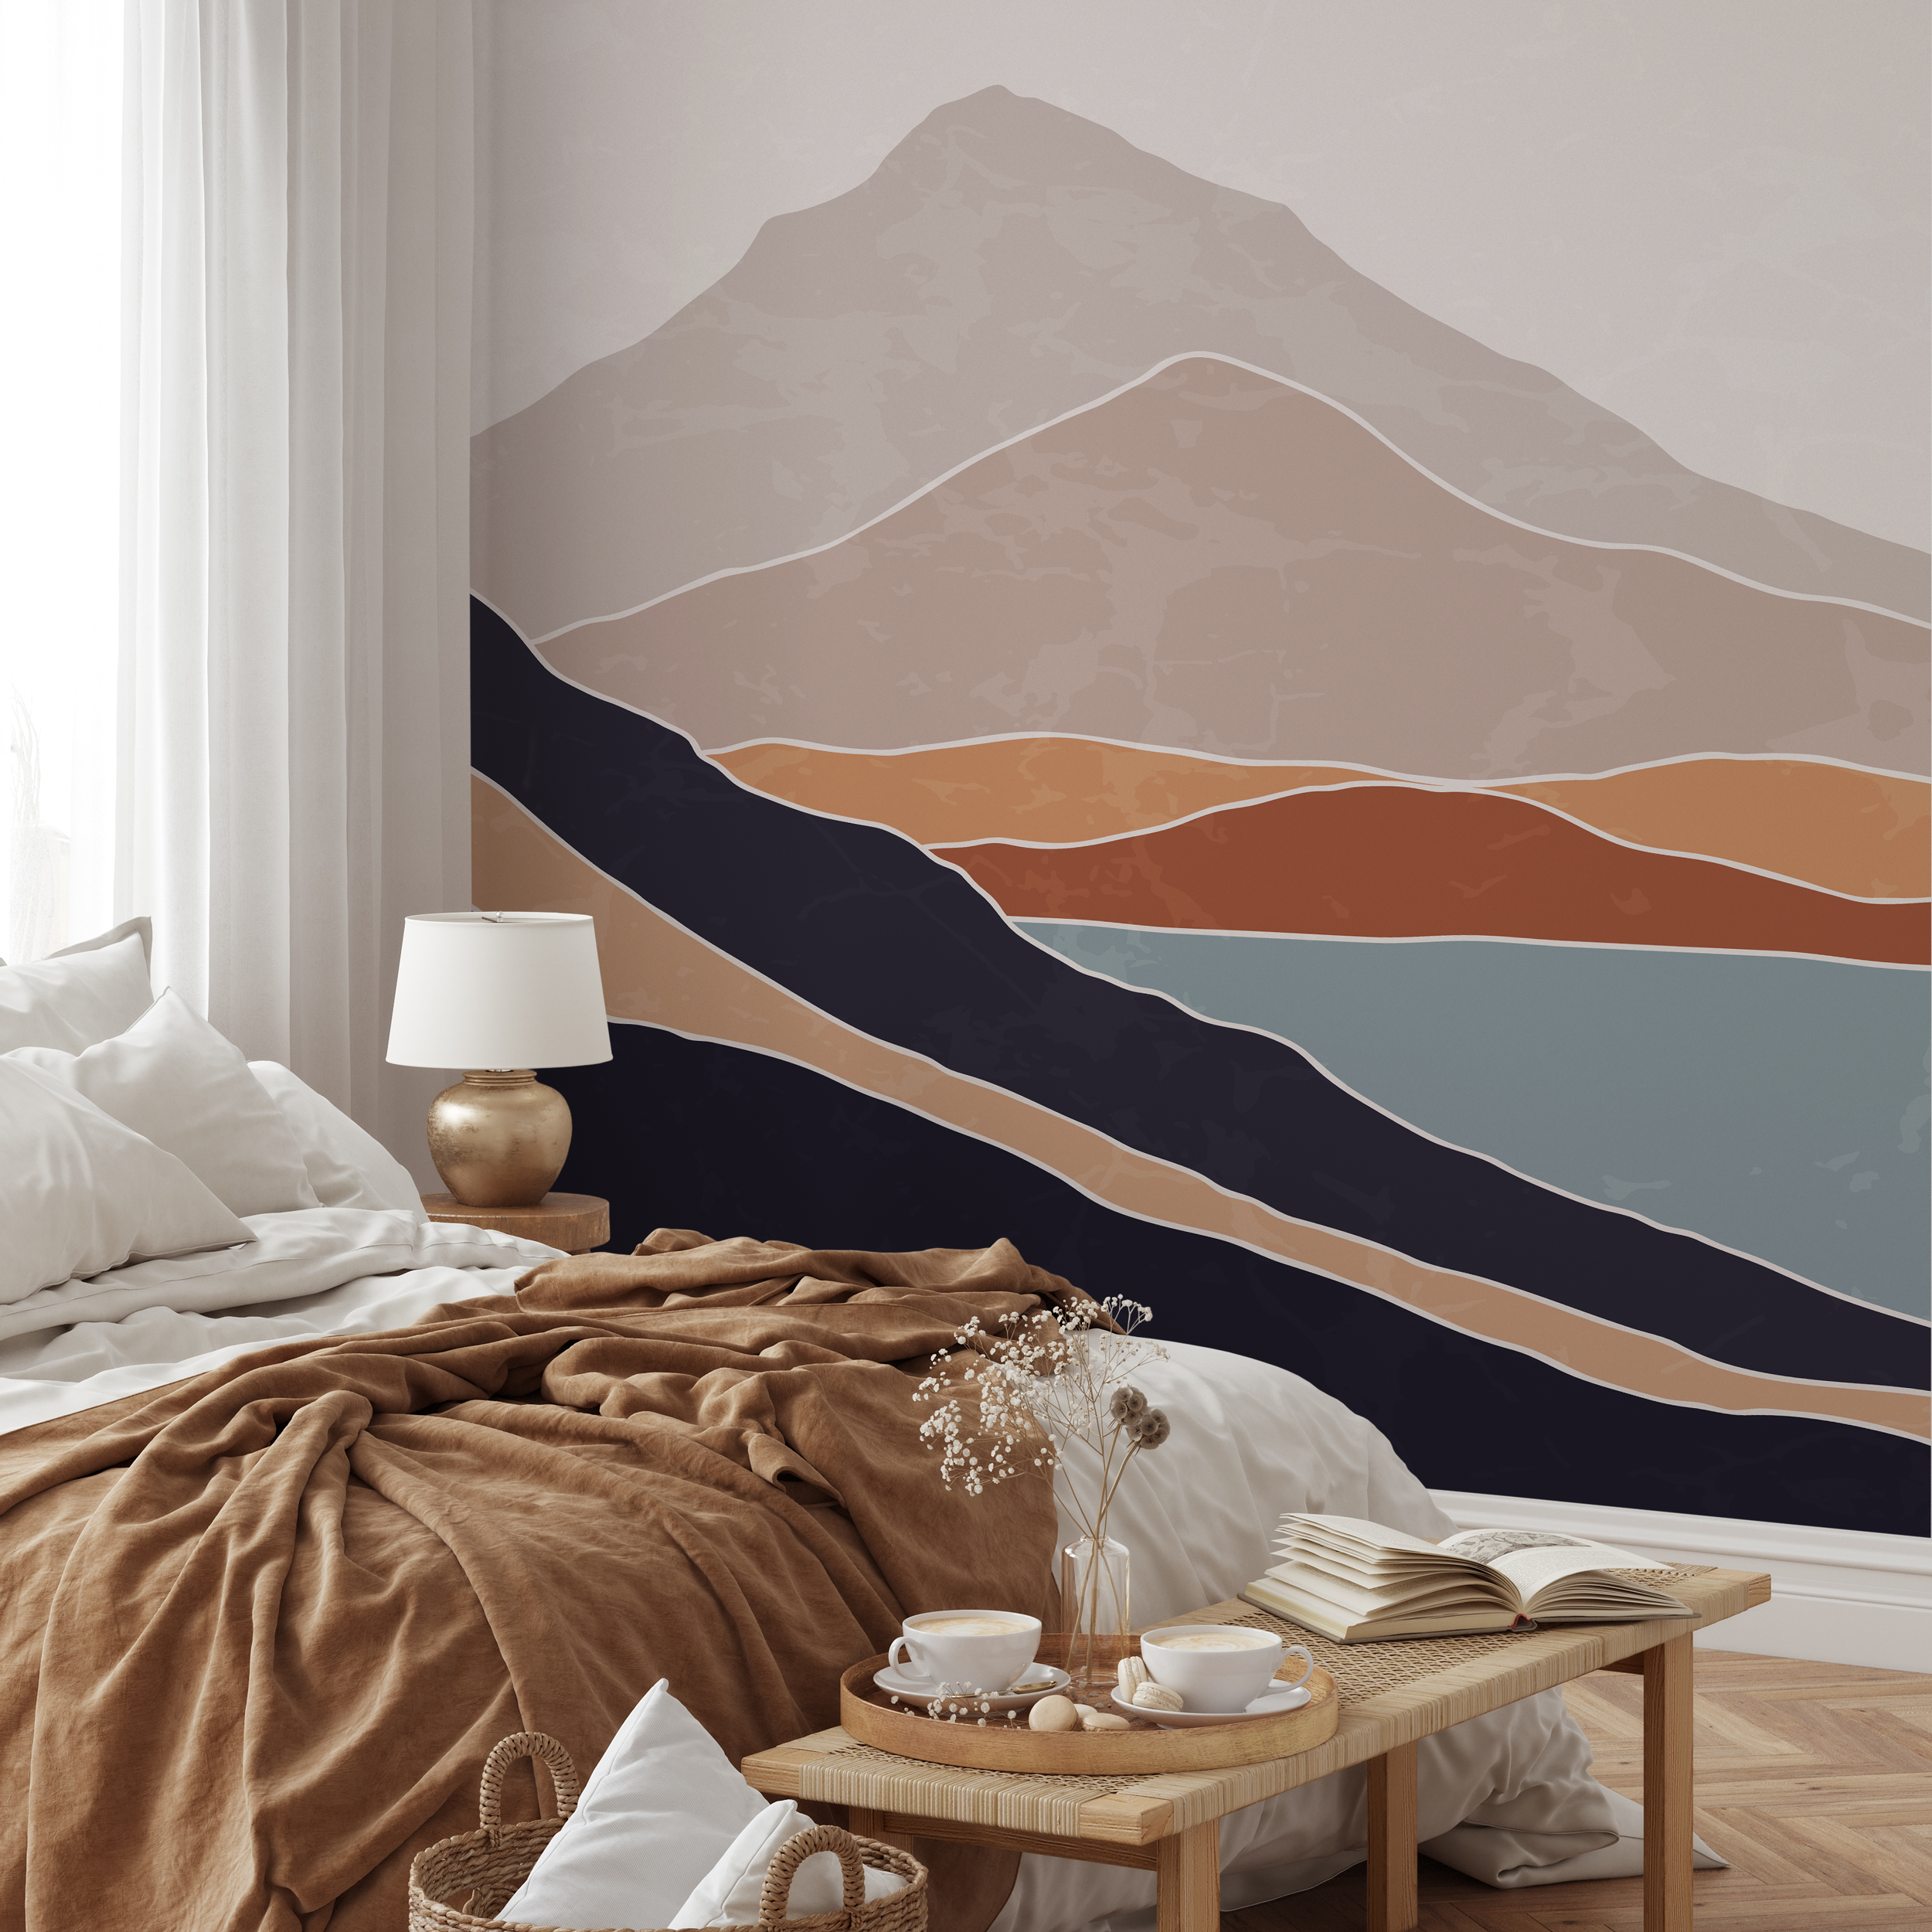
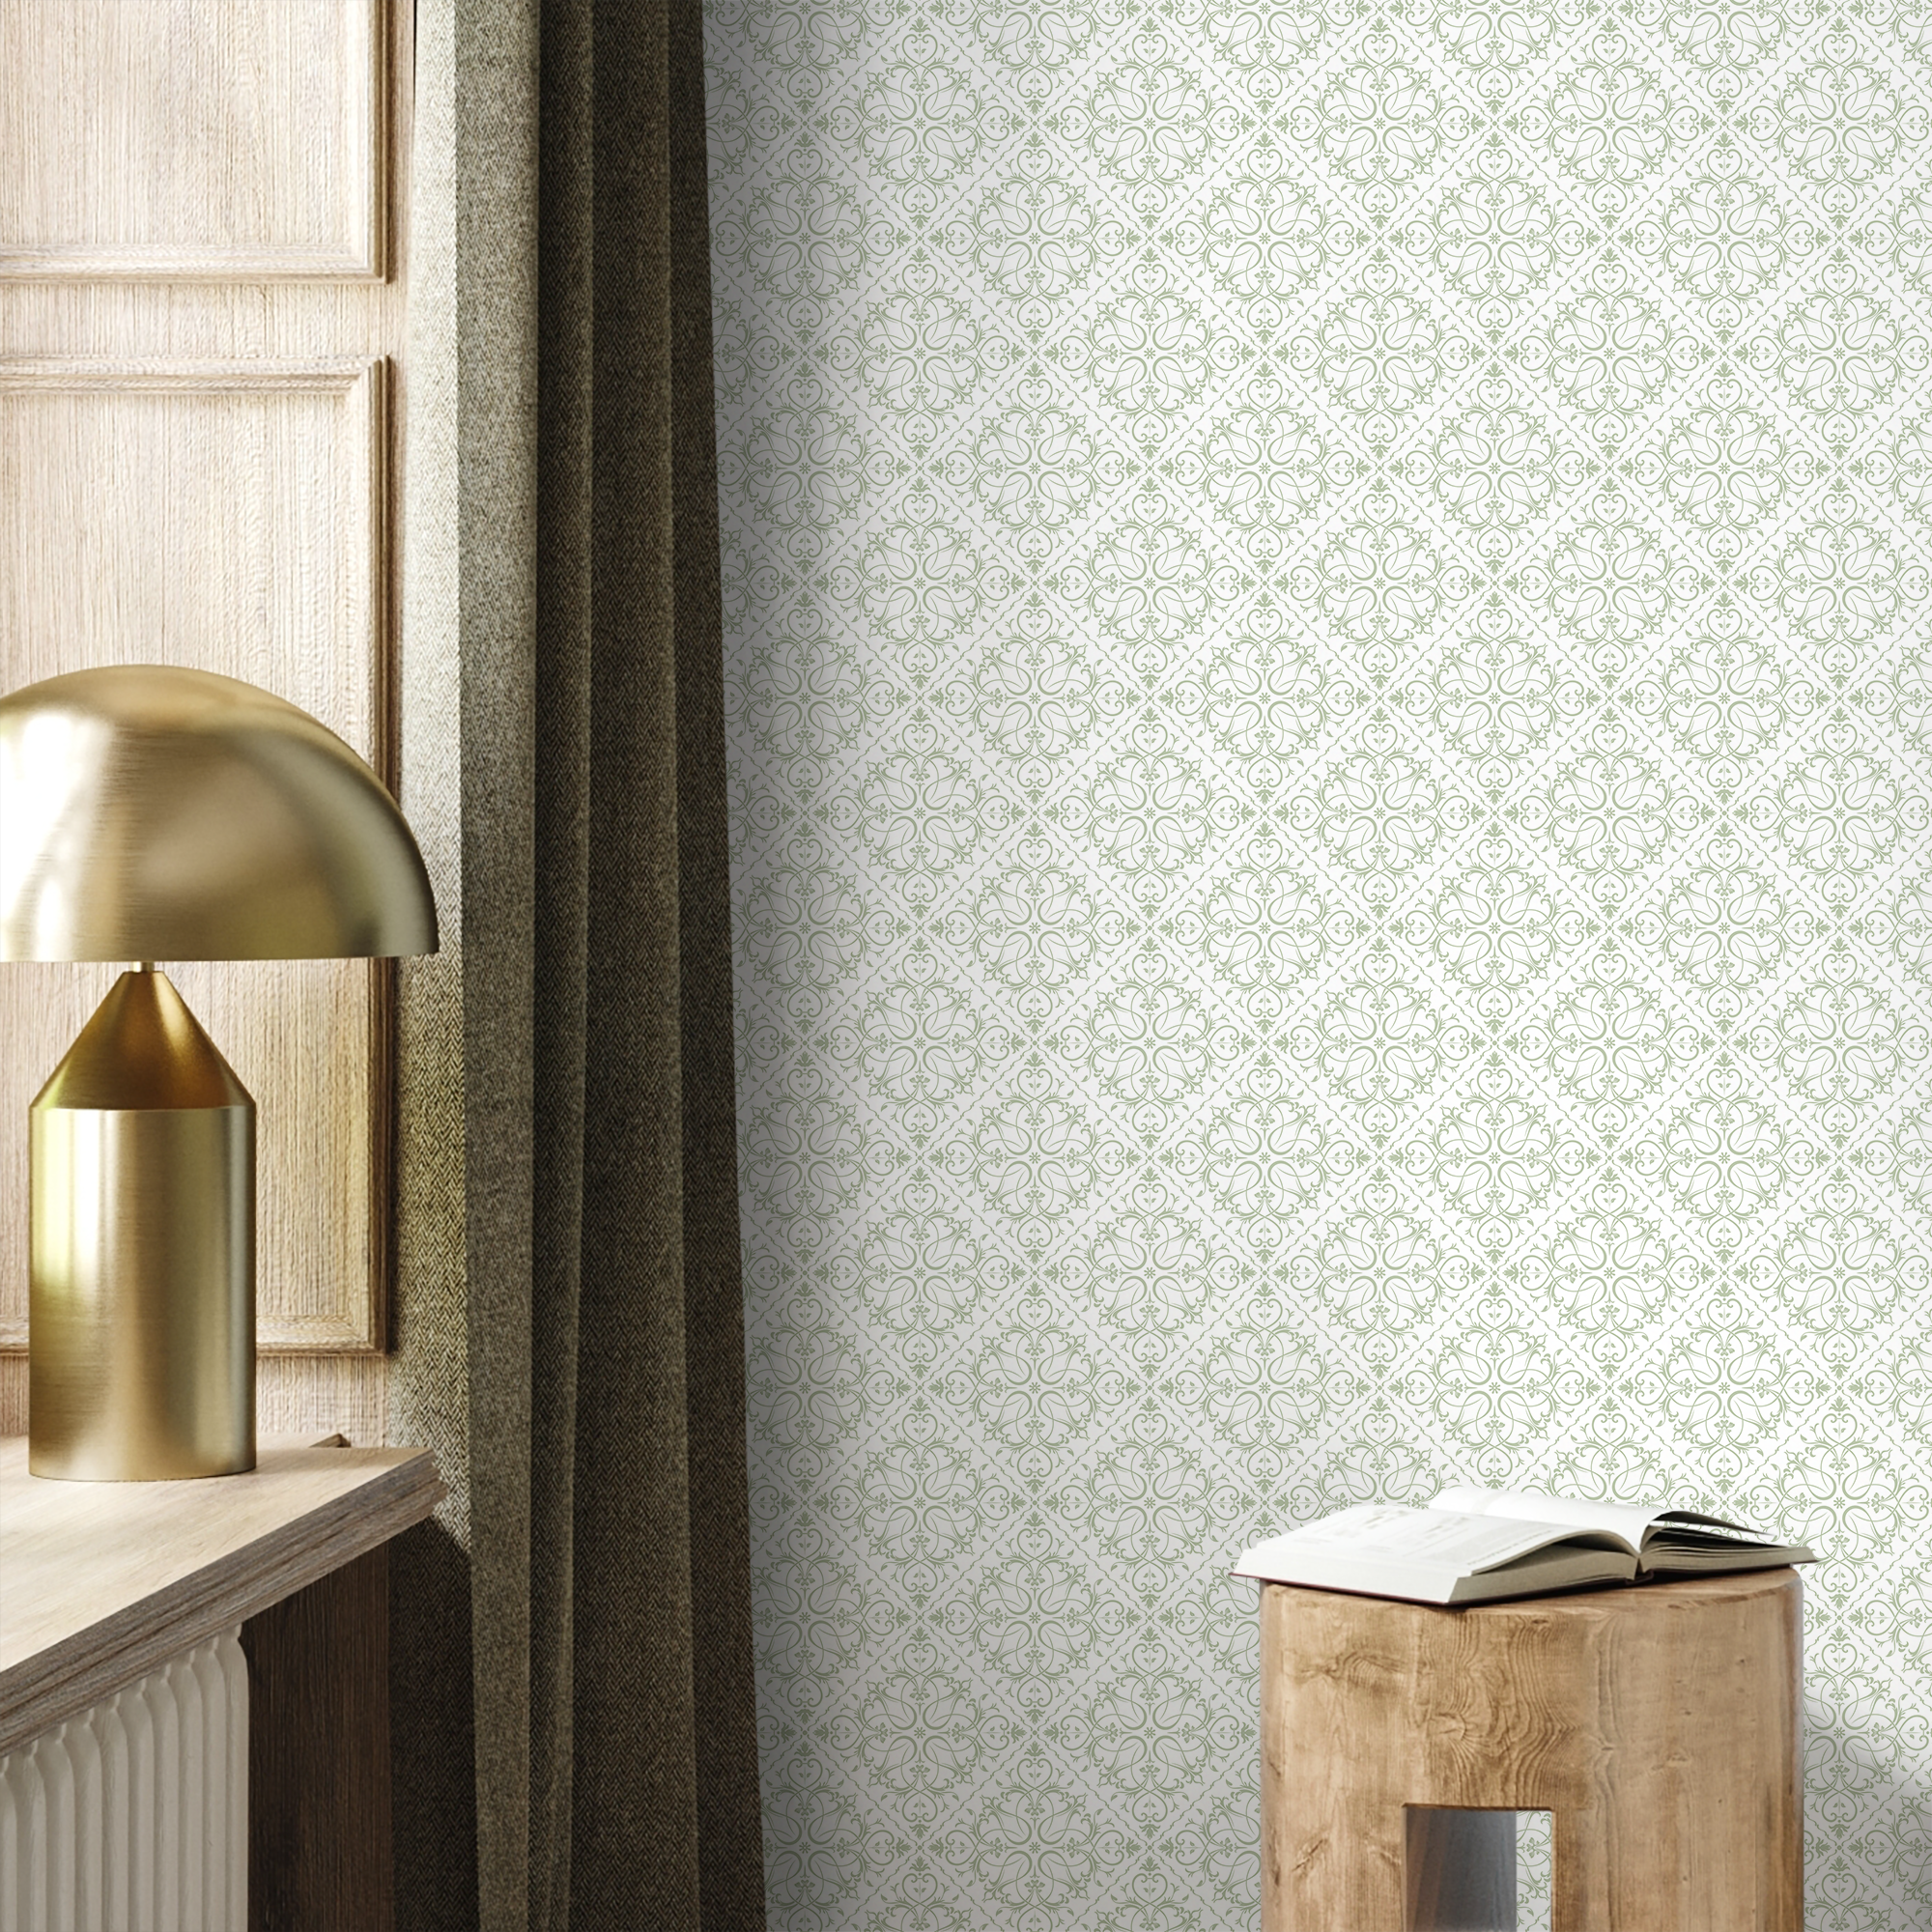
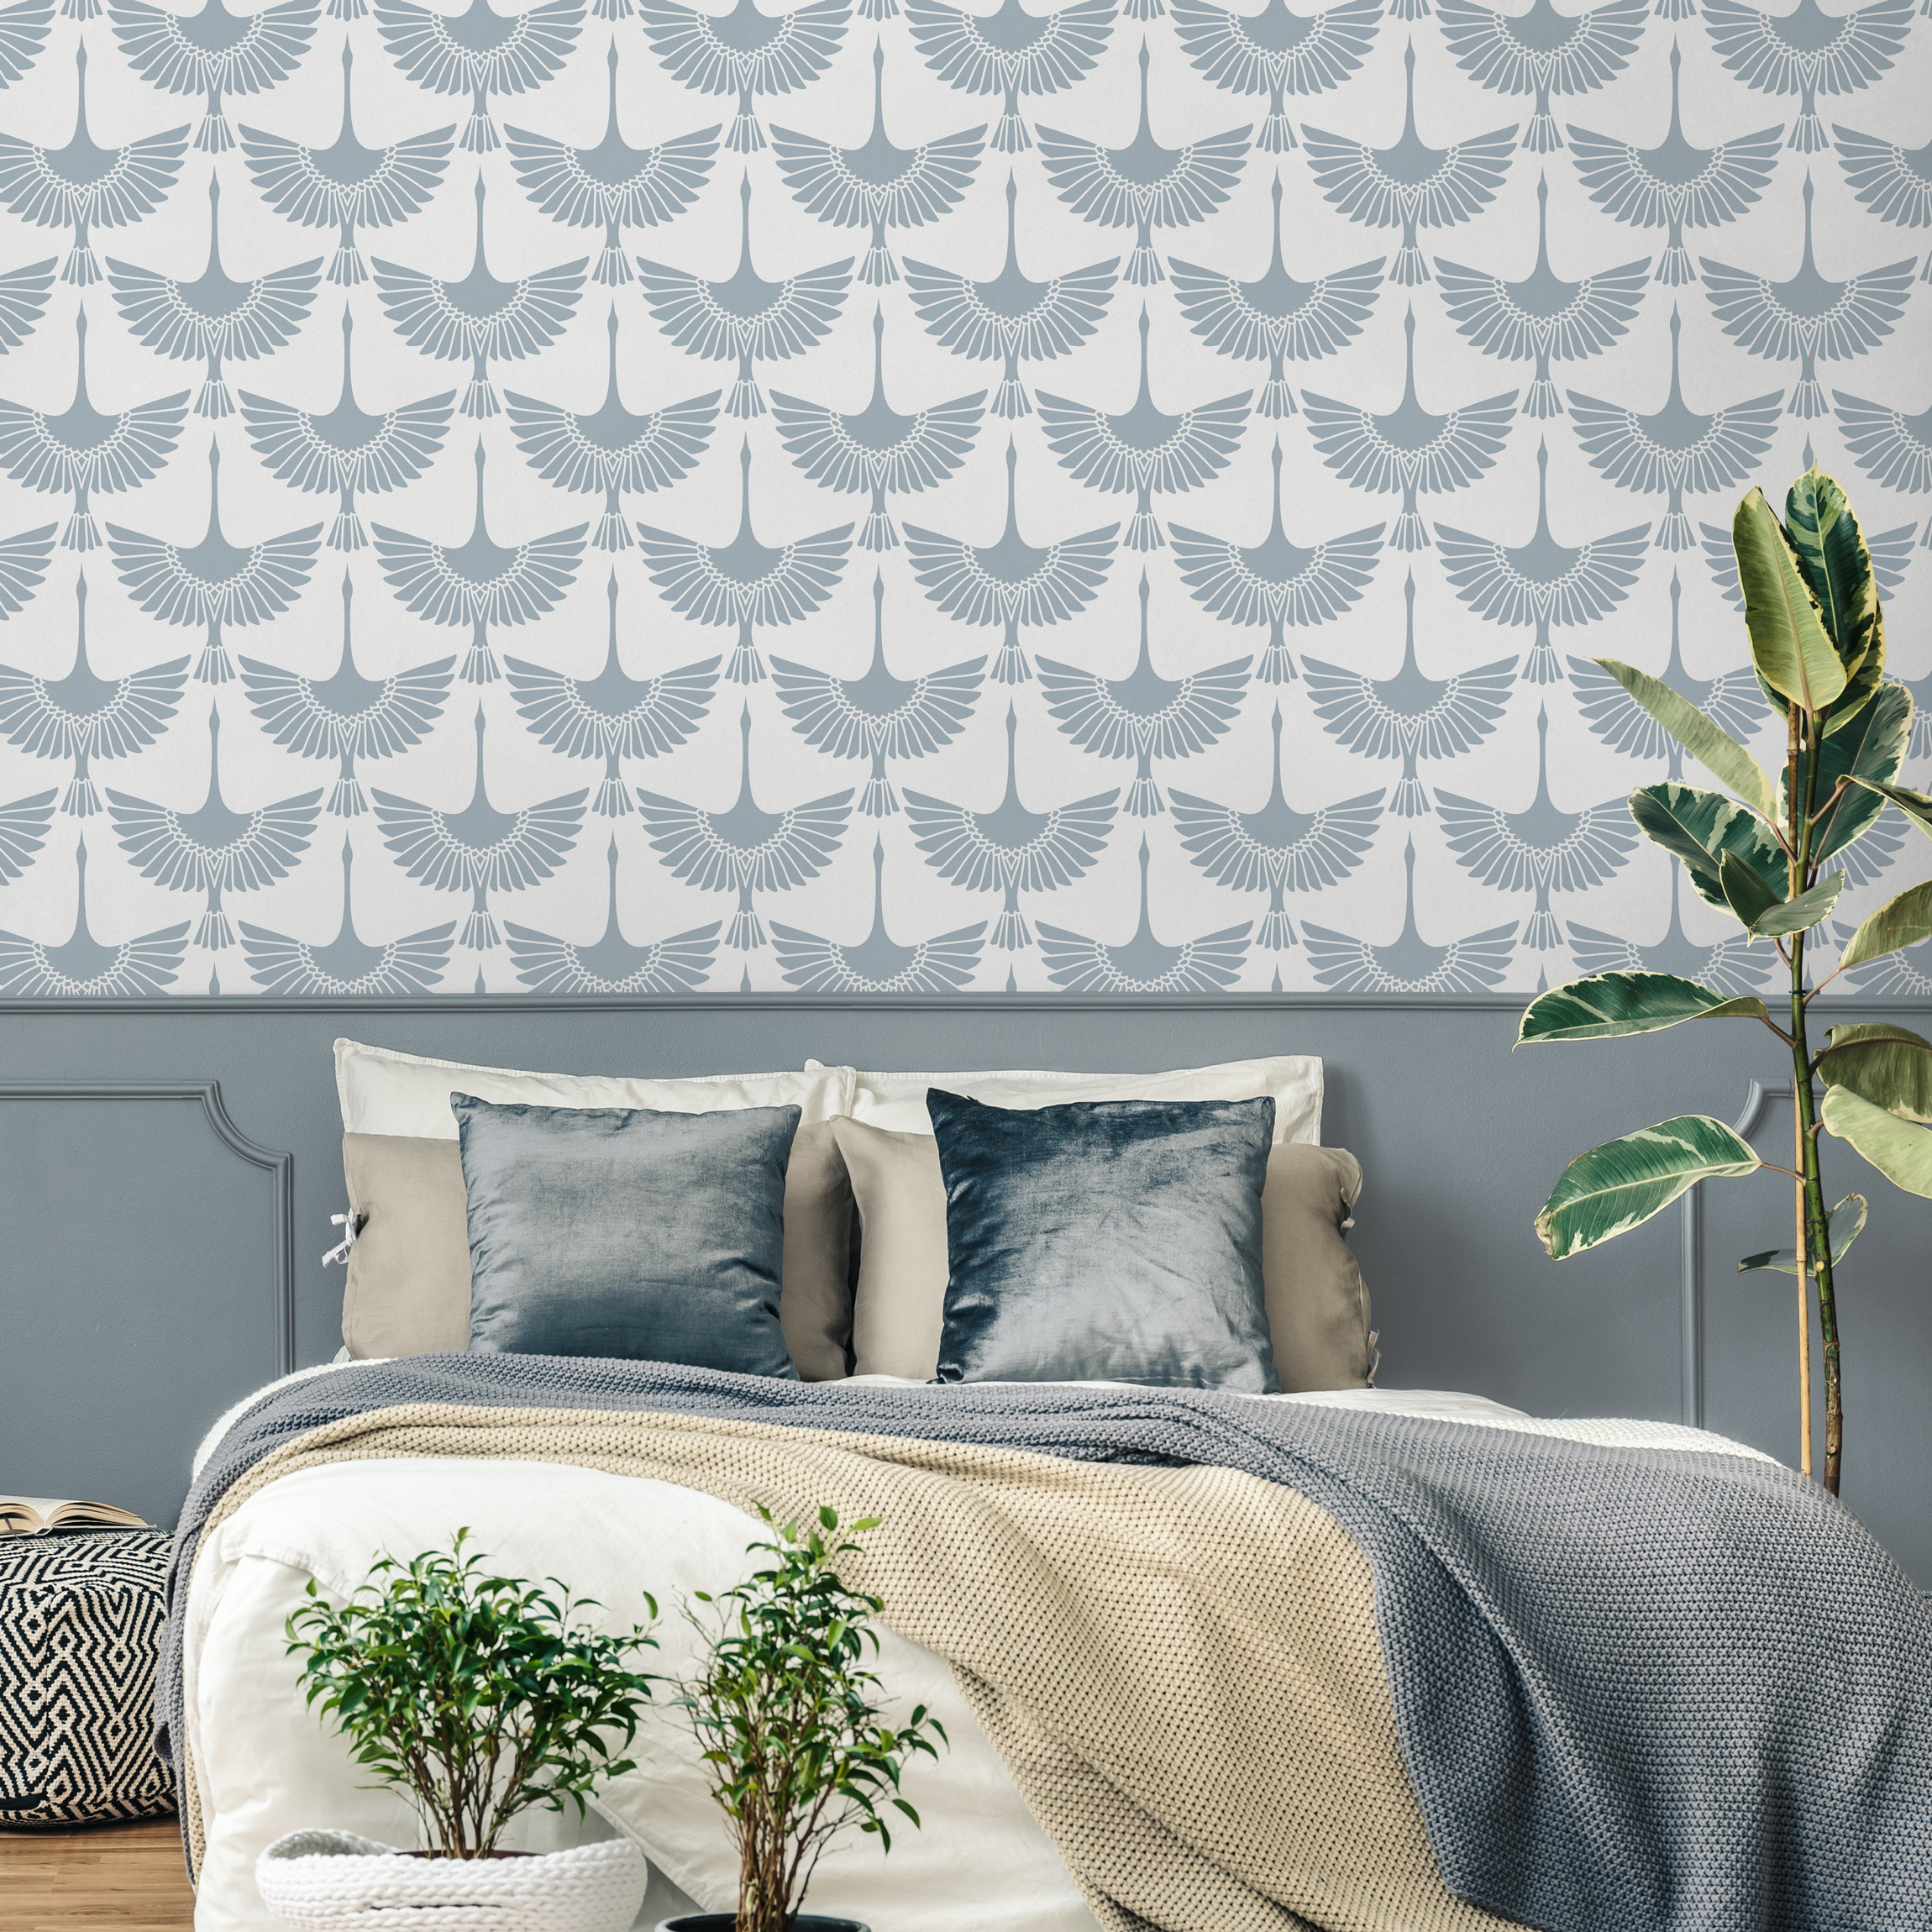
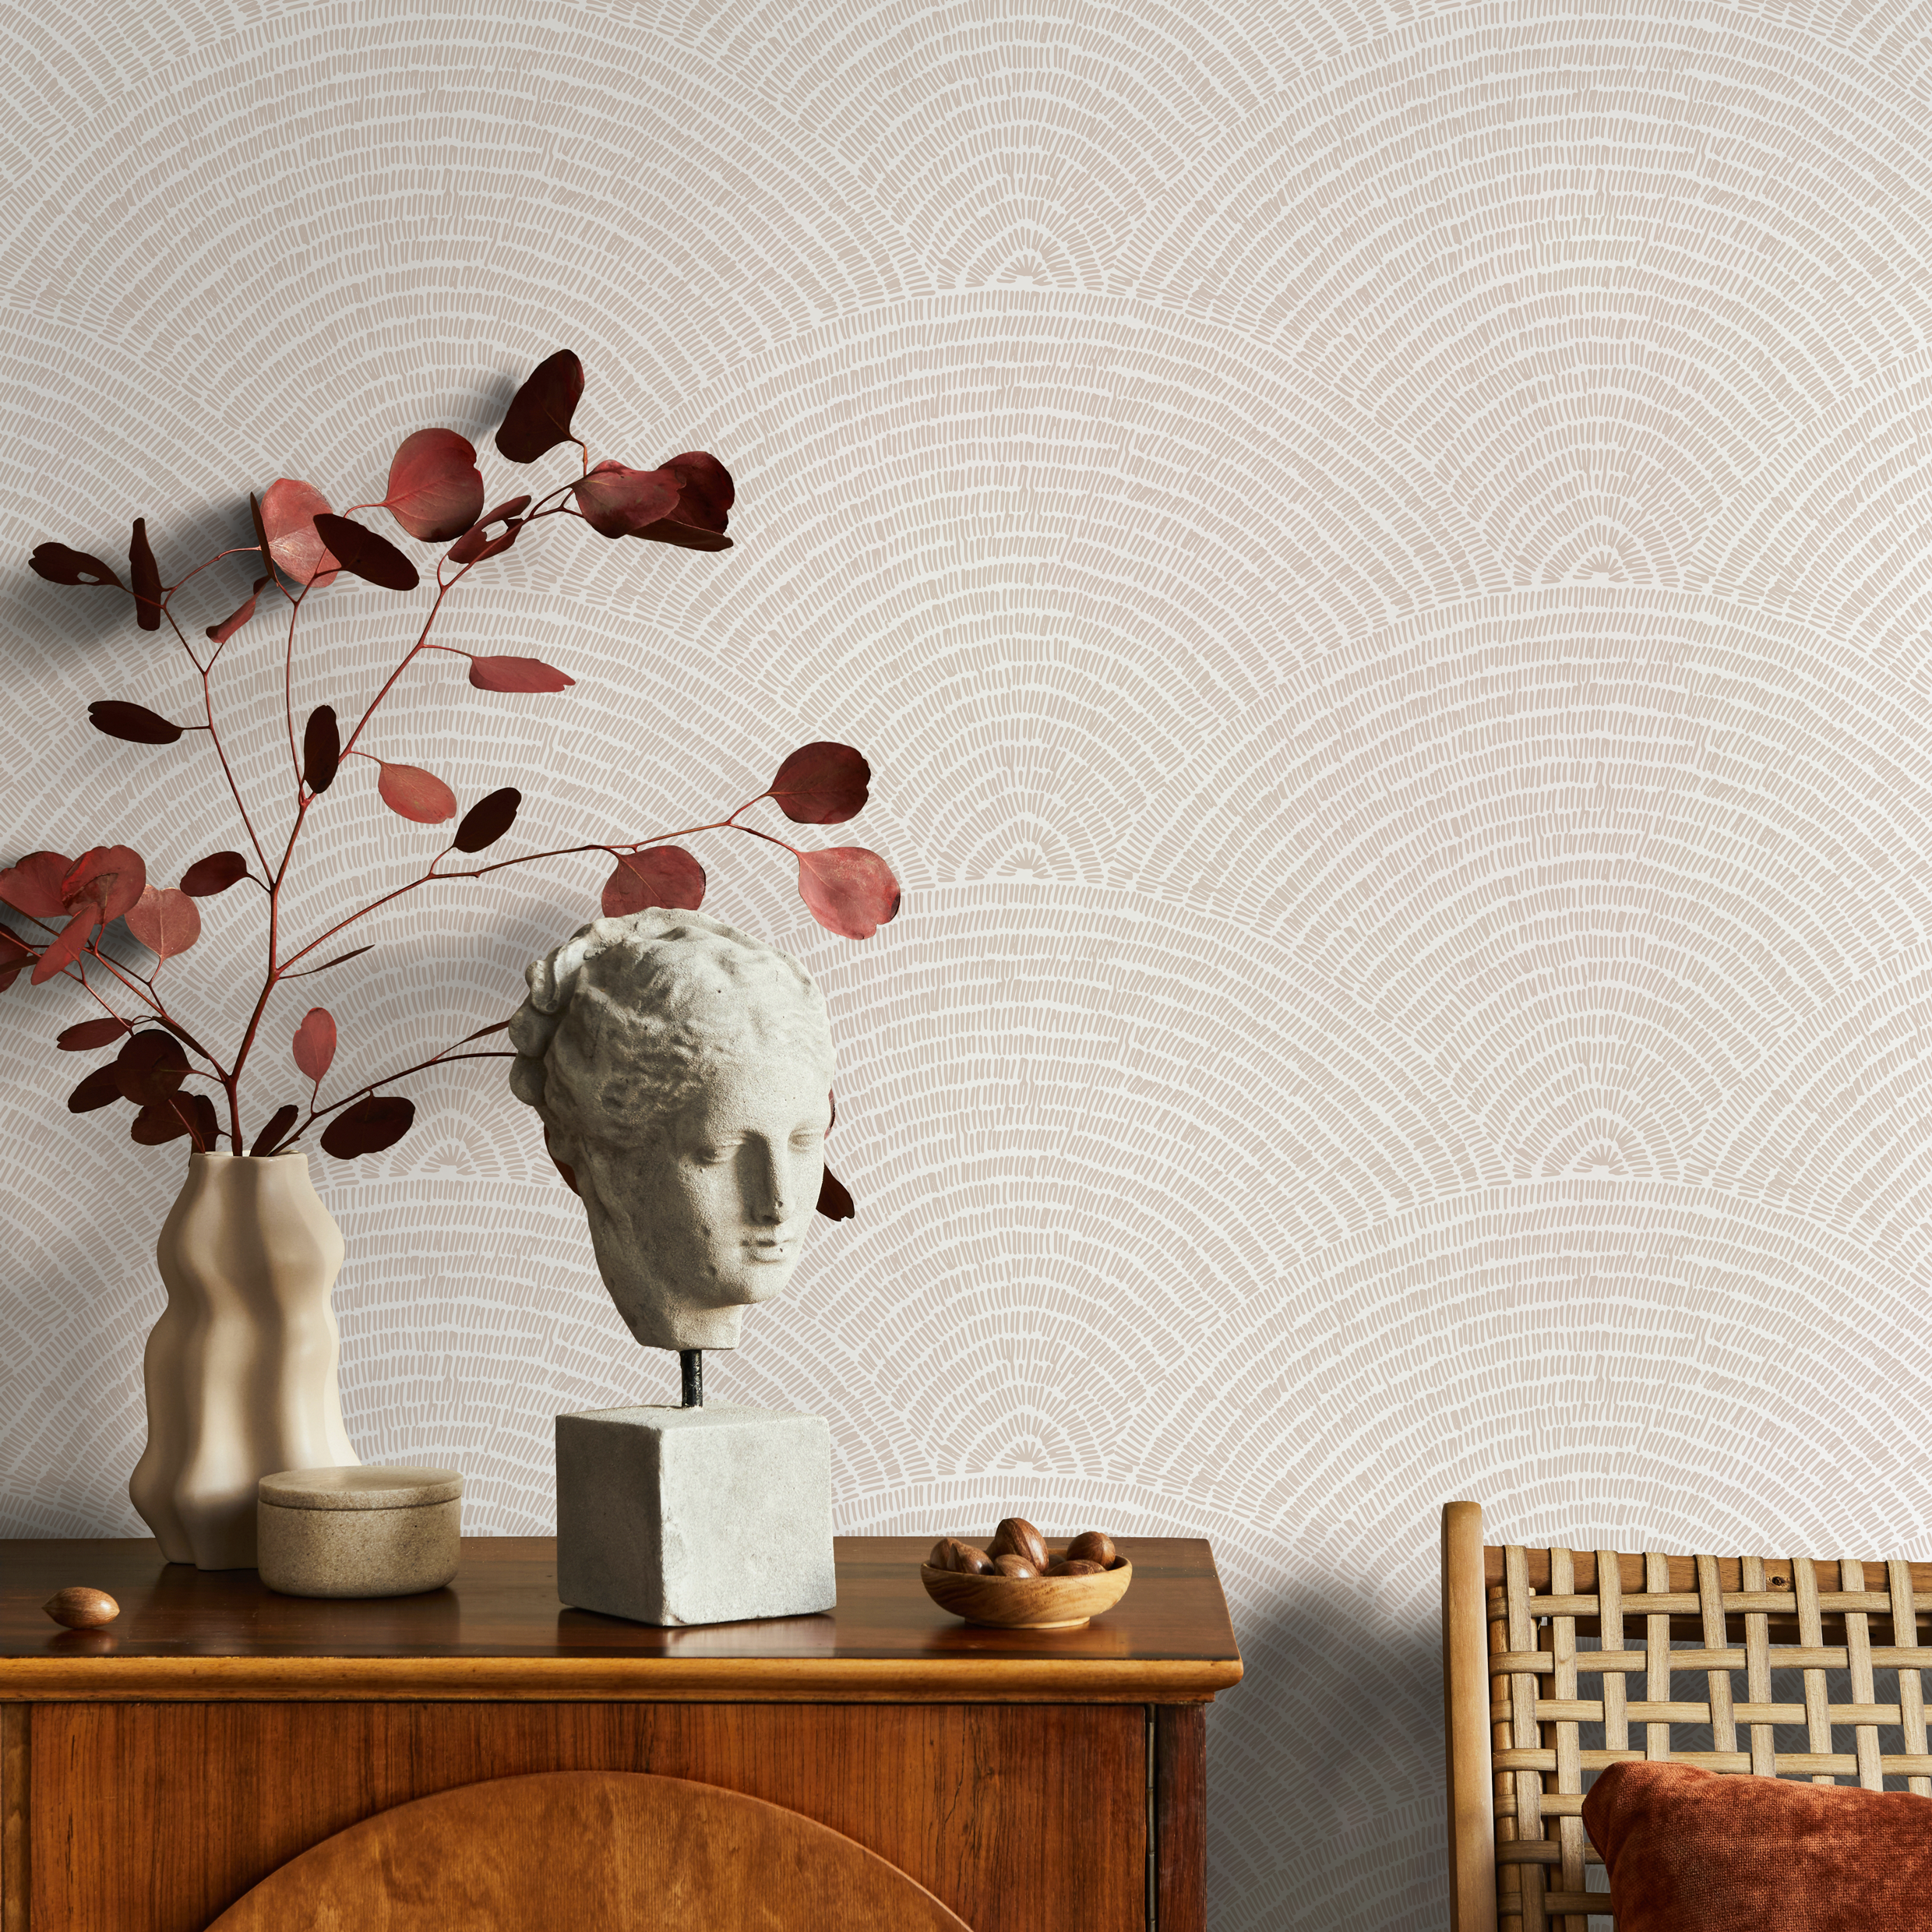
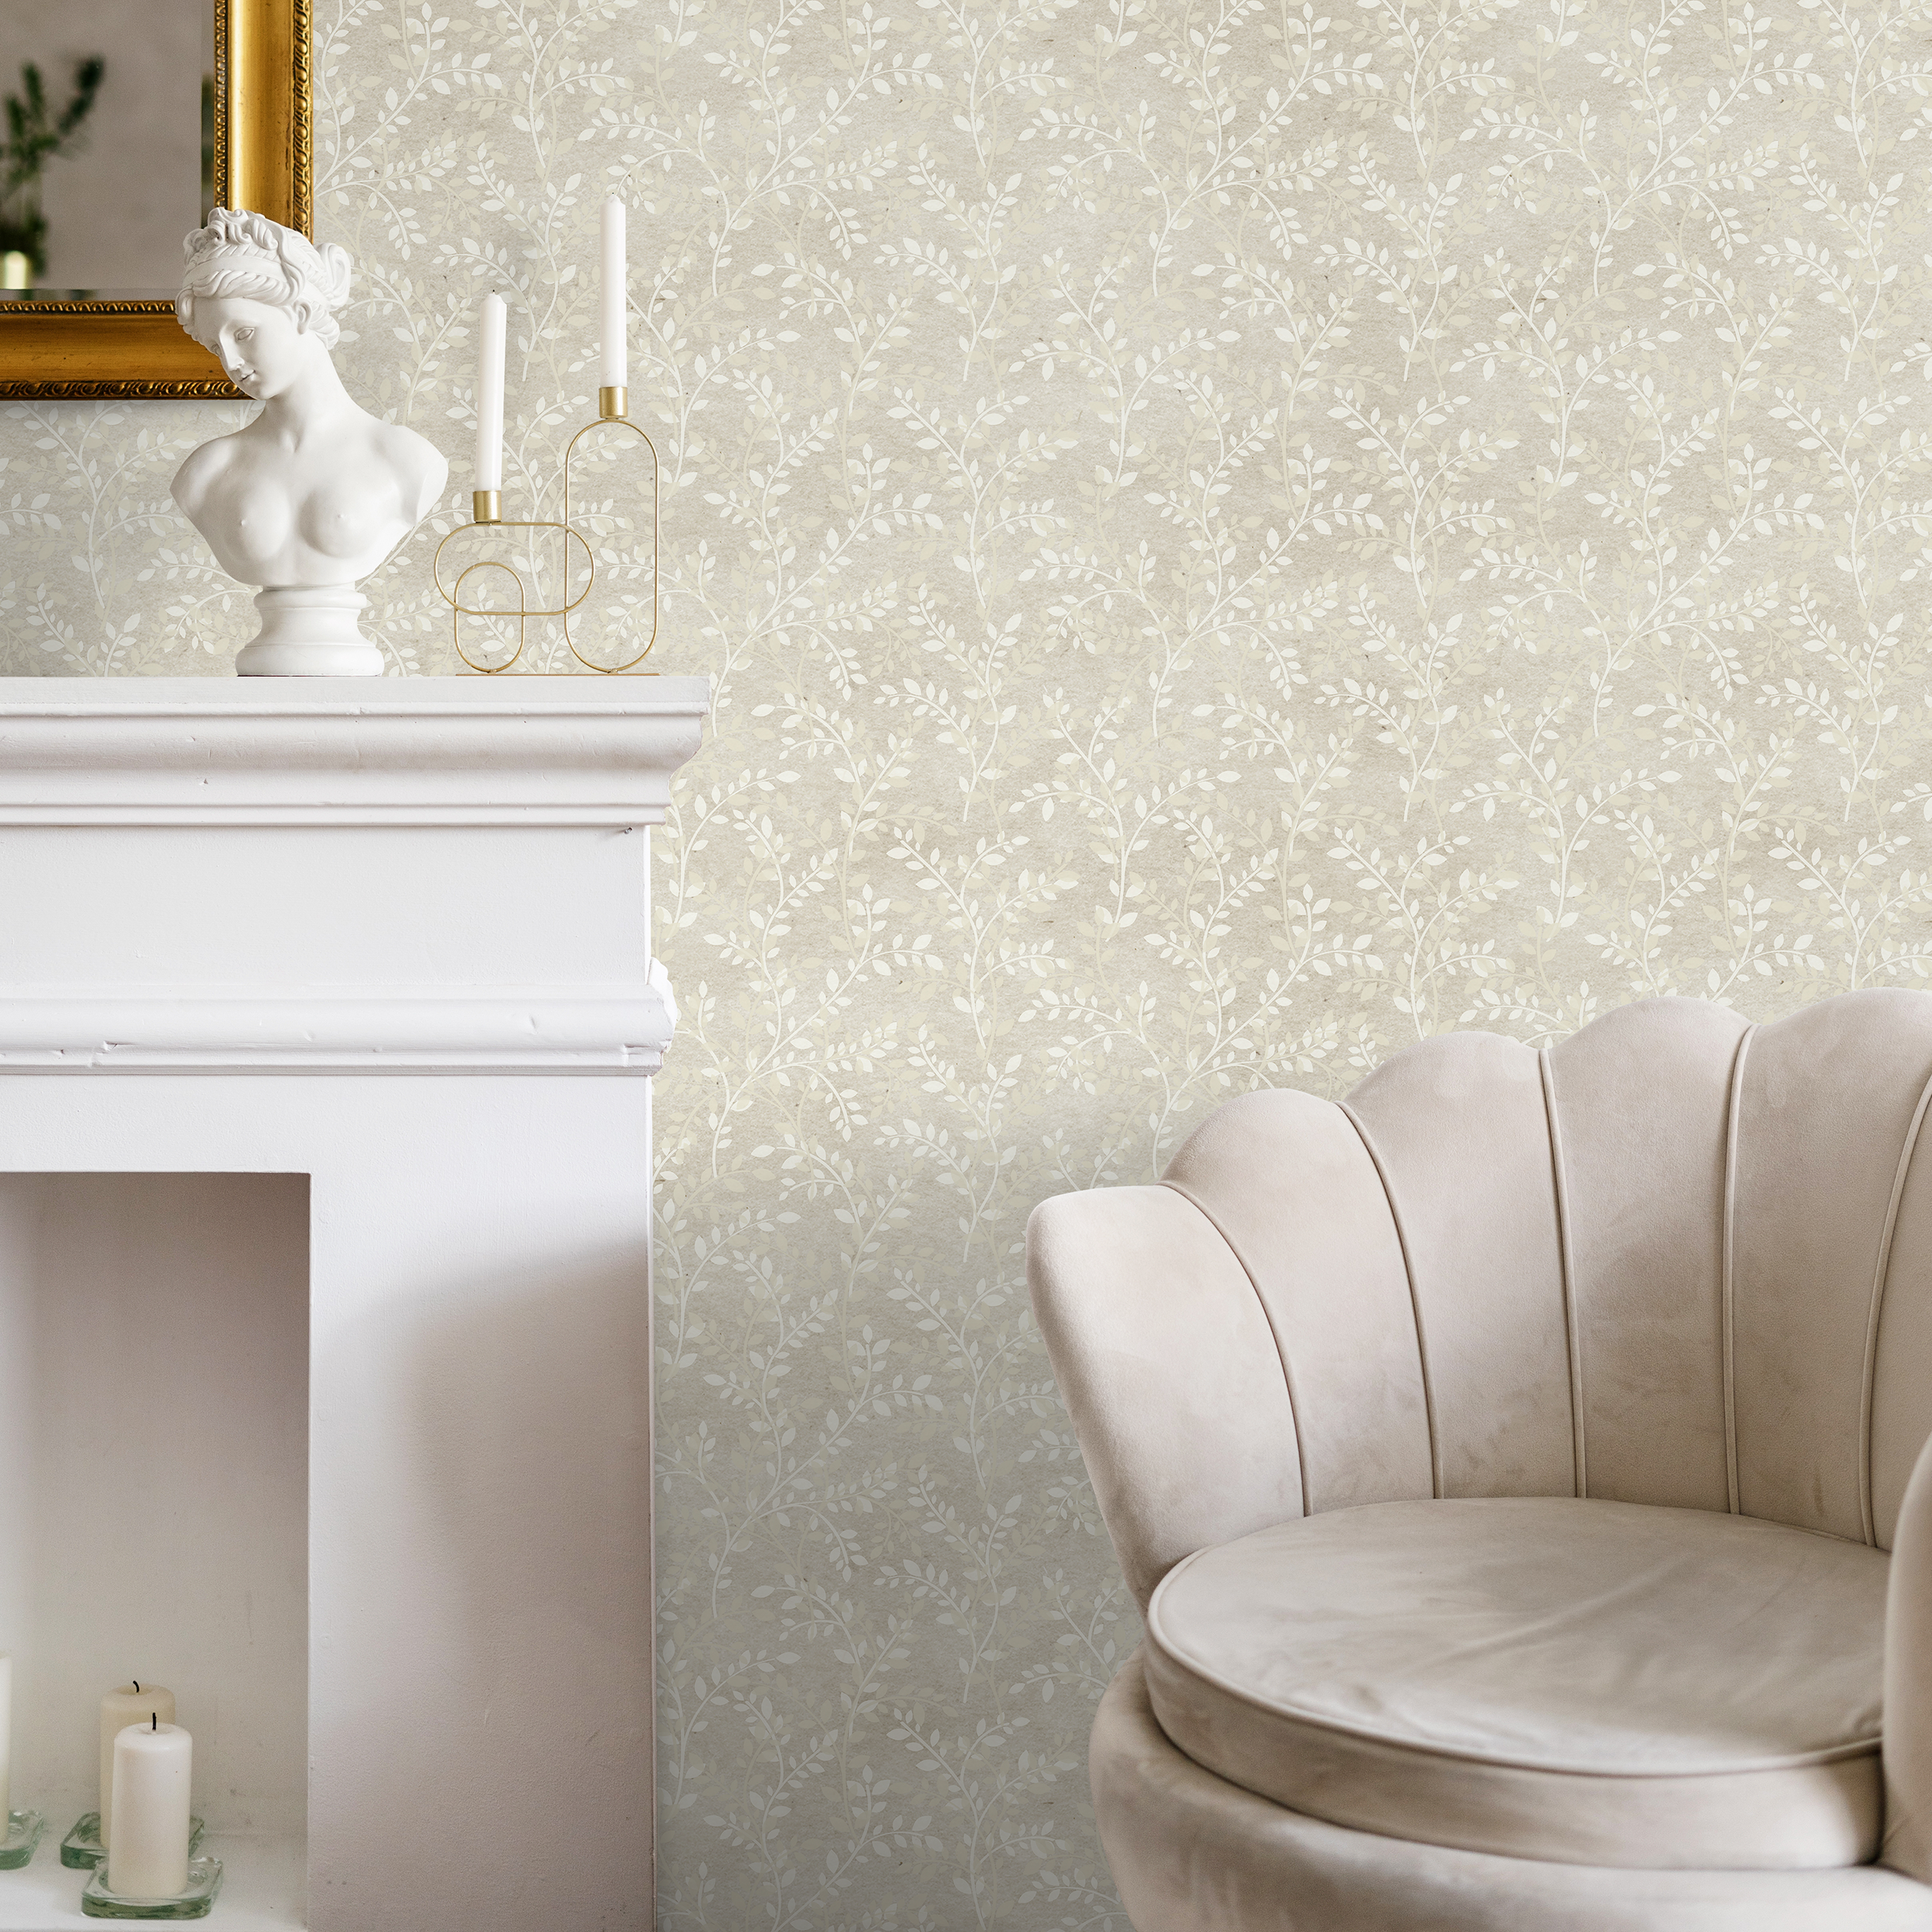
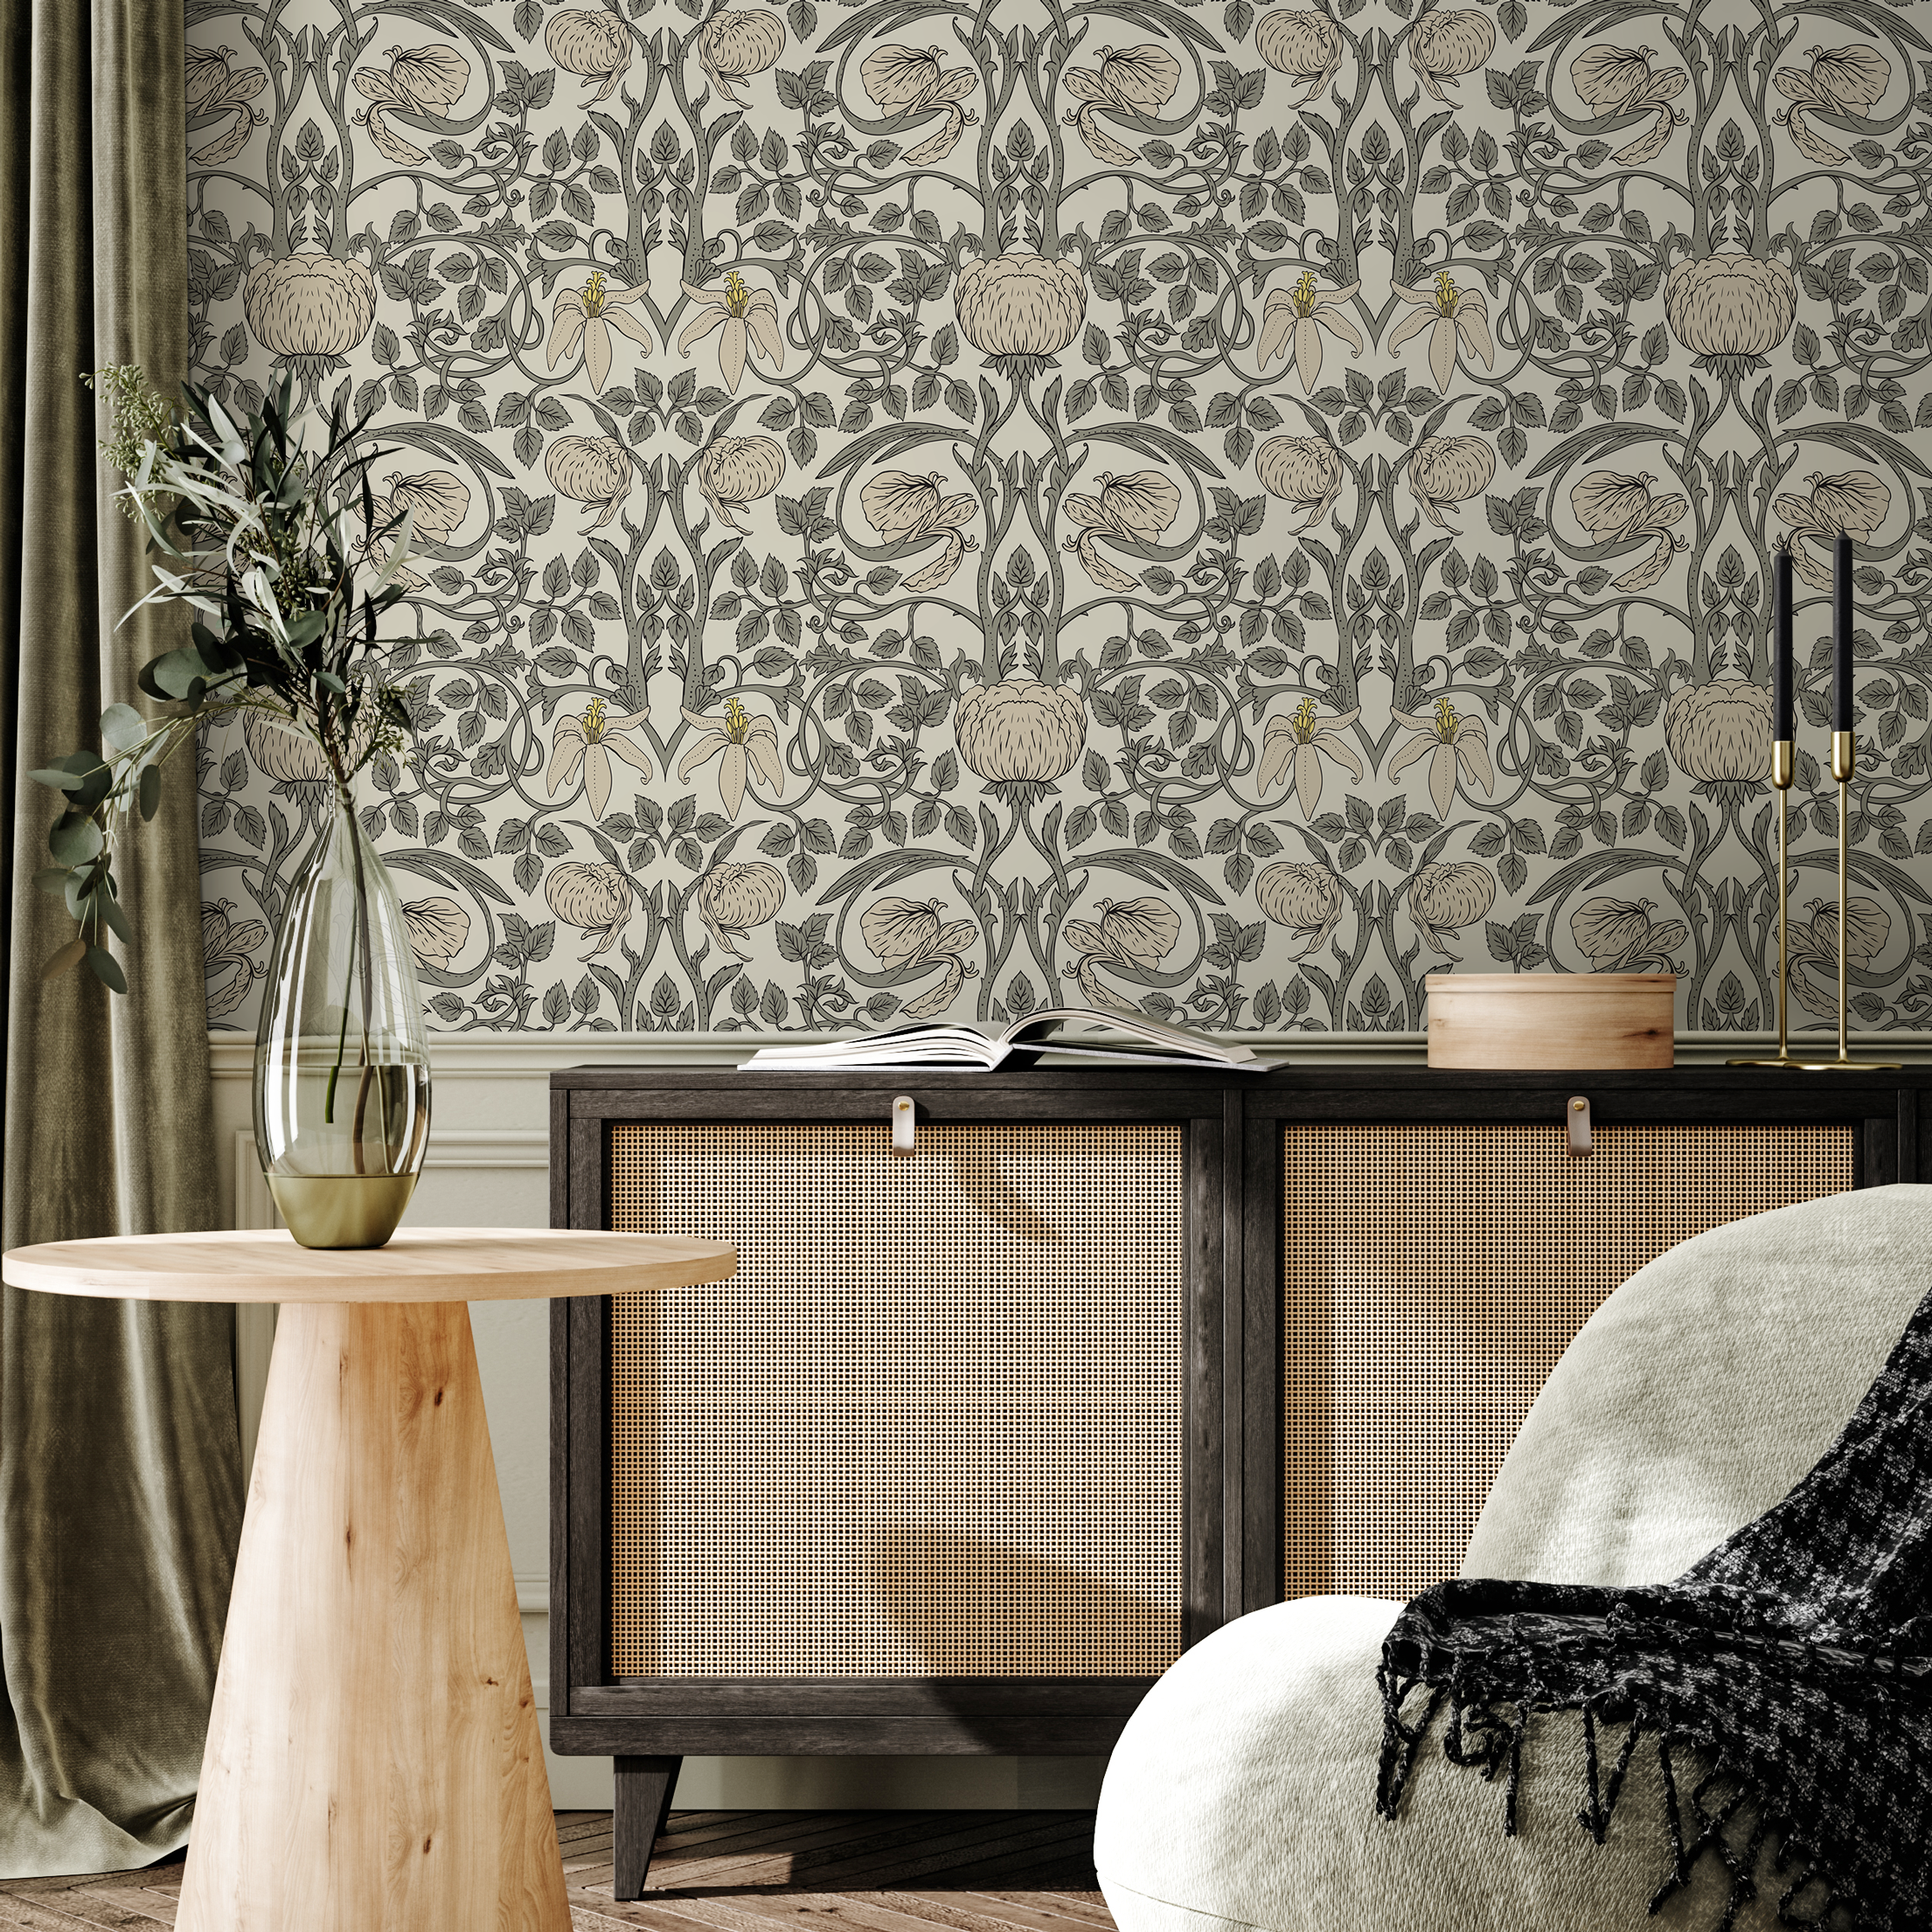
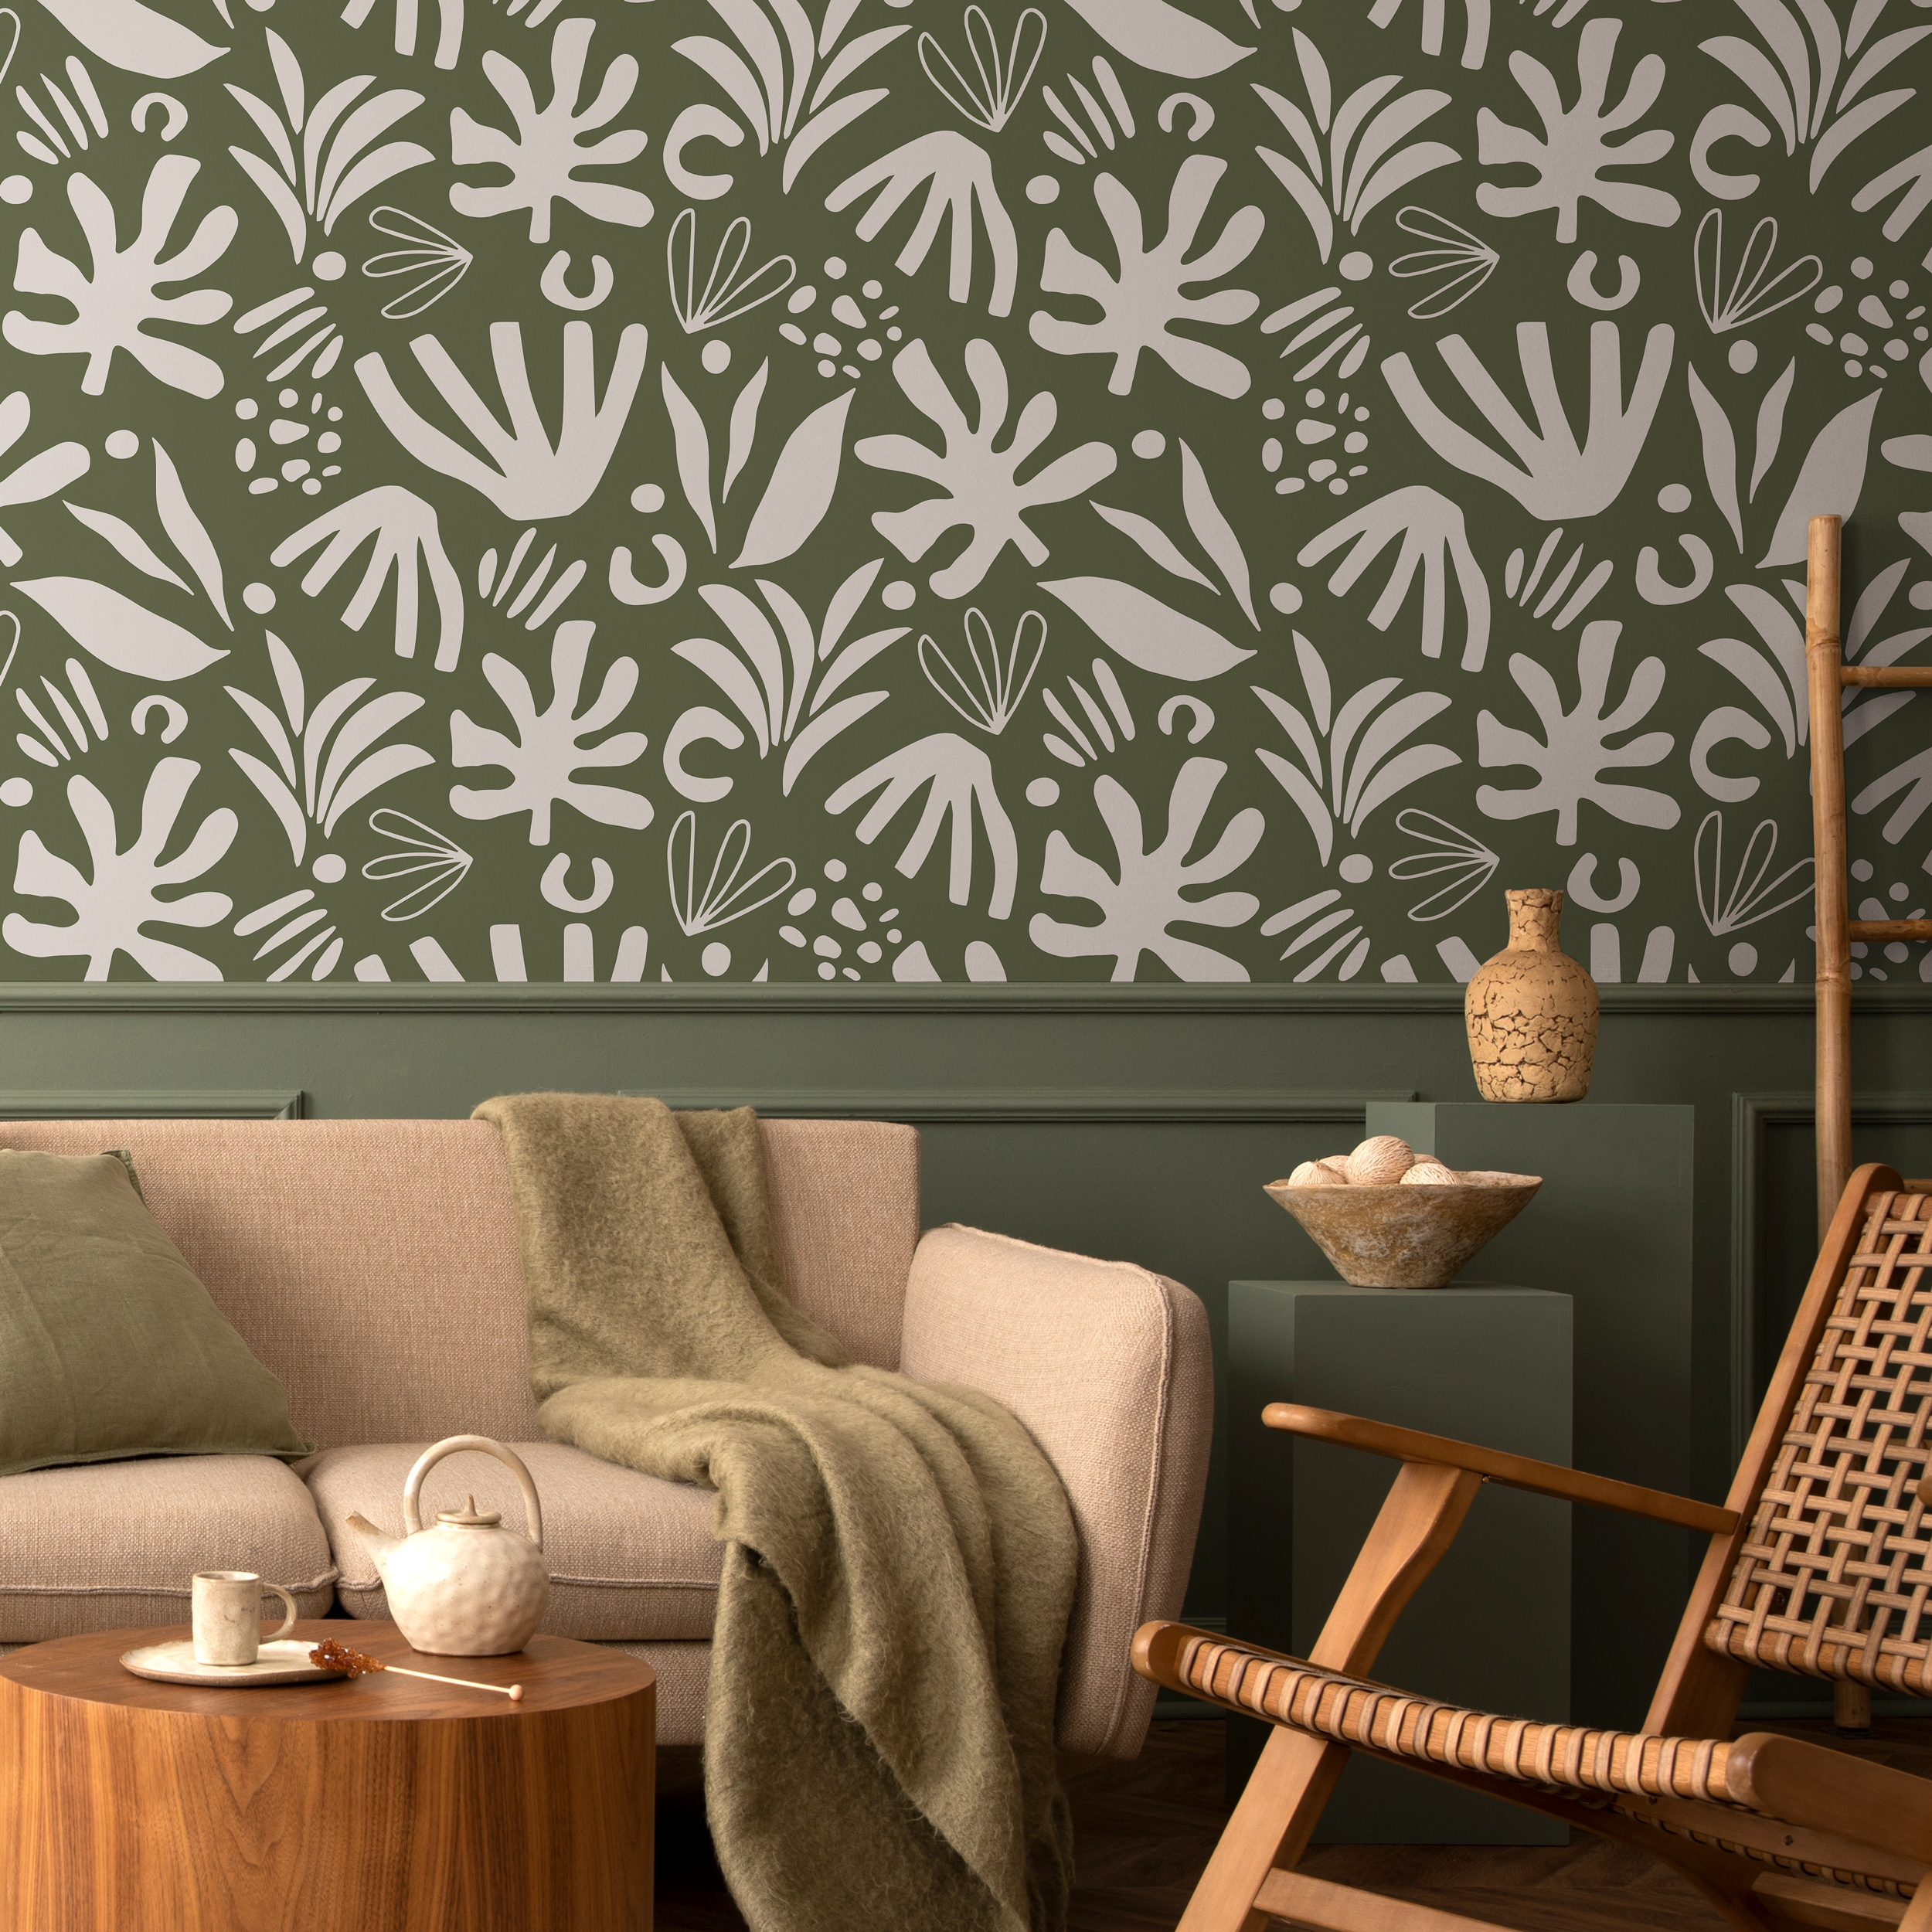
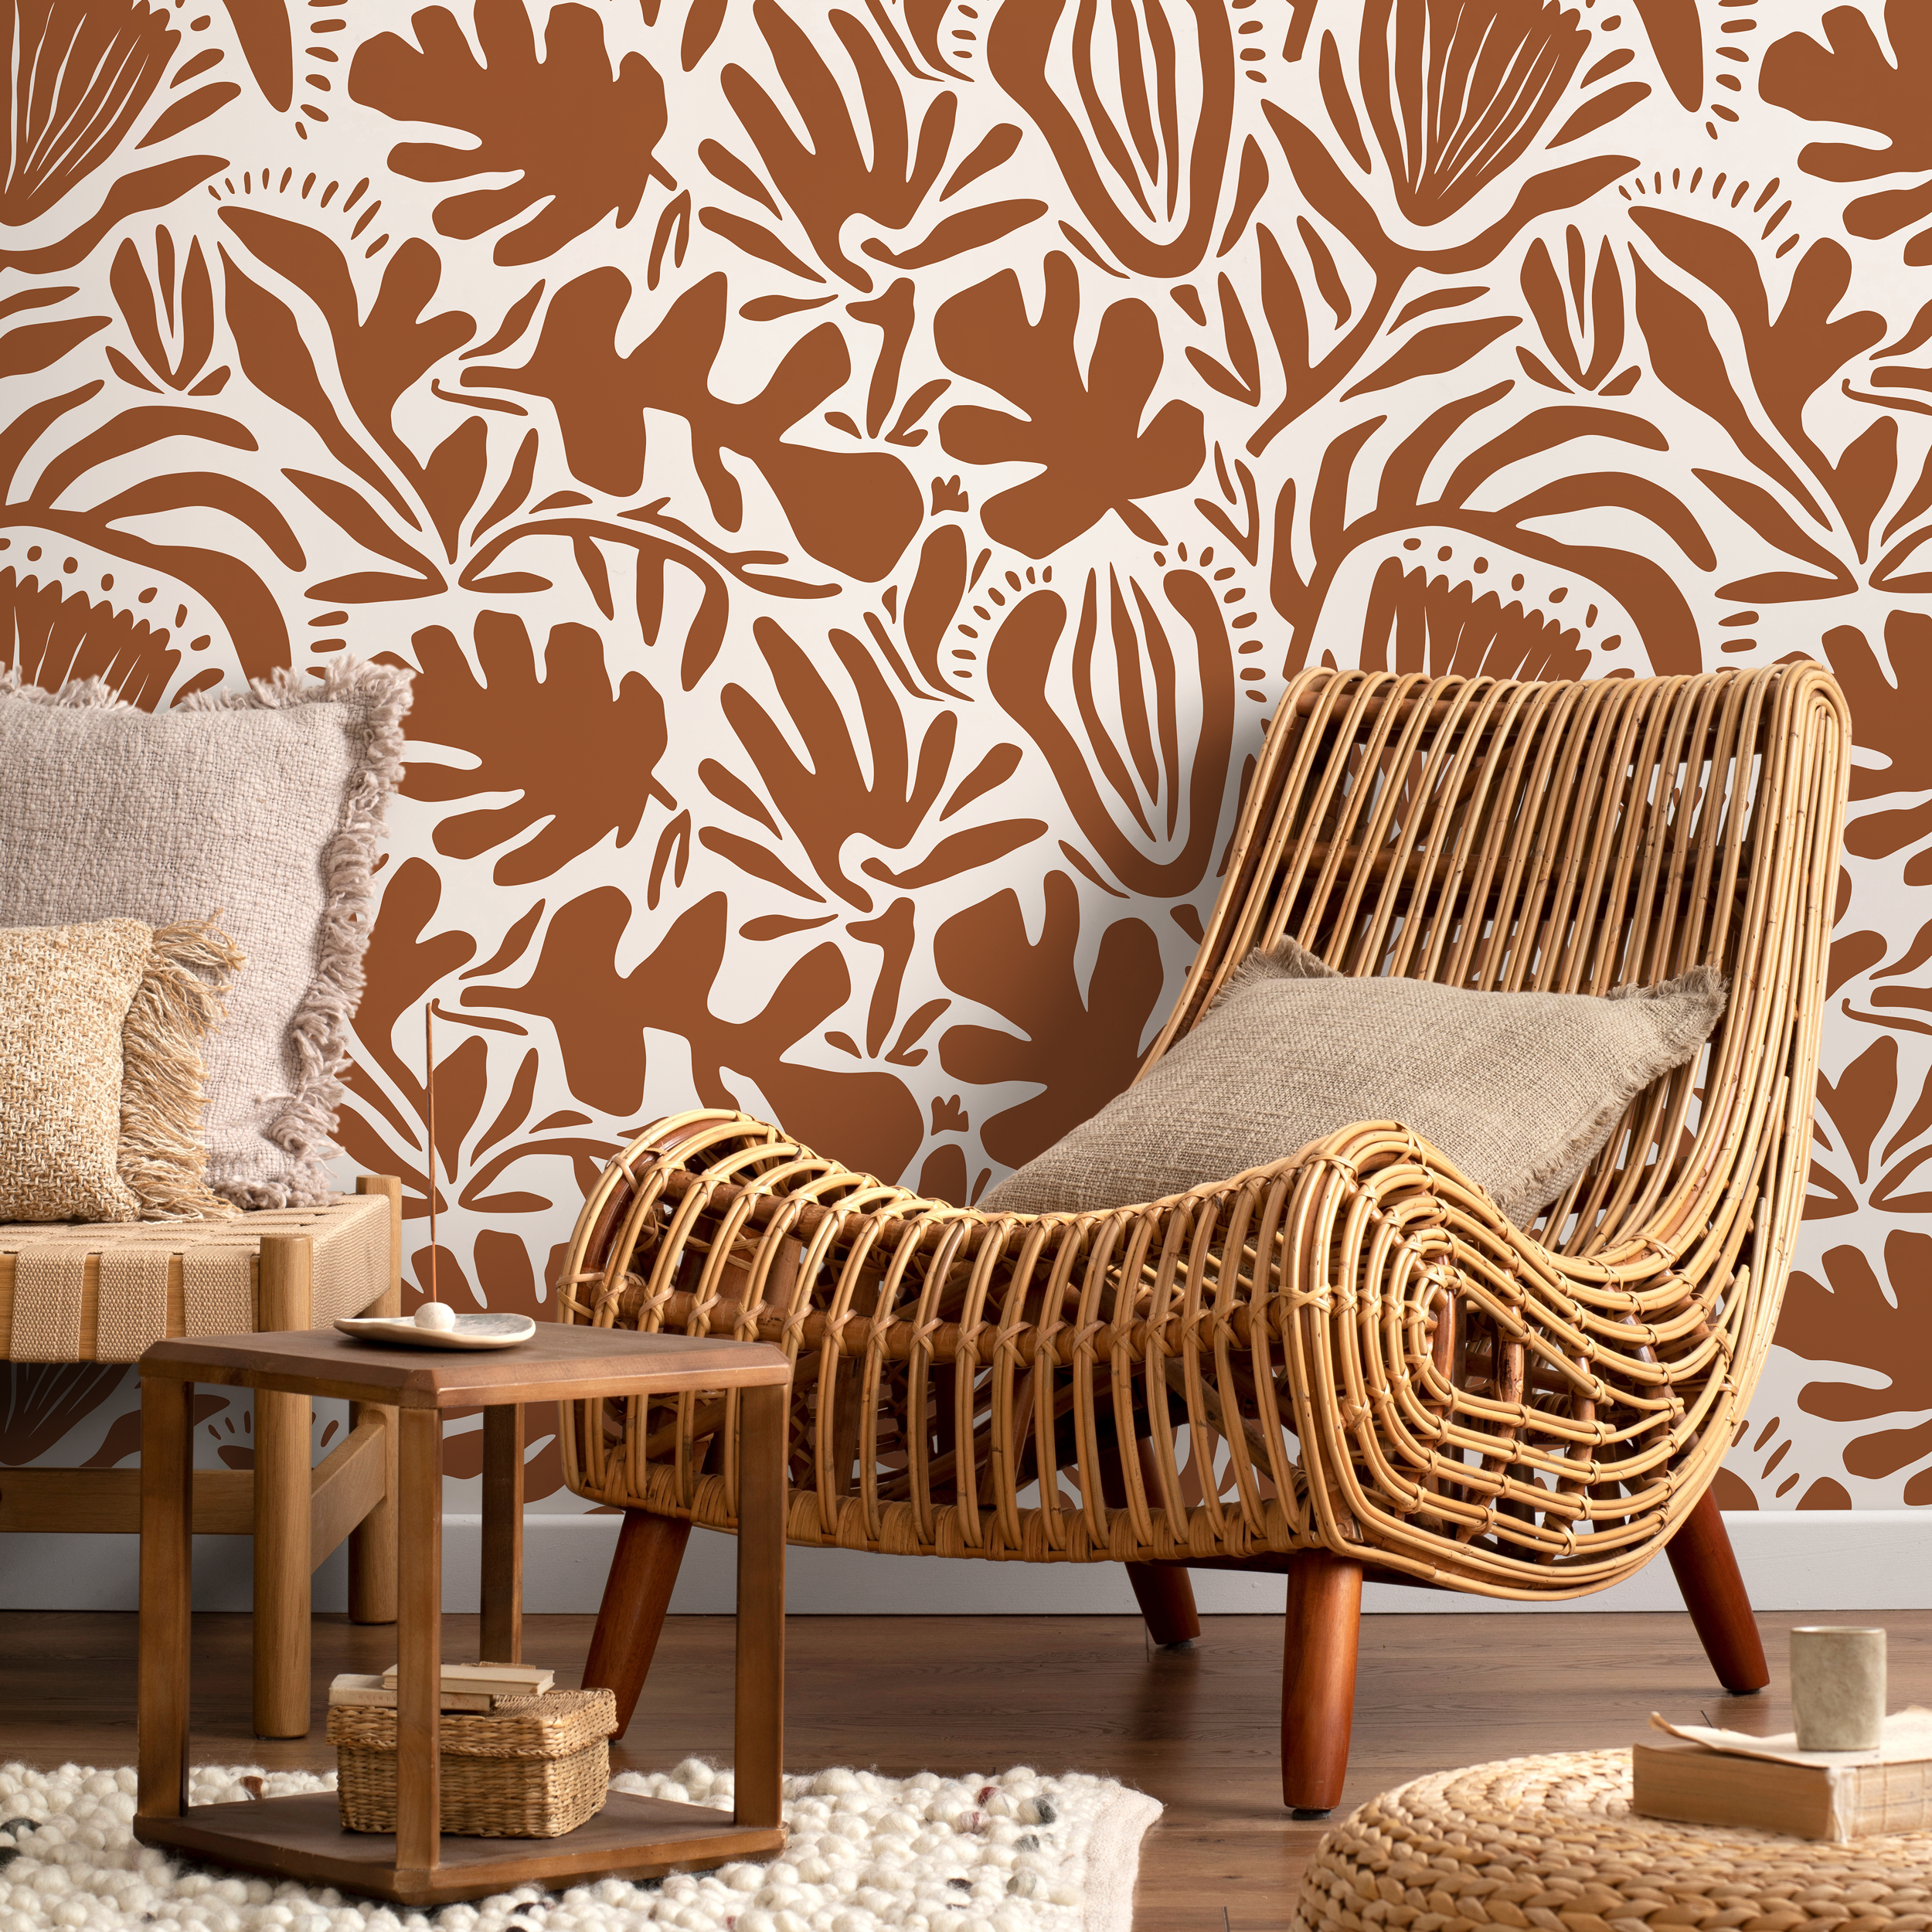
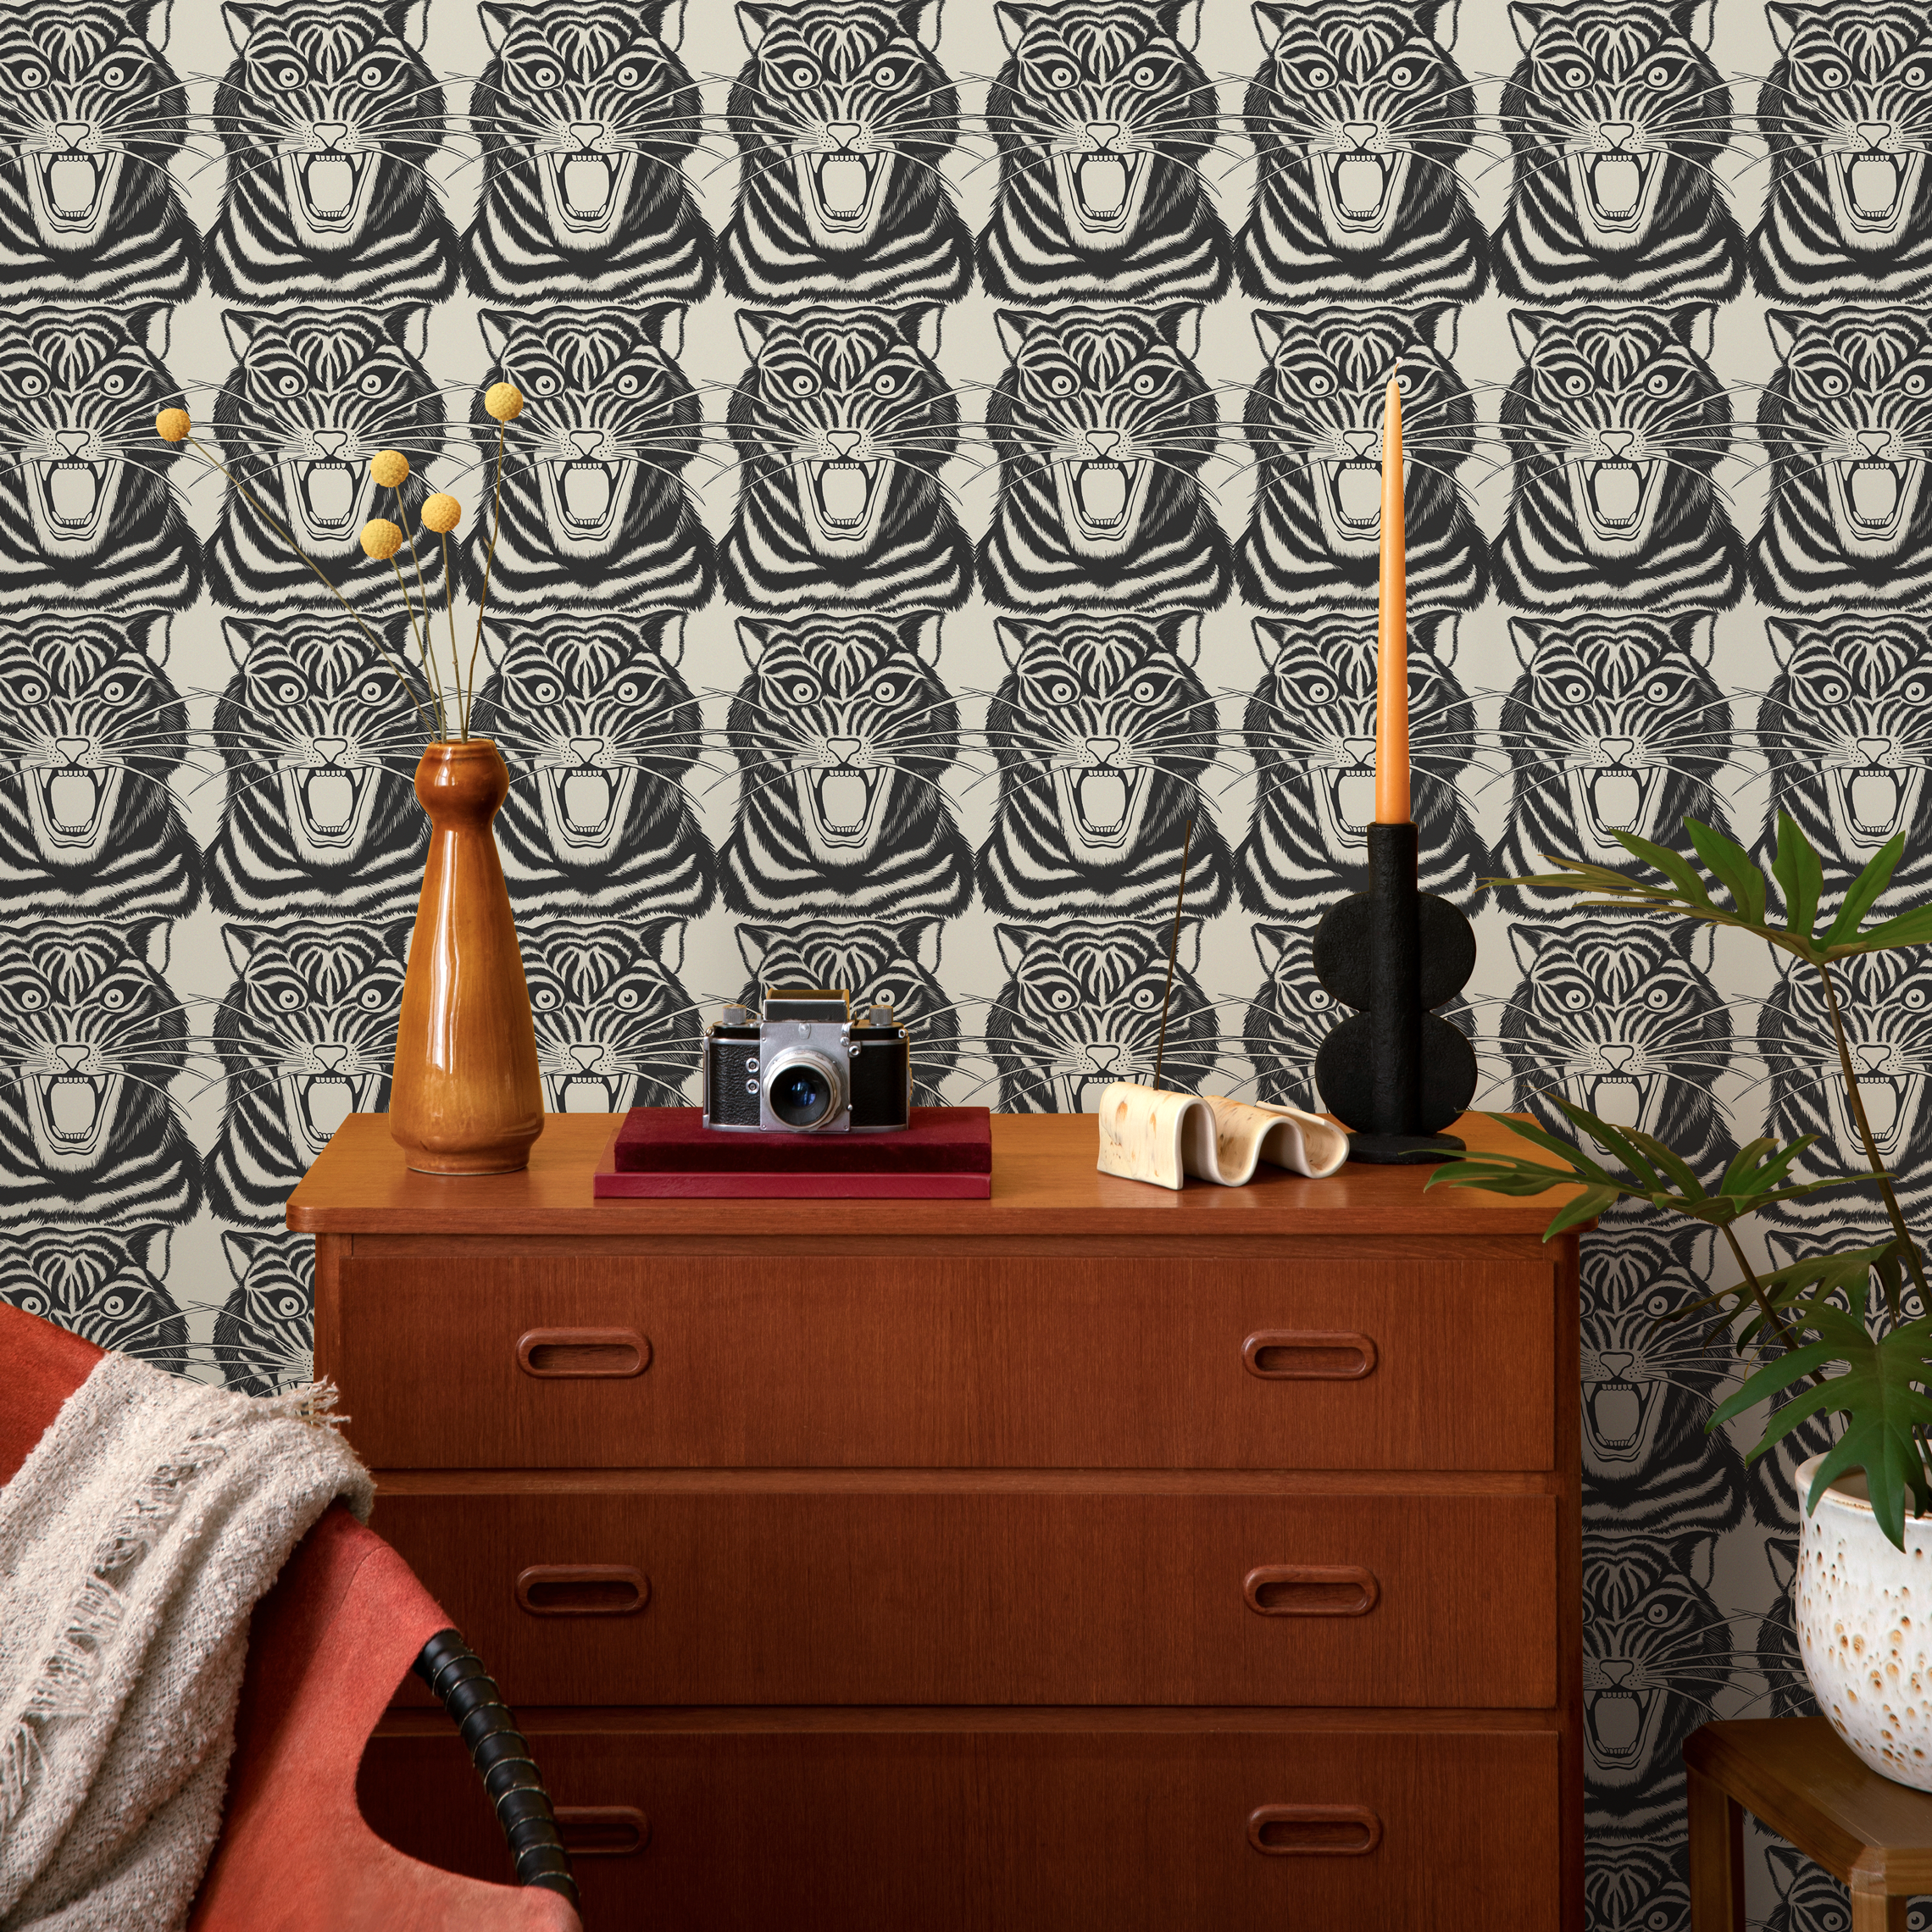
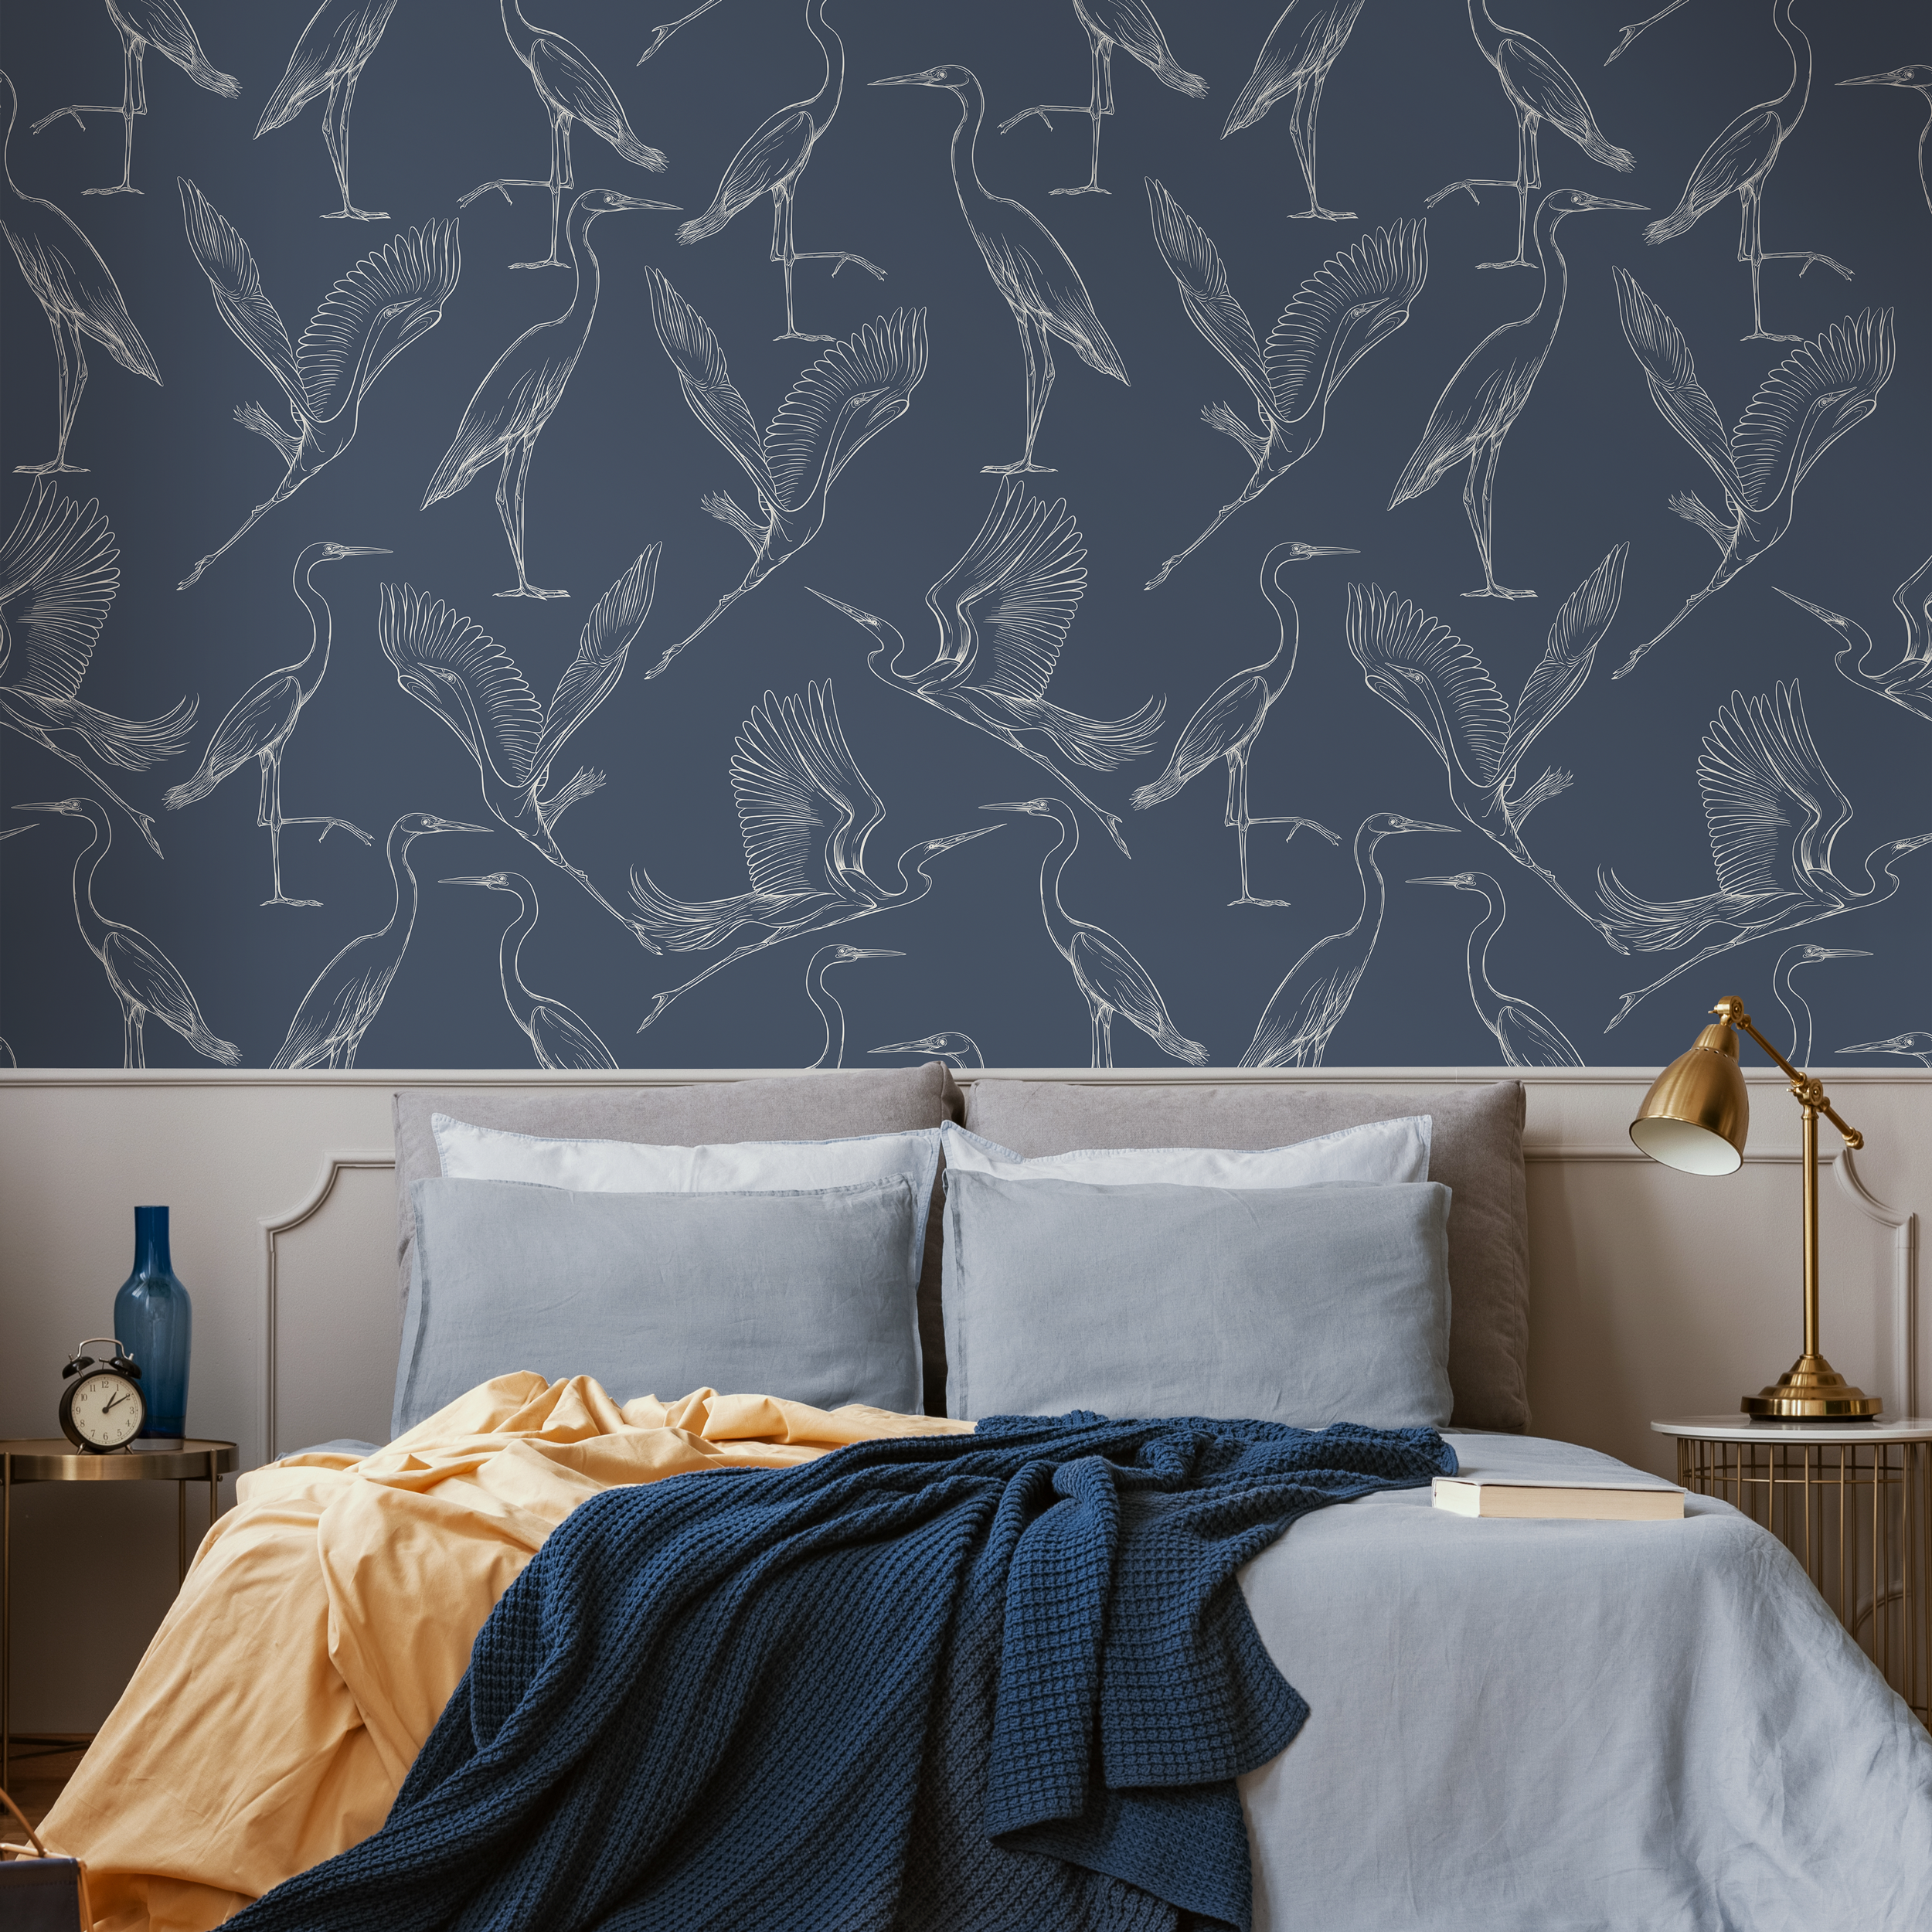
The Benefits of Using ONDECOR's Eco-Friendly and Non-Toxic Wallpapers
At ONDECOR, we understand the importance of not just aesthetics, but also your health and the environment. That's why all our wallpapers are eco-friendly and non-toxic.
ONDECOR wallpapers are printed using water-based, low-VOC inks, which are not only safer for you and your family but also have less impact on the environment. Our wallpapers are also PVC-free and hold certifications for being low VOC and fire-resistant, ensuring optimum safety.
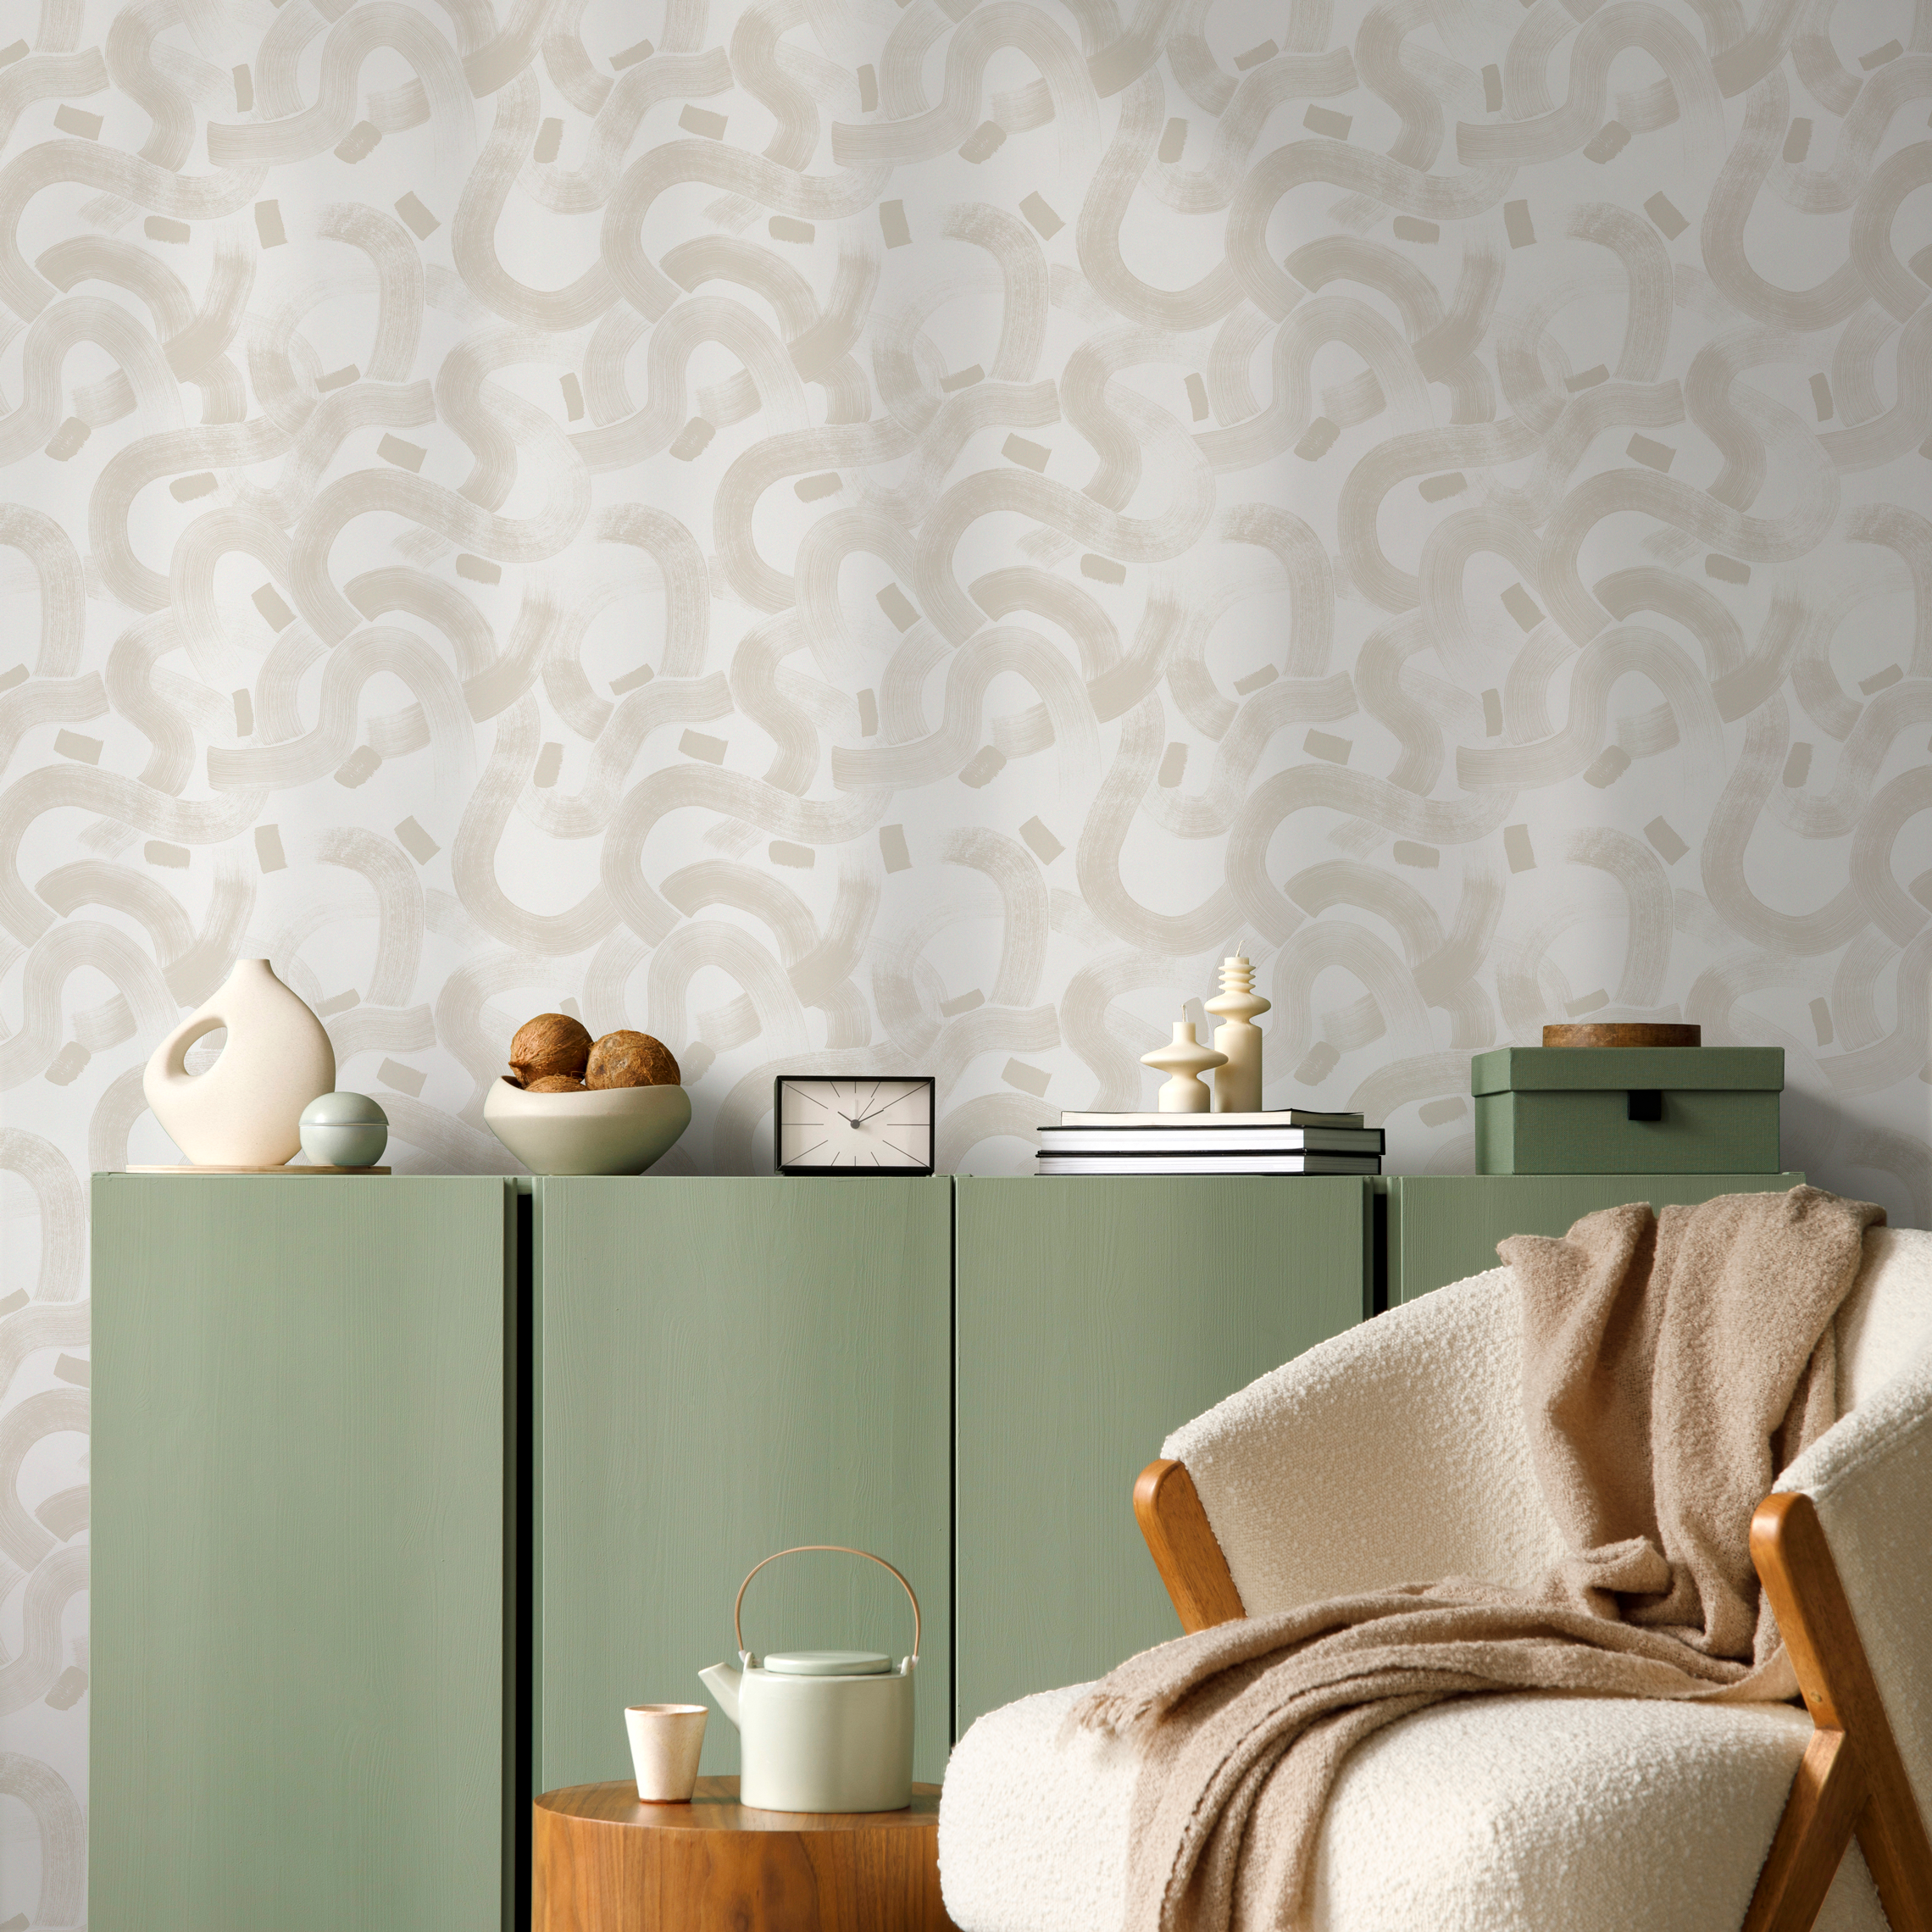
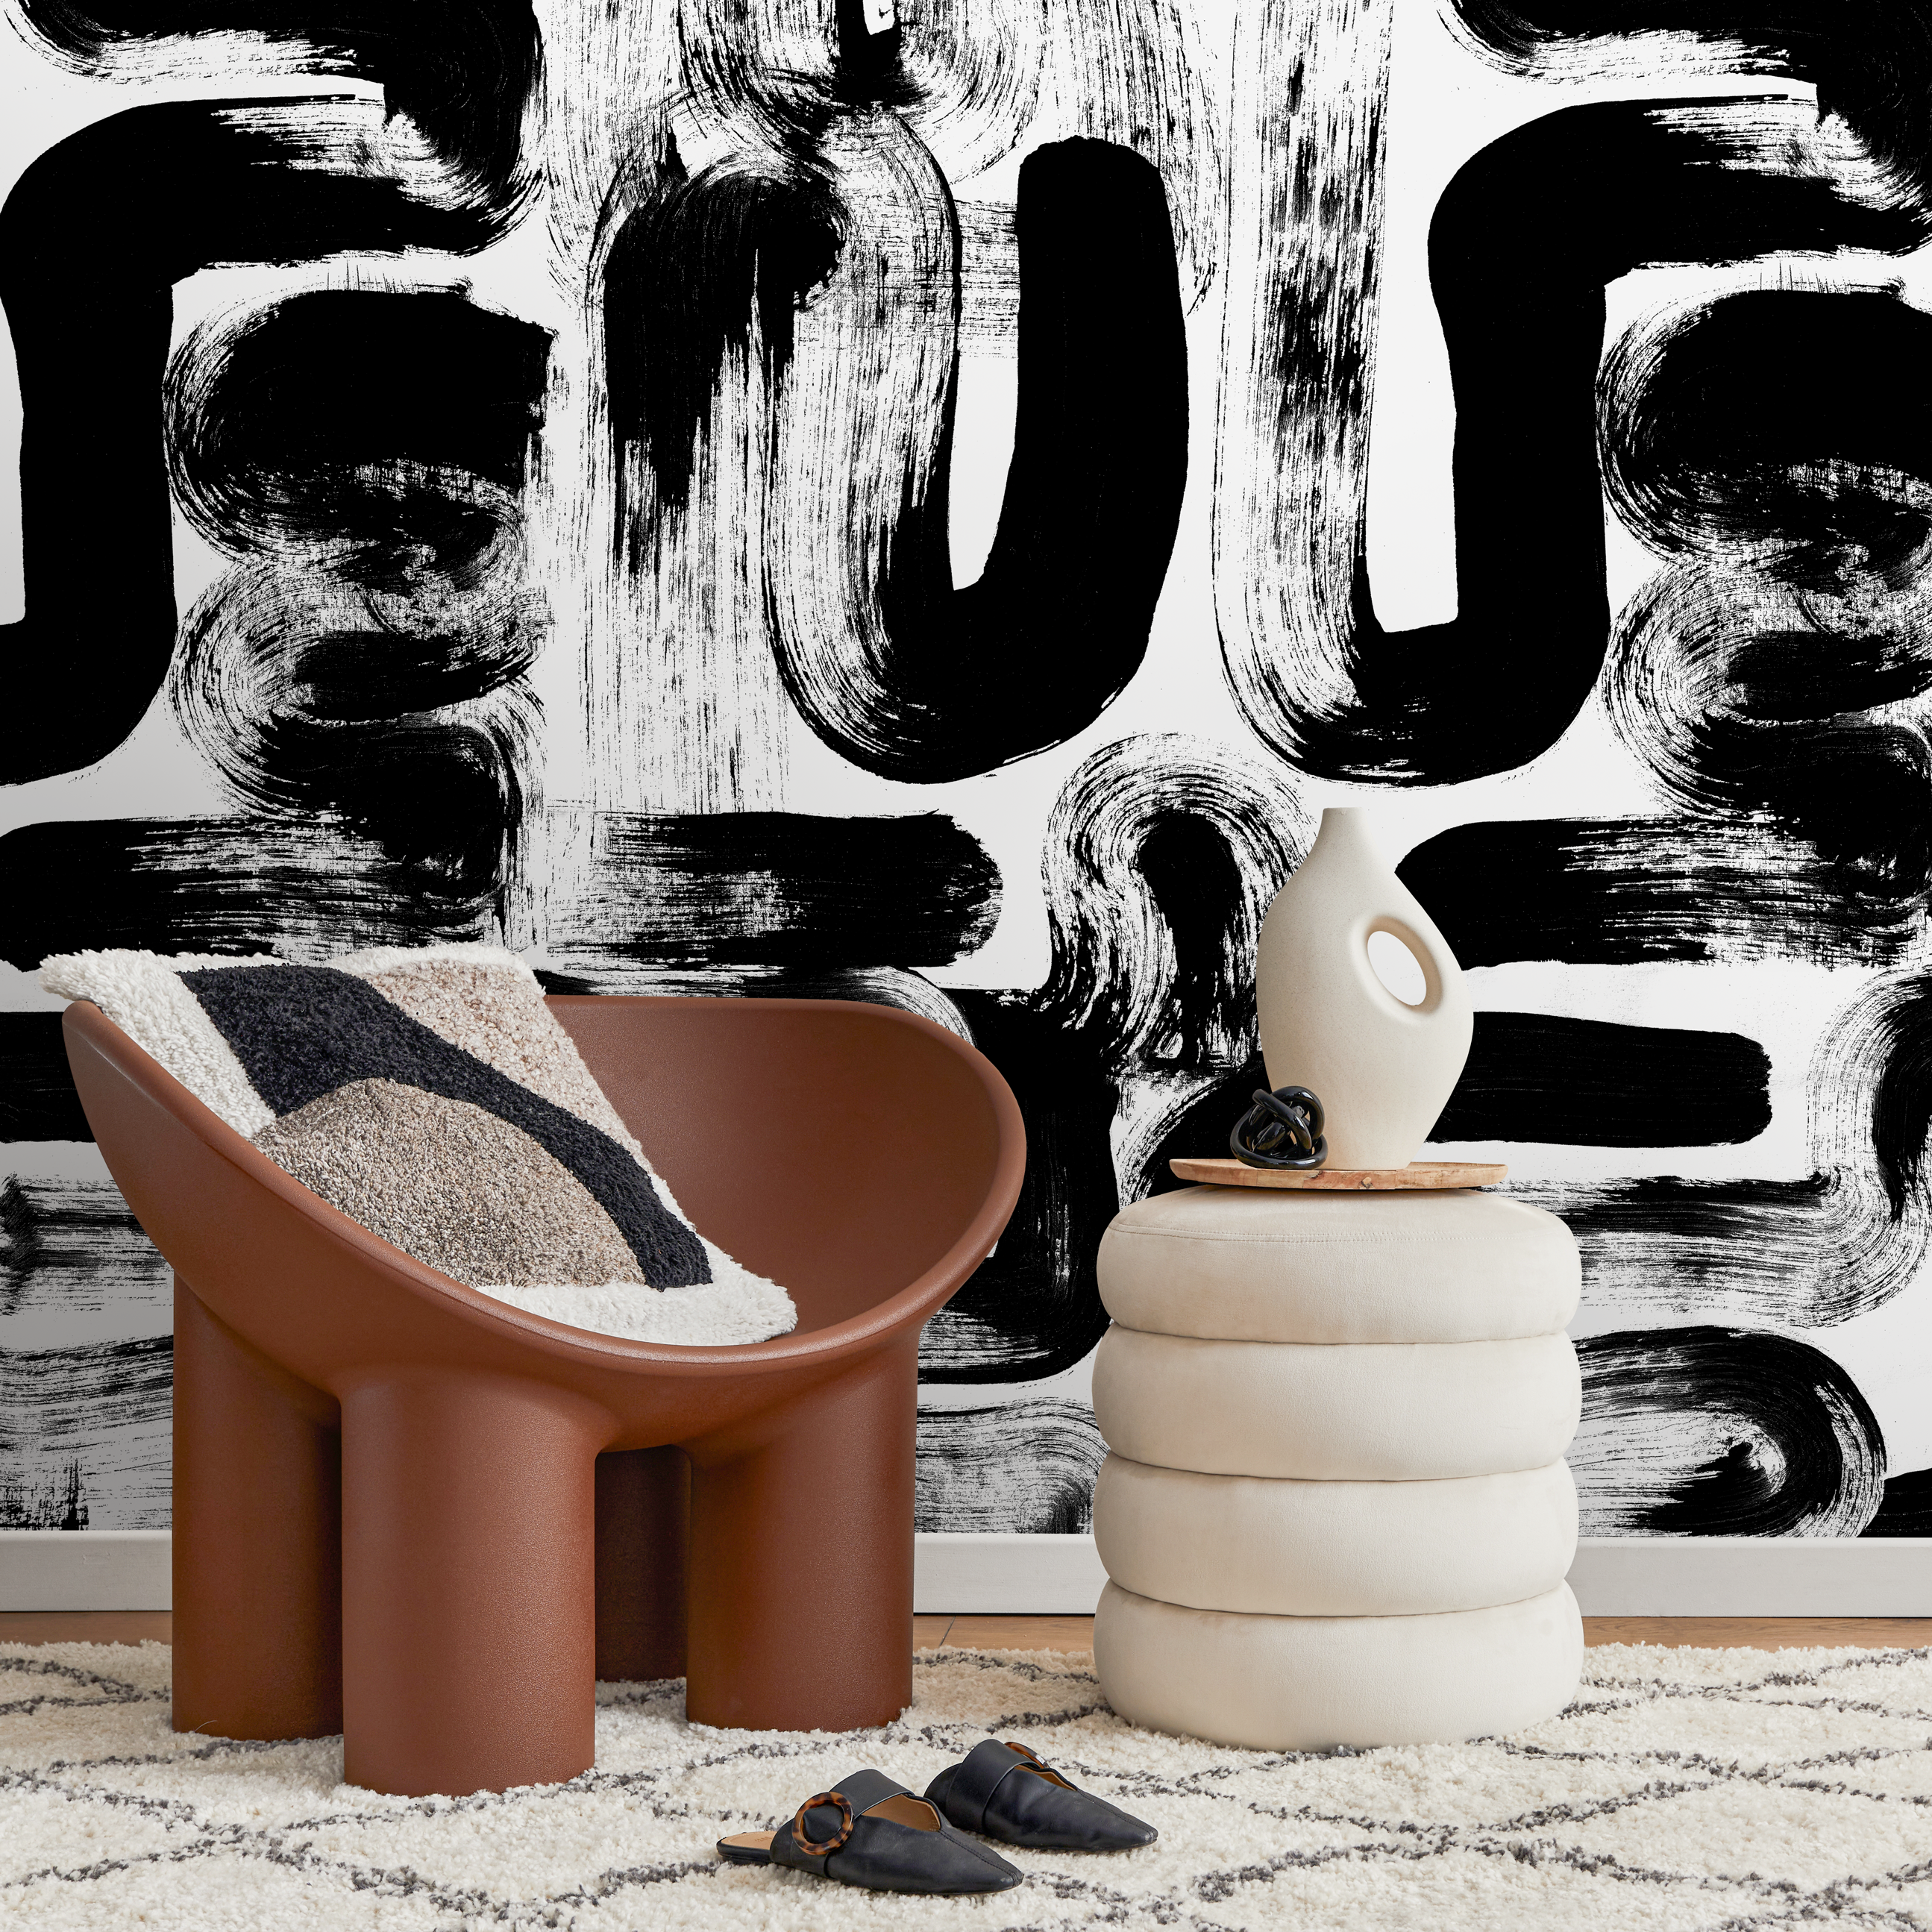
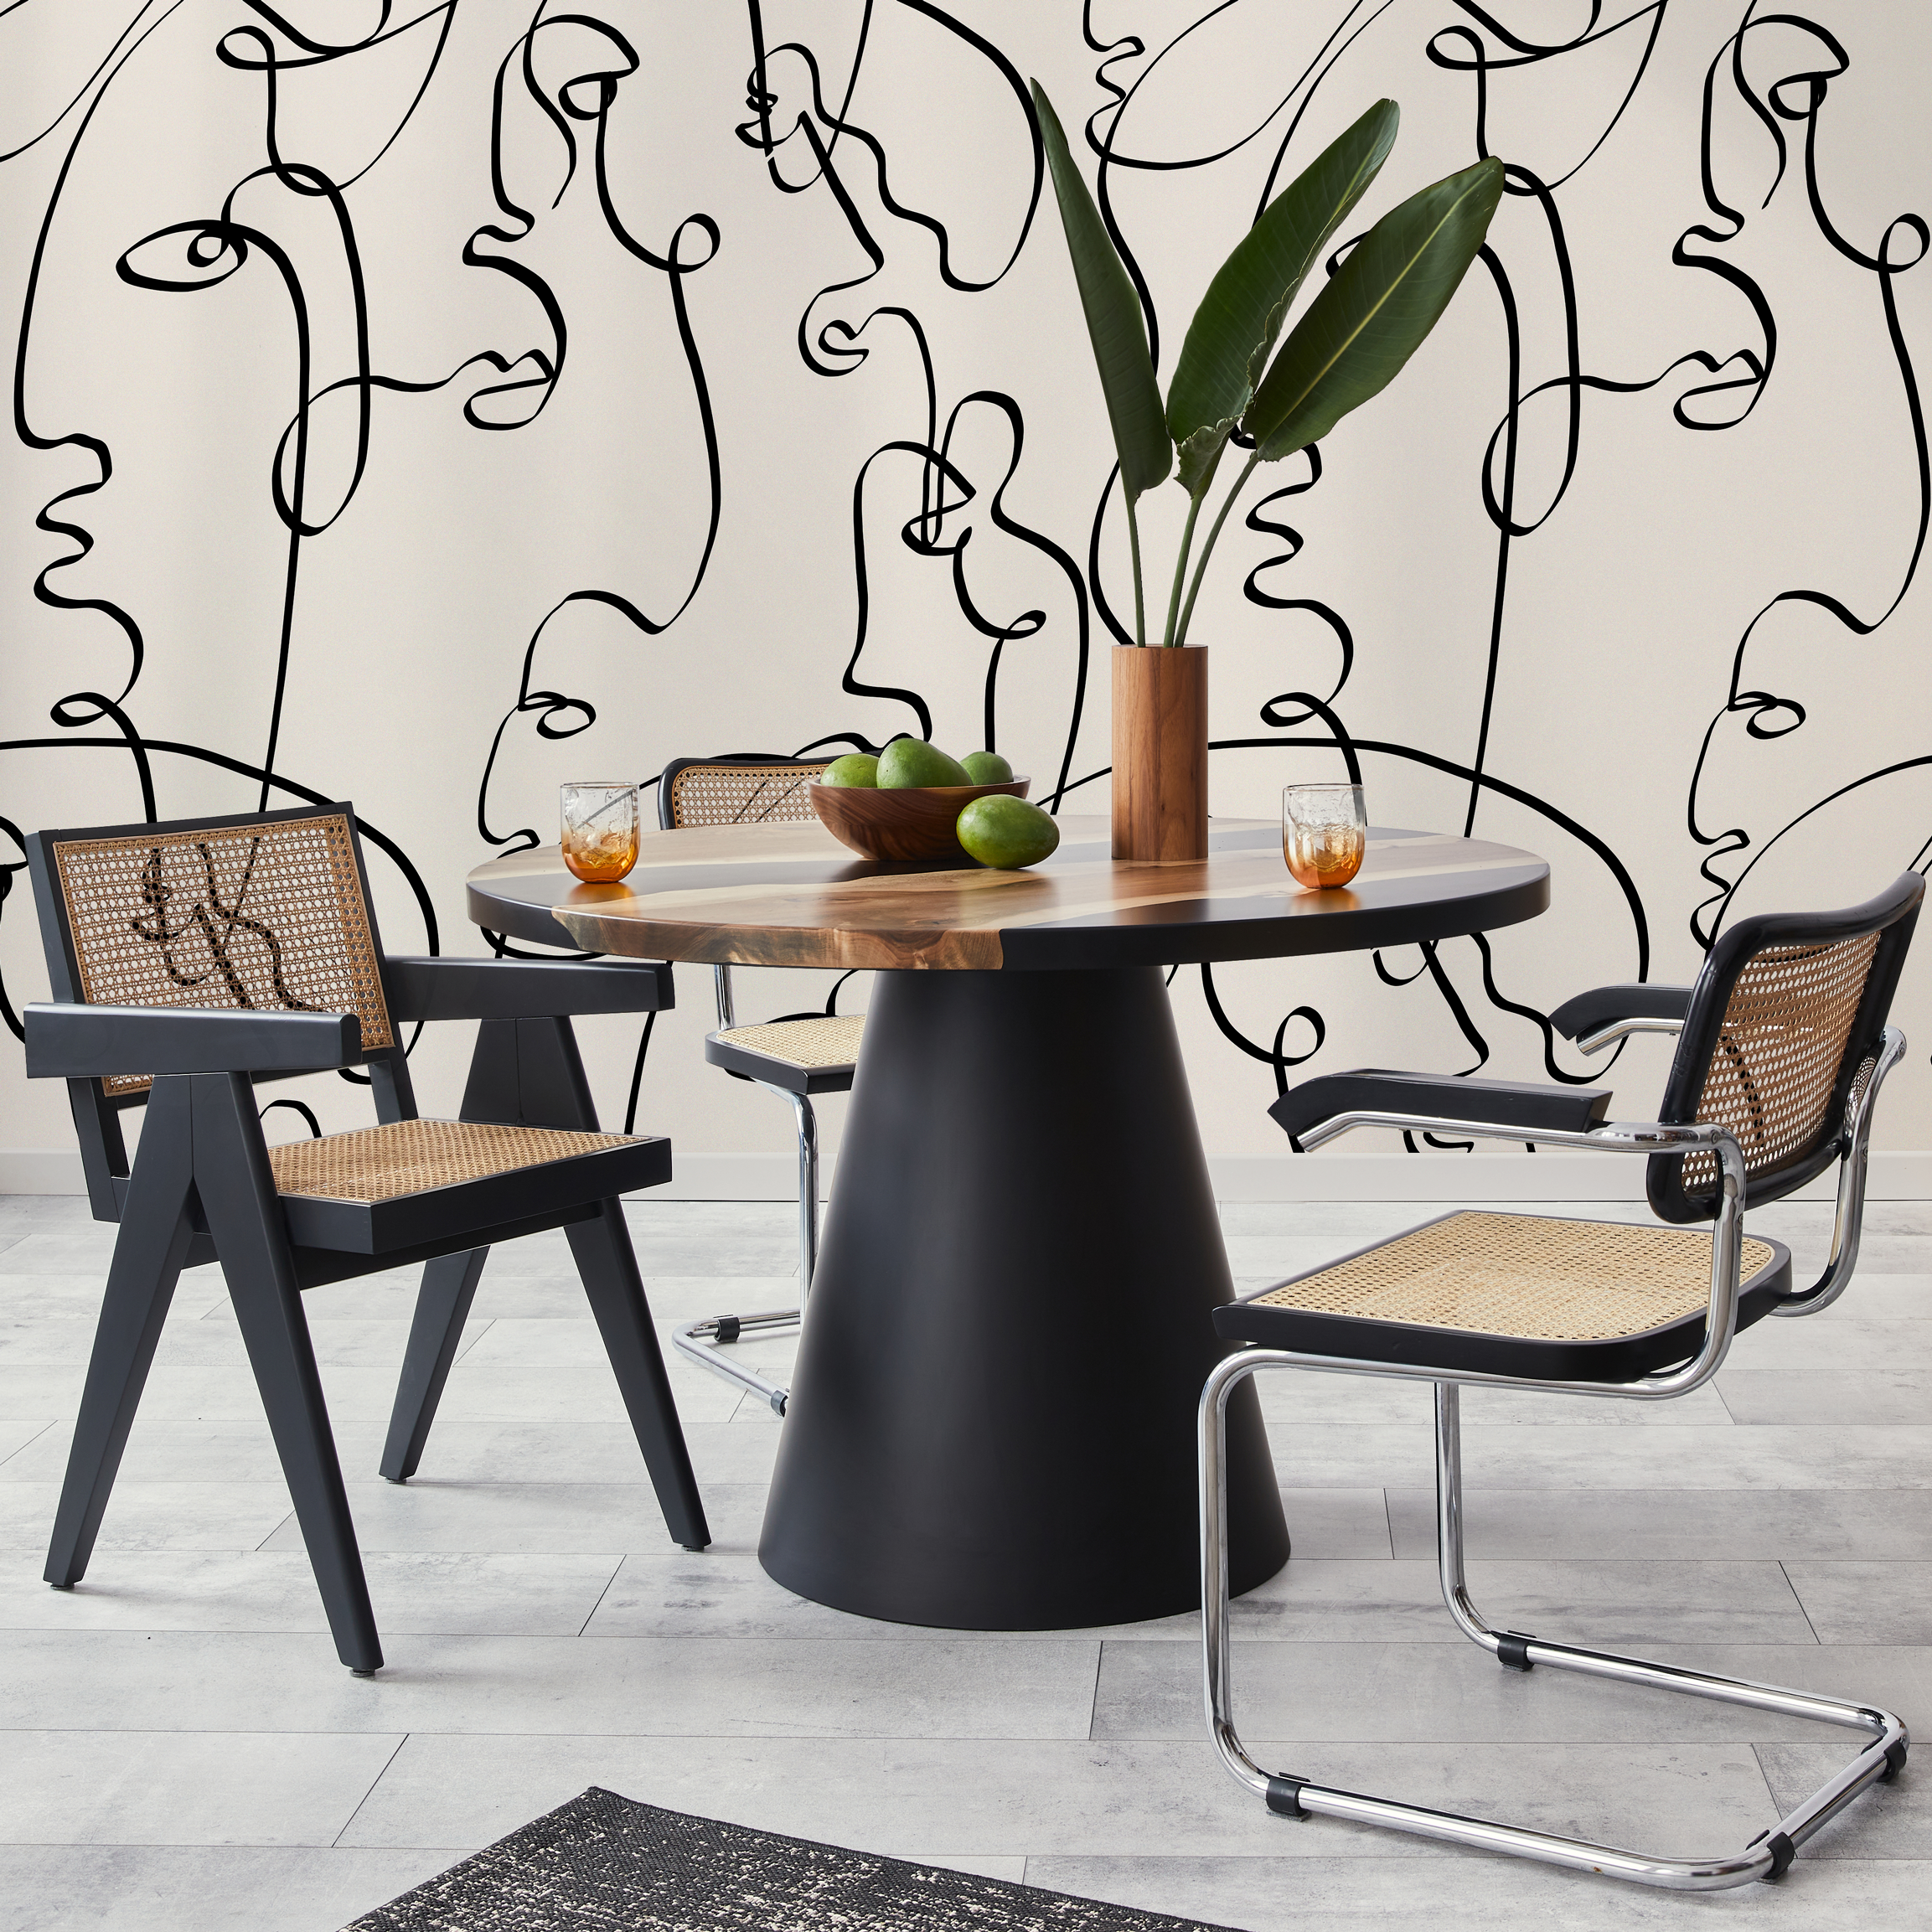
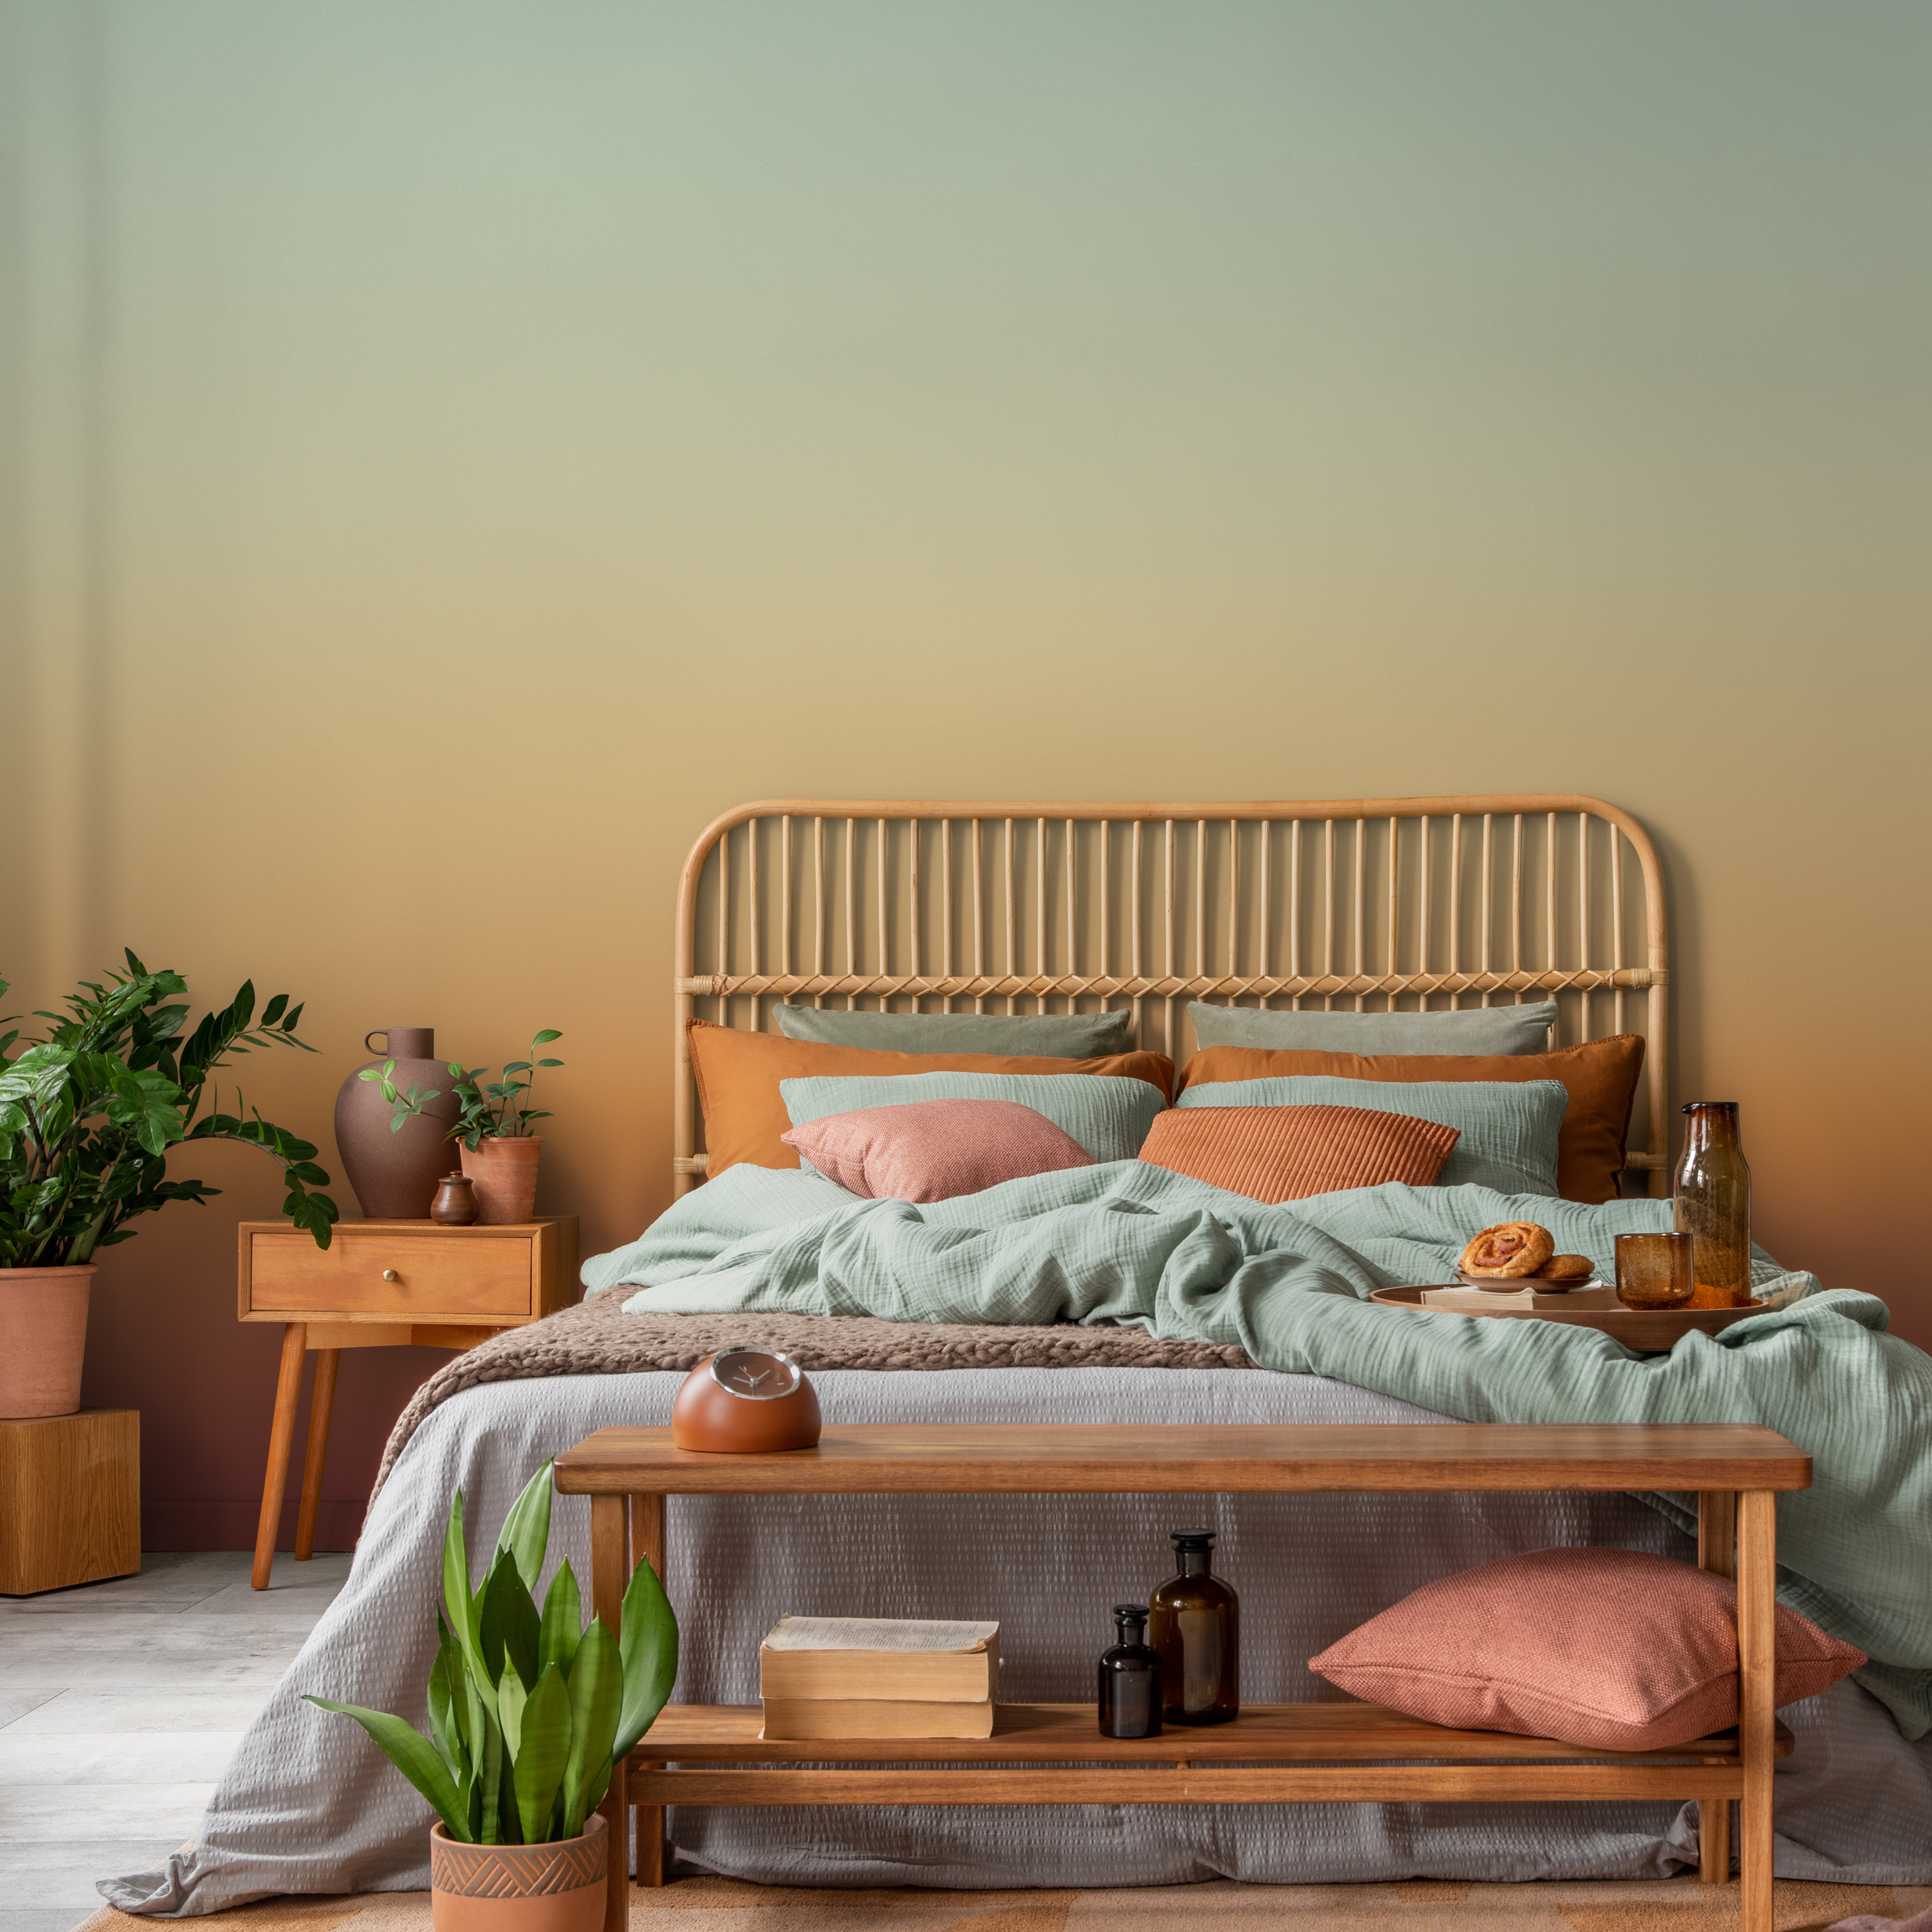
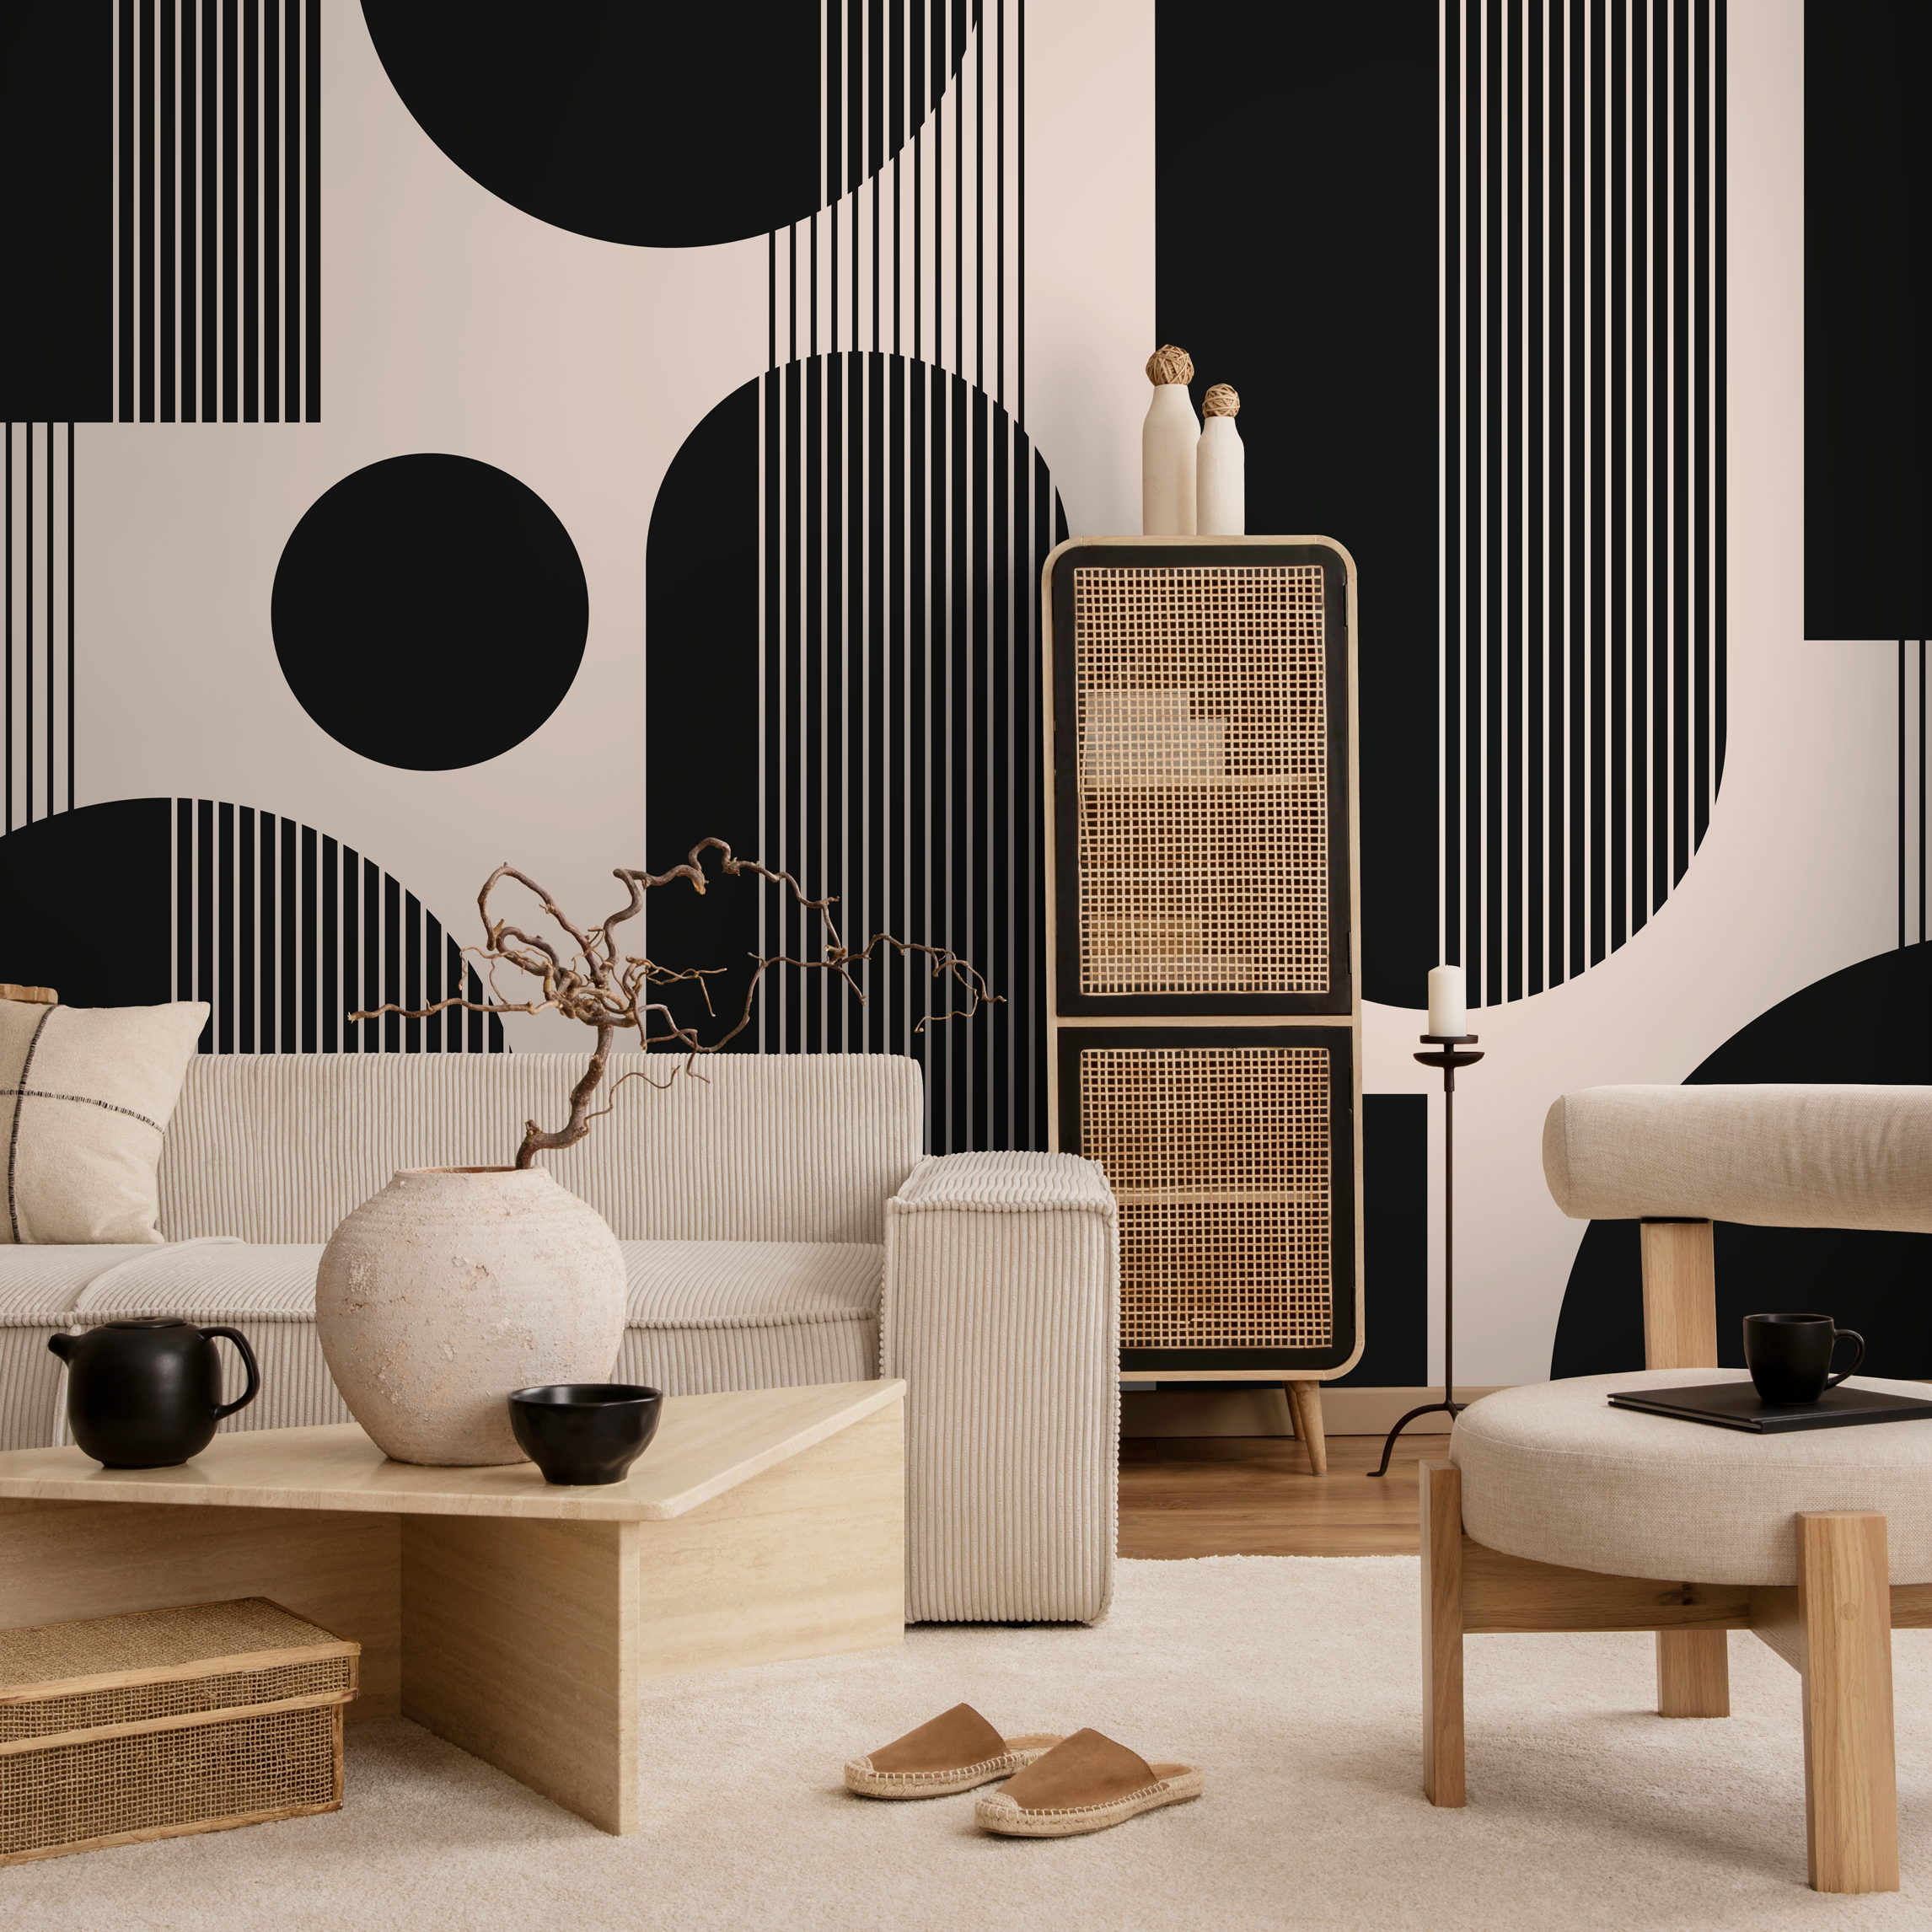
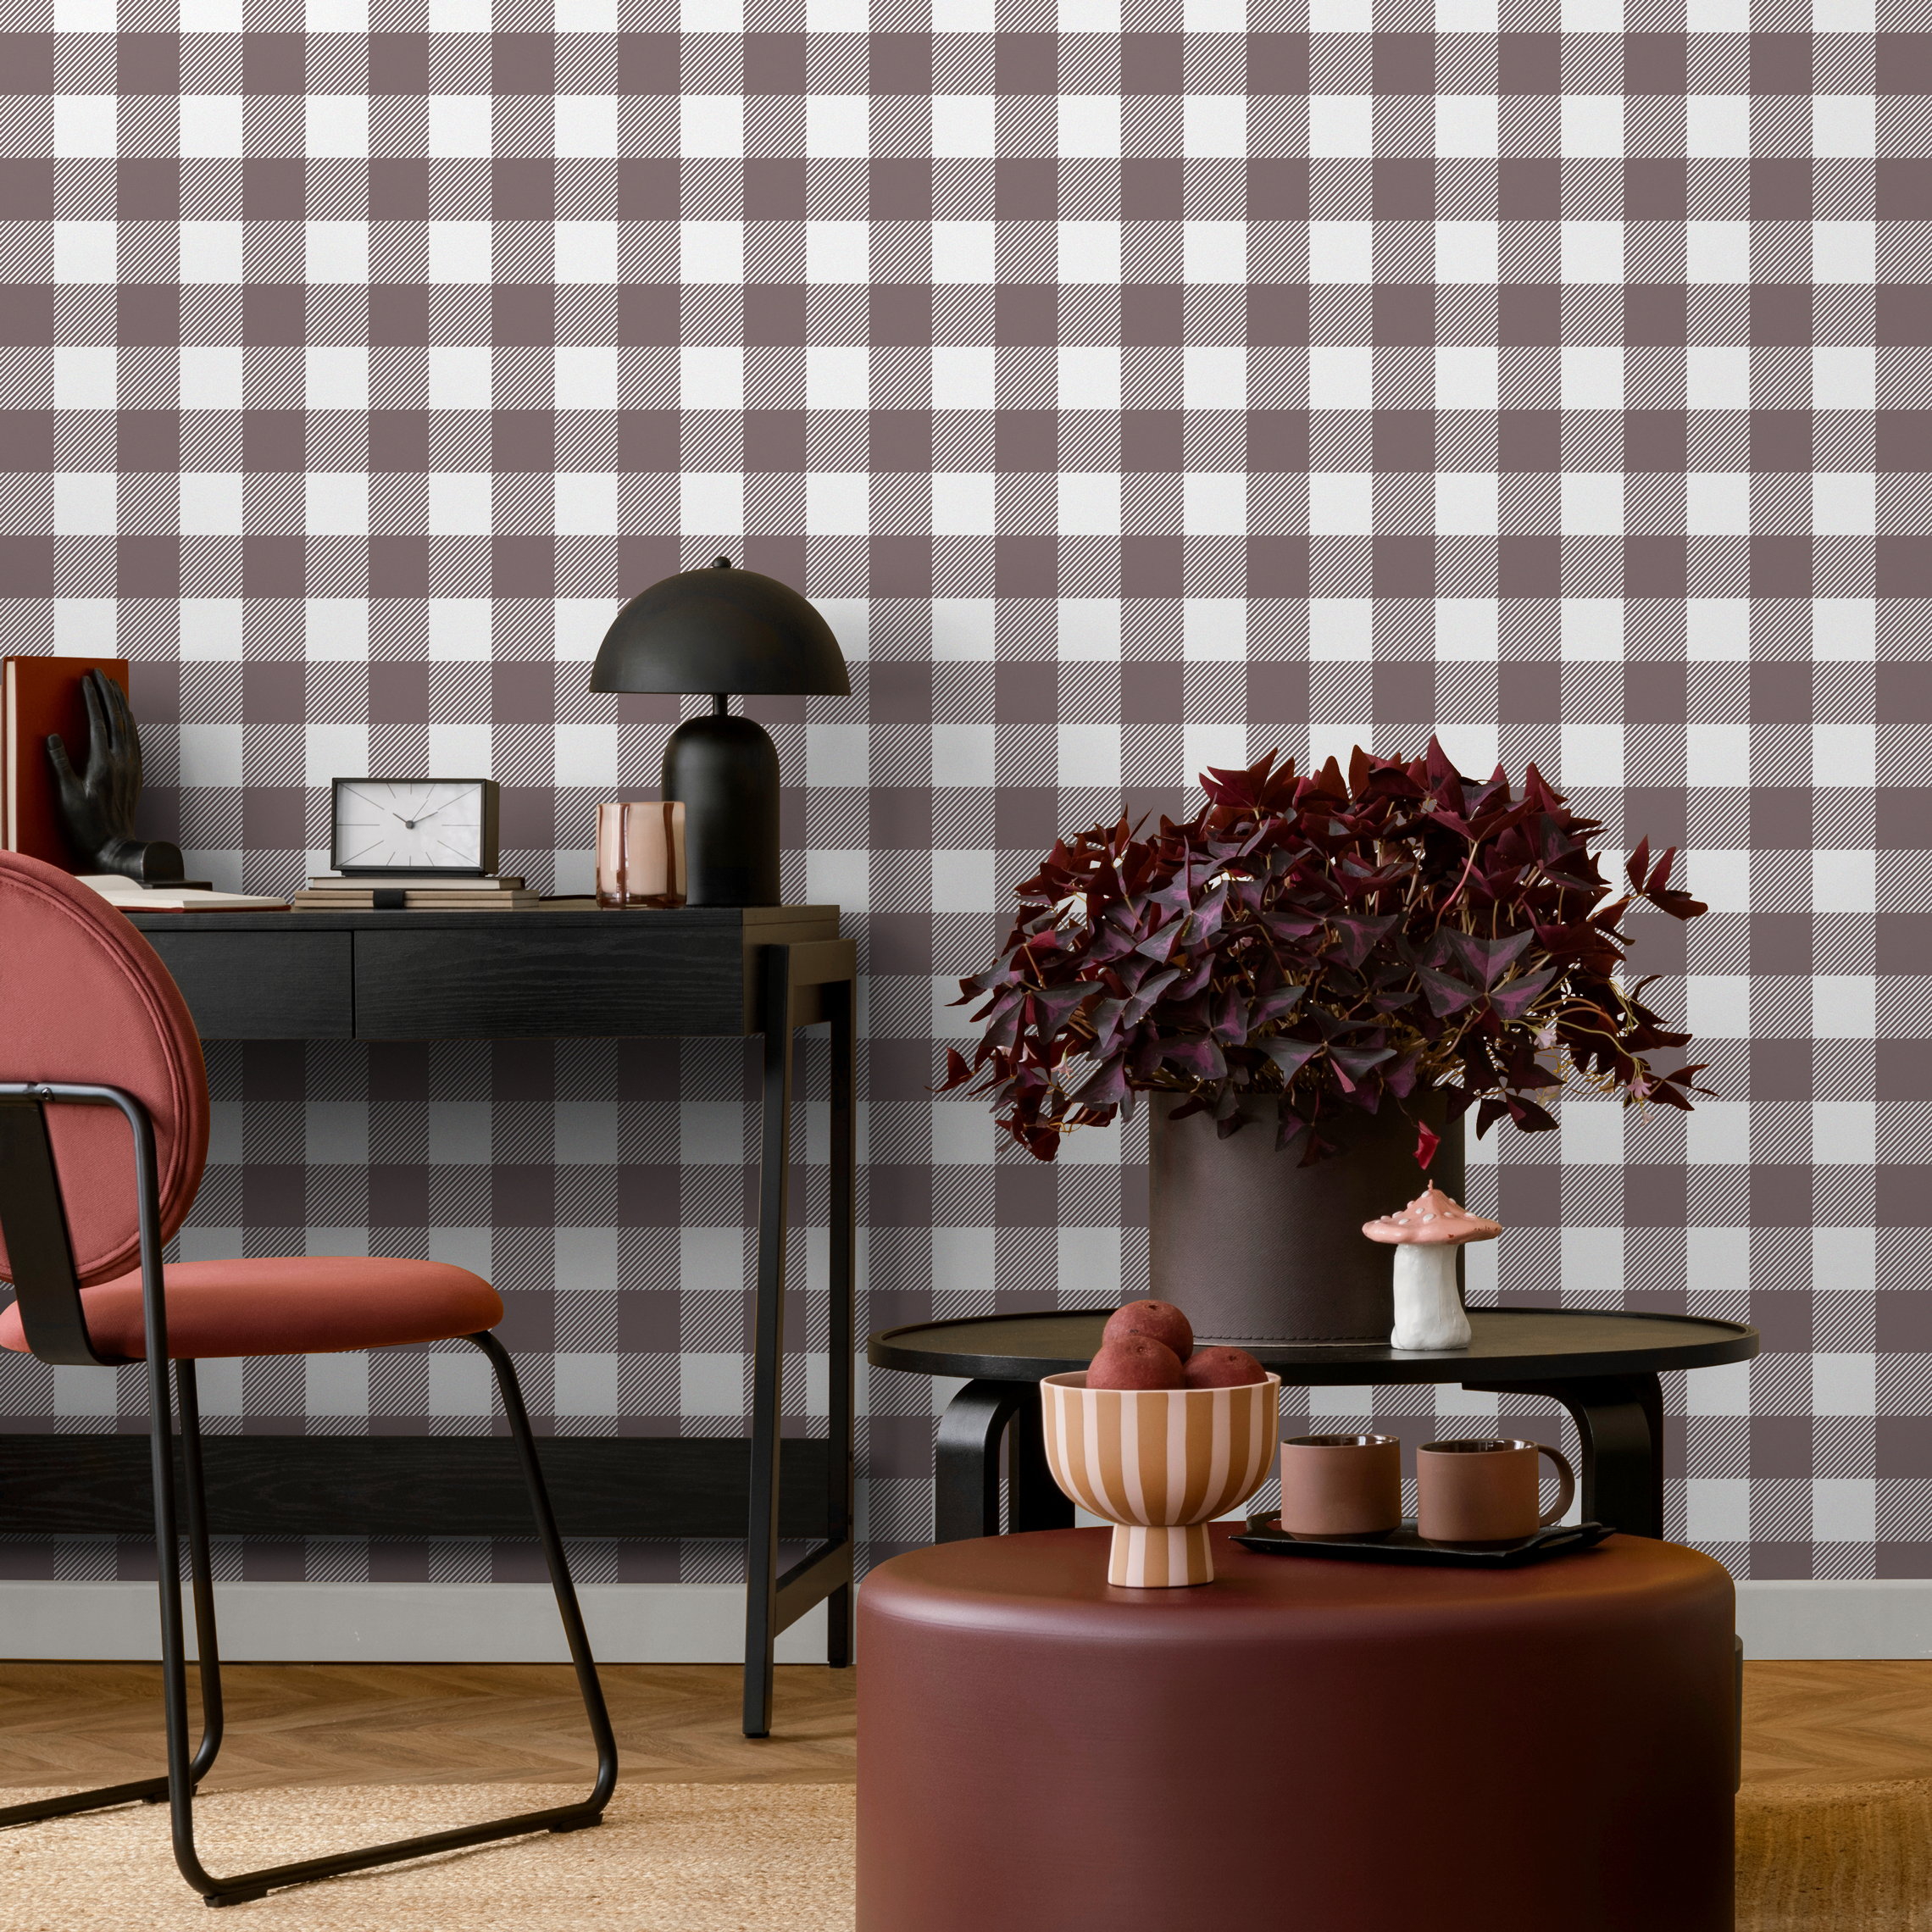
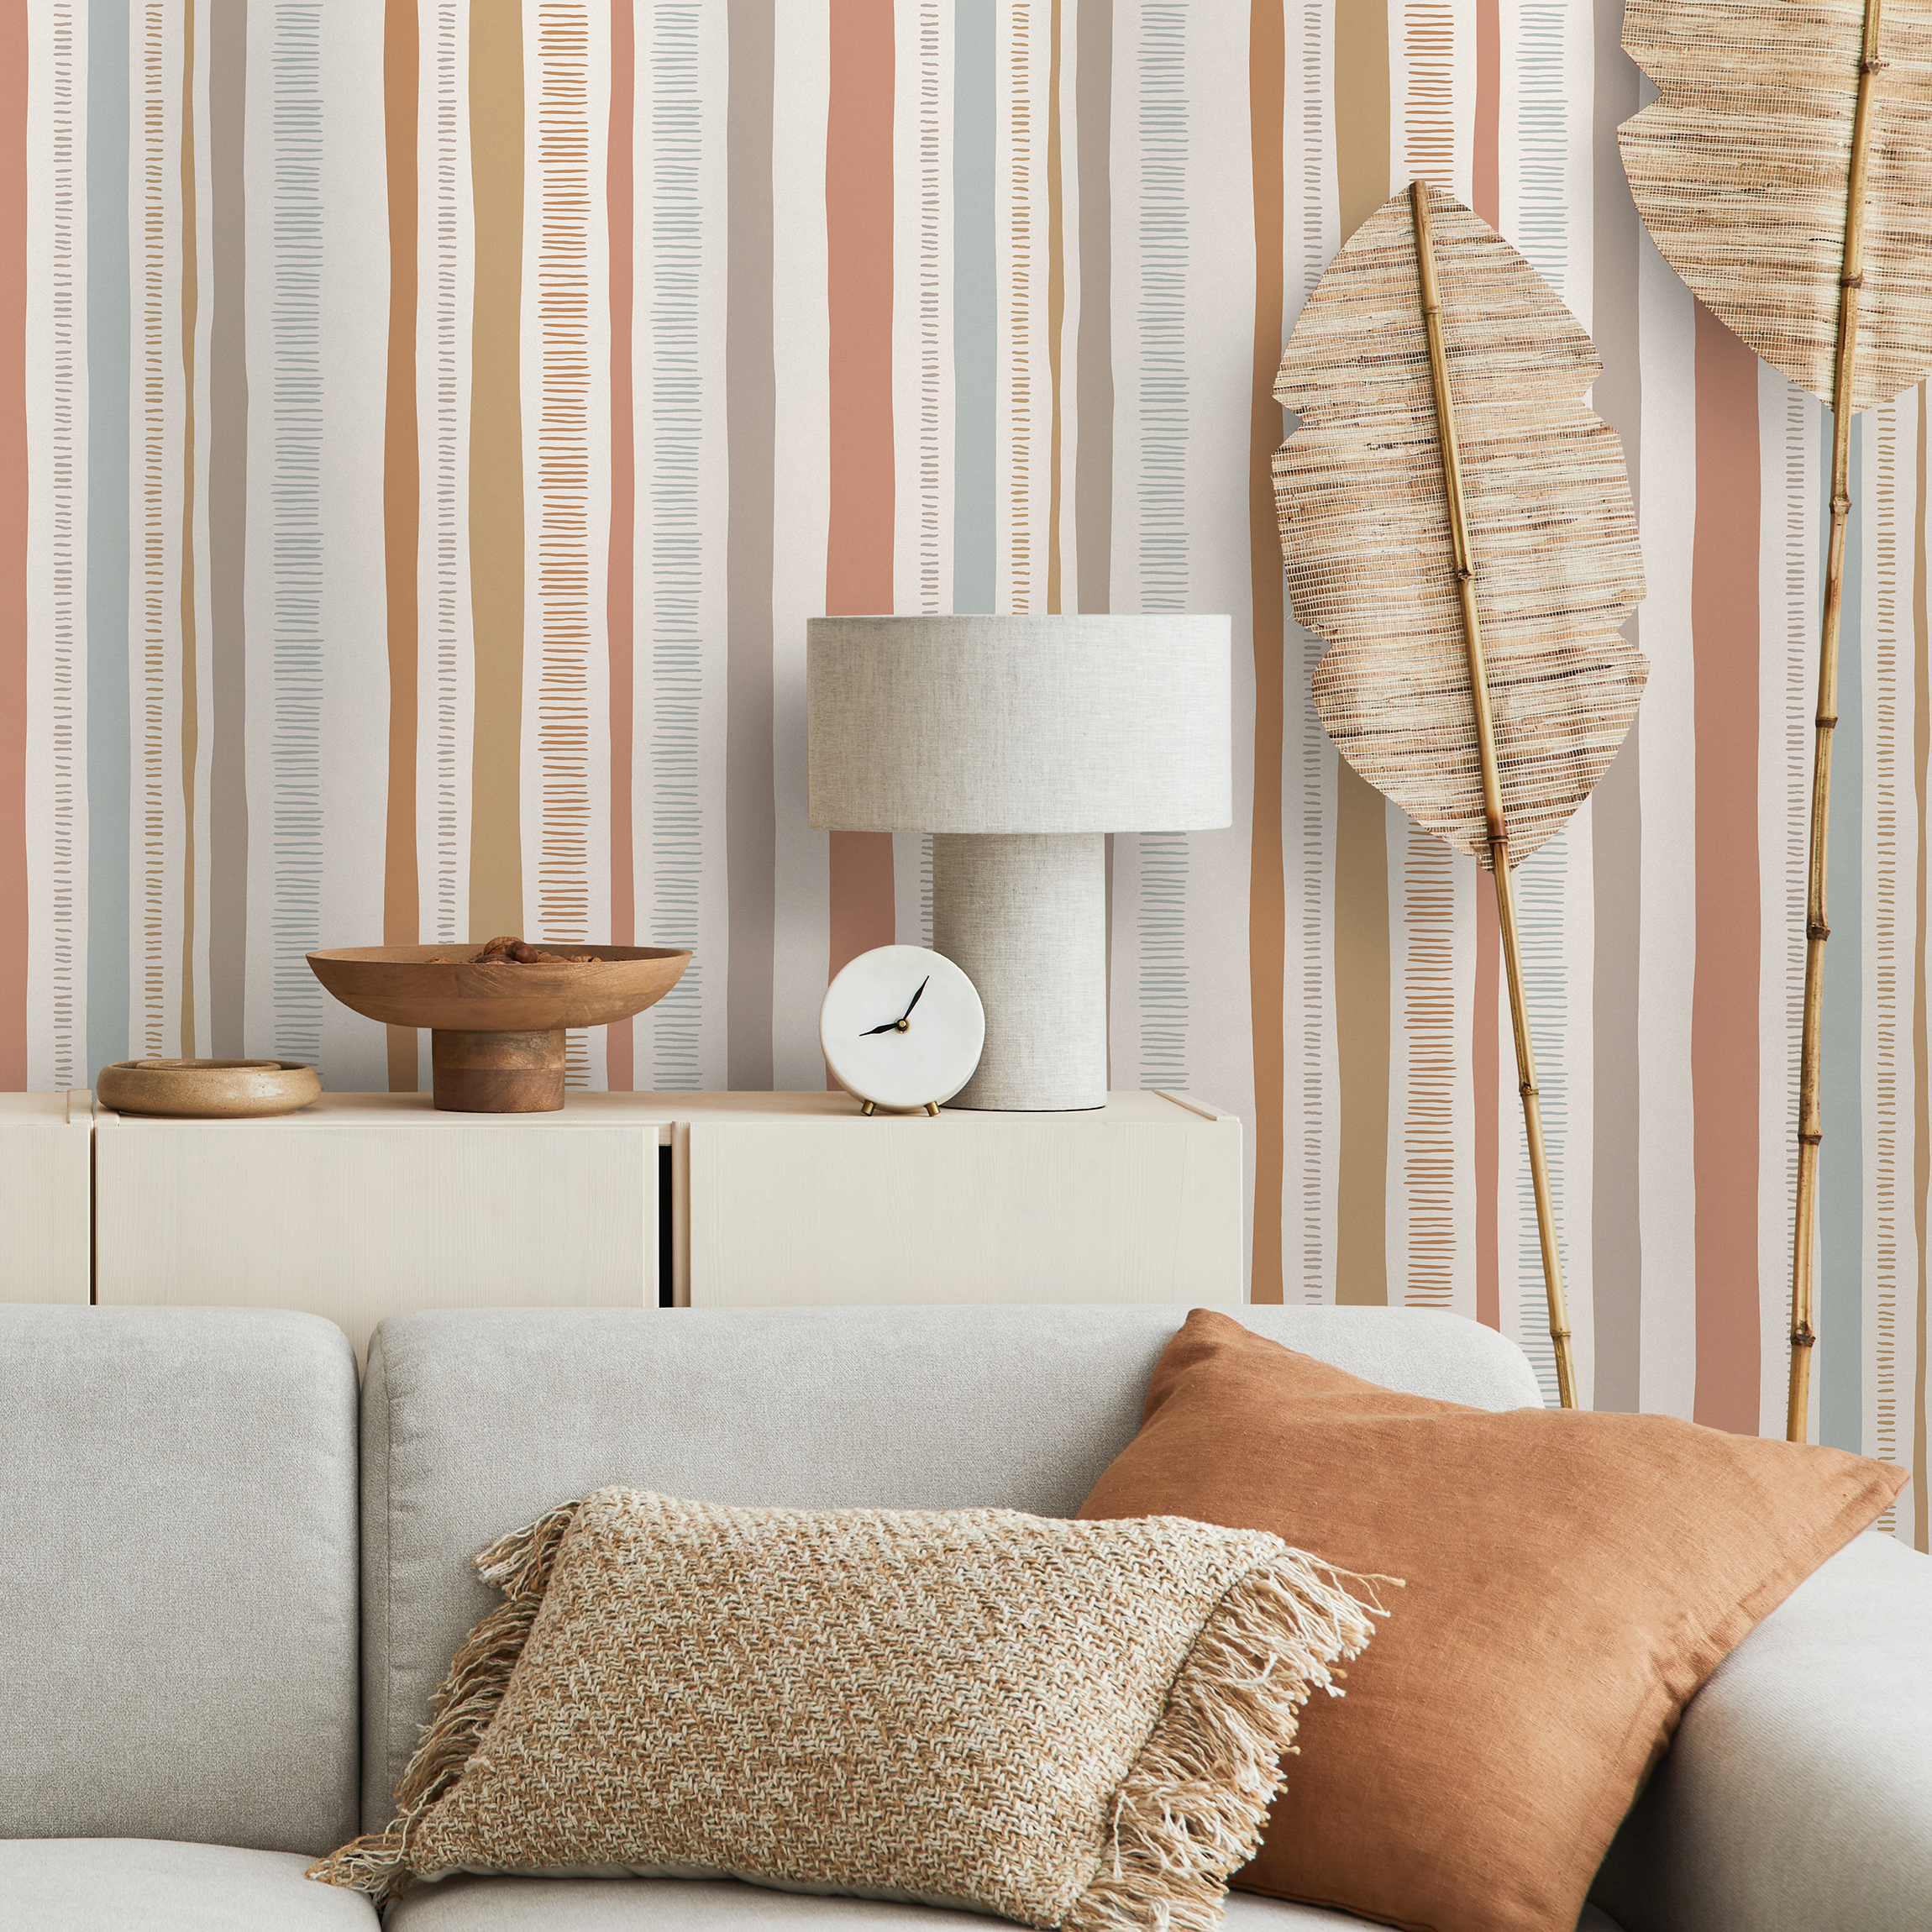
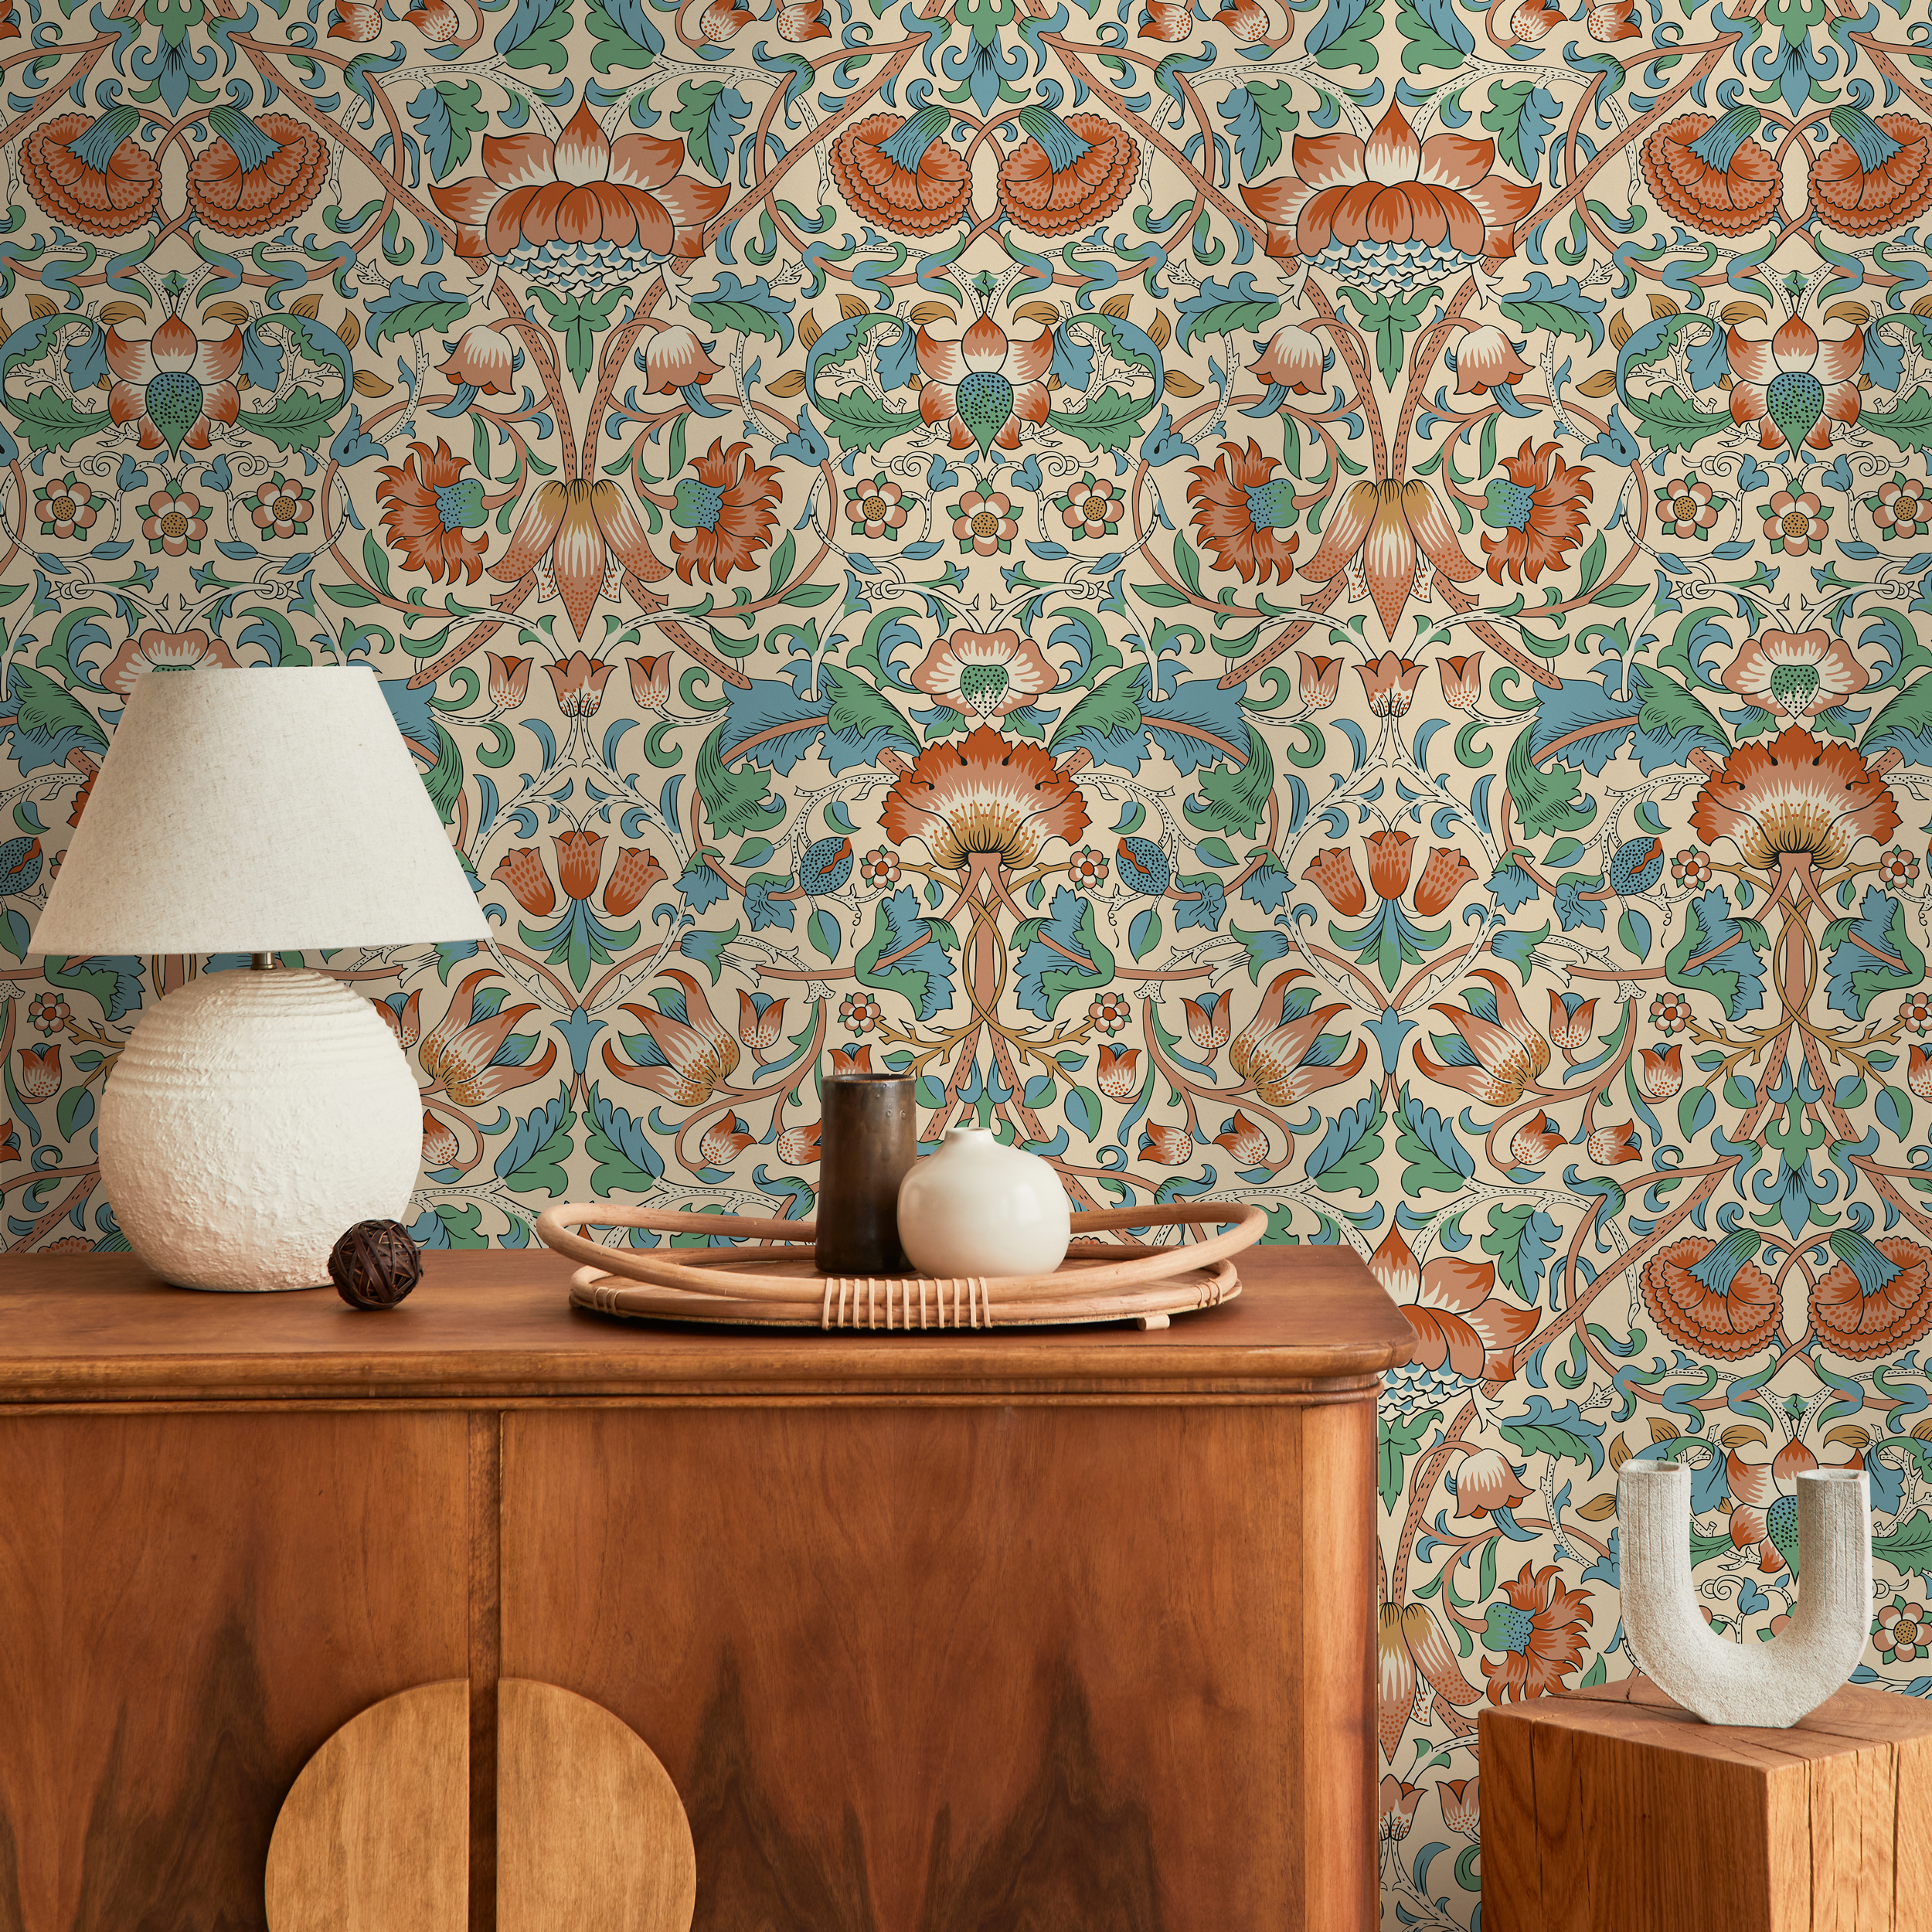
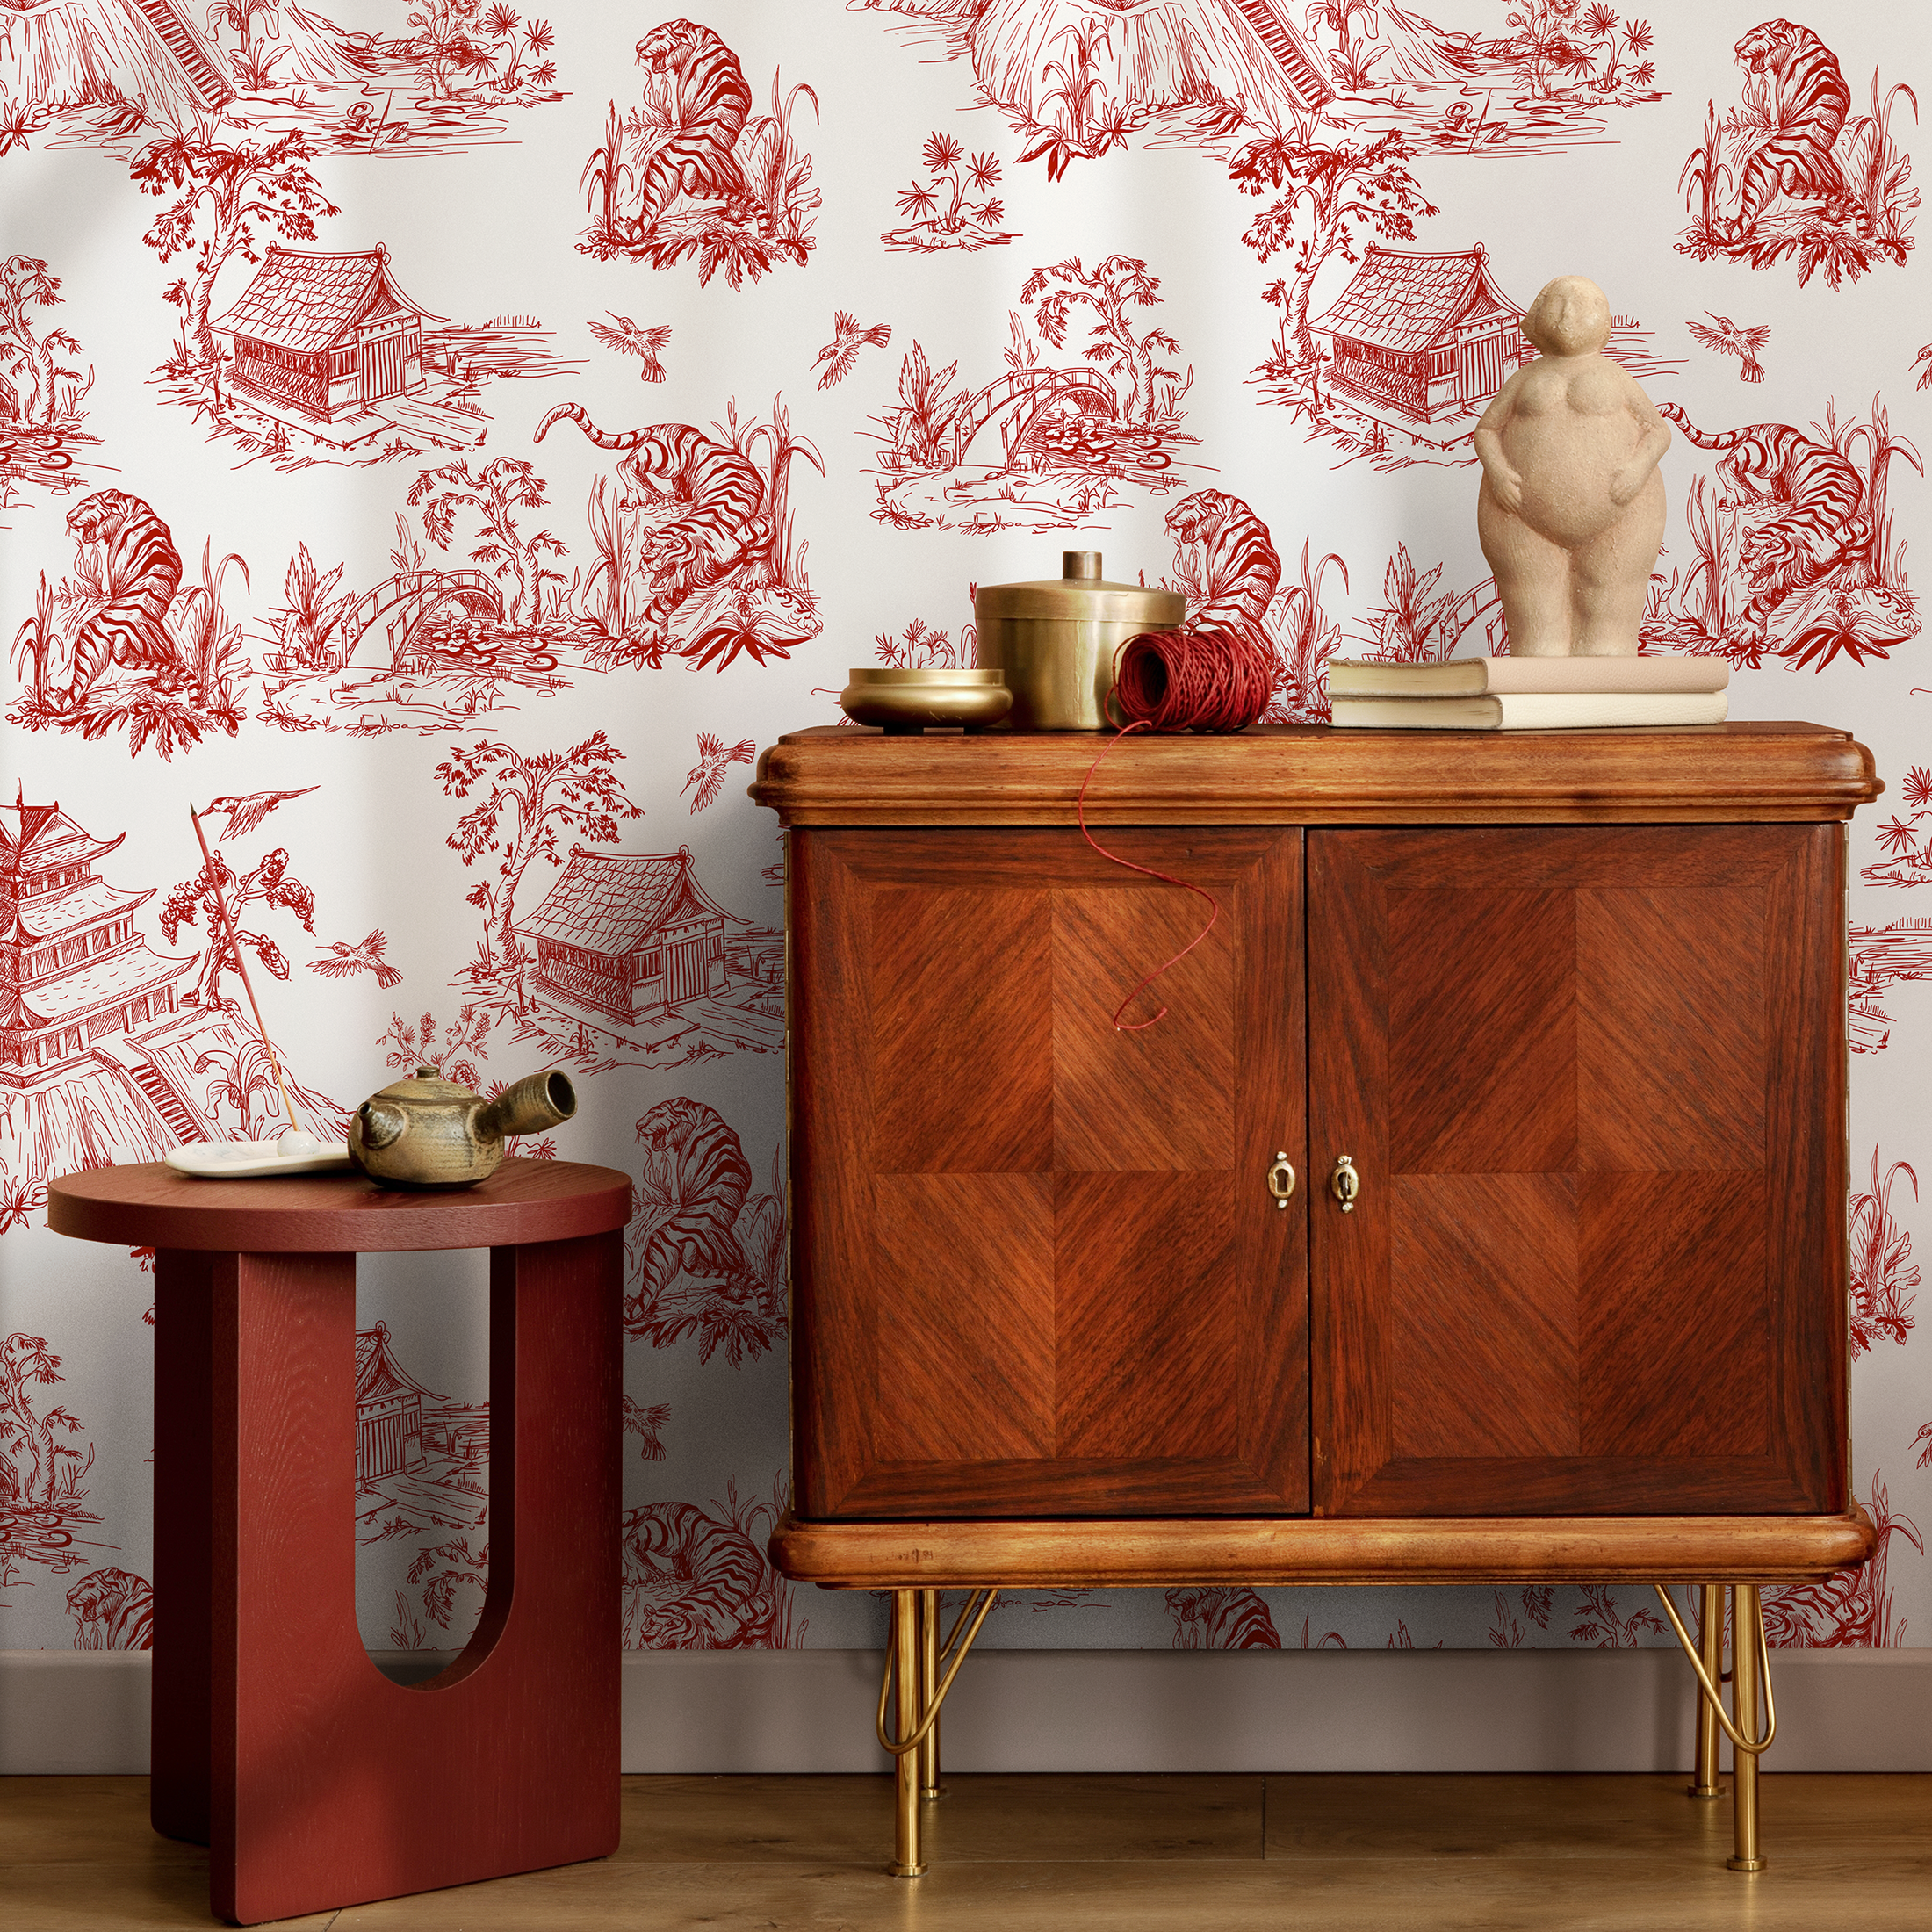
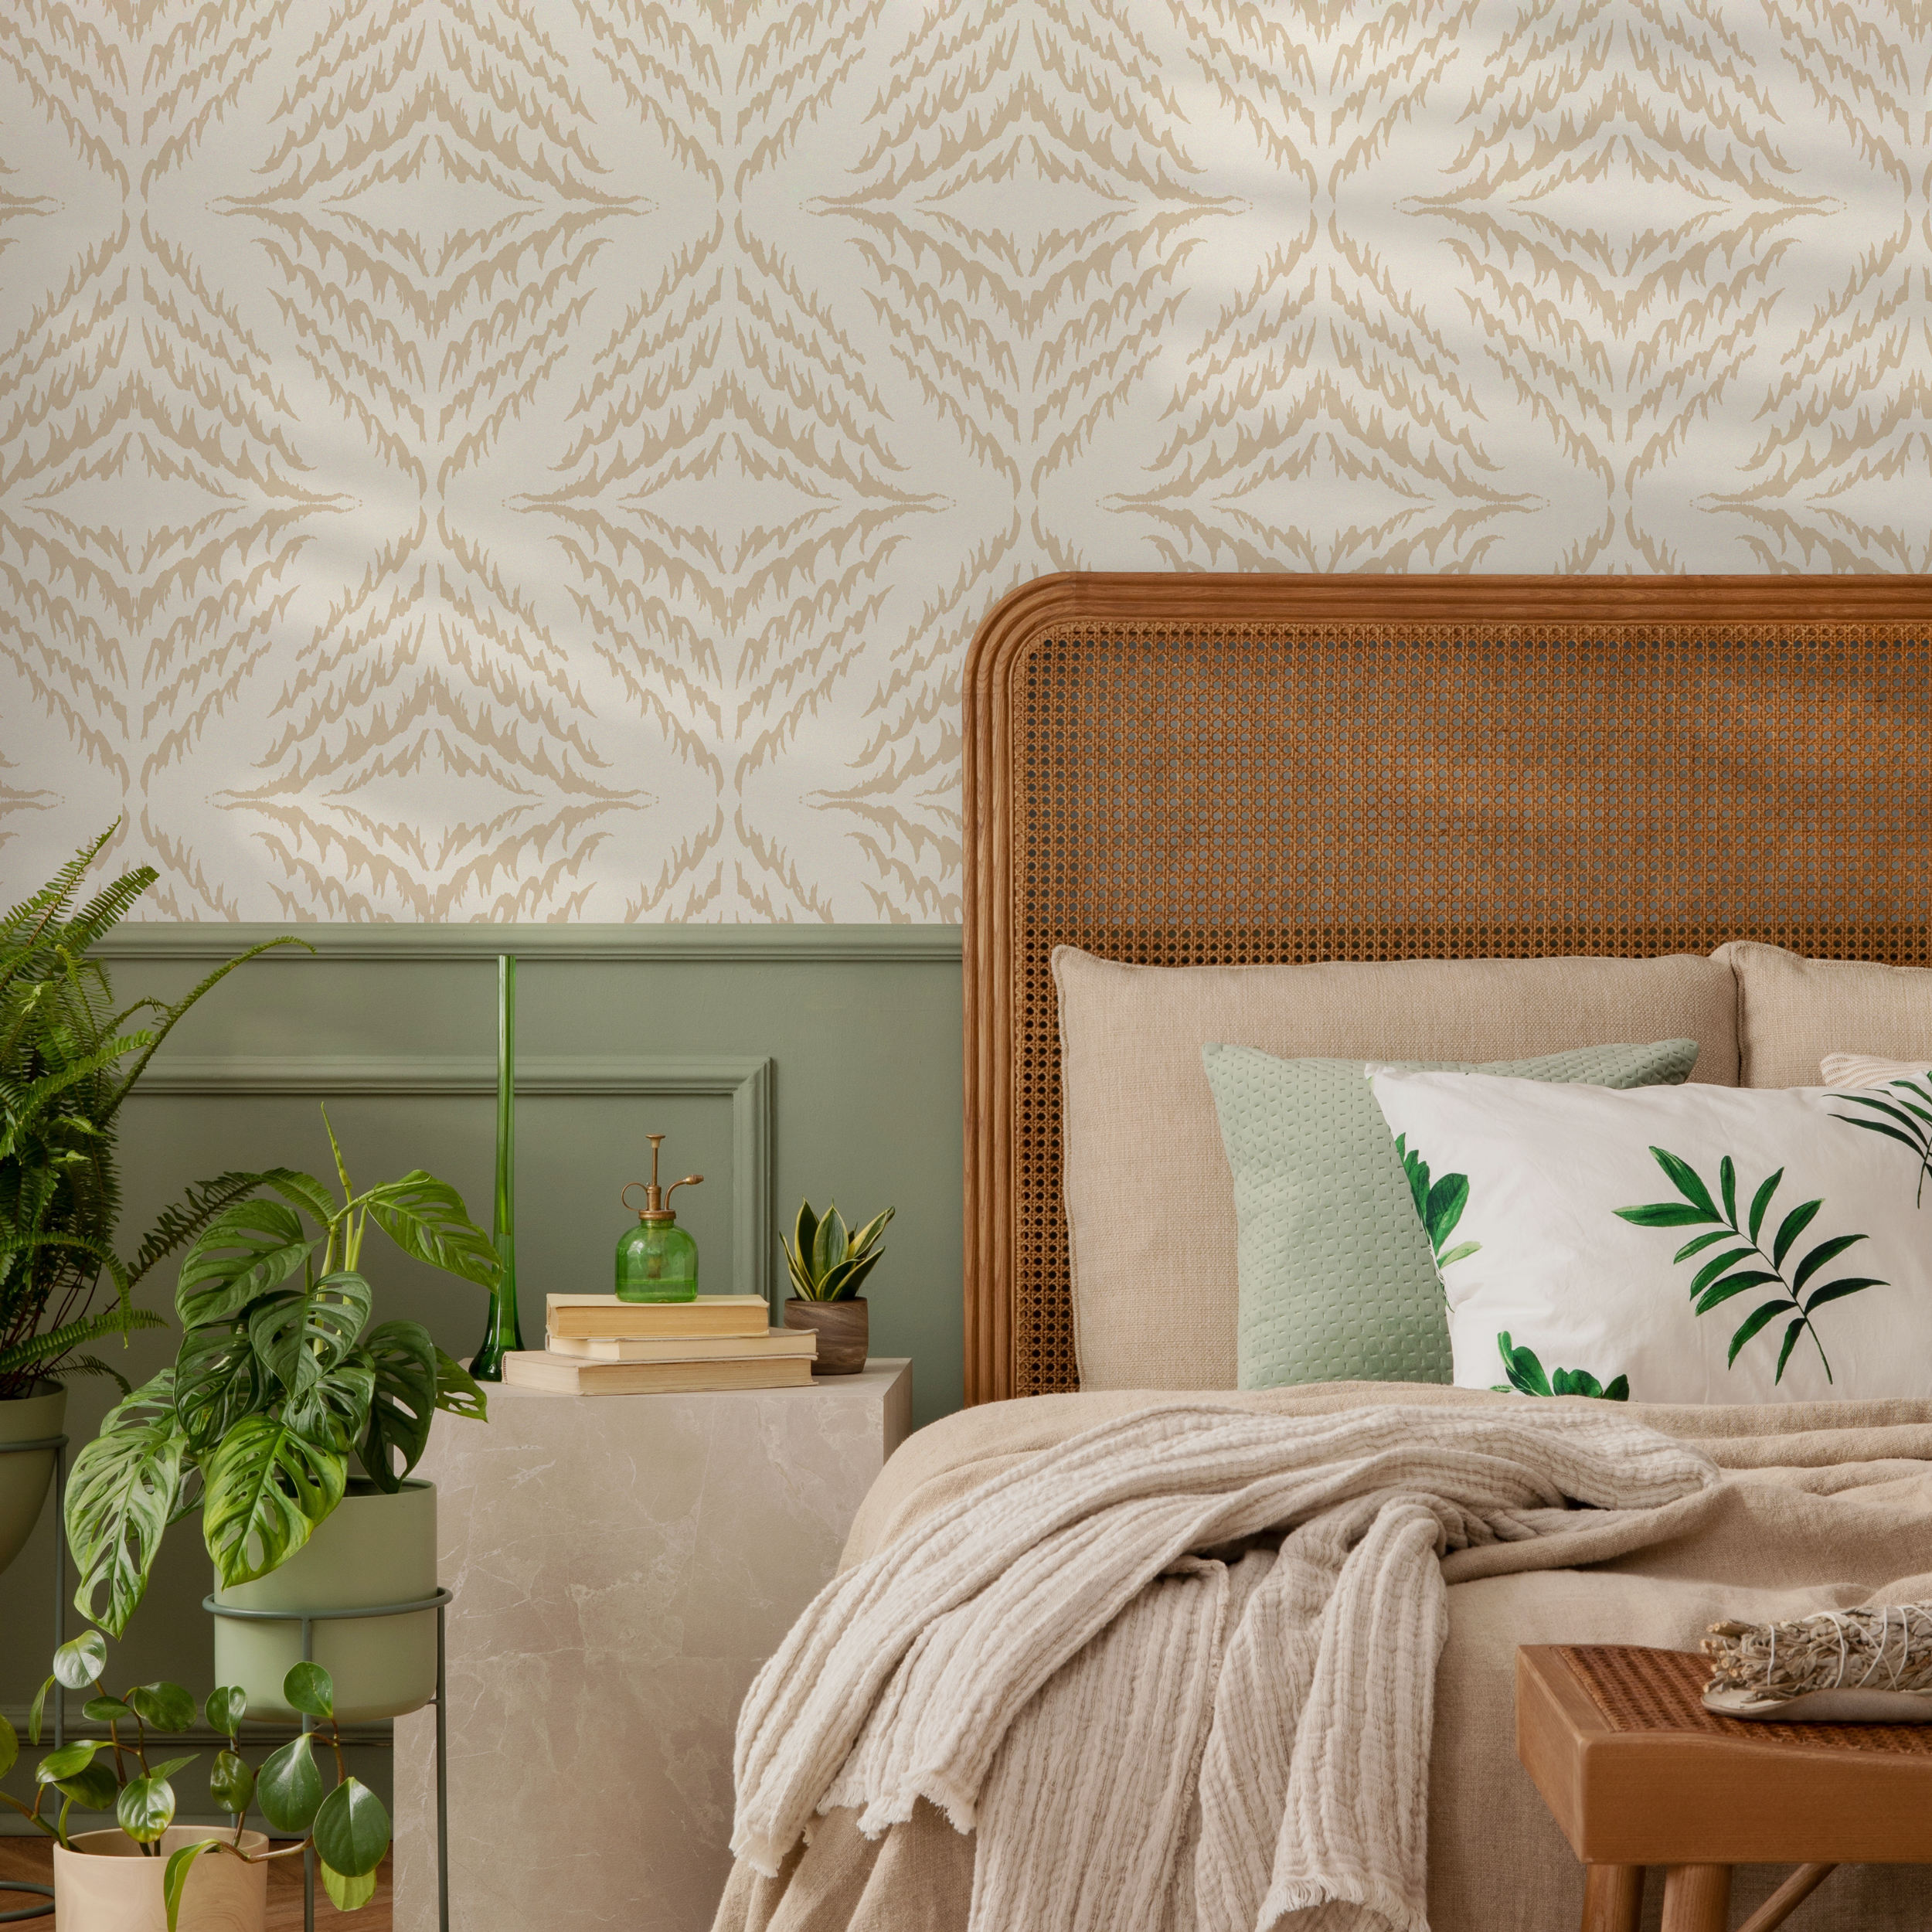
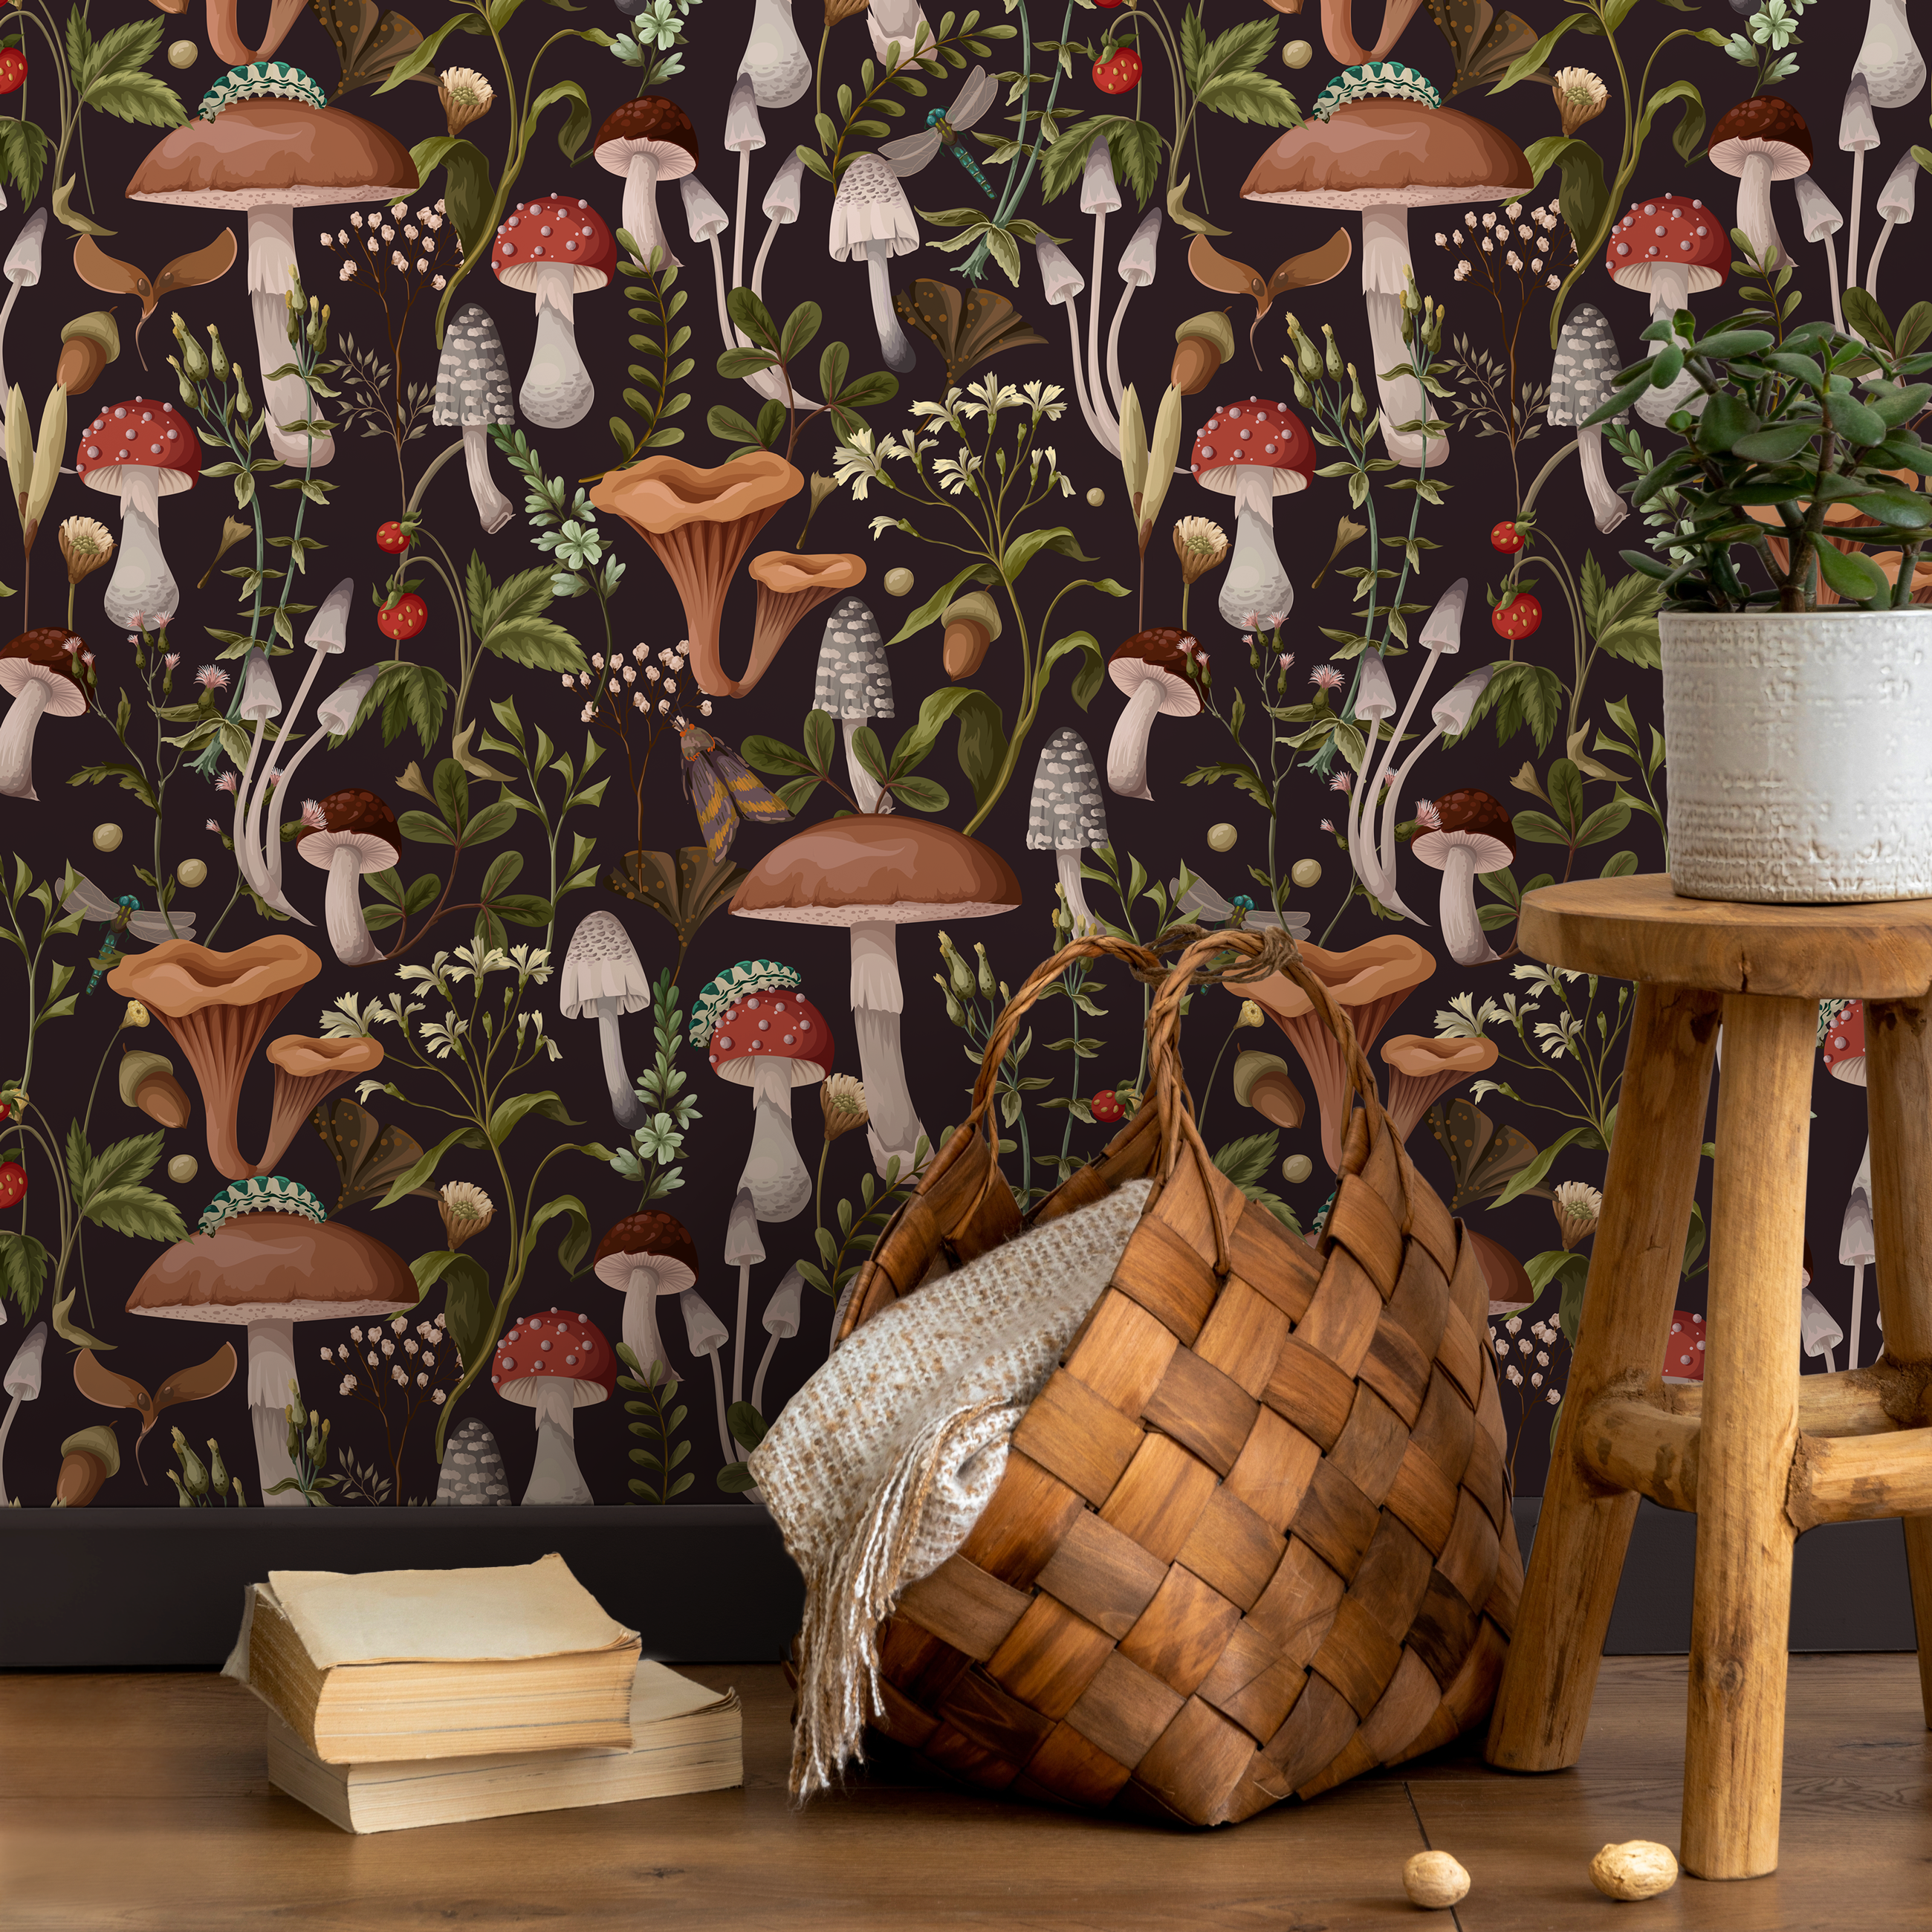
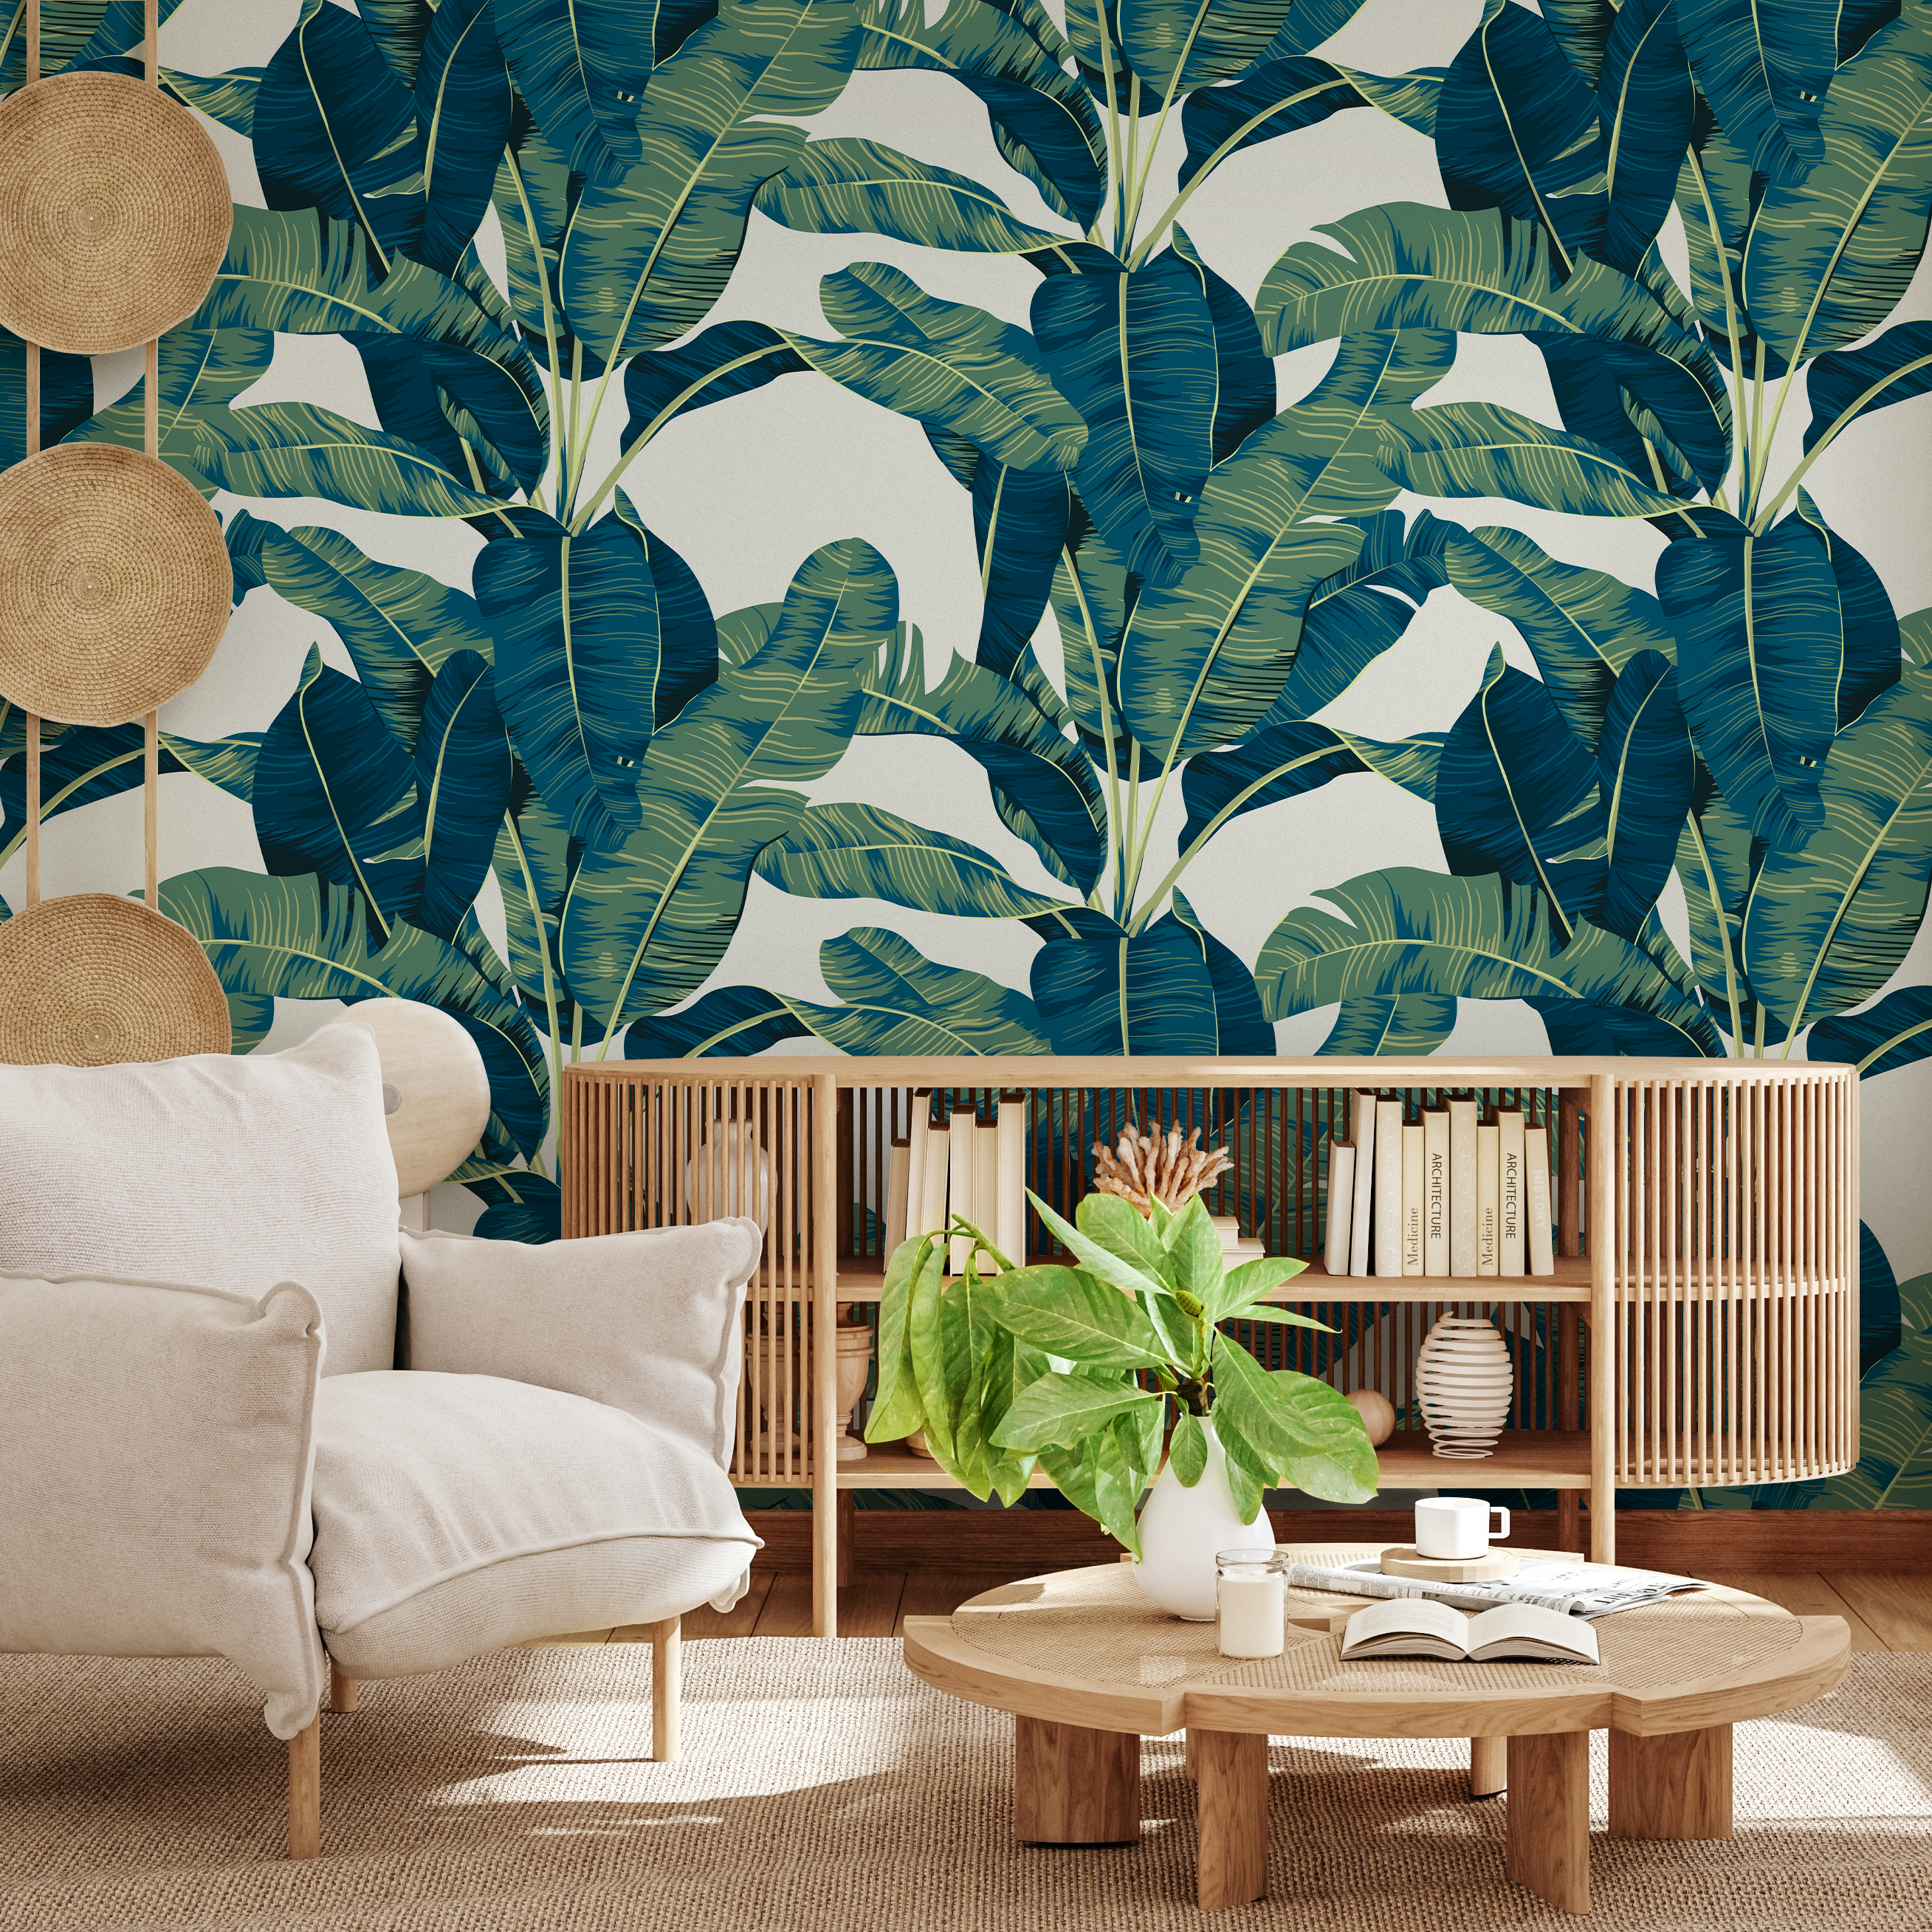
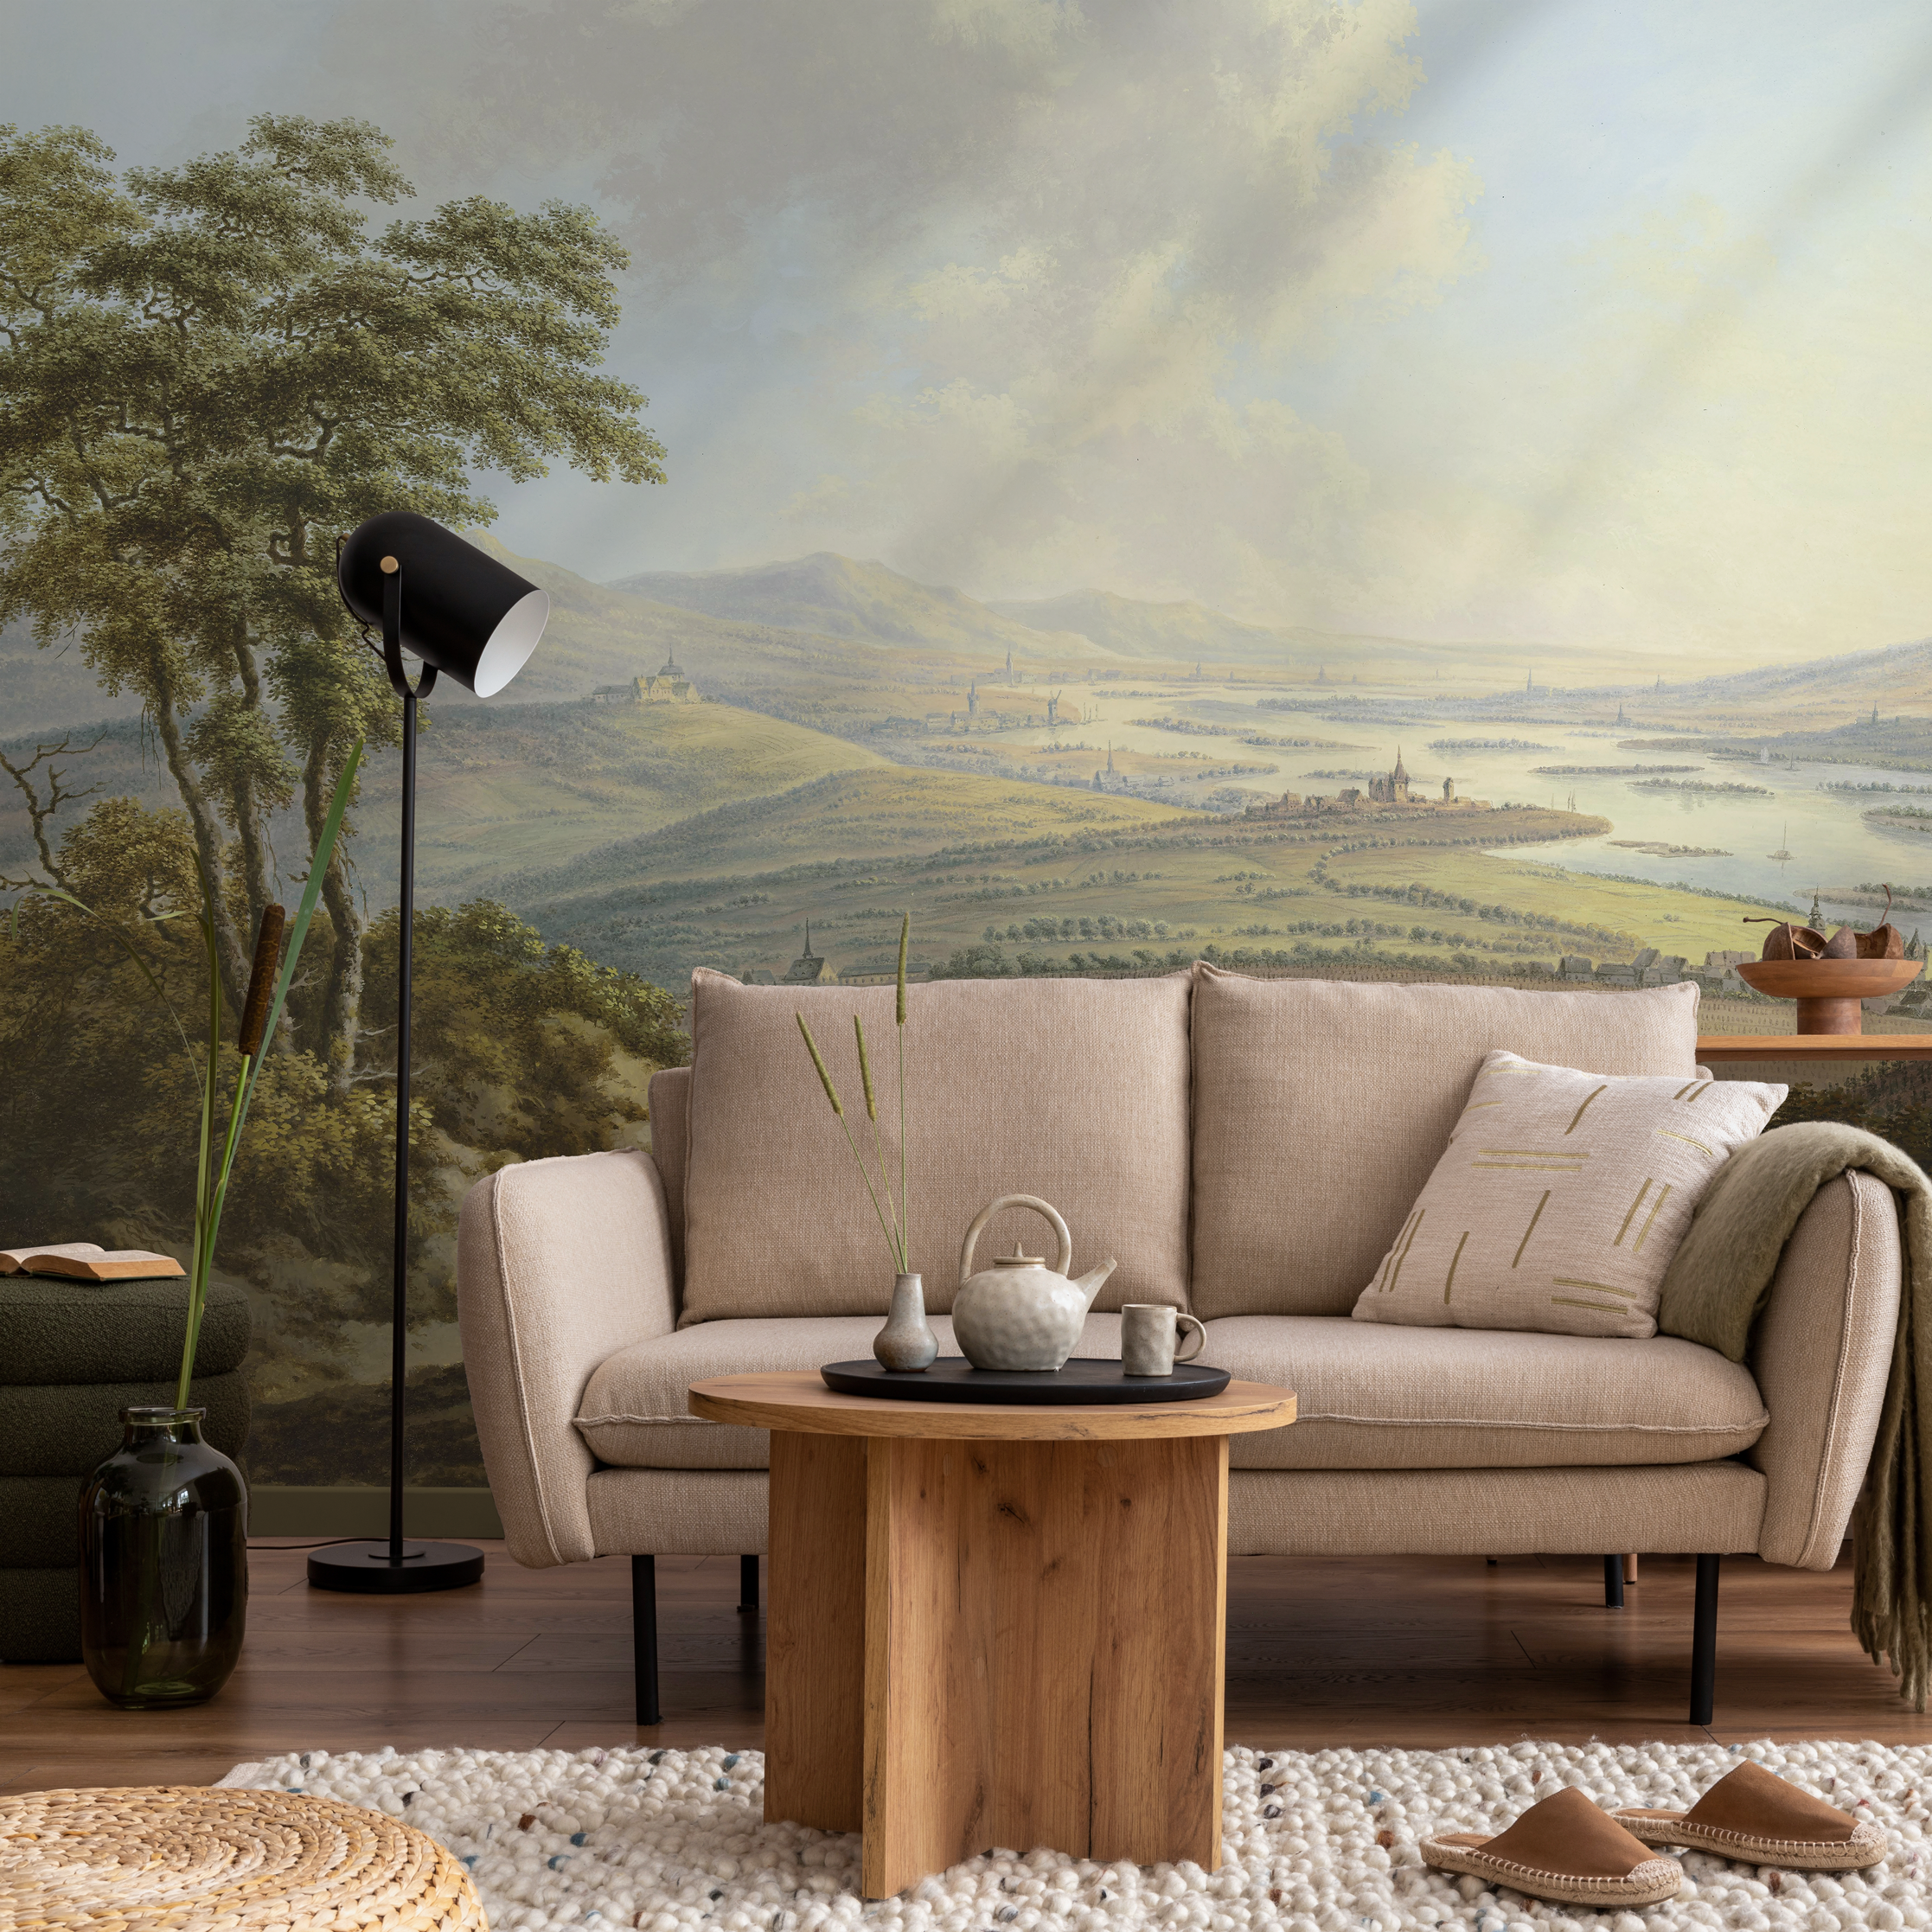
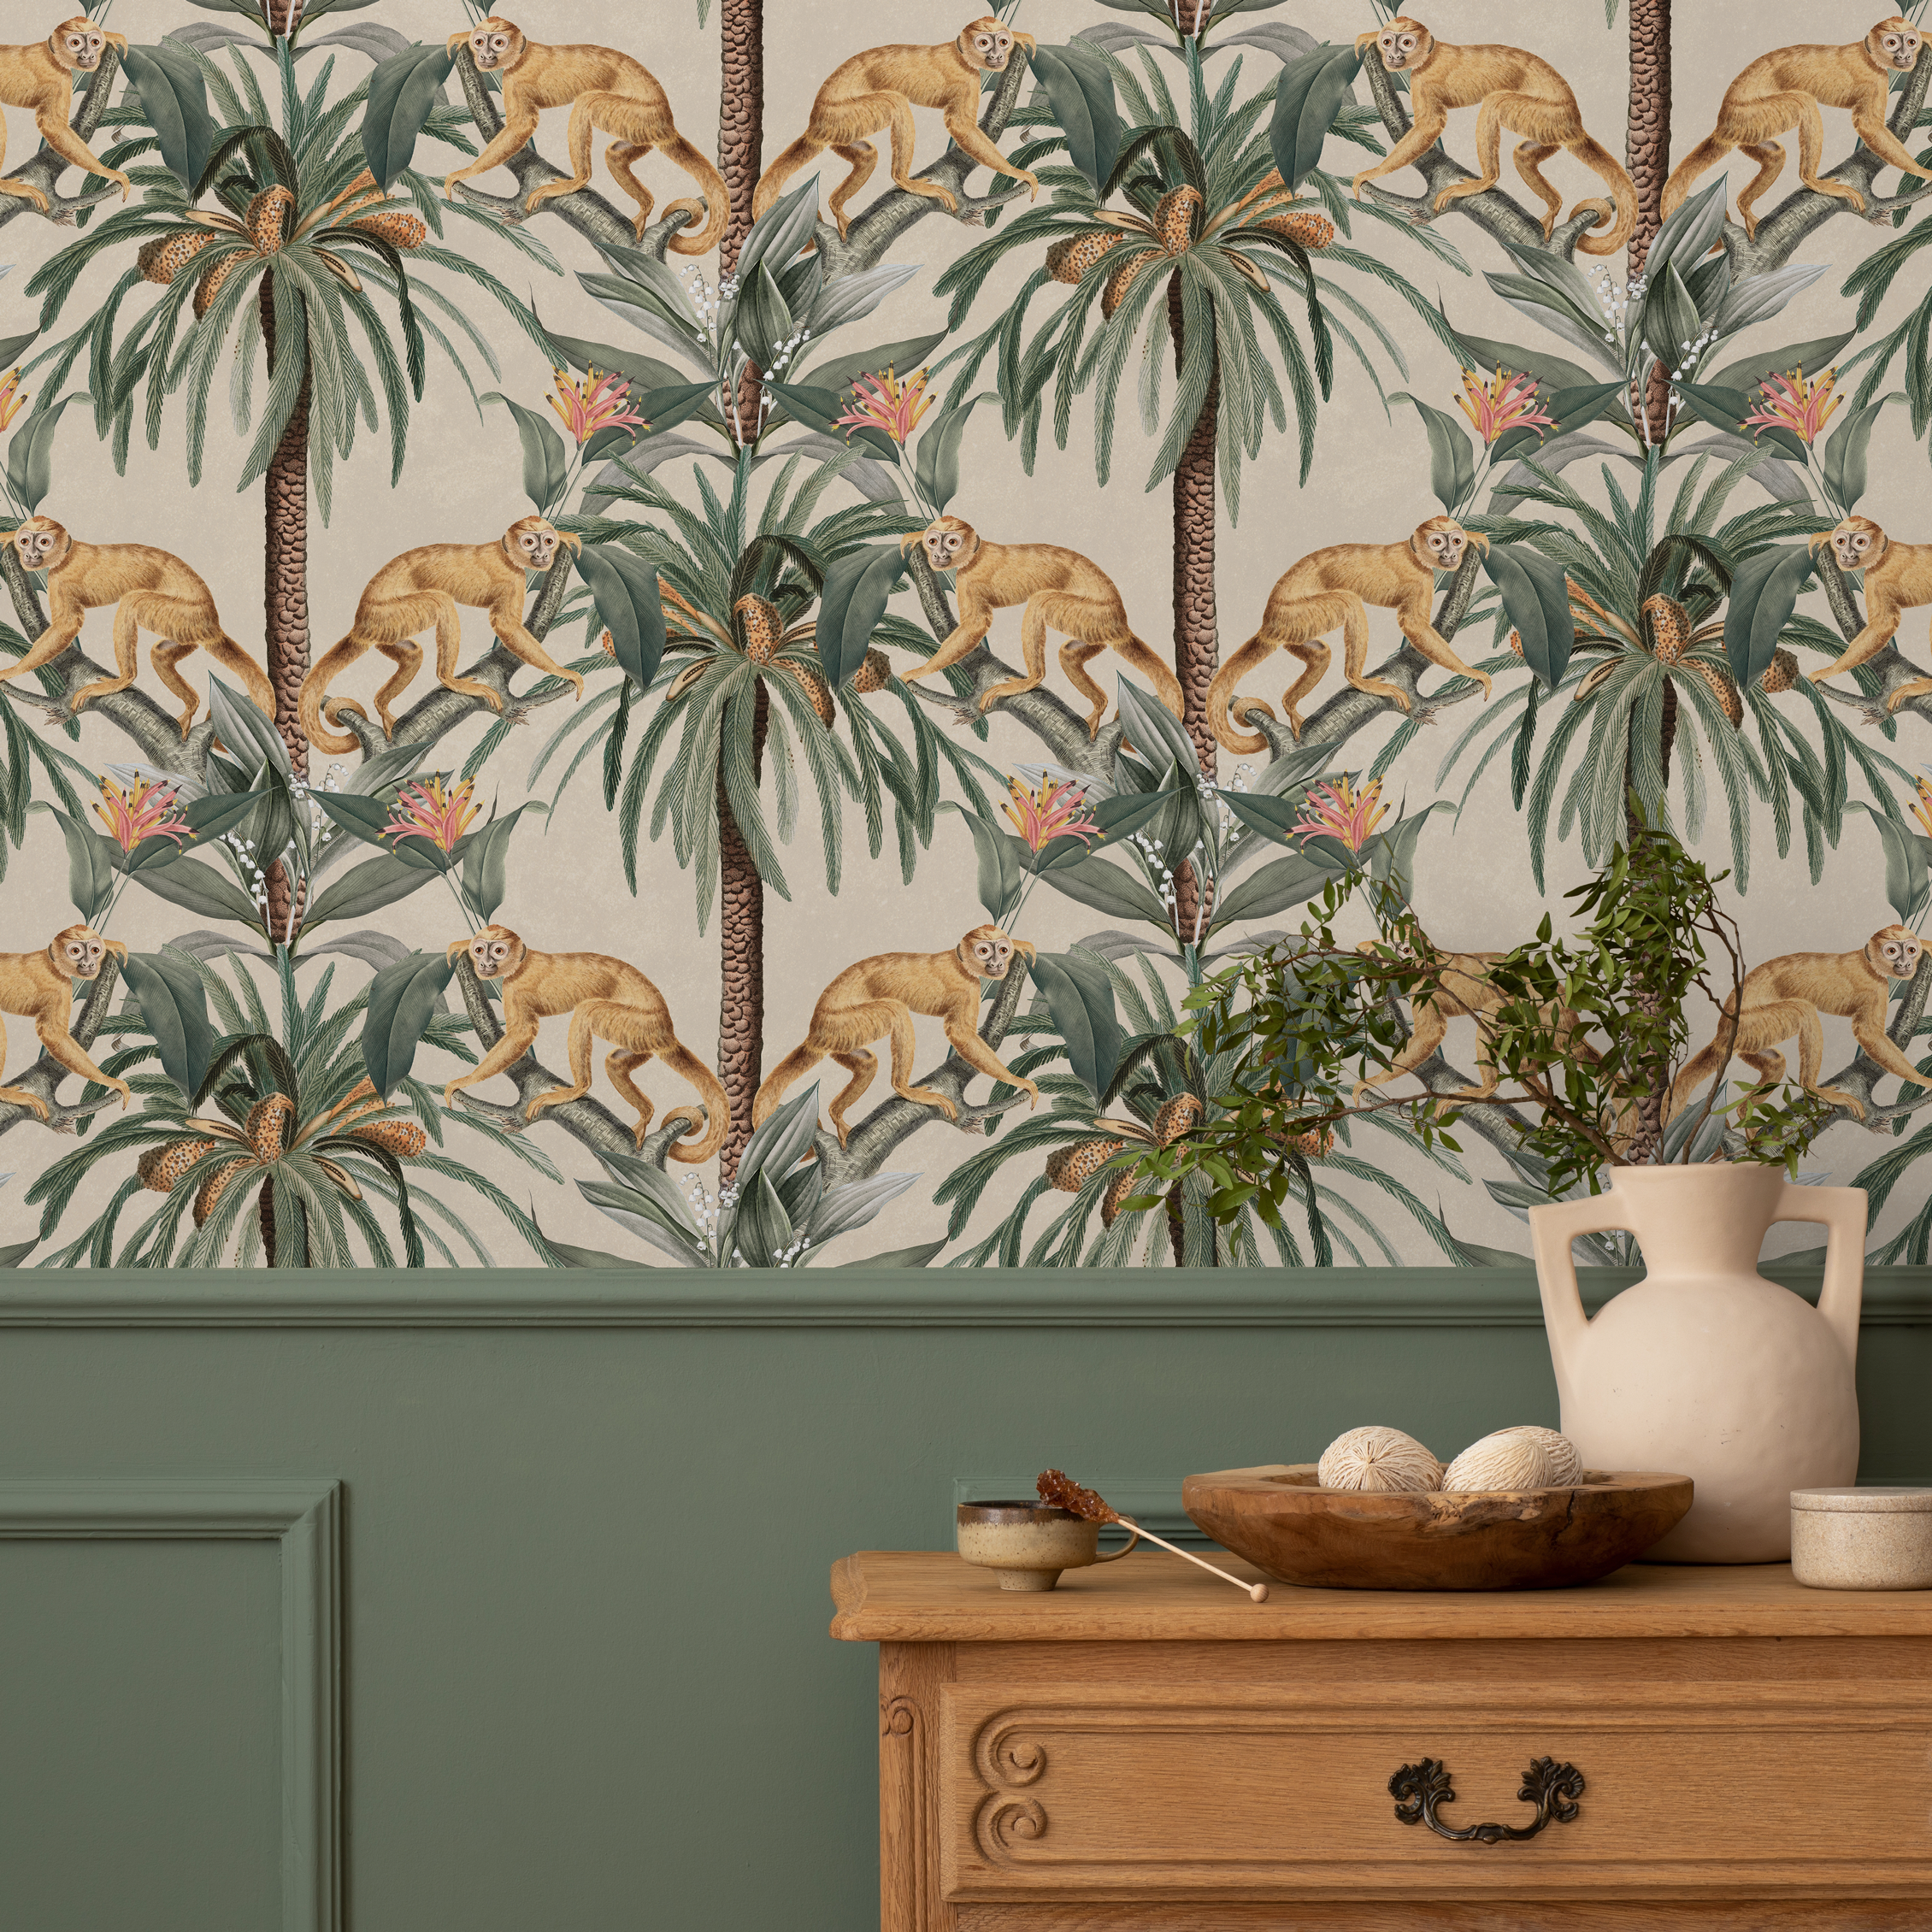
In addition, we offer a range of designs, from modern and minimalist to bold and vibrant, enabling you to create the perfect aesthetic for your home. No matter your design preference or the type of wall texture you have, ONDECOR has a wallpaper to suit your needs.
Choosing the right wallpaper for your textured walls can make all the difference in achieving a professional look. With ONDECOR's eco-friendly and non-toxic wallpapers, you not only transform your walls but also contribute to a healthier environment. Now that you know what type of wallpaper works best, let's move on to the step-by-step guide to applying wallpaper on your textured walls.
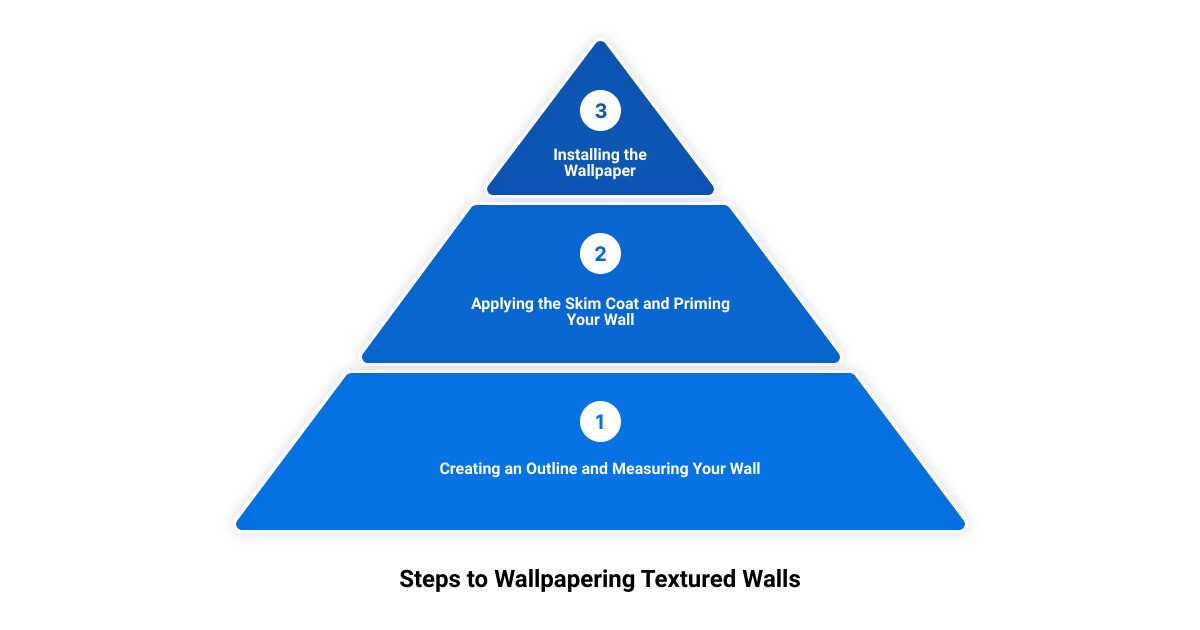
Step-by-Step Guide to Wallpapering Textured Walls
Unleashing the power of wallpaper to transform your bumpy walls into smooth and stylish surfaces requires meticulous preparation and application. Here's a step-by-step guide to help you navigate the process with confidence and achieve professional-looking results.
Creating an Outline and Measuring Your Wall
Start by defining the area on your wall where you plan to apply the wallpaper. This will serve as your outline. Next, measure the height and width of your wall using a tape measure. Remember to measure the wall without the baseboards to get an accurate measurement. If your wall has unique features like slopes, doors, or windows, ensure to account for these in your measurements. For multiple walls, measure each wall separately.
For more details, you can refer to ONDECOR's handy How to Measure Your Wall guide. This guide provides a simple and clear approach to measuring various types of walls.
Applying the Skim Coat and Priming Your Wall
Once you've outlined and measured your wall, the next step is to make it smooth. Begin by applying a skim coat at the edges. For example, if you're skim coating a wall but not the ceiling, start where the wall and ceiling meet, then work downwards. It's essential to start each stroke on a dry part of the wall to avoid creating marks.
Remember, working off of wet edges, similar to painting a wall, aids in maintaining a smooth finish. If you skim coat over a halfway dry section, it can create clumpy sections that must be repaired.
After the skim coat has dried, prime the wall to ensure the wallpaper adheres optimally. Priming also helps to prevent the wallpaper from shrinking or expanding after being hung.
Installing the Wallpaper for a Professional Look
Finally, it's time for the fun part - installing the wallpaper! Refer to ONDECOR's Wallpaper Installation Guides for detailed instructions. Whether you're using Peel and Stick or Traditional Wallpaper, these guides provide comprehensive instructions to ensure a successful installation.
Remember, beginning at the top and working your way down is the best approach. Use a wallpaper smoother to press the wallpaper onto the wall and remove any air bubbles. Ensure the edges align correctly and trim any excess wallpaper at the bottom using a sharp utility knife.
By following these steps, you can effectively transform your bumpy walls into smooth, wallpapered surfaces that add personality and style to your space. With careful preparation and attention to detail, you can achieve a professional look that enhances your home's aesthetic.

Tips for Wallpapering in High Humidity Areas
When it comes to wallpapering, each room in your home presents its own unique challenges. Particularly, high humidity areas such as bathrooms or laundry rooms can create a tricky environment for wallpaper application. So, let's delve into the specific issues associated with these areas and how to tackle them successfully.
How Moisture Can Affect Wallpaper on Textured Walls
Moisture is an arch-nemesis of wallpaper, even more so when dealing with textured walls. The uneven surface of a textured wall can create tiny craters where moisture can build up. If your wallpaper is applied over such a surface, this trapped moisture can create an environment conducive to mold and fungus growth.
In addition, wallpapers applied on textured surfaces in high humidity environments can face adhesion issues. The moisture in the air can weaken the wallpaper paste, causing it to peel or bubble. Furthermore, the textured features of the wall can become more prominent if the wallpaper gets damp, leading to an uneven and unappealing aesthetic.
Preventing Mold and Fungus Growth Behind Wallpaper
Preventing mold and fungus growth is crucial for the longevity of your wallpaper, as well as for the health of your home’s inhabitants. One effective way of combating this issue is by using a mold and mildew inhibiting paste during the wallpaper installation process. This type of paste is specially formulated to resist the growth of mold and mildew, making it an ideal choice for high humidity areas.
Preparing your walls properly is also a key step in preventing mold and fungus growth. By using the mudding technique to smooth out your textured wall, you eliminate the tiny craters where moisture can build up. After mudding, applying a coat of primer seals the wall, preventing the paste from soaking into your new compound and creating a barrier against moisture.
Additionally, choosing the right type of wallpaper can also make a significant difference. For instance, ONDECOR's eco-friendly and non-toxic wallpapers are designed to be durable and long-lasting, making them a great choice for high-traffic, high-humidity areas.
Embracing these tips can help you successfully apply wallpaper in high humidity areas, ensuring that your newly transformed walls remain beautiful and mold-free for years to come.
Conclusion: The Transformational Power of Wallpaper on Bumpy Walls
As we bring this guide to a close, let's take a moment to reflect on the transformational power of wallpaper on bumpy walls. With the right preparation and choice of wallpaper, a textured wall doesn't have to be a barrier to a stylish home makeover. In fact, it can be an opportunity to bring out the best in your living spaces and imbue them with character and charm.
We've uncovered that the key to successful wallpaper application on textured walls is understanding and embracing the unique challenges they present. From recognizing the different types of wall textures such as orange peel, popcorn, and knockdown to the essential role of skim coating in preparing your wall for wallpaper application. We've also discovered the importance of choosing the right wallpaper, such as paste-the-wall non-woven wallpaper, which works best for textured walls.
ONDECOR's eco-friendly and non-toxic wallpapers have been highlighted as a top choice for homeowners looking to transform their bumpy walls. Their durability and long-lasting nature make them ideal for any room in the house, including high-traffic, high-humidity areas.
The step-by-step guide we've provided has shown that, armed with the right knowledge and tools, wallpapering textured walls is a doable task even for busy homeowners. And as we've seen, taking the time to do it right can prevent problems down the line like mold and fungus growth behind the wallpaper.
In conclusion, wallpapering bumpy walls might seem like a daunting task, but with the right approach, it can certainly be done. A textured wall, once seen as a challenge, can be transformed into a stunning backdrop for your living spaces. And with ONDECOR's array of beautiful and eco-friendly wallpapers, you're not just covering a wall, you're creating a masterpiece. So, go ahead and embrace the transformational power of wallpaper - your bumpy walls are waiting for their makeover.
Share