


Transform Your Rough Walls: Discover the Surprising Ease of Wallpaper Application
Introduction: The Possibility of Wallpapering Rough Walls
Are you tired of looking at those rough, textured walls in your home? Do you crave for a smoother, more polished look? You might be considering a fresh coat of paint, but have you thought about wallpapering your rough walls? Yes, you can indeed put wallpaper on rough walls, and it might be easier than you think. The key lies in choosing the right wallpaper and preparing your walls correctly. In this article, we'll unveil the mystery behind the process of wallpapering rough walls, guiding you through each step and offering expert advice from ONDECOR LLC, a leading provider of high-quality, eco-friendly wallpapers. With our help, you'll soon be able to transform your rough walls into a perfect canvas for your home decor ideas. Let's embark on this exciting and rewarding home improvement journey!
Understanding Your Wall Texture: Identifying Different Types of Textured Walls
Navigating the world of wall textures can be a bit like stepping into an exotic fruit market - the names alone can leave you scratching your head. But don't worry, we've got you covered. Before we move on to the wallpapering process, it's important to identify the type of texture your walls have. This will help you understand how to best prepare your walls for wallpaper application.
Orange Peel Walls
Just as the name suggests, orange peel walls have a texture that resembles the skin of an orange. This is a light texture that won't pose a major problem when it comes to wallpapering. Wallpaper should be able to cover this texture without any significant functional or aesthetic issues. However, the slight bumps of an orange peel texture may subtly show through certain types of wallpaper - particularly those with a light background or less busy design.
Popcorn Walls
Popcorn walls - another snack-inspired name - have a rough, bumpy texture that can be quite challenging to wallpaper over. The tiny, pointy edges of this texture can not only show through your wallpaper but can also cause damage. If you attempt to smooth out the bumps or wipe the wallpaper clean, you run the risk of tearing the paper.
Knockdown Texture
Knockdown texture doesn't pose any problems for wallpaper adhesion. The real issue with this texture is the aesthetic effect. The raised portions of the texture can cause your wallpaper to look uneven, and this can be particularly noticeable if you're using a design that should look smooth, like a wood or wainscoting design.
Remember, while these textures won't prevent your wallpaper from sticking, they can affect the final look. As the old saying goes, "A smooth sea never made a skilled sailor," and similarly, a smooth wall always makes for a flawless wallpaper application. So, before we get into the wallpapering process, let's first learn how to smooth out those rough walls in our next section.
Preparing Your Rough Walls for Wallpaper: The Importance of Skim Coating
As we navigate the sea of home renovation, just as a skilled sailor needs calm waters, wallpaper craves a smooth wall surface. The procedure to achieve this is known as skim coating. But what exactly is skim coating, and how do you go about doing it on your rough walls?
What is Skim Coating?
Skim coating is a method used to prepare a wall for wallpapering. It's a process of applying a thin layer of joint compound, also known as "mud", to the surface of a wall. This compound fills in the cracks, blemishes, and unevenness of textured walls, effectively creating a smooth, flat canvas for your wallpaper.
Skim coating is especially important when dealing with textured walls. Without it, the unevenness of the wall will show through the wallpaper, seams won't lay flat, and the wallpaper may not stick properly. In other words, skim coating is your secret weapon for turning rough walls into wallpaper-ready surfaces.
How to Skim Coat Your Walls
Preparing your walls for wallpaper through skim coating is simpler than you might think. Here's a step-by-step guide to help you smooth out your rough walls:
Step 1: Clear the Wall and Work Area: Remove all decor and furniture from the area. Clean any dust or grime from the wall and patch up any nail holes using joint compound.
Step 2: Outline Your Mural Size: Lightly outline the size of your mural on the wall with a pencil. This will help you know exactly where to apply the skim coat.
Step 3: Apply Joint Compound: Using a drywall taping knife, apply a generous amount of compound to your wall. Position your knife at about a 10 to 15-degree angle and spread the compound on the wall.
Step 4: Skim and Remove Excess Compound: Adjust your knife to a 35-degree angle and skim over the area you just coated. This technique will leave a thin layer of compound that fills in the textured wall areas.
Step 5: Let It Dry and Sand: Allow the compound to dry completely. This could take up to 24 hours. Once dry, sand the surface with a 220-grit sanding sponge/block until it is completely smooth.
Step 6: Prime Your Walls: Apply a coat of primer to your skim coated walls. This will seal the joint compound and provide a good adhesive base for your wallpaper.
By following these steps, you'll be well on your way to transforming your rough walls into a smooth, wallpaper-ready surface. But remember, the perfect wallpaper application doesn't stop here. Next, we delve into how to choose the right wallpaper and the step-by-step process of its application.
Choosing the Right Wallpaper for Your Rough Walls
A significant part of ensuring a successful wallpaper application on rough walls is choosing the right type of wallpaper. There are numerous factors to consider, such as the wallpaper's adhesive nature, its texture or pattern, and its environmental impact. Let's delve into each of these aspects.
Paste the Wall Wallpaper
Choosing a paste the wall wallpaper can be an excellent option for rough surfaces. This type of wallpaper, as the name suggests, requires a separate adhesive to be applied to the wall before hanging the wallpaper. Wallpaper like Graham & Brown’s Innocence textured vinyl wallpaper is a popular non-pasted option. This approach is typically more labor-intensive but often results in a stronger, longer-lasting bond, which is particularly beneficial for textured walls.
Textured or Patterned Wallpaper
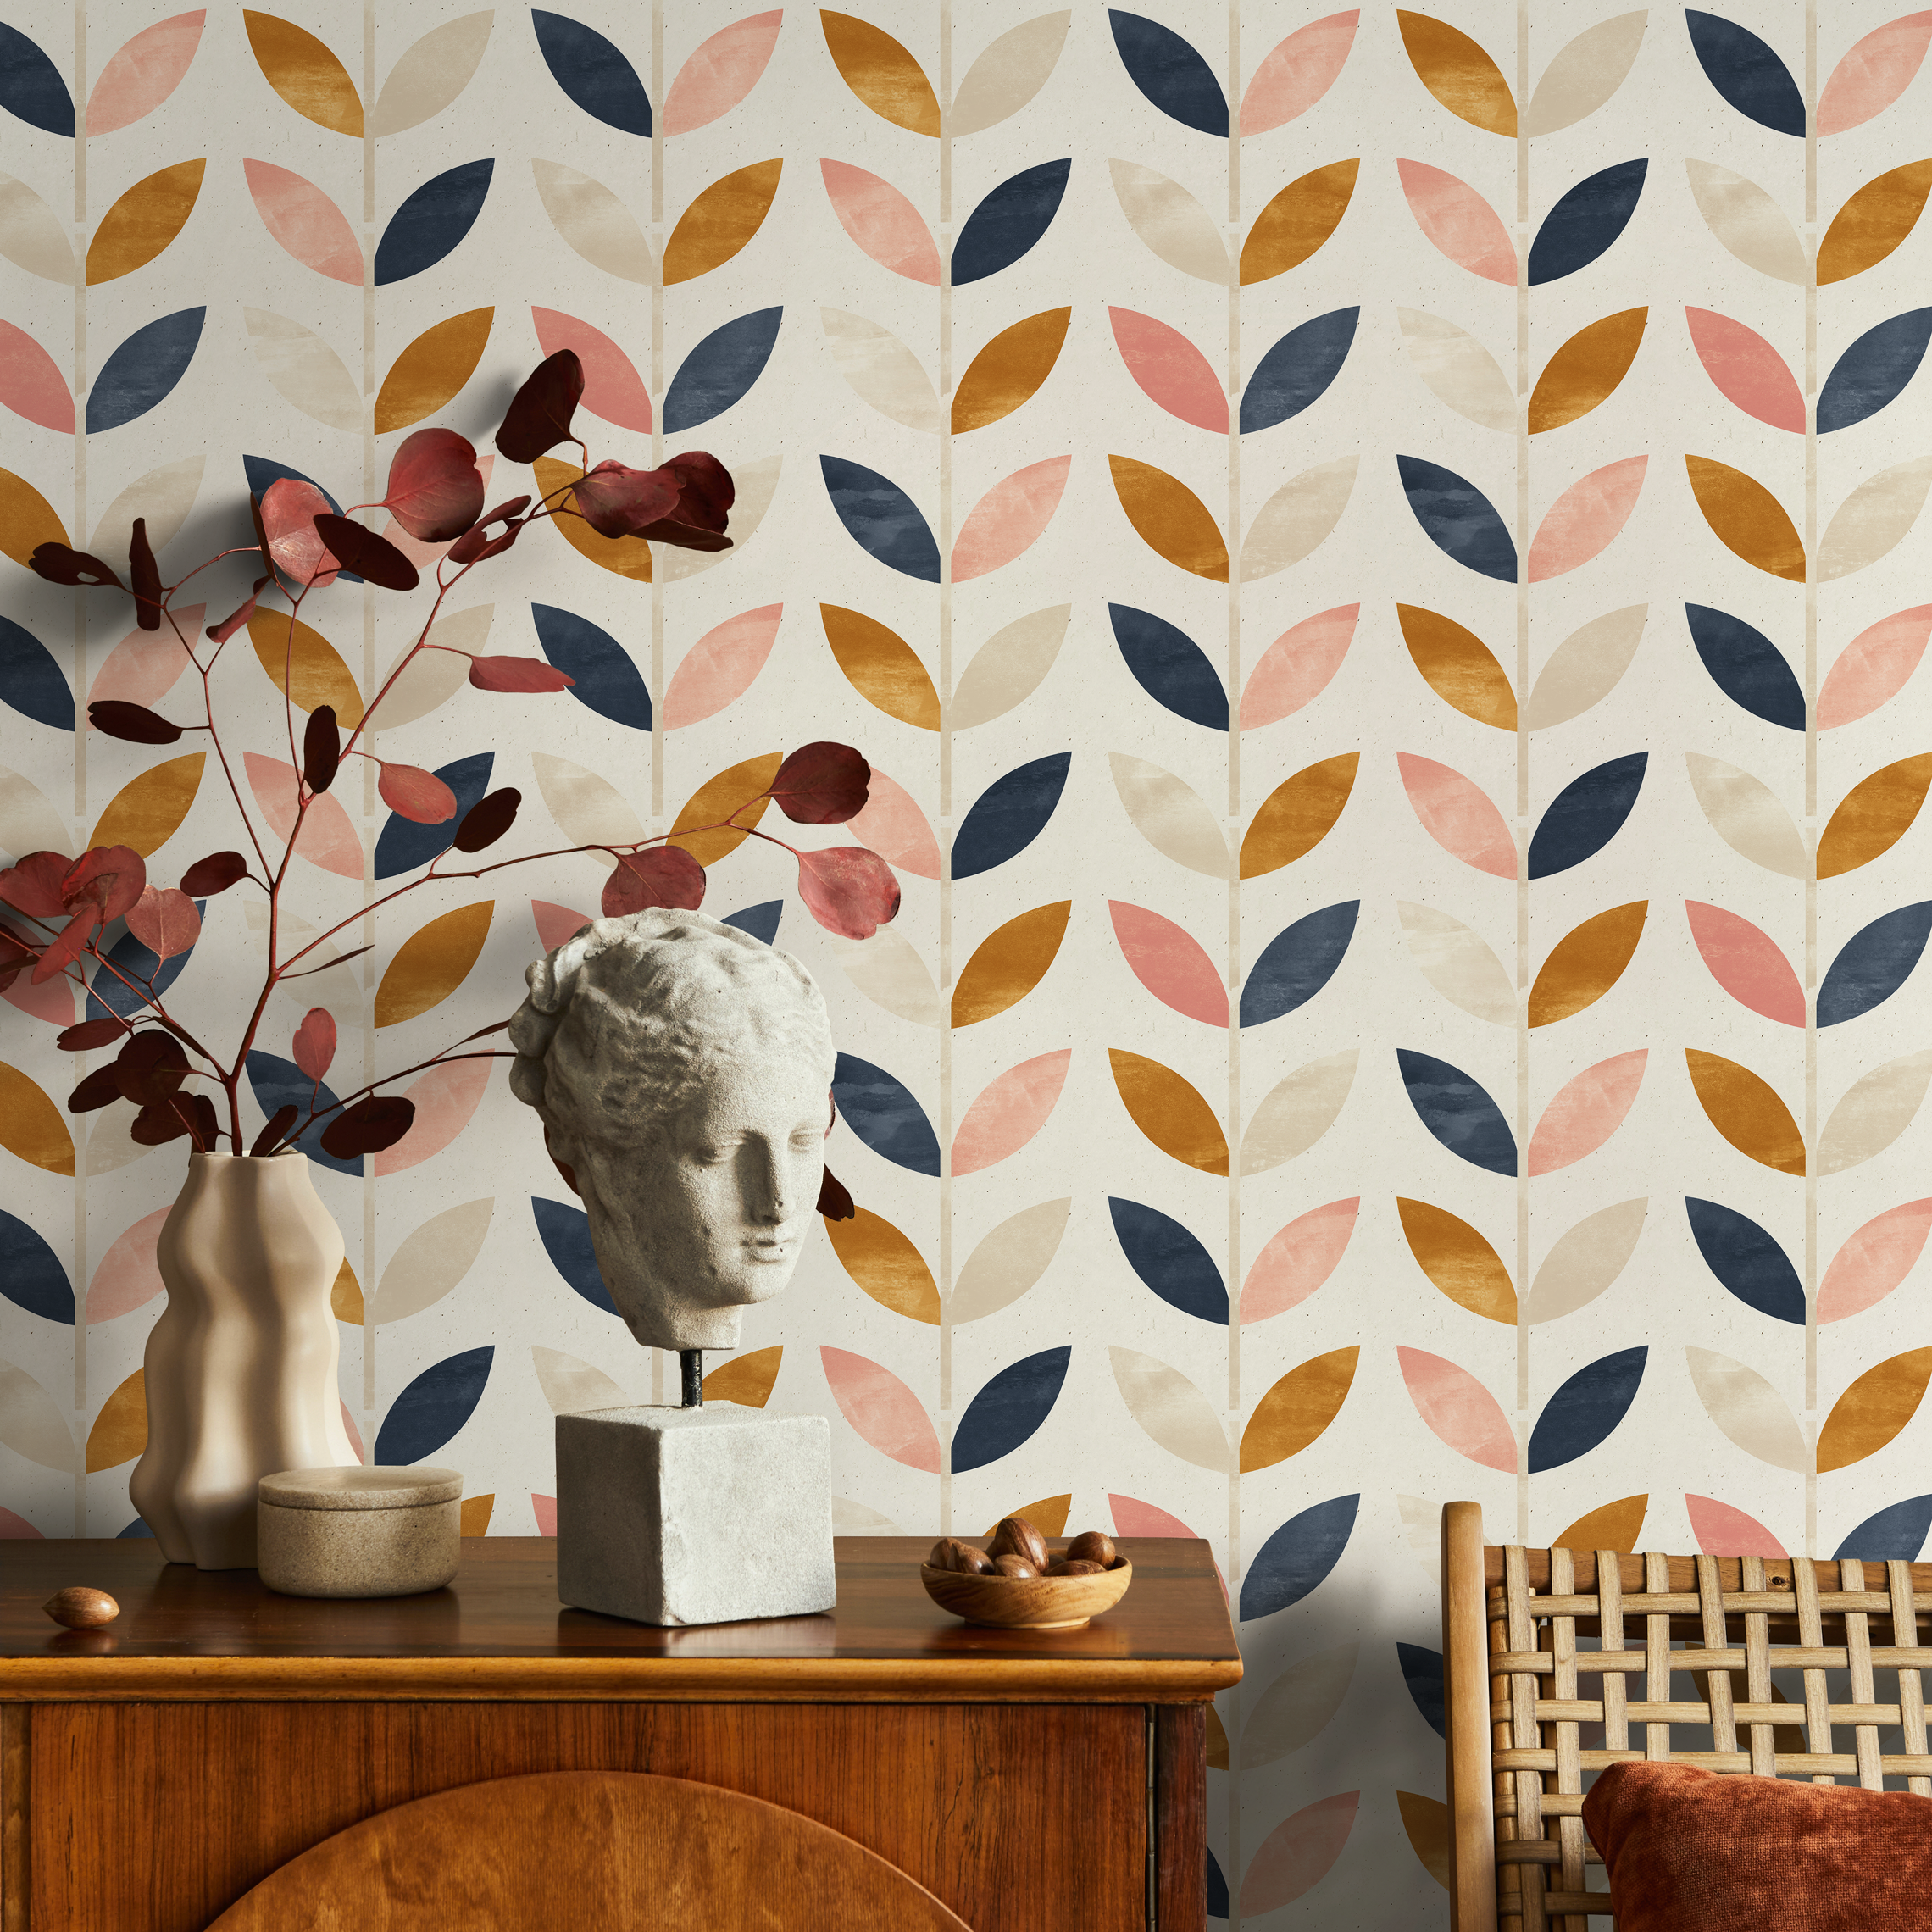
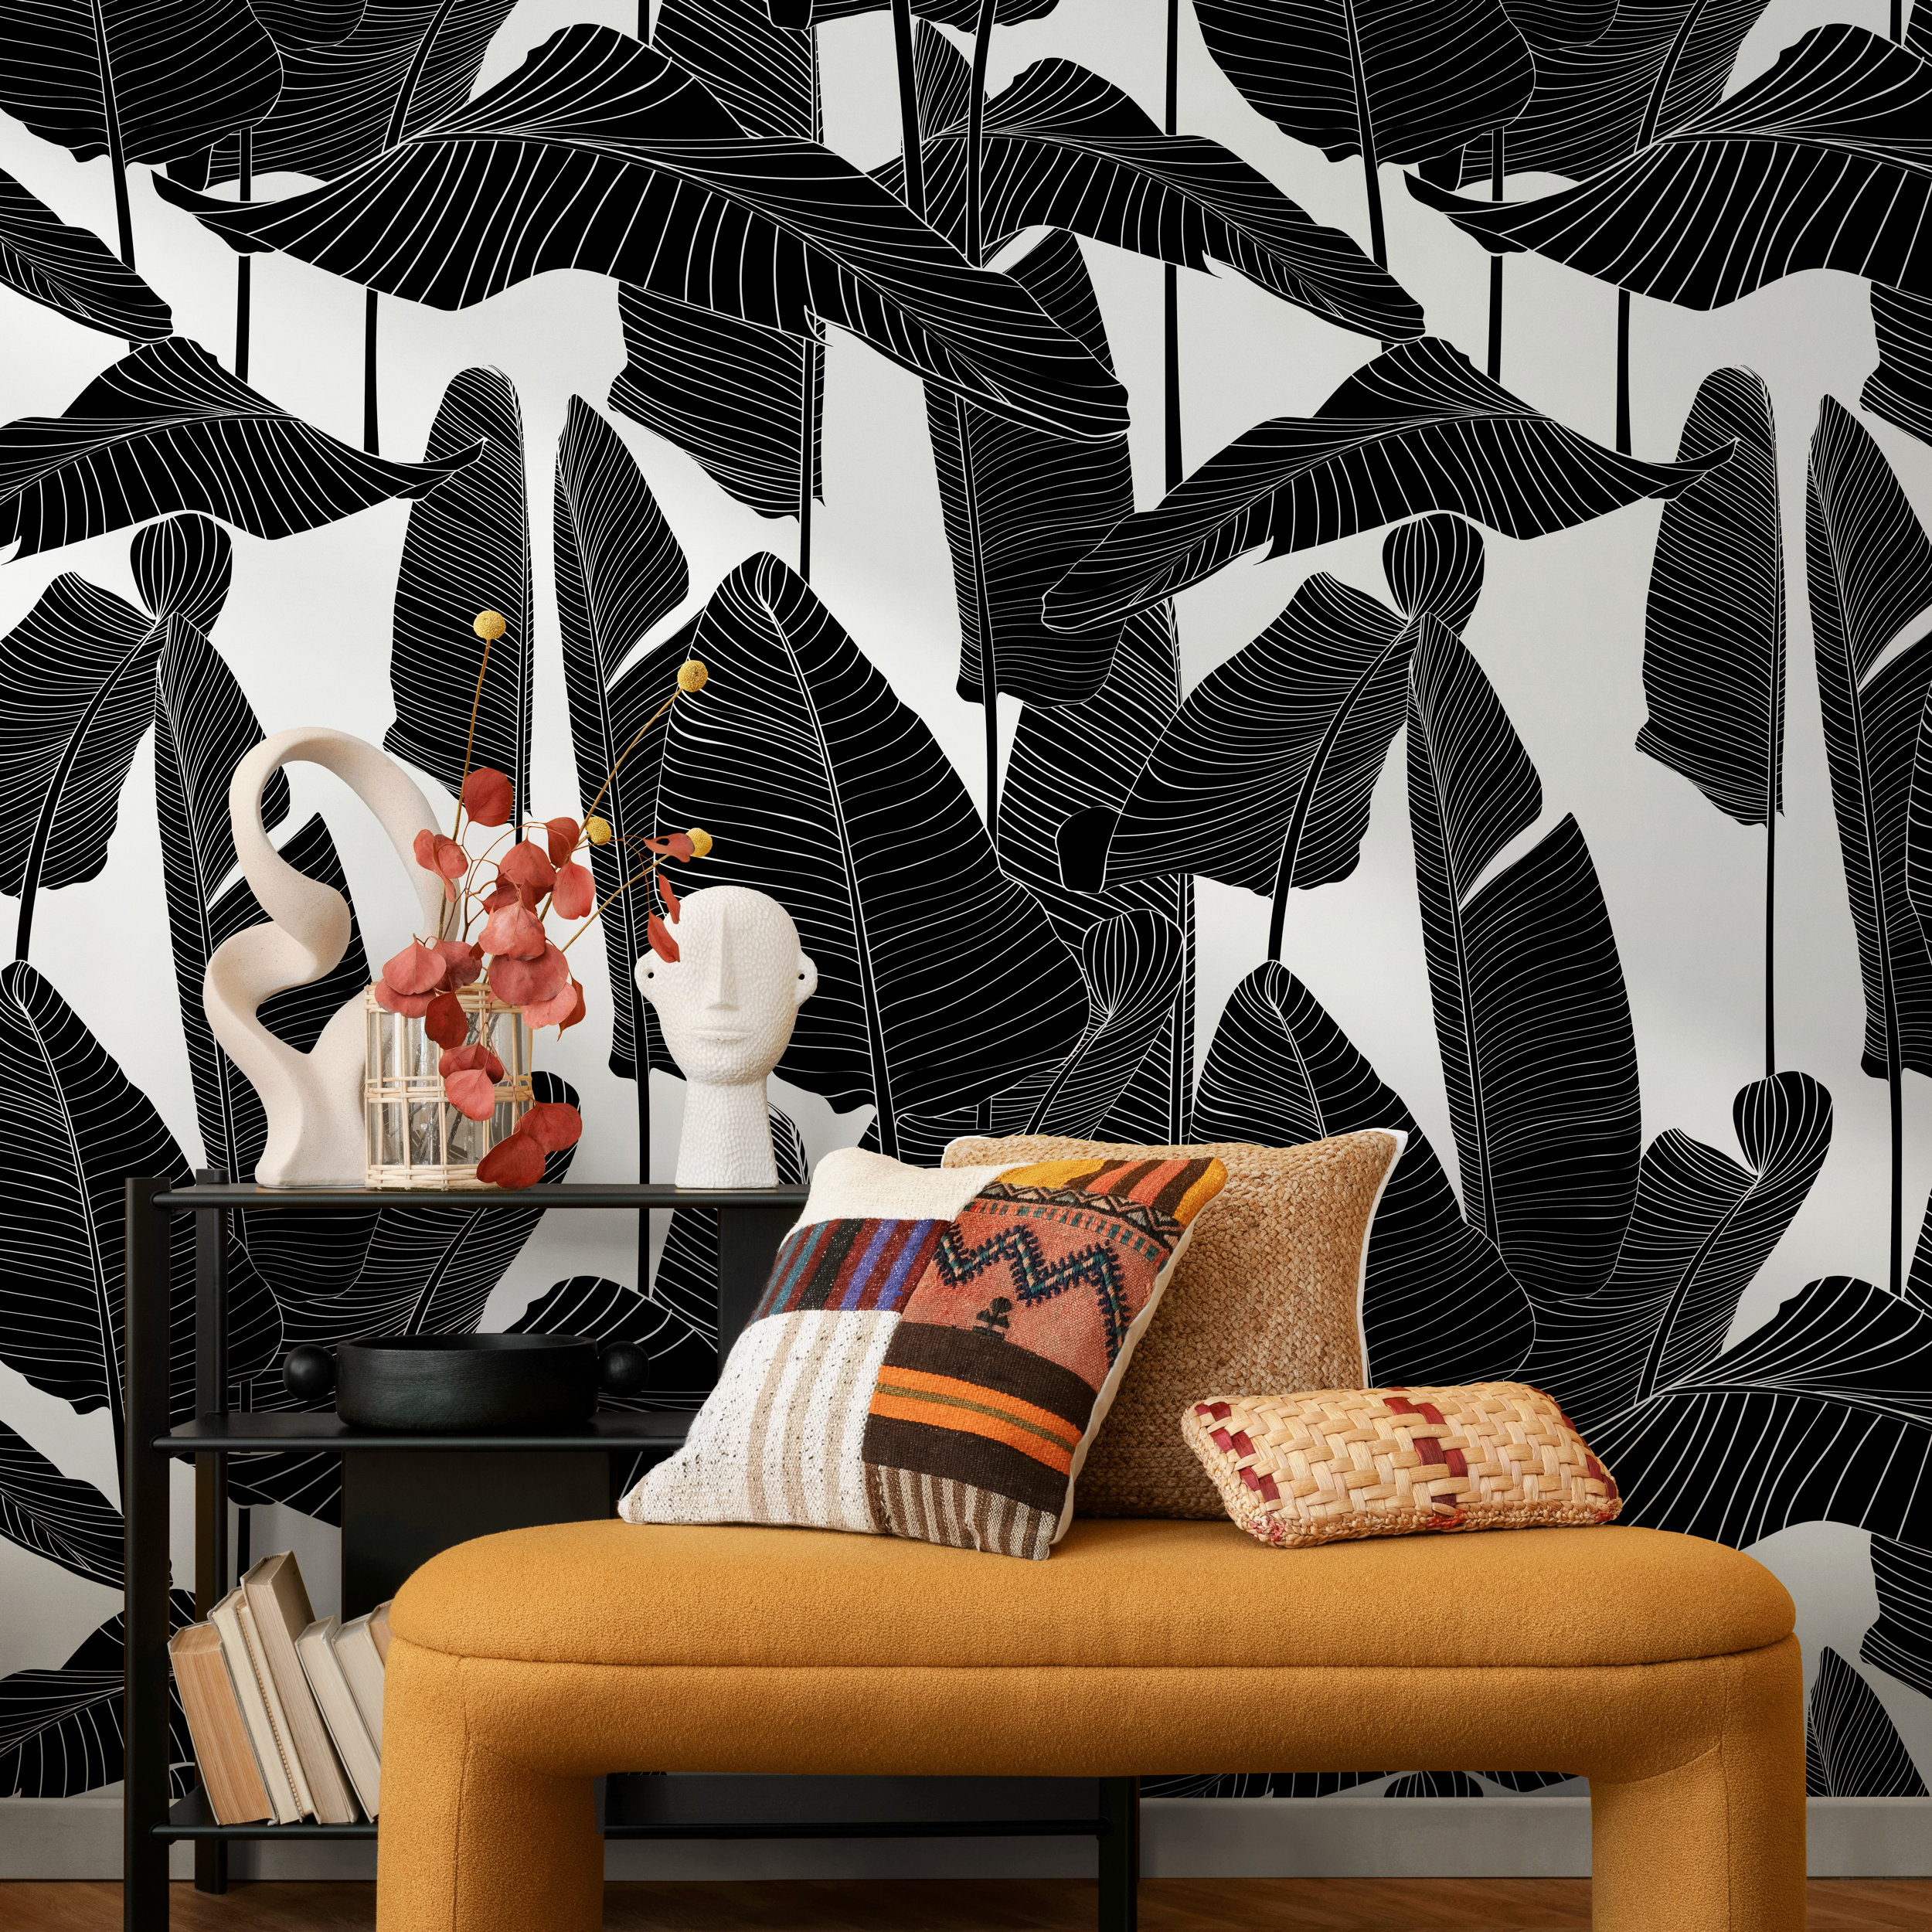
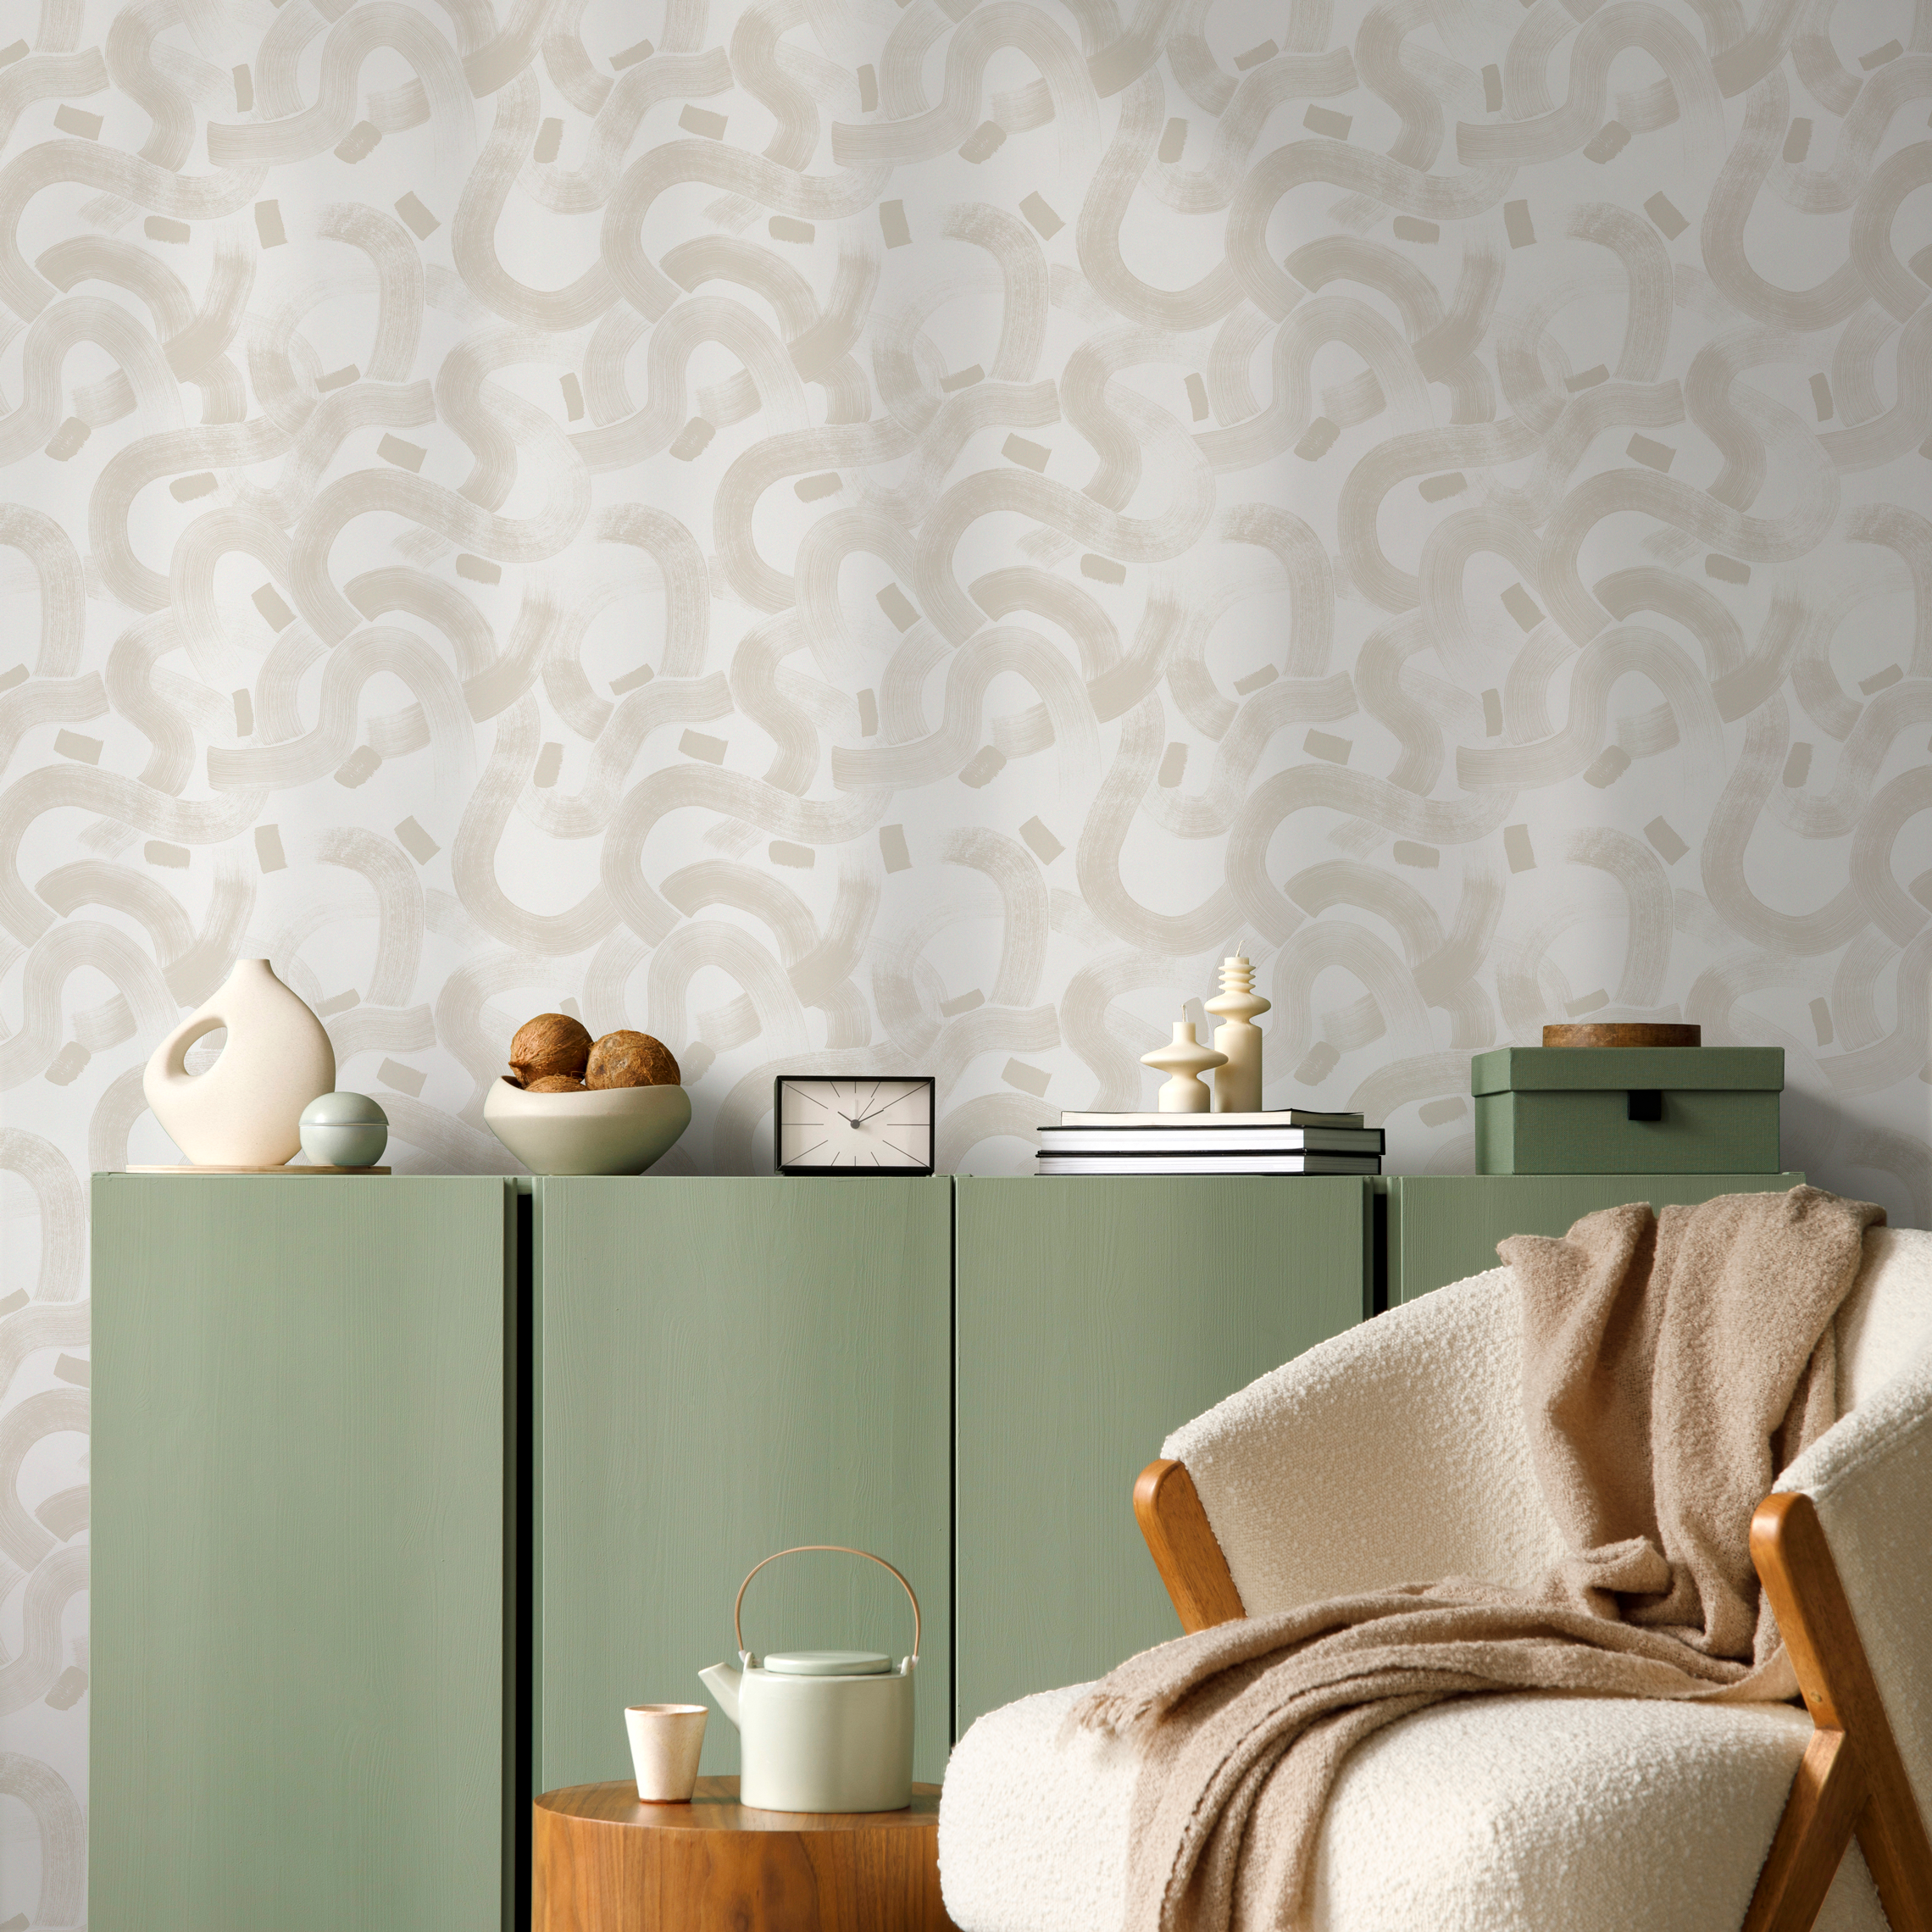
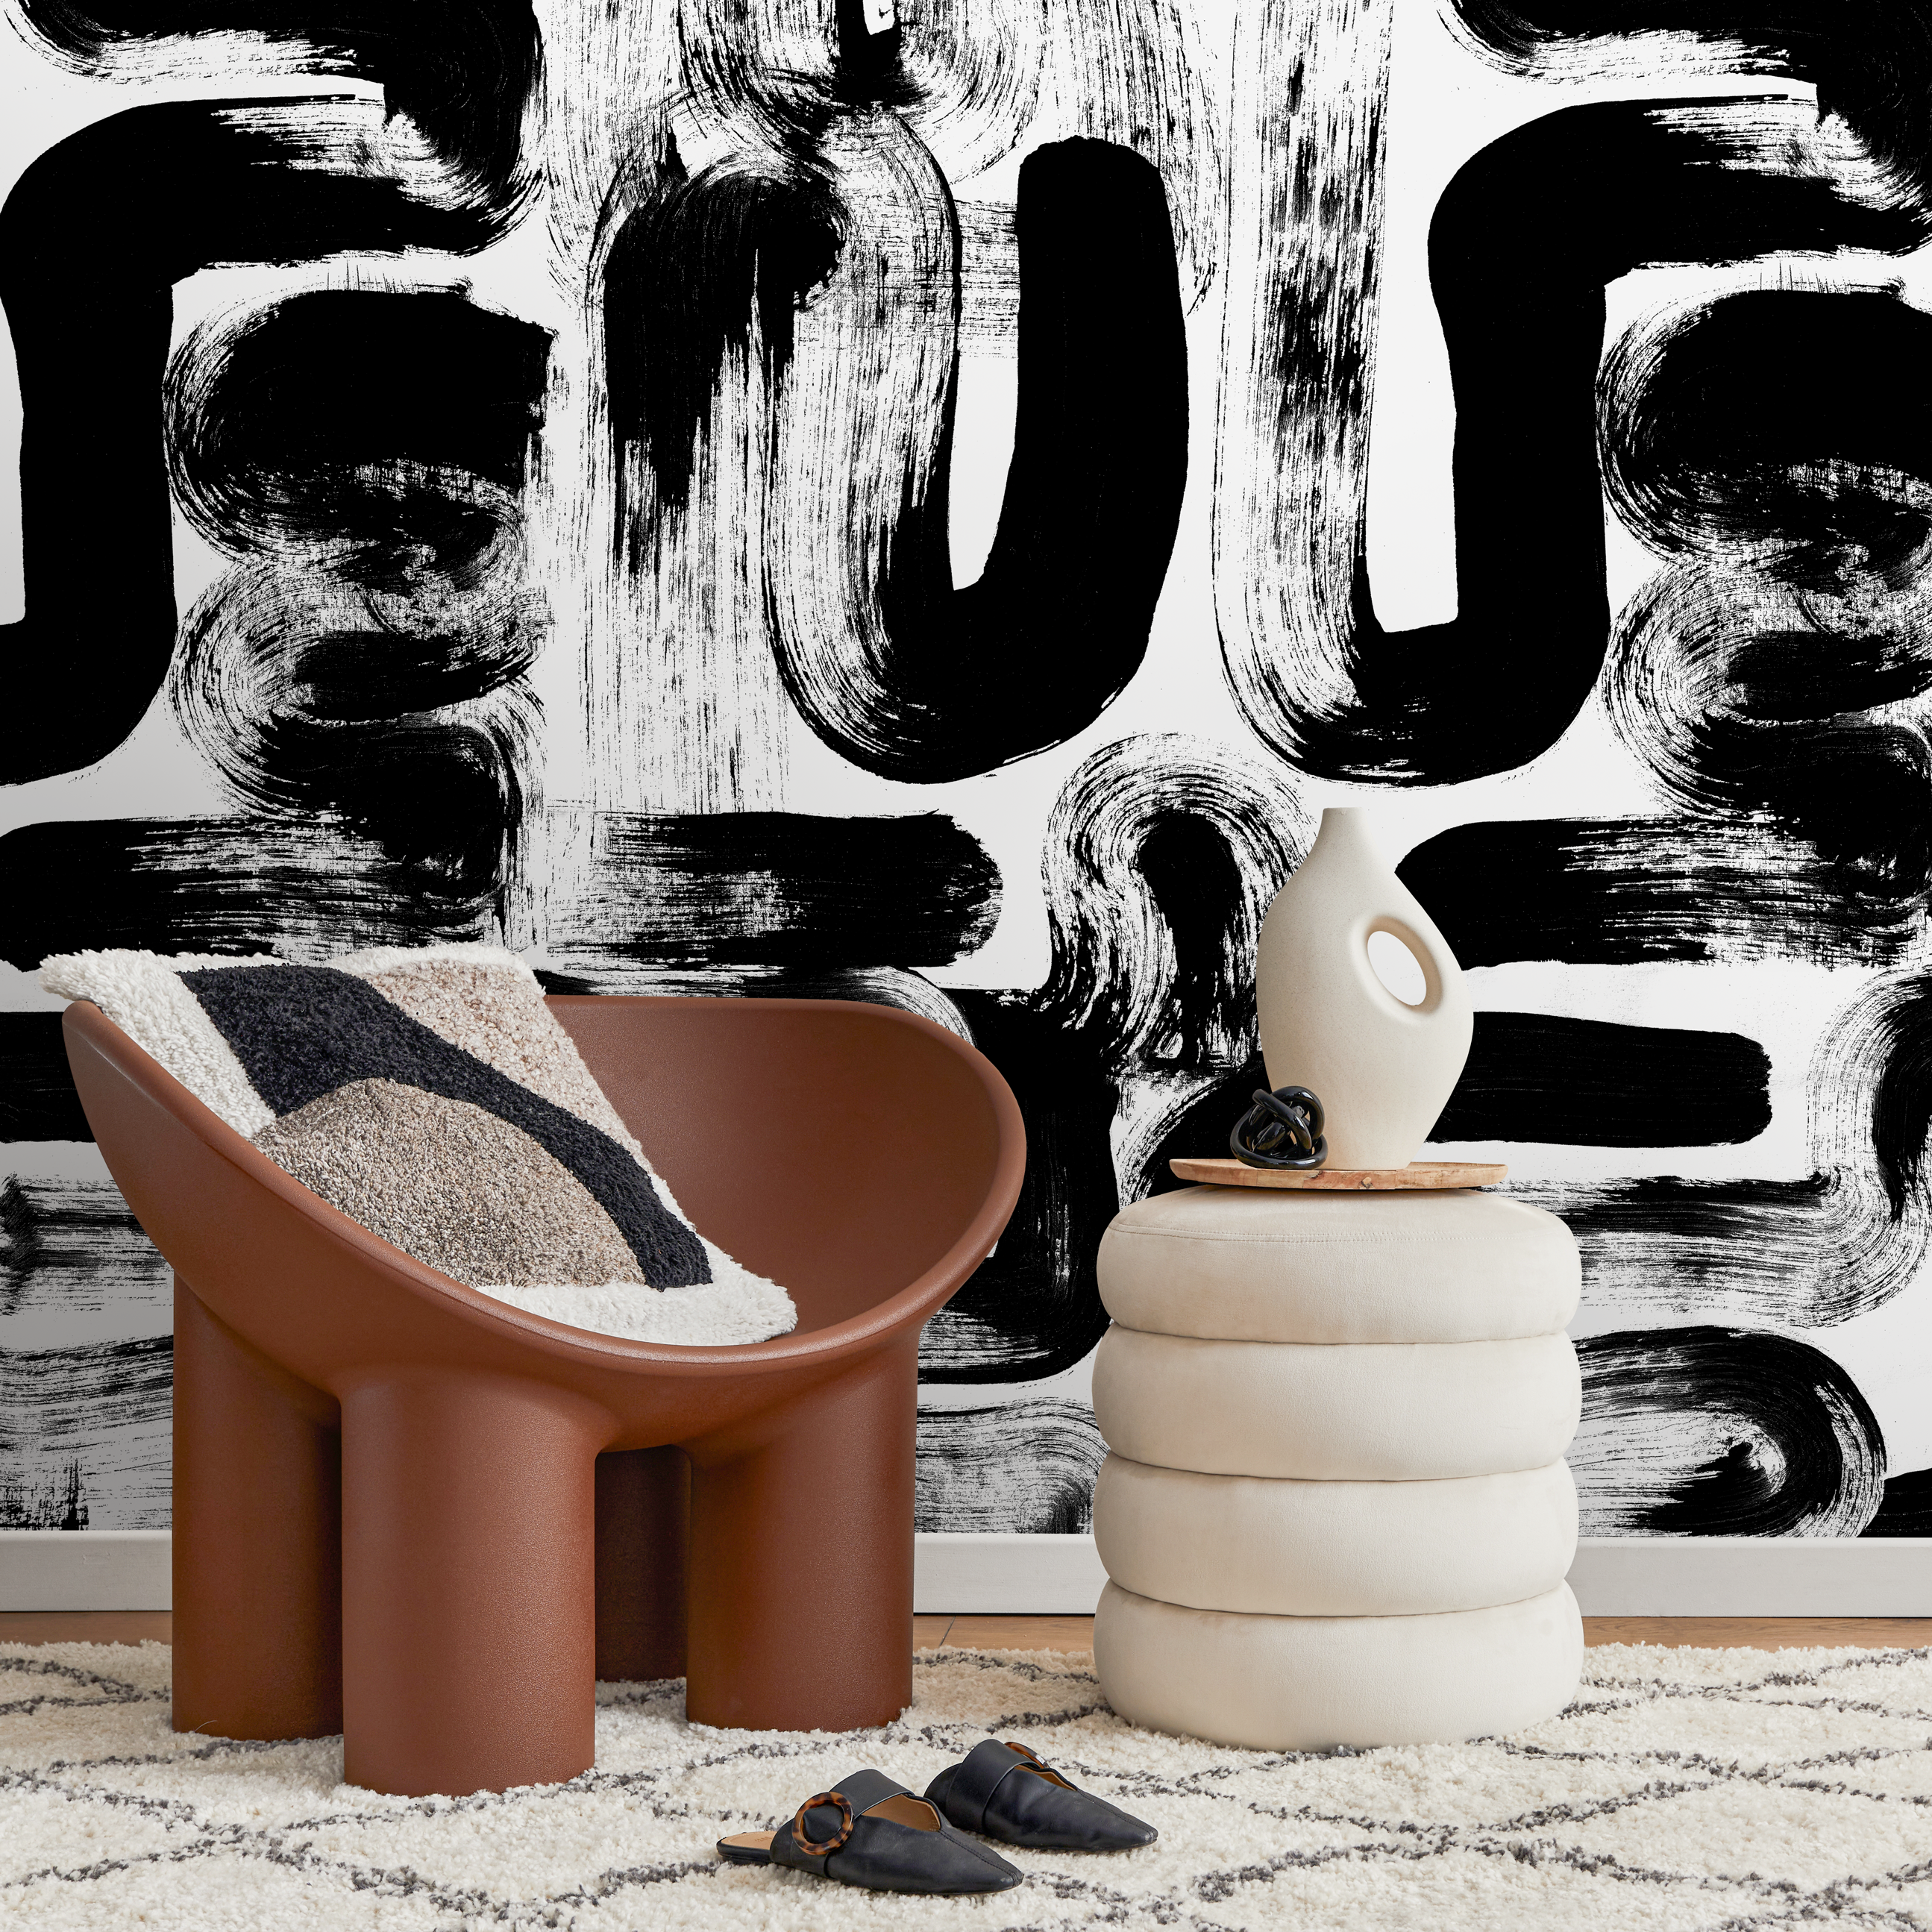
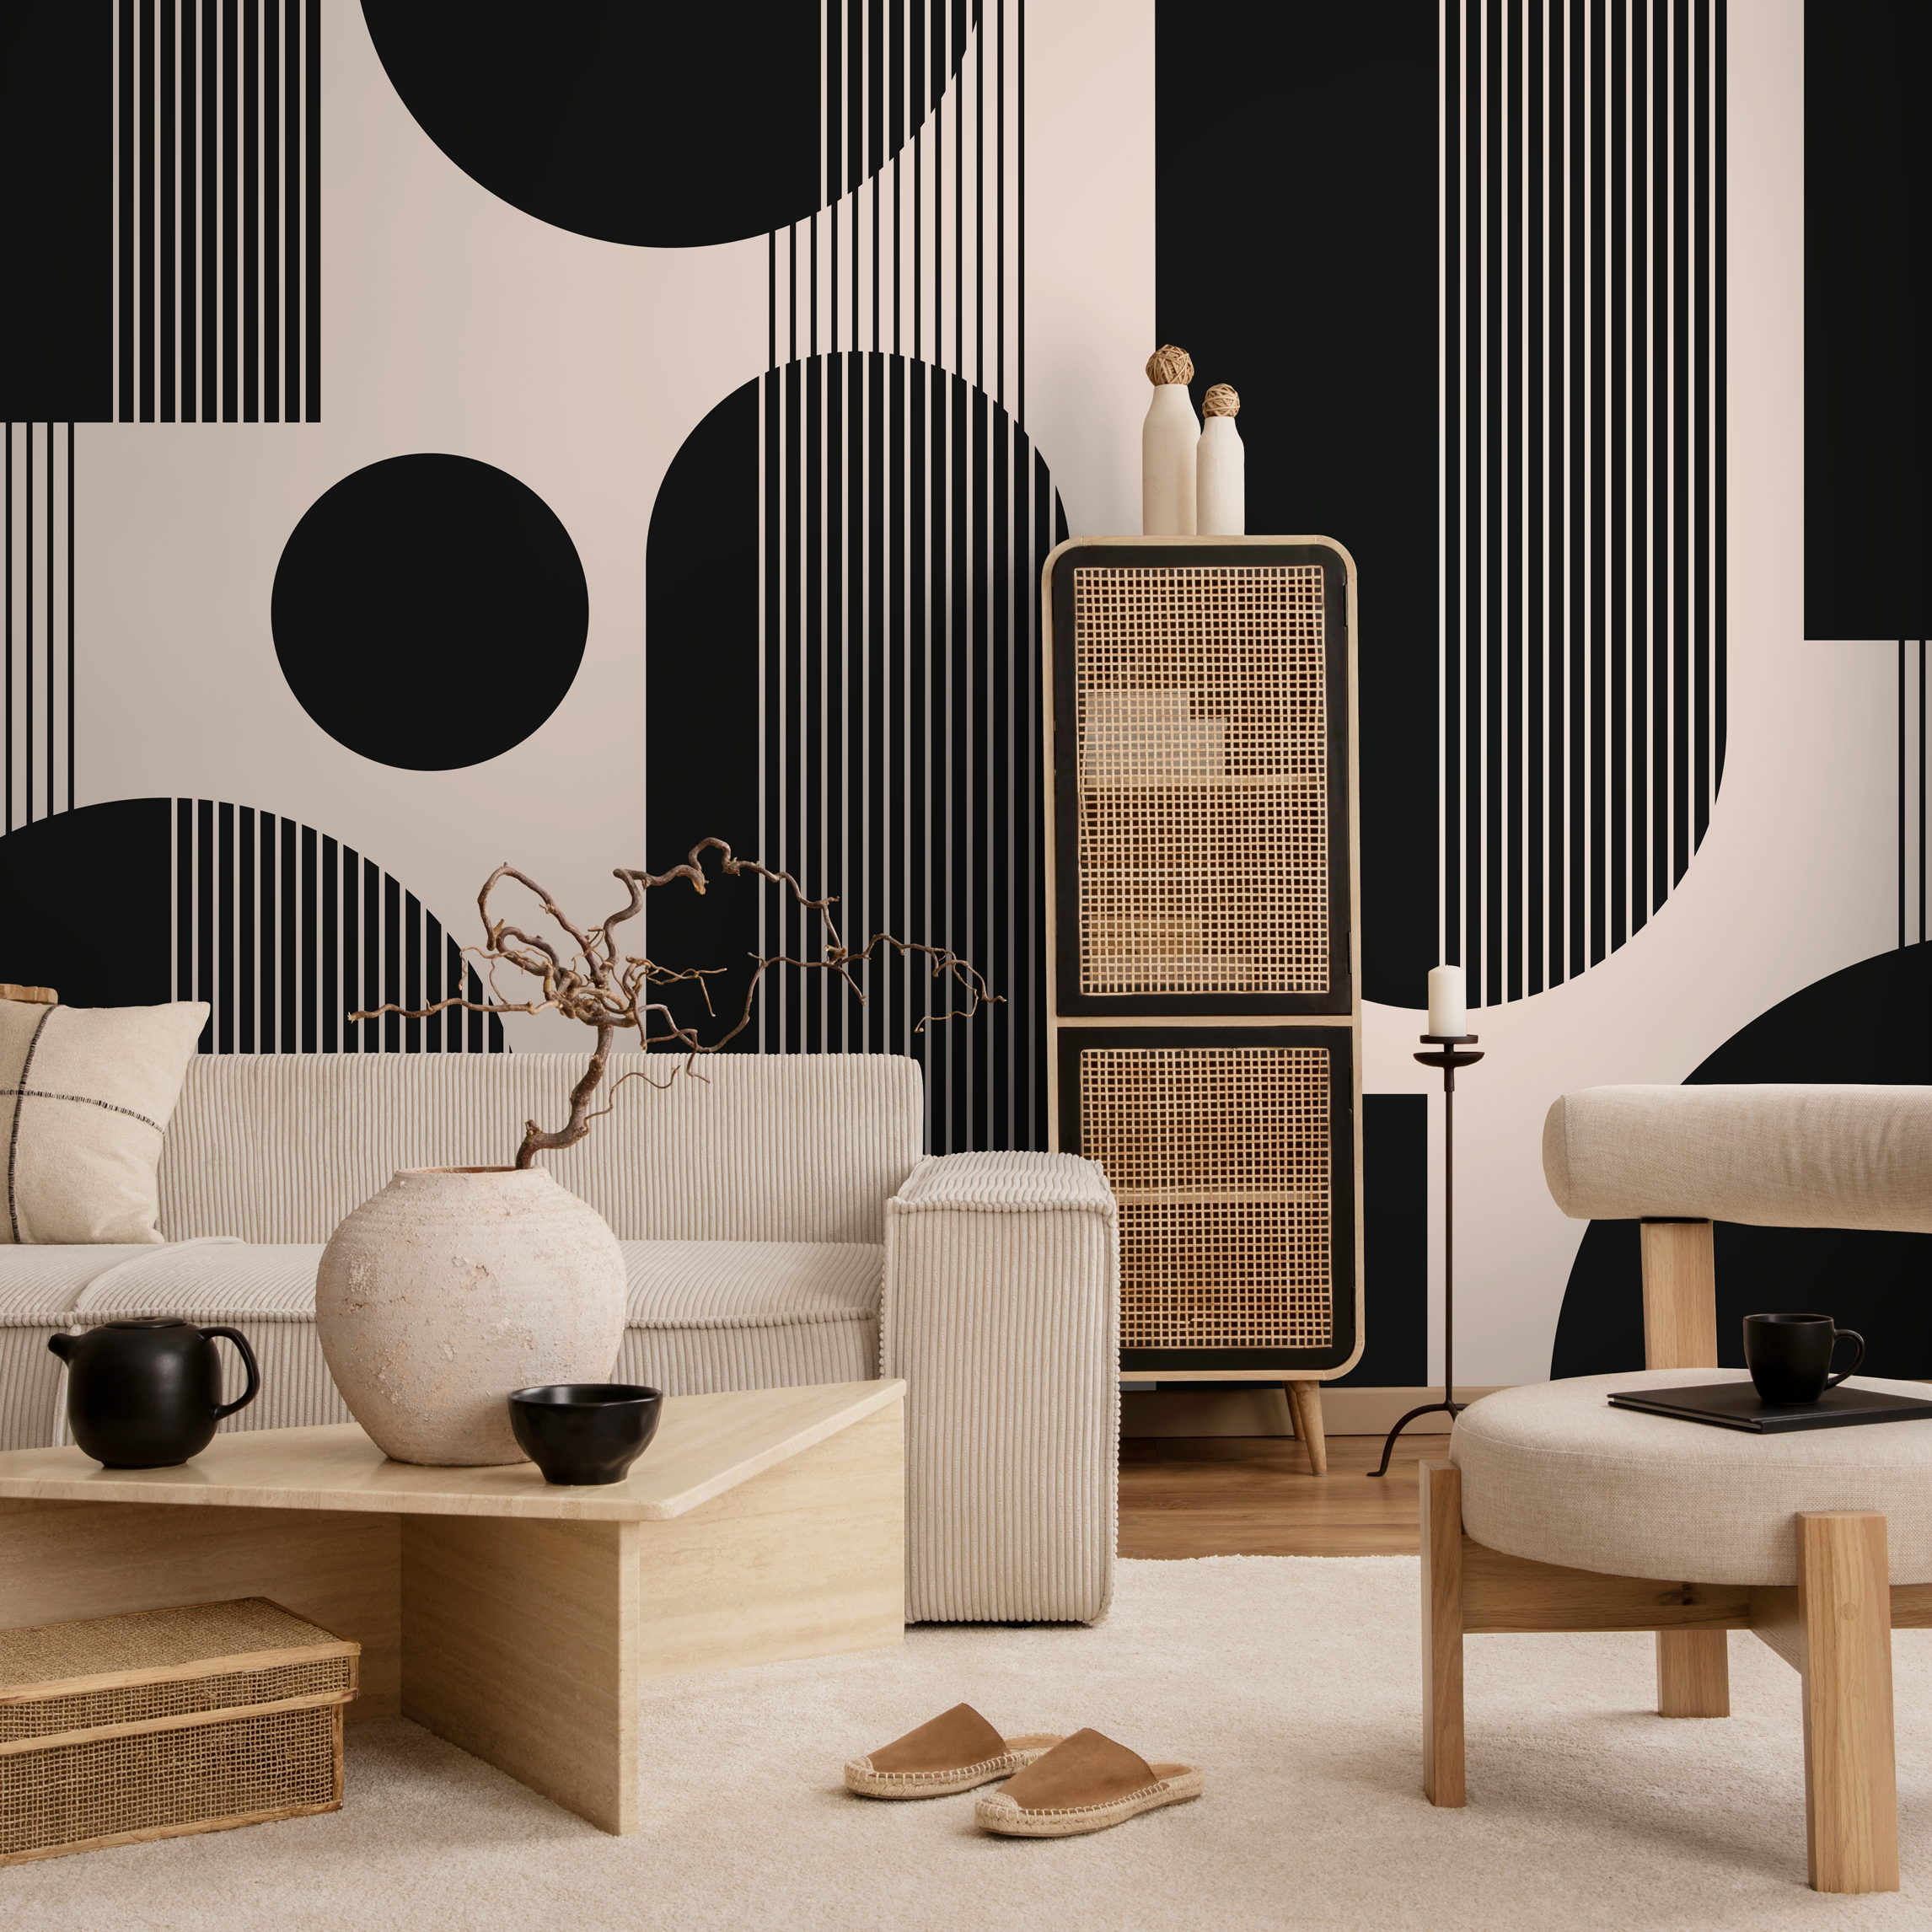
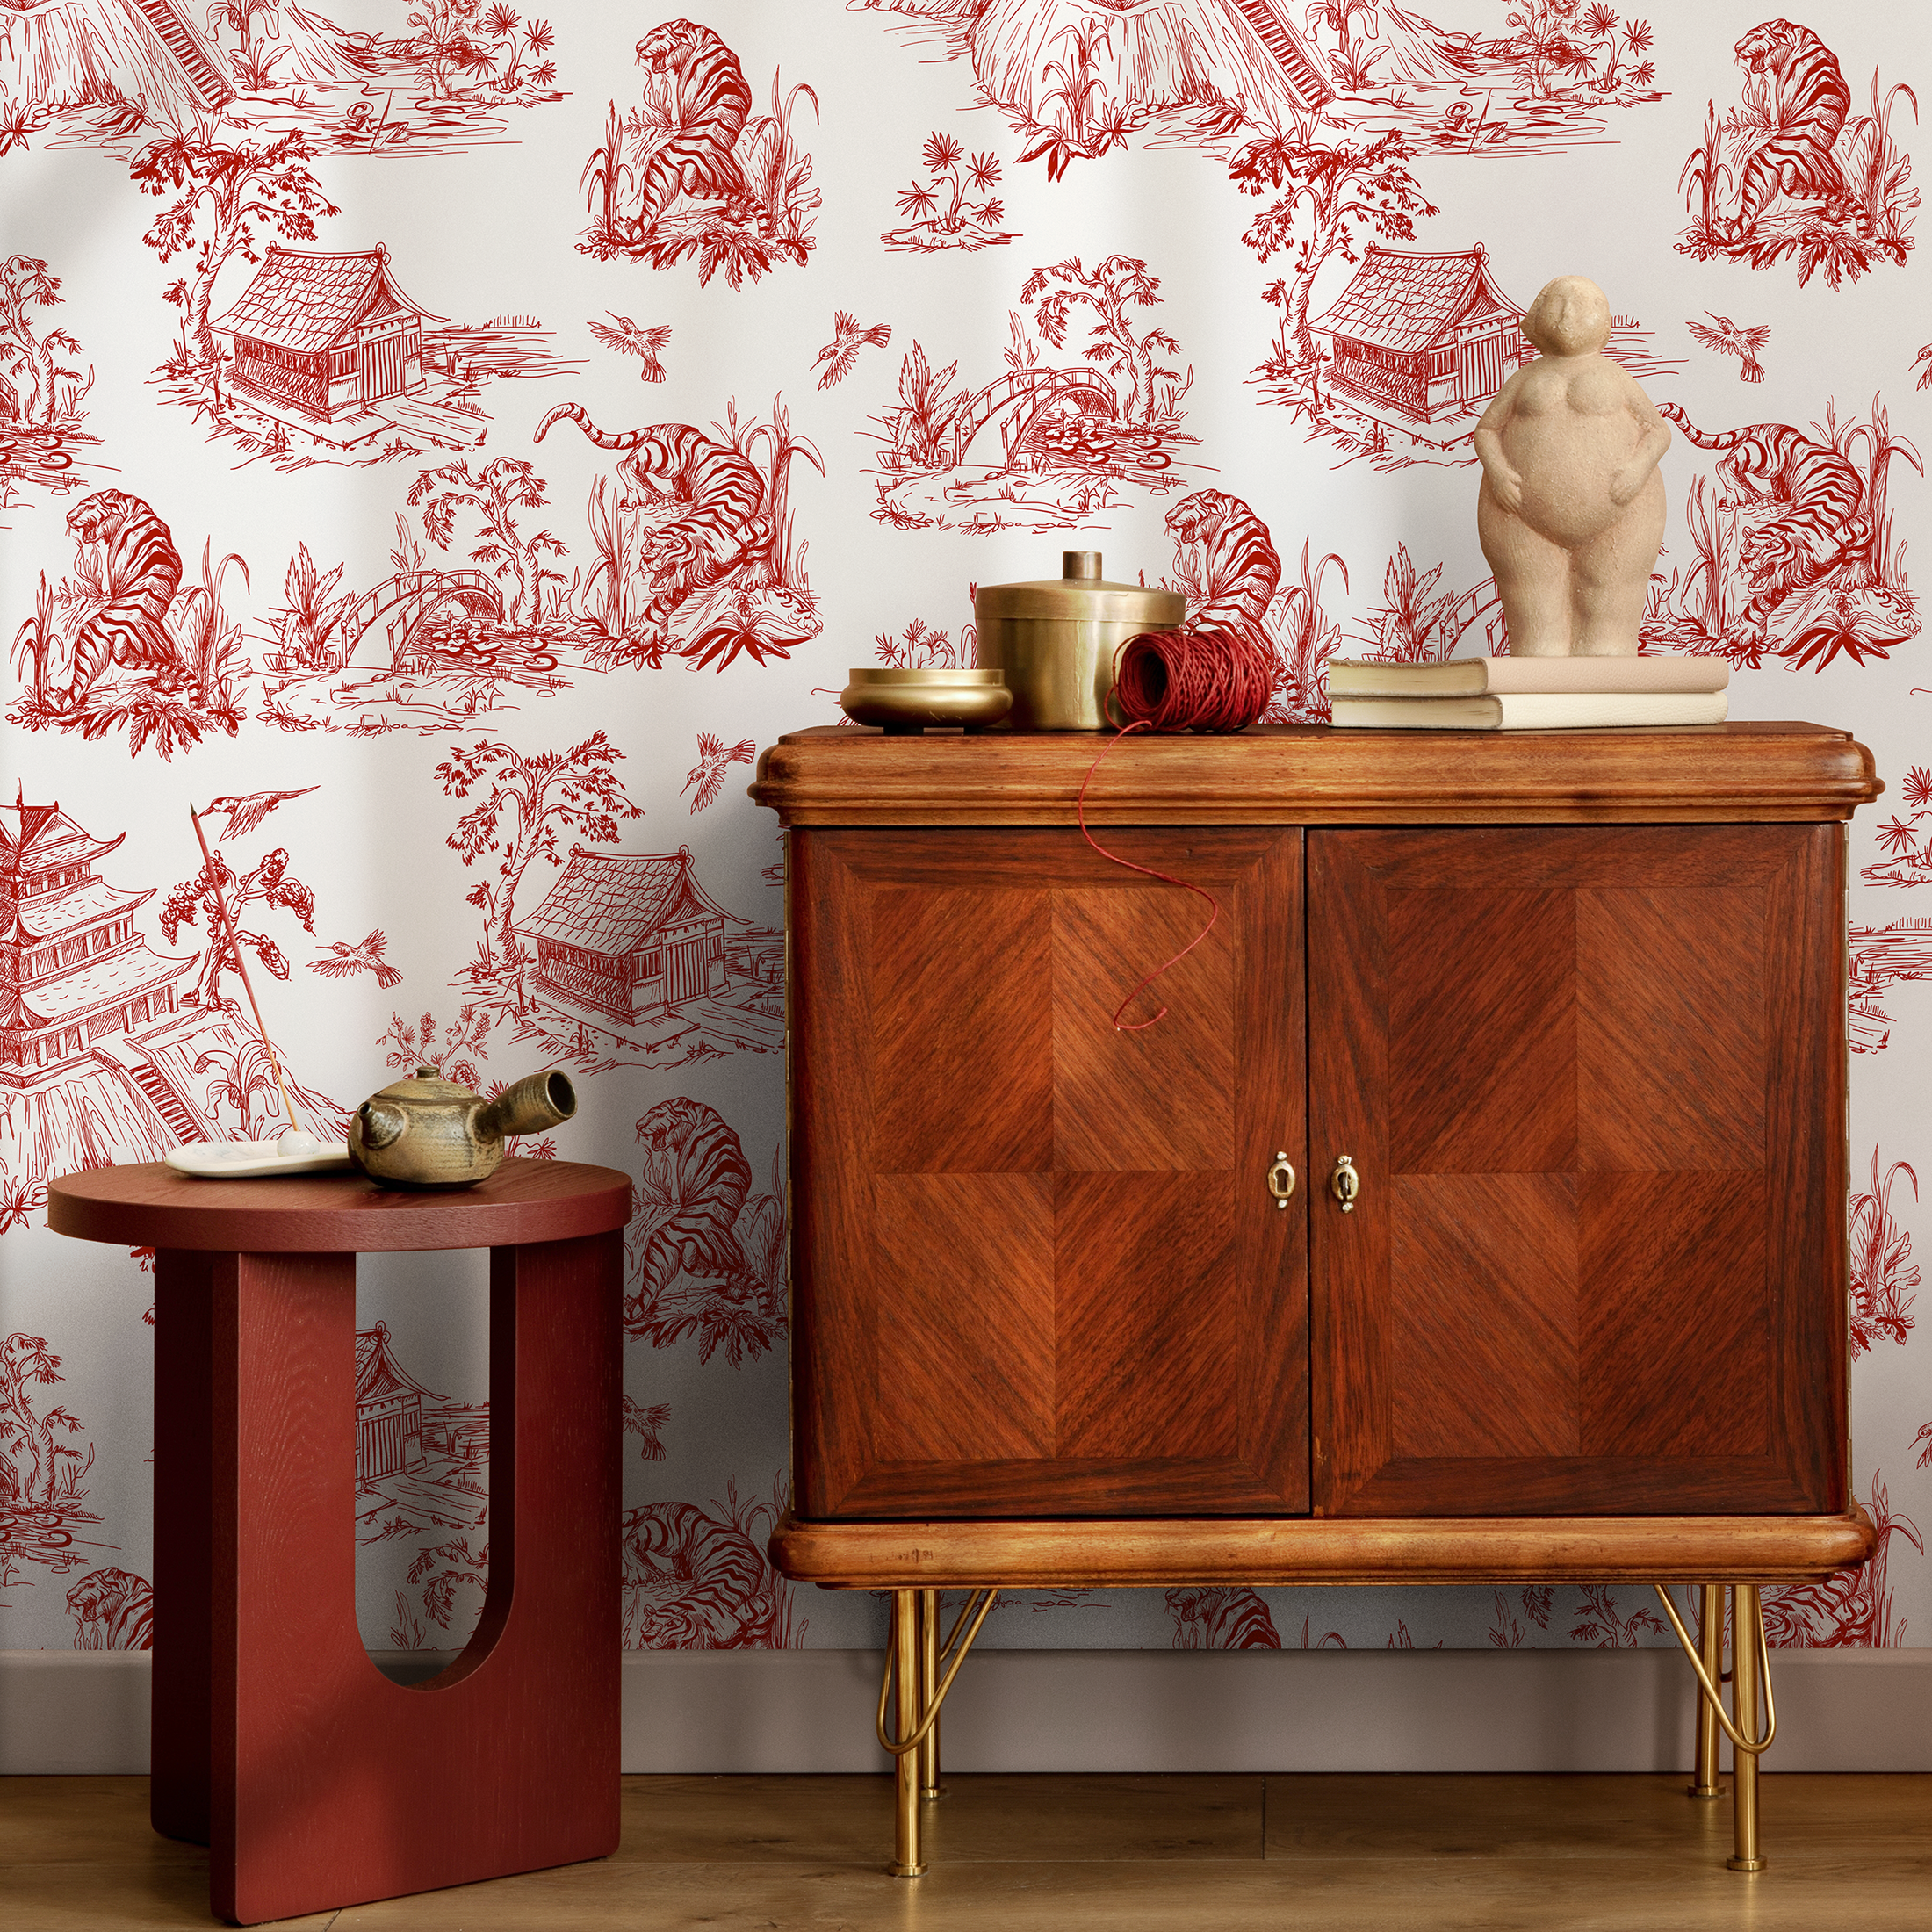
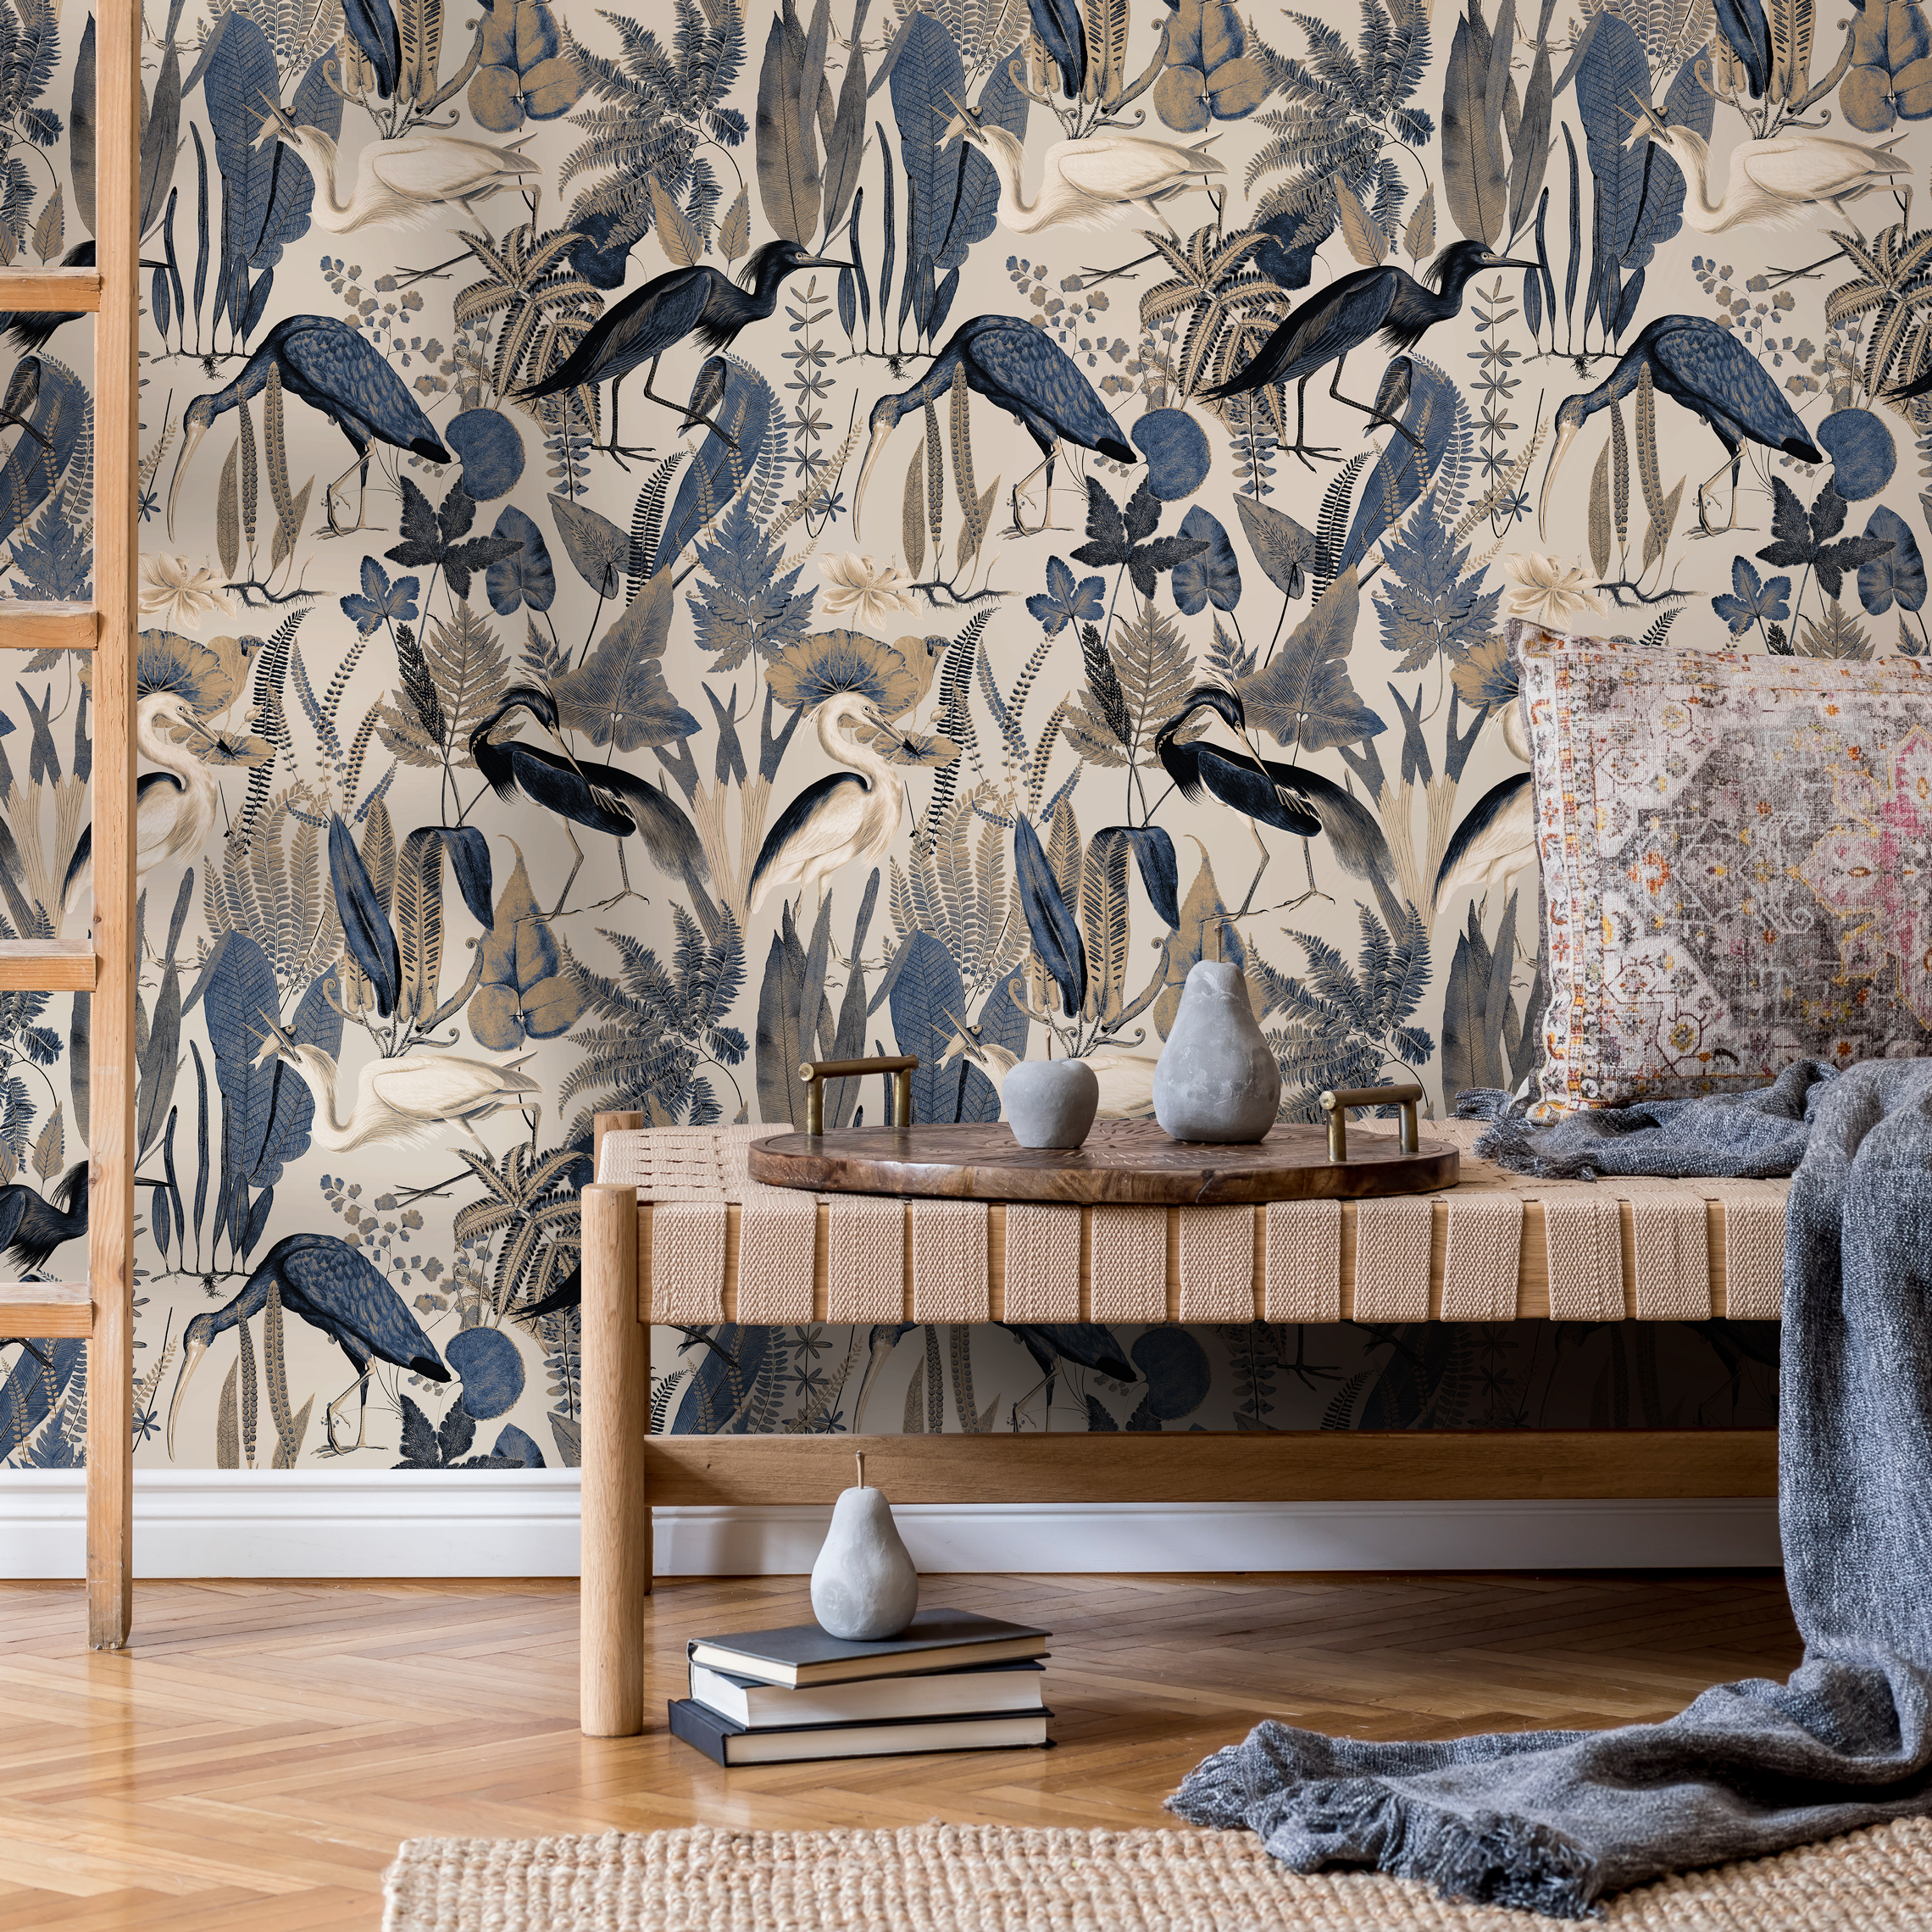
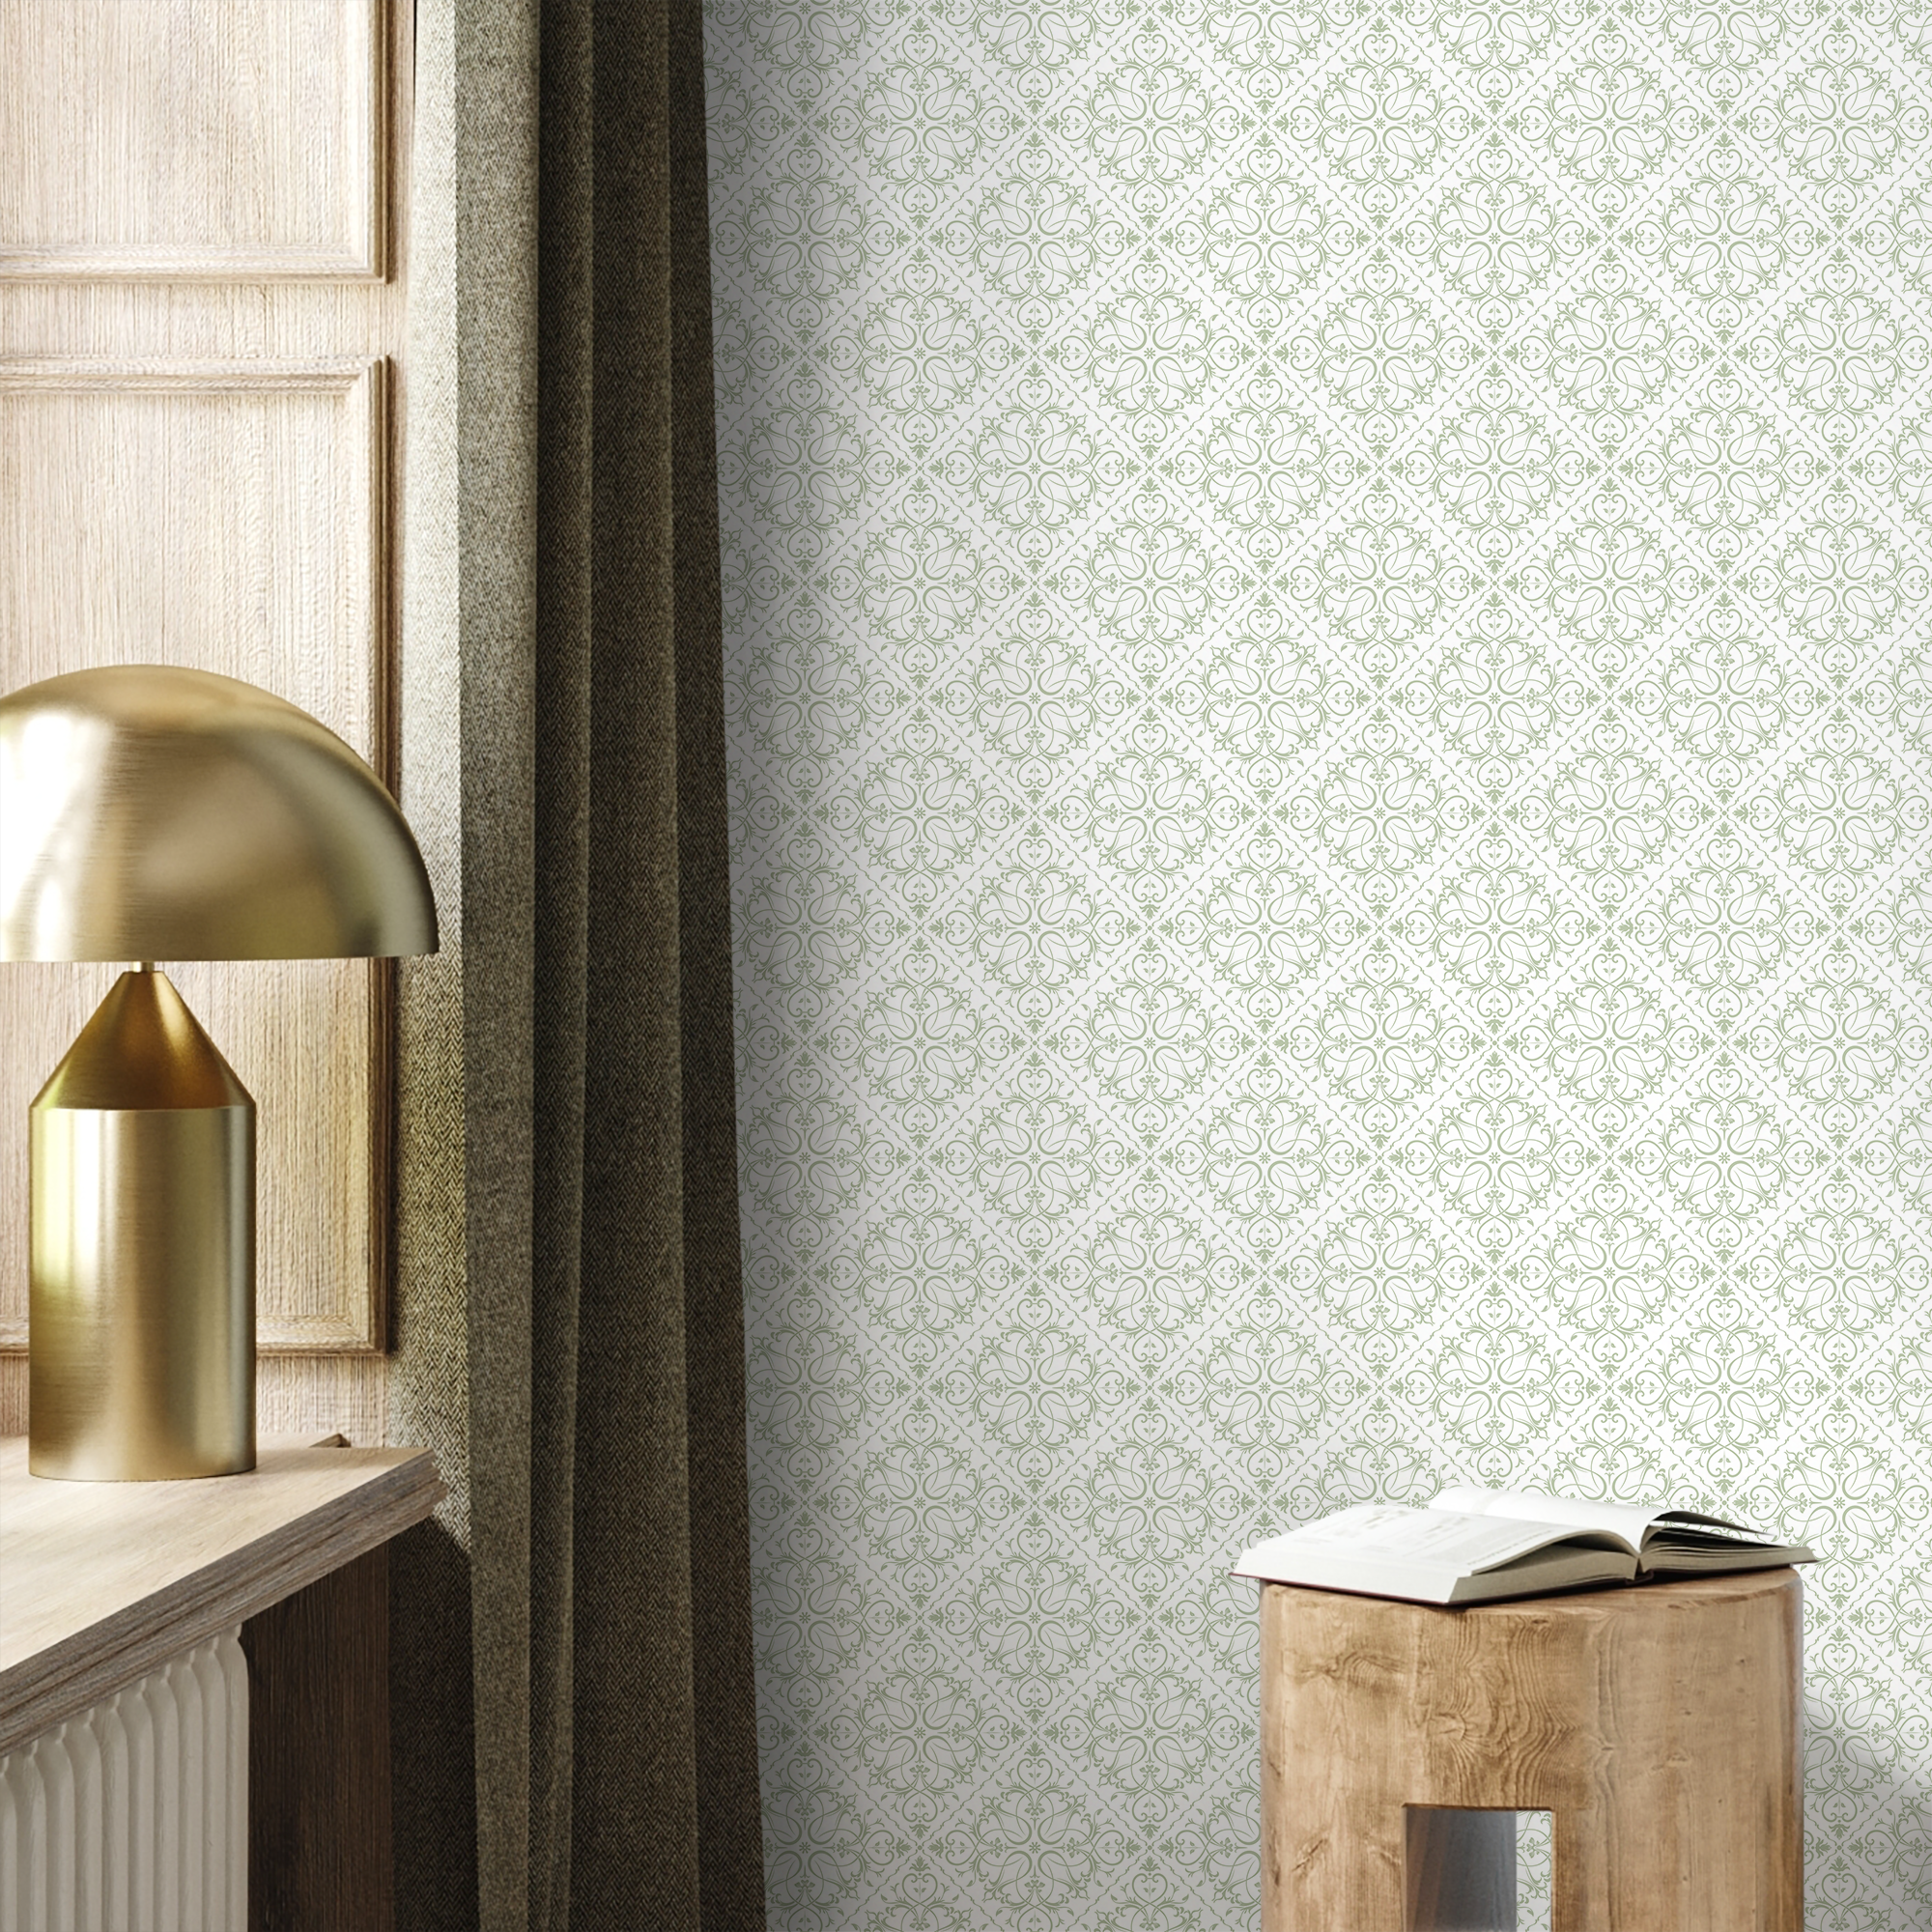
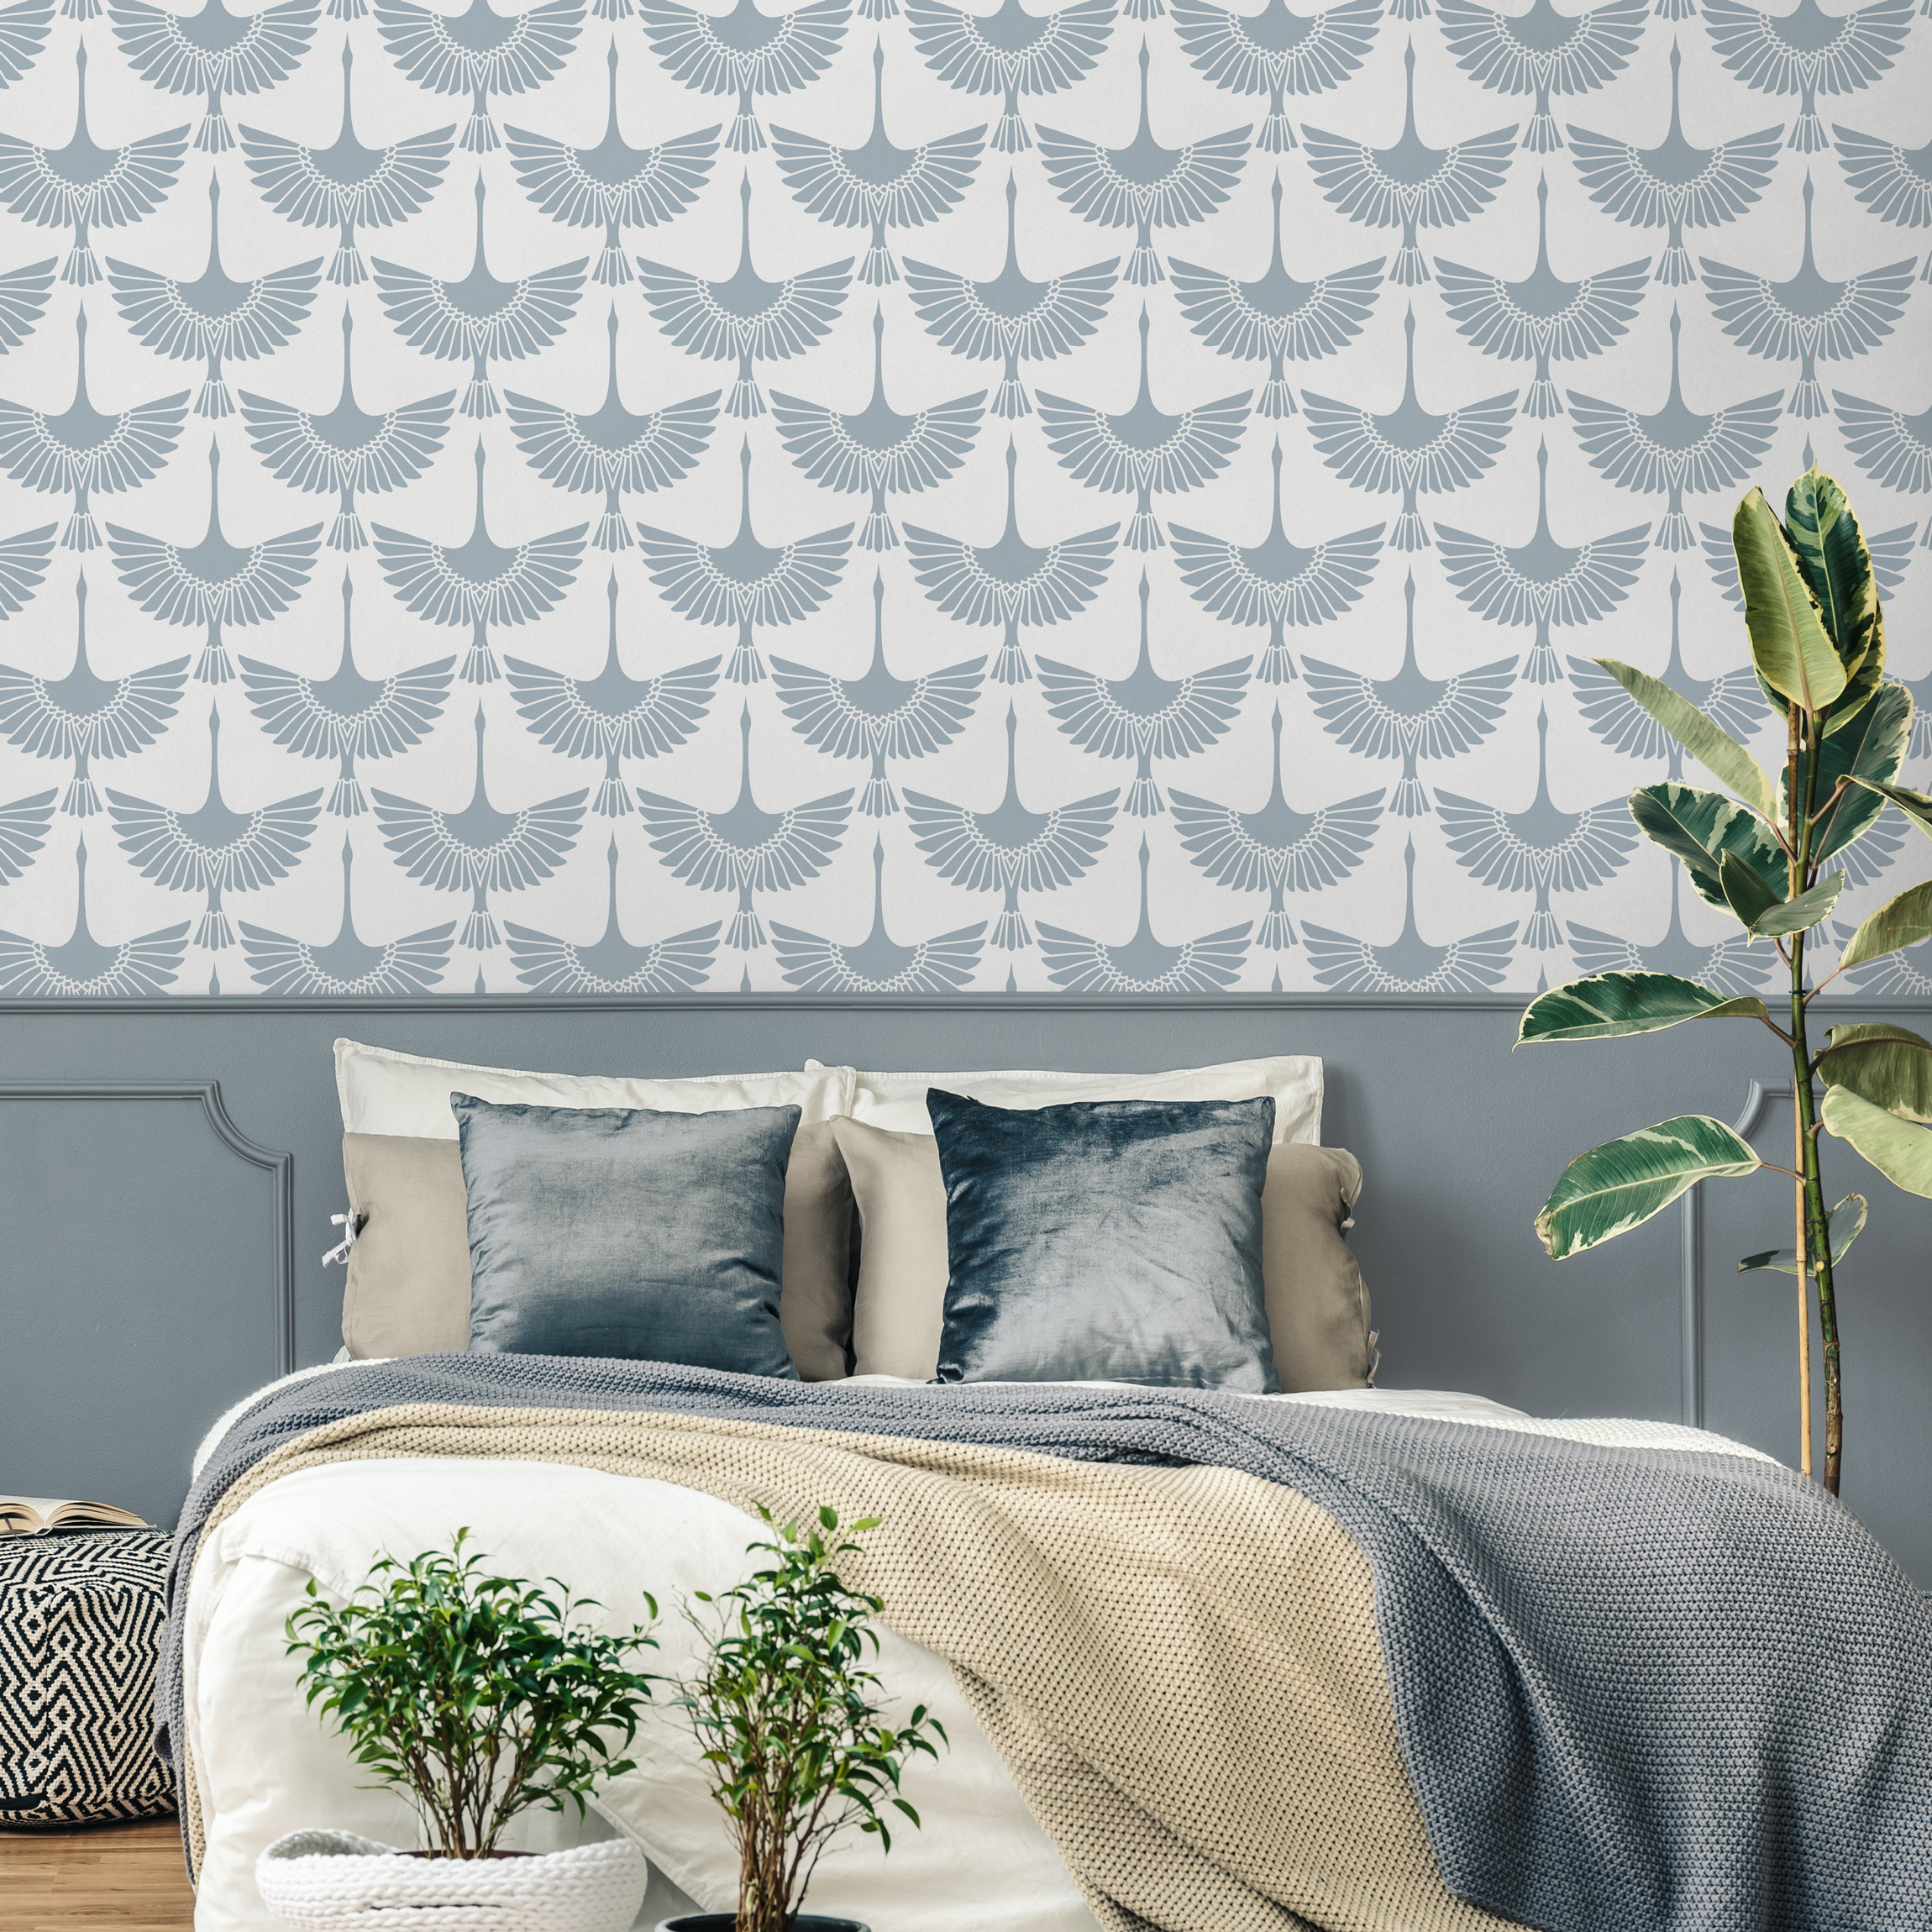
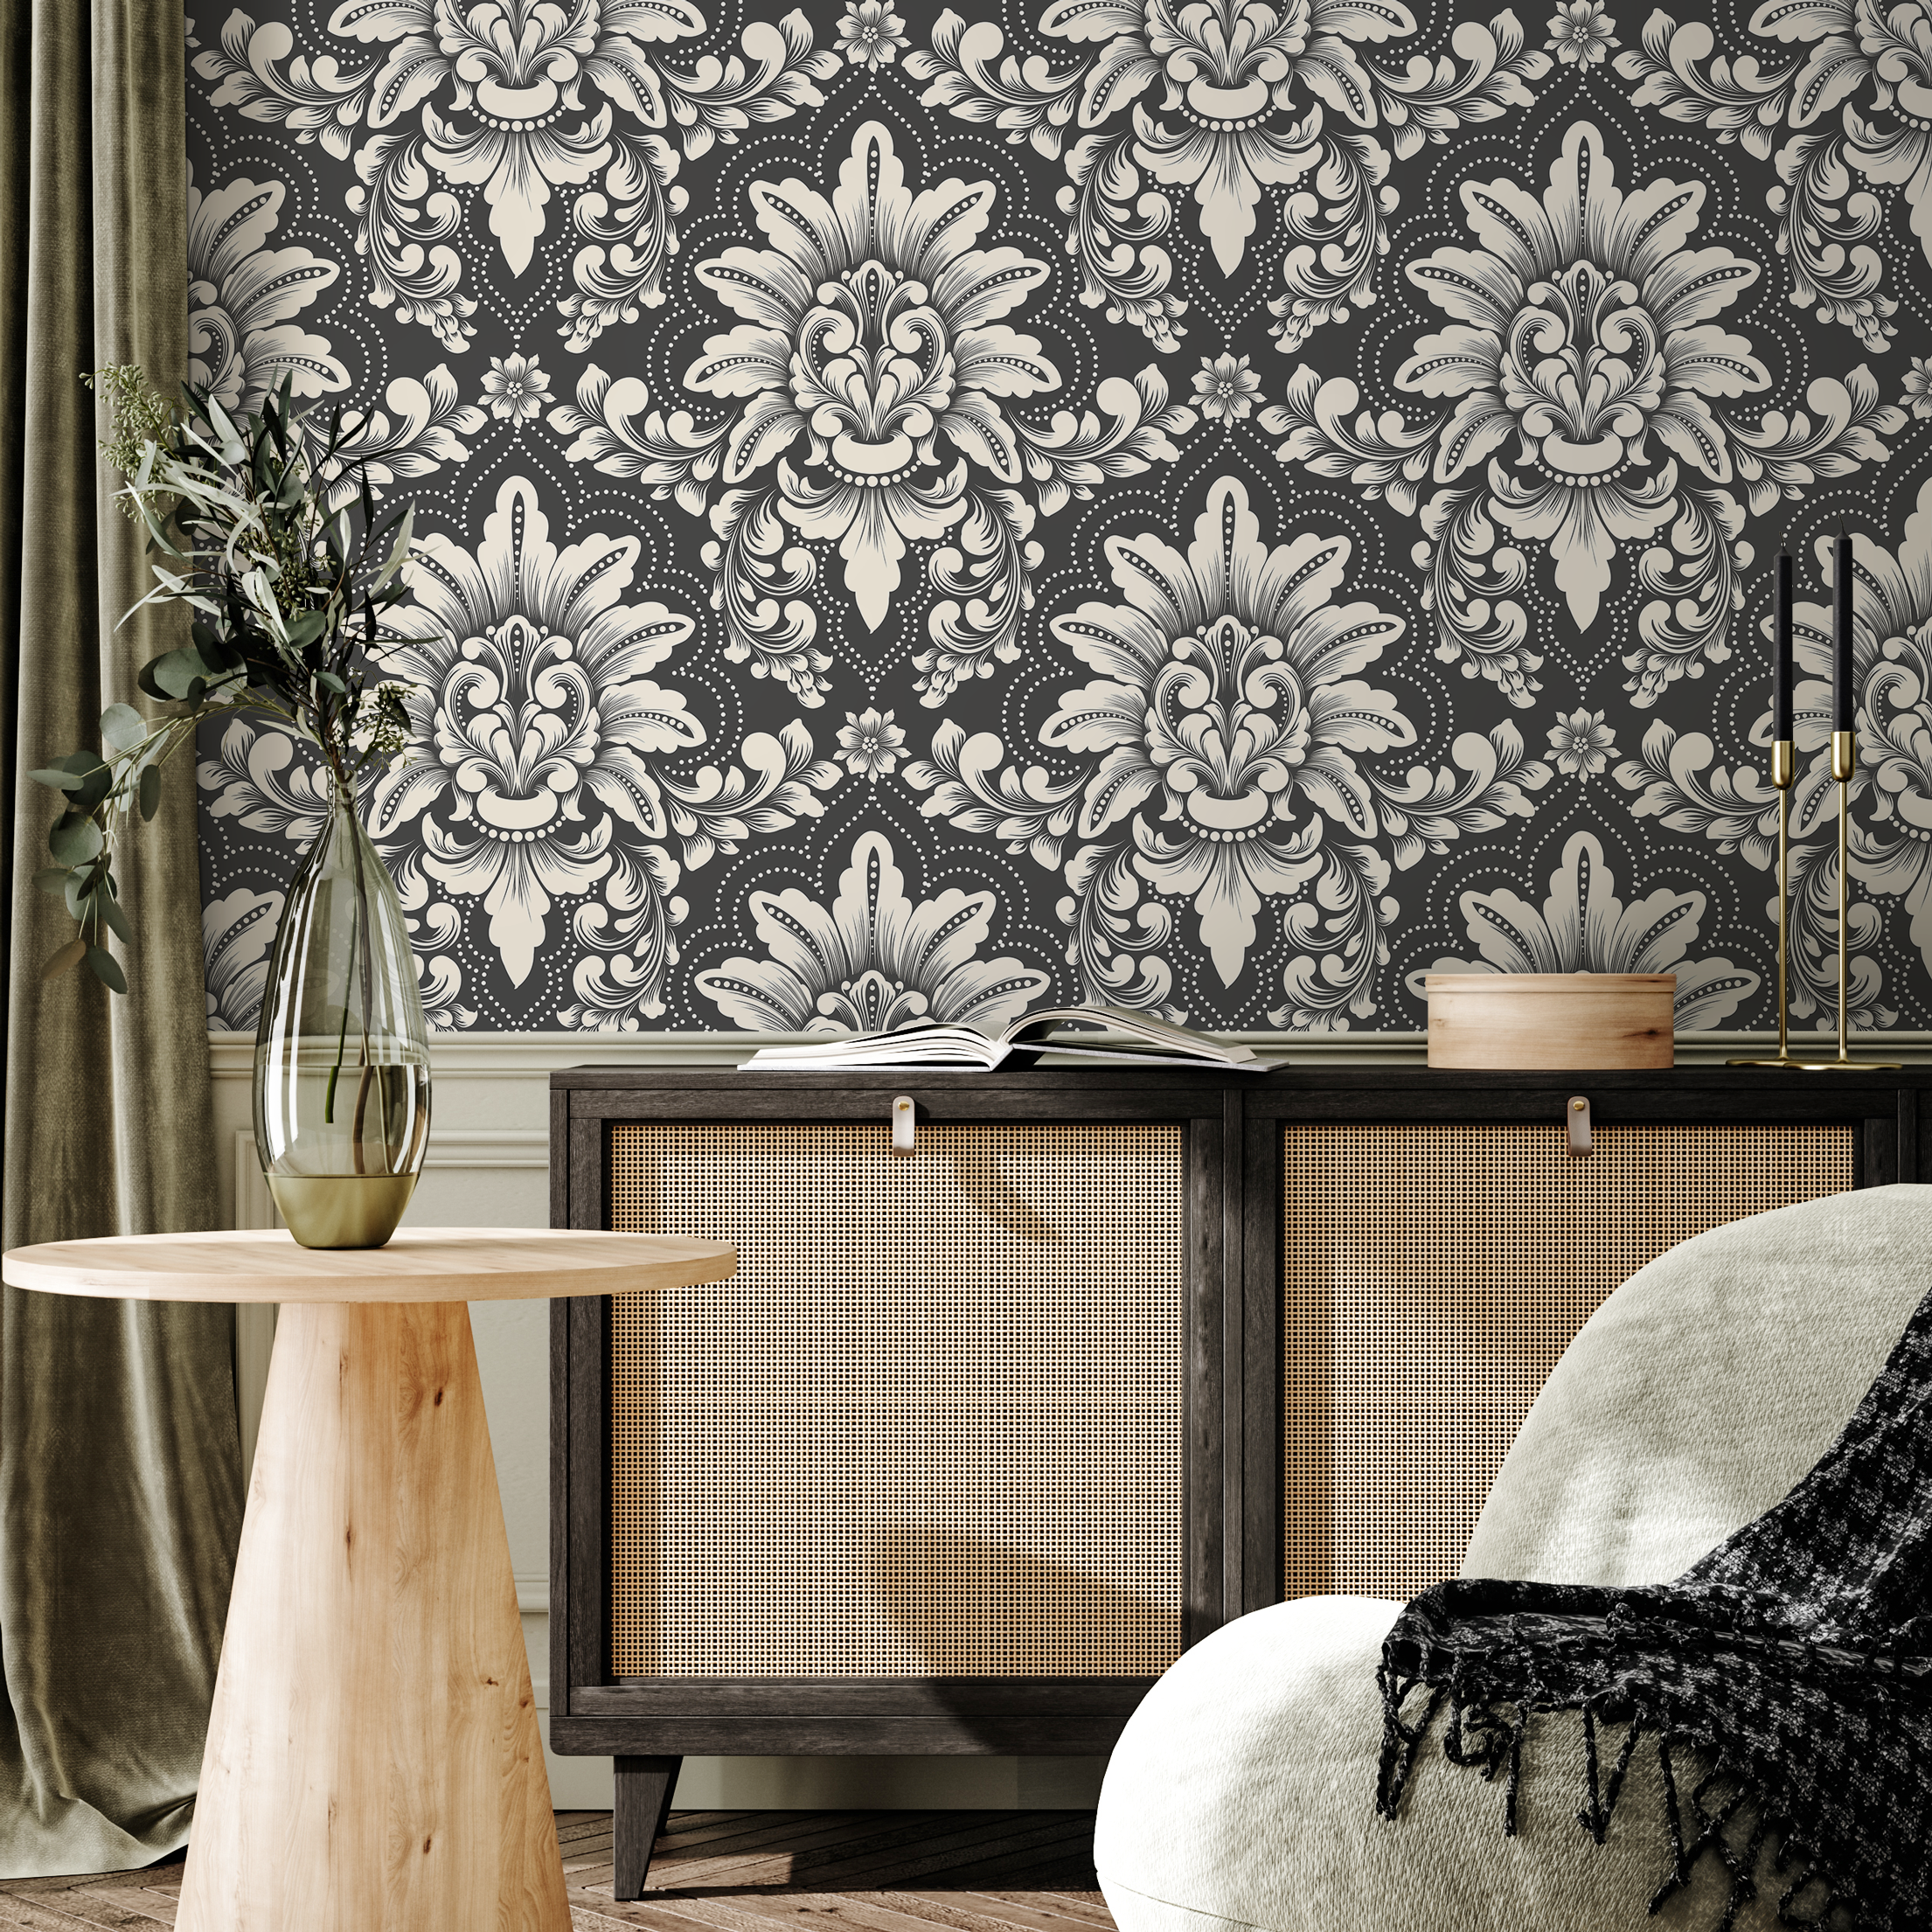
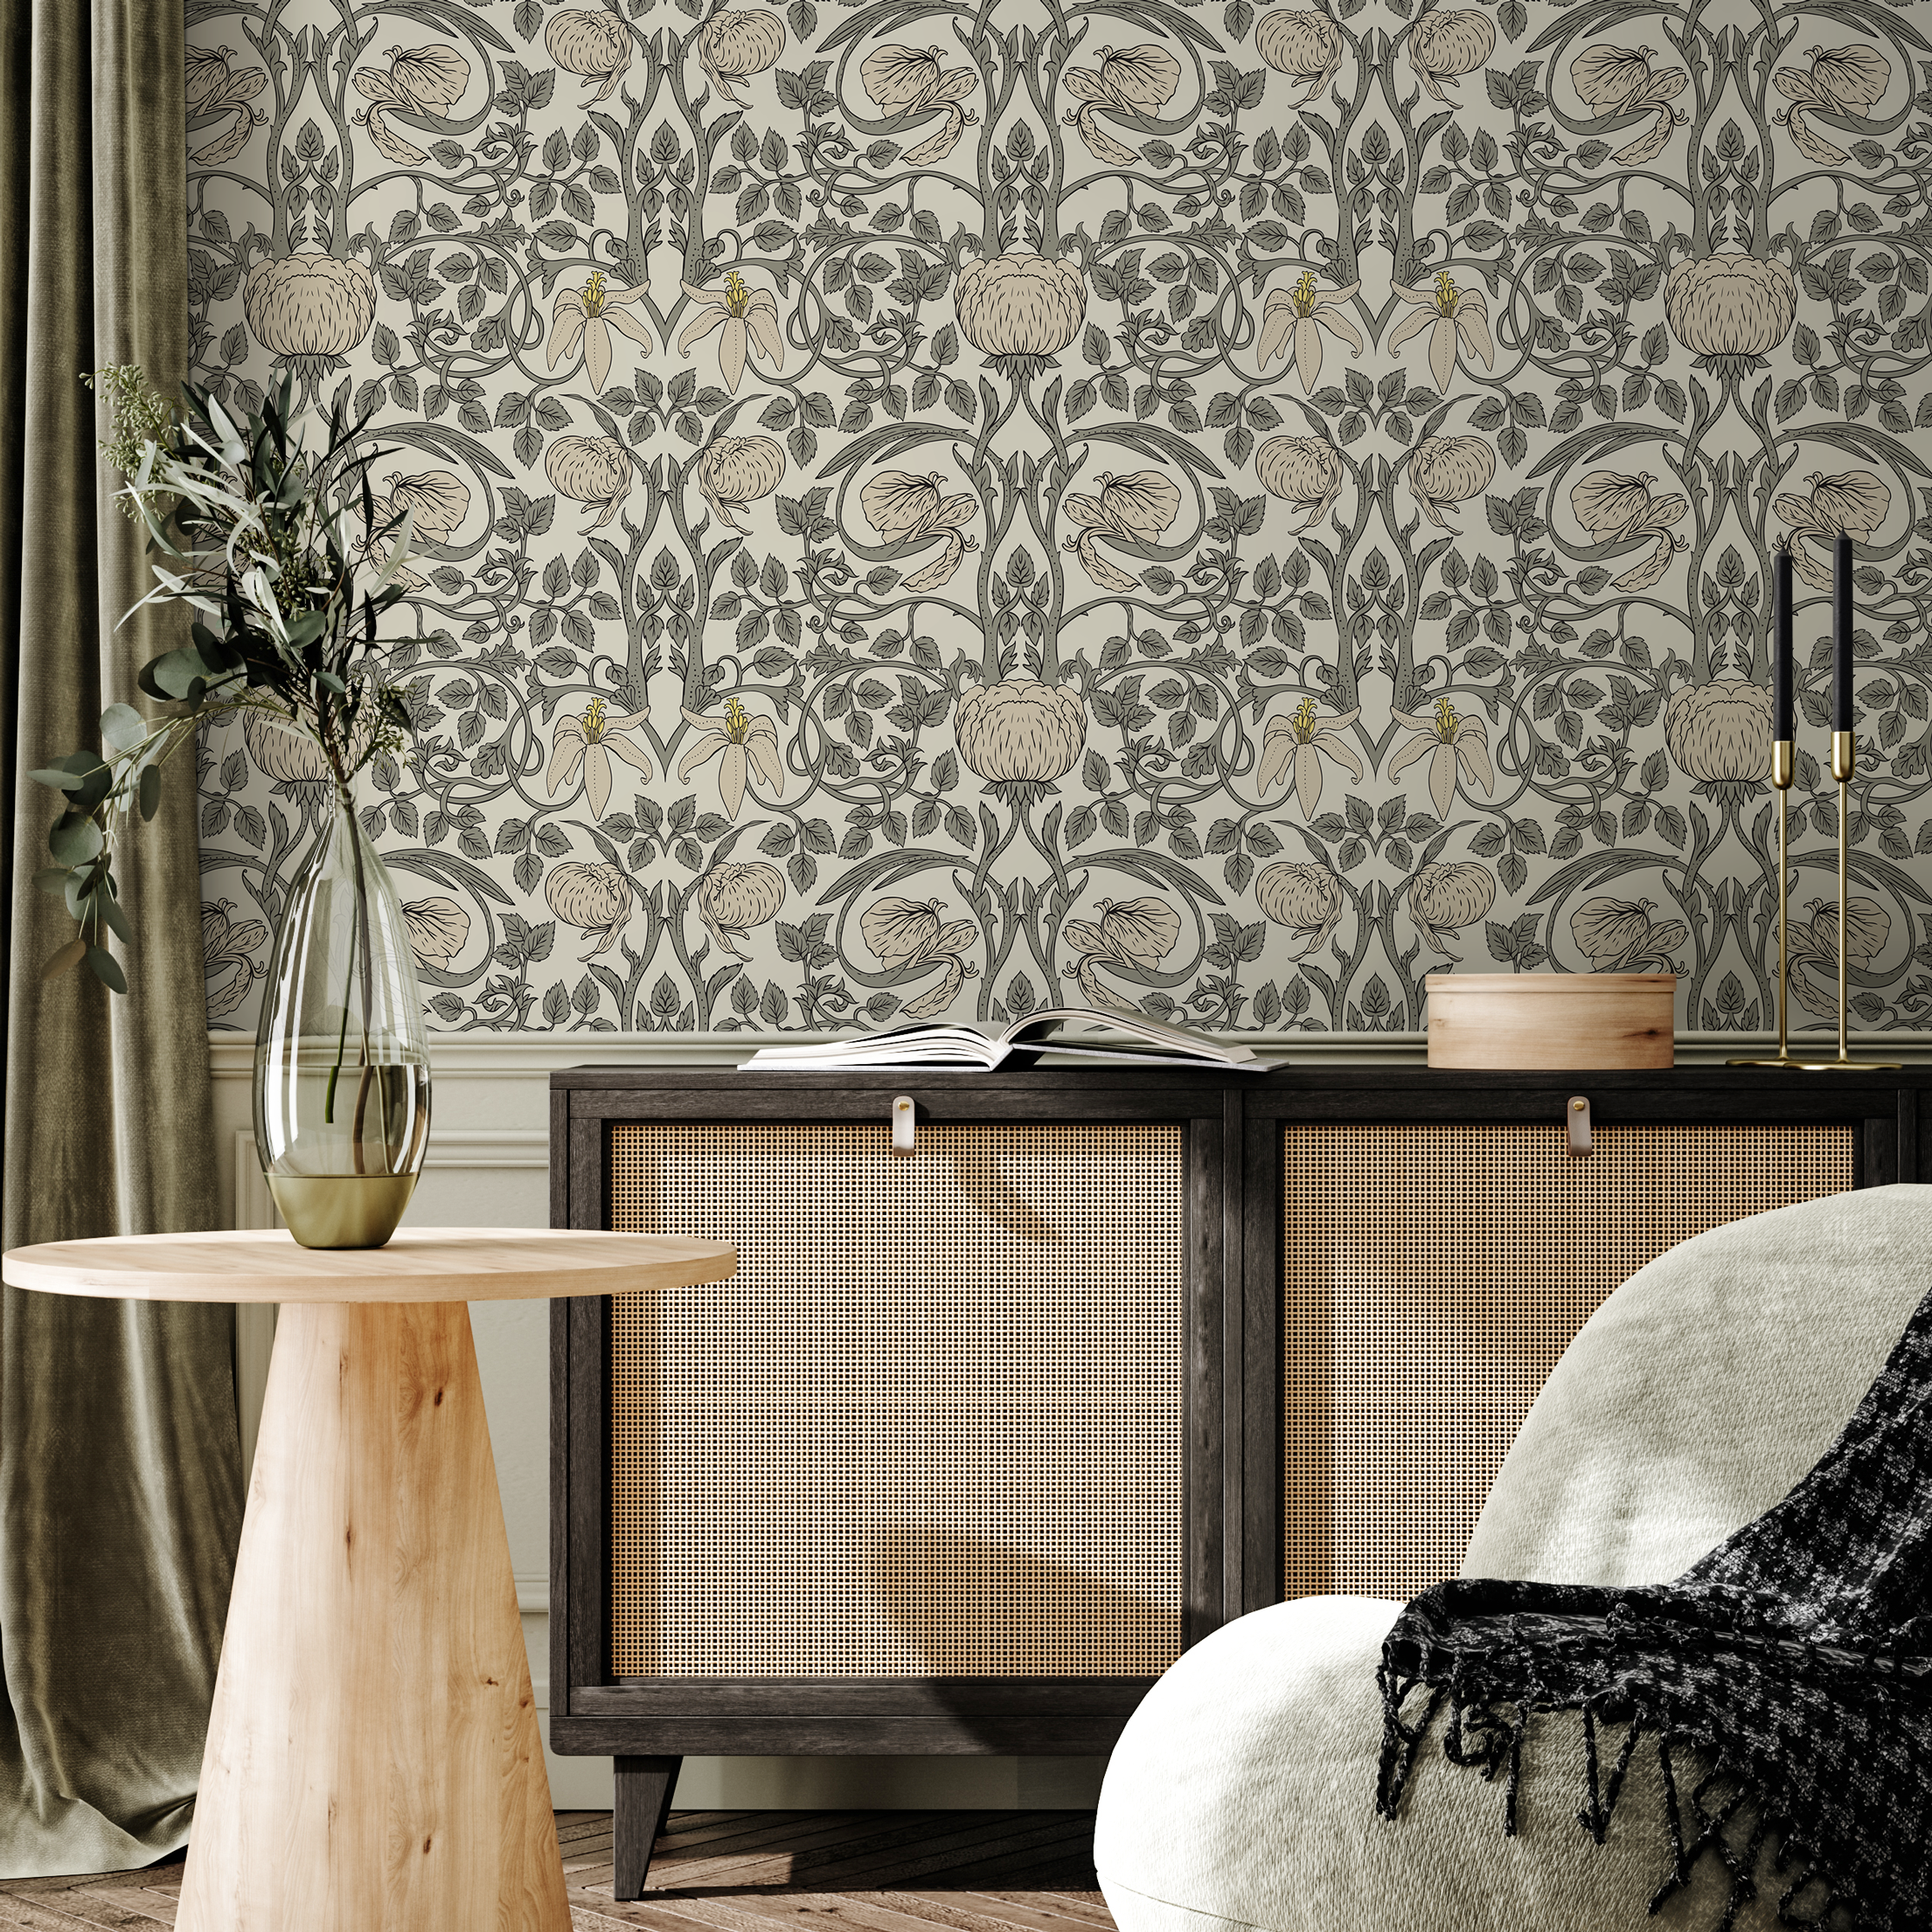
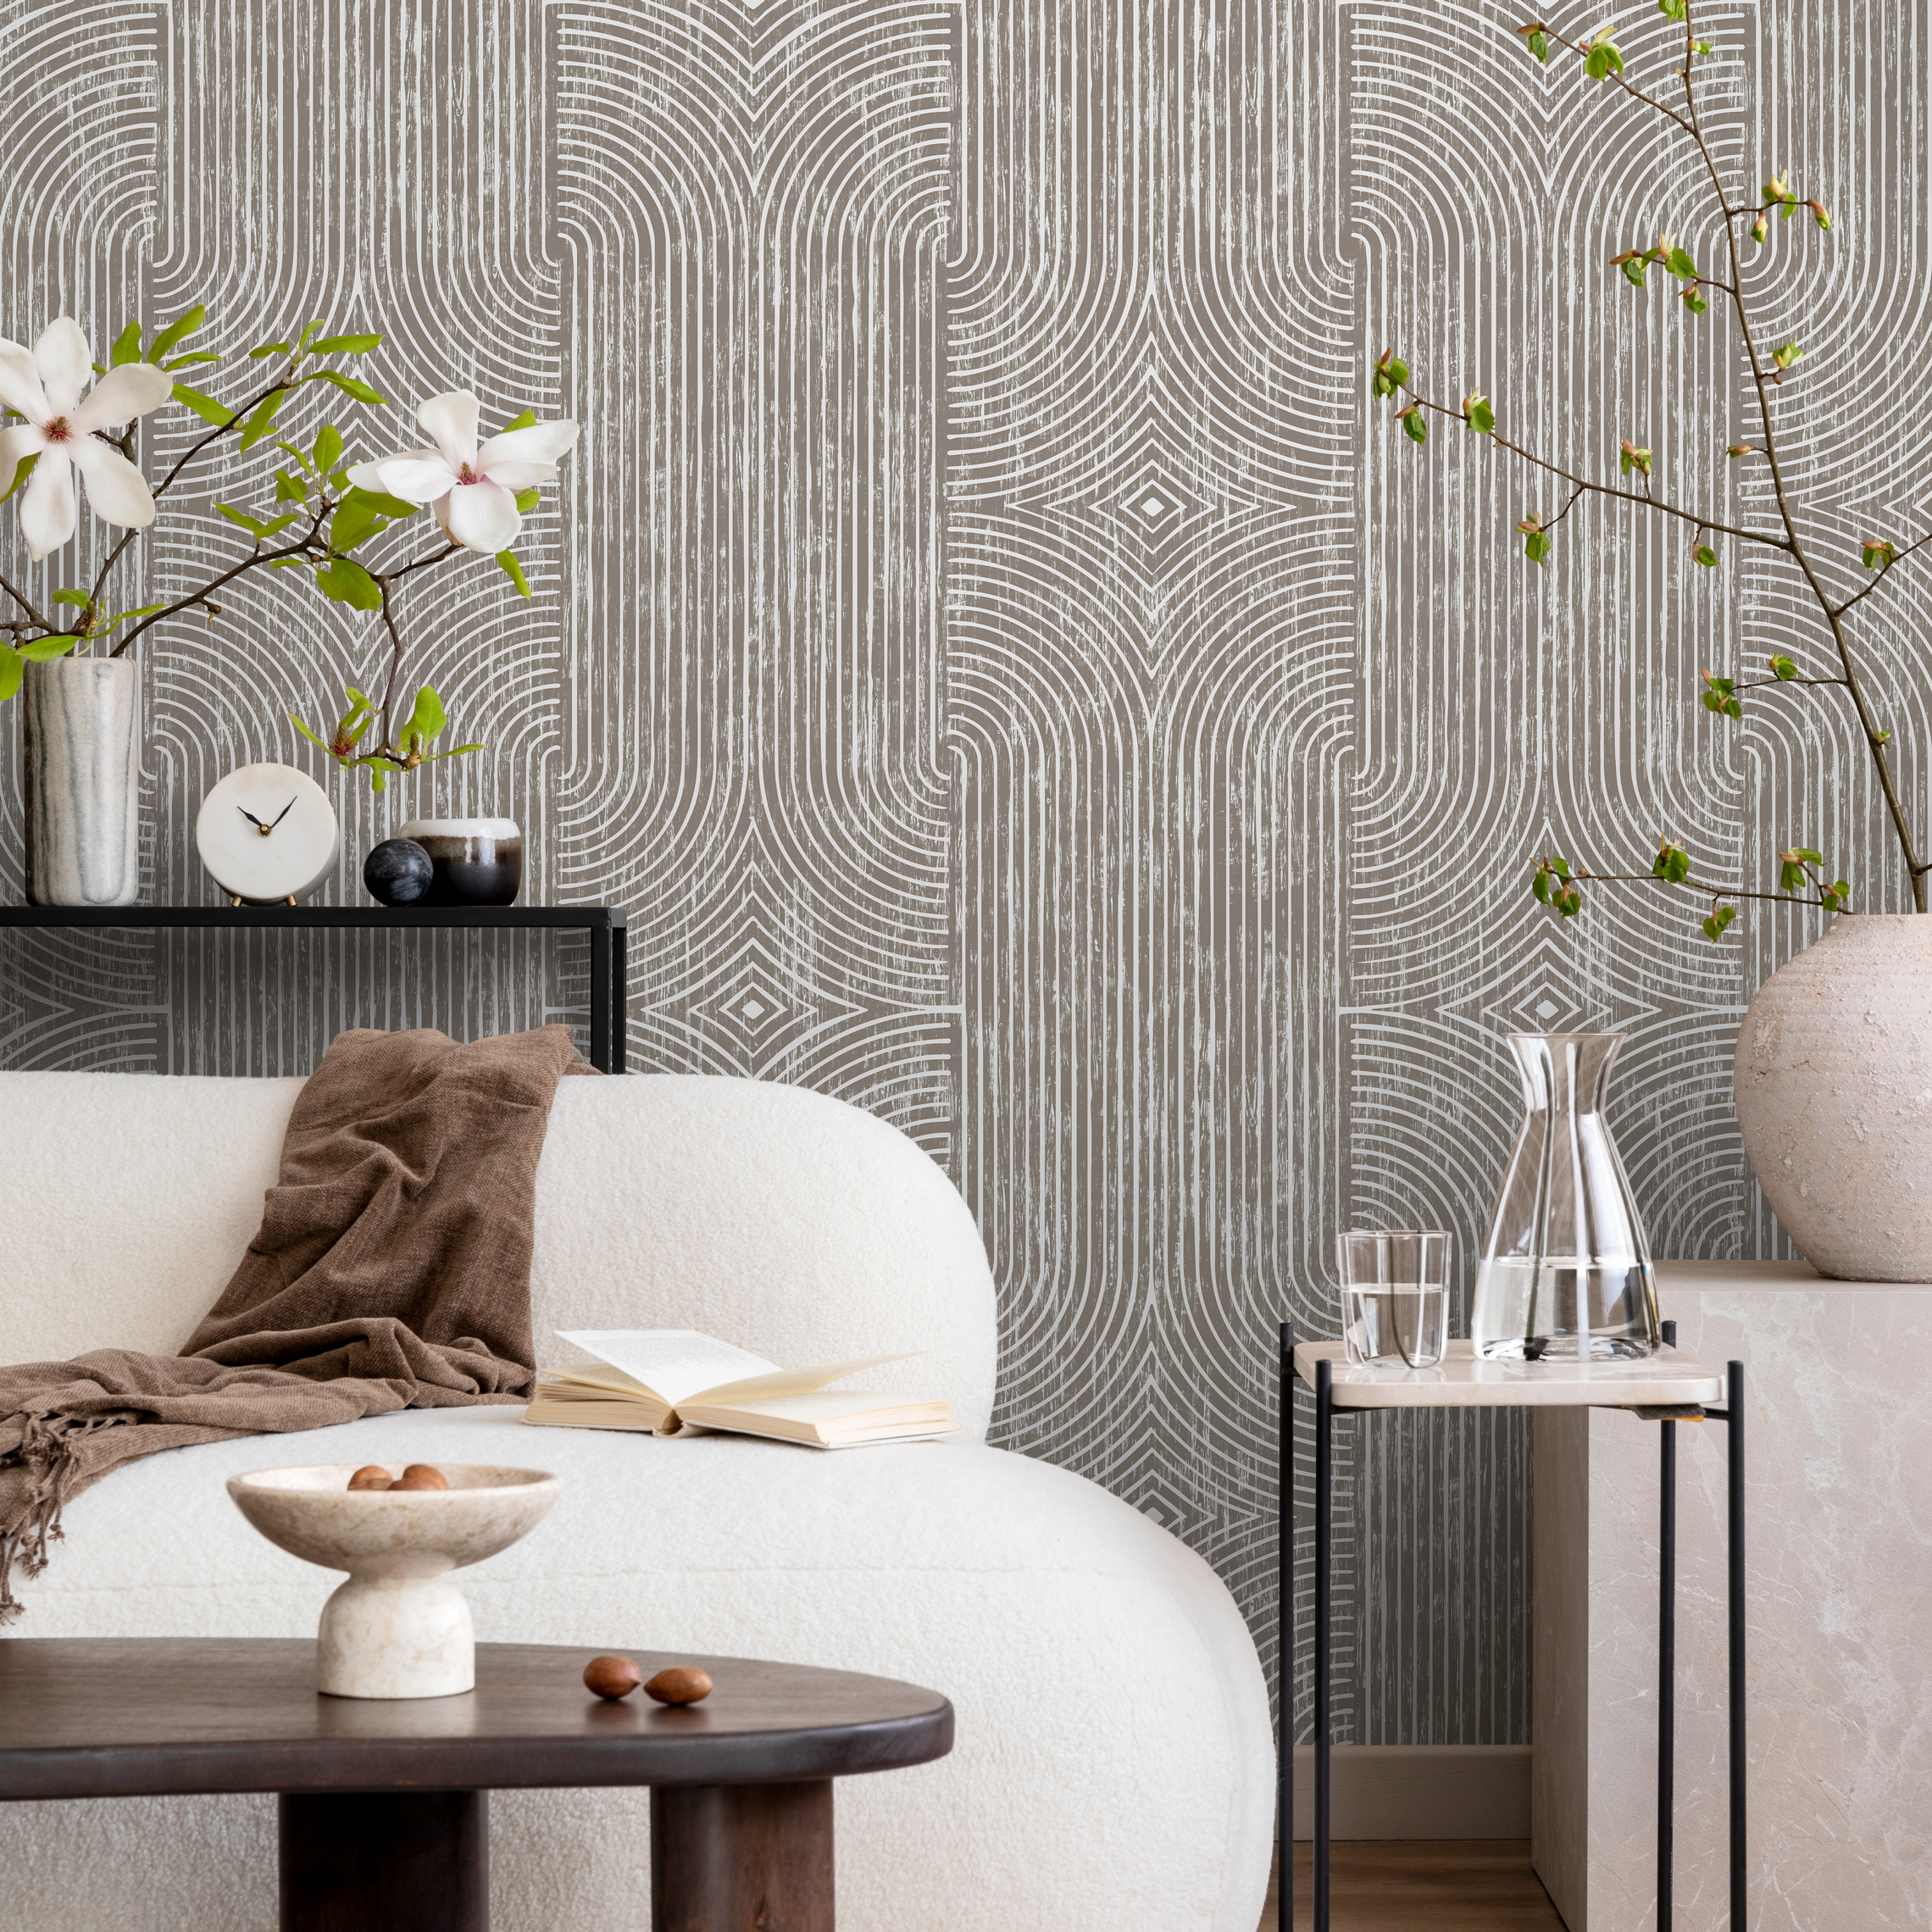
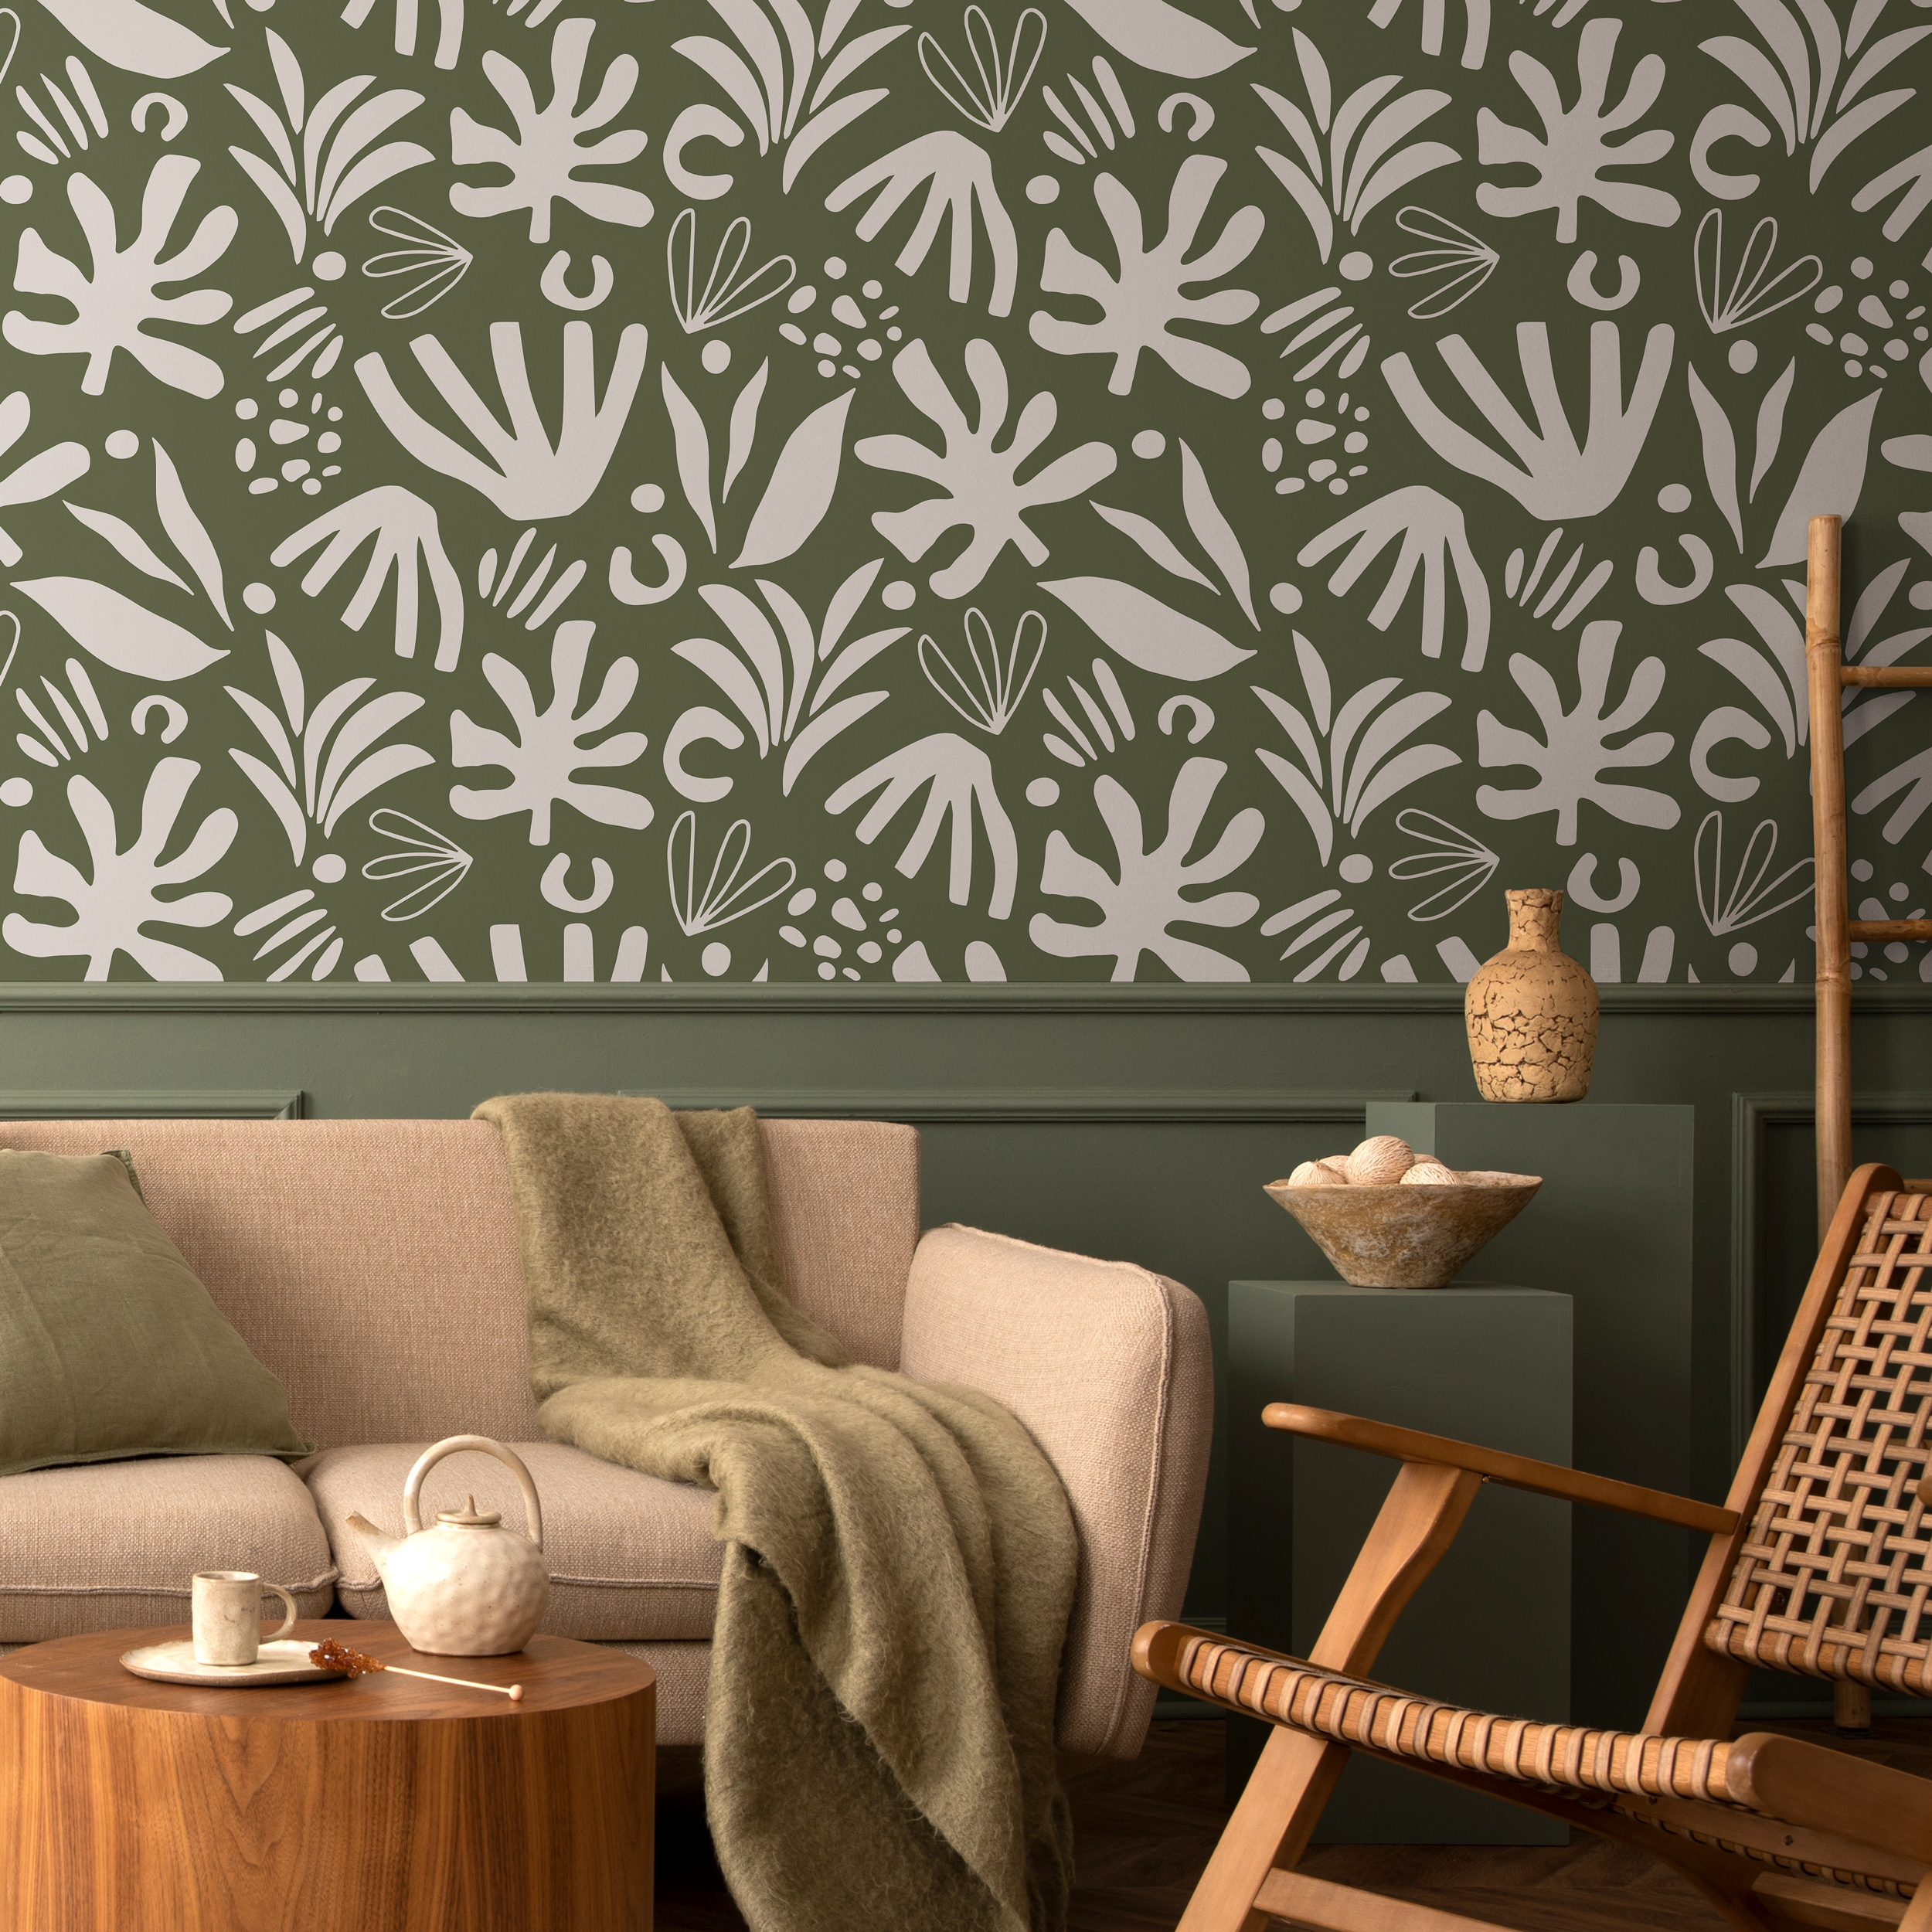
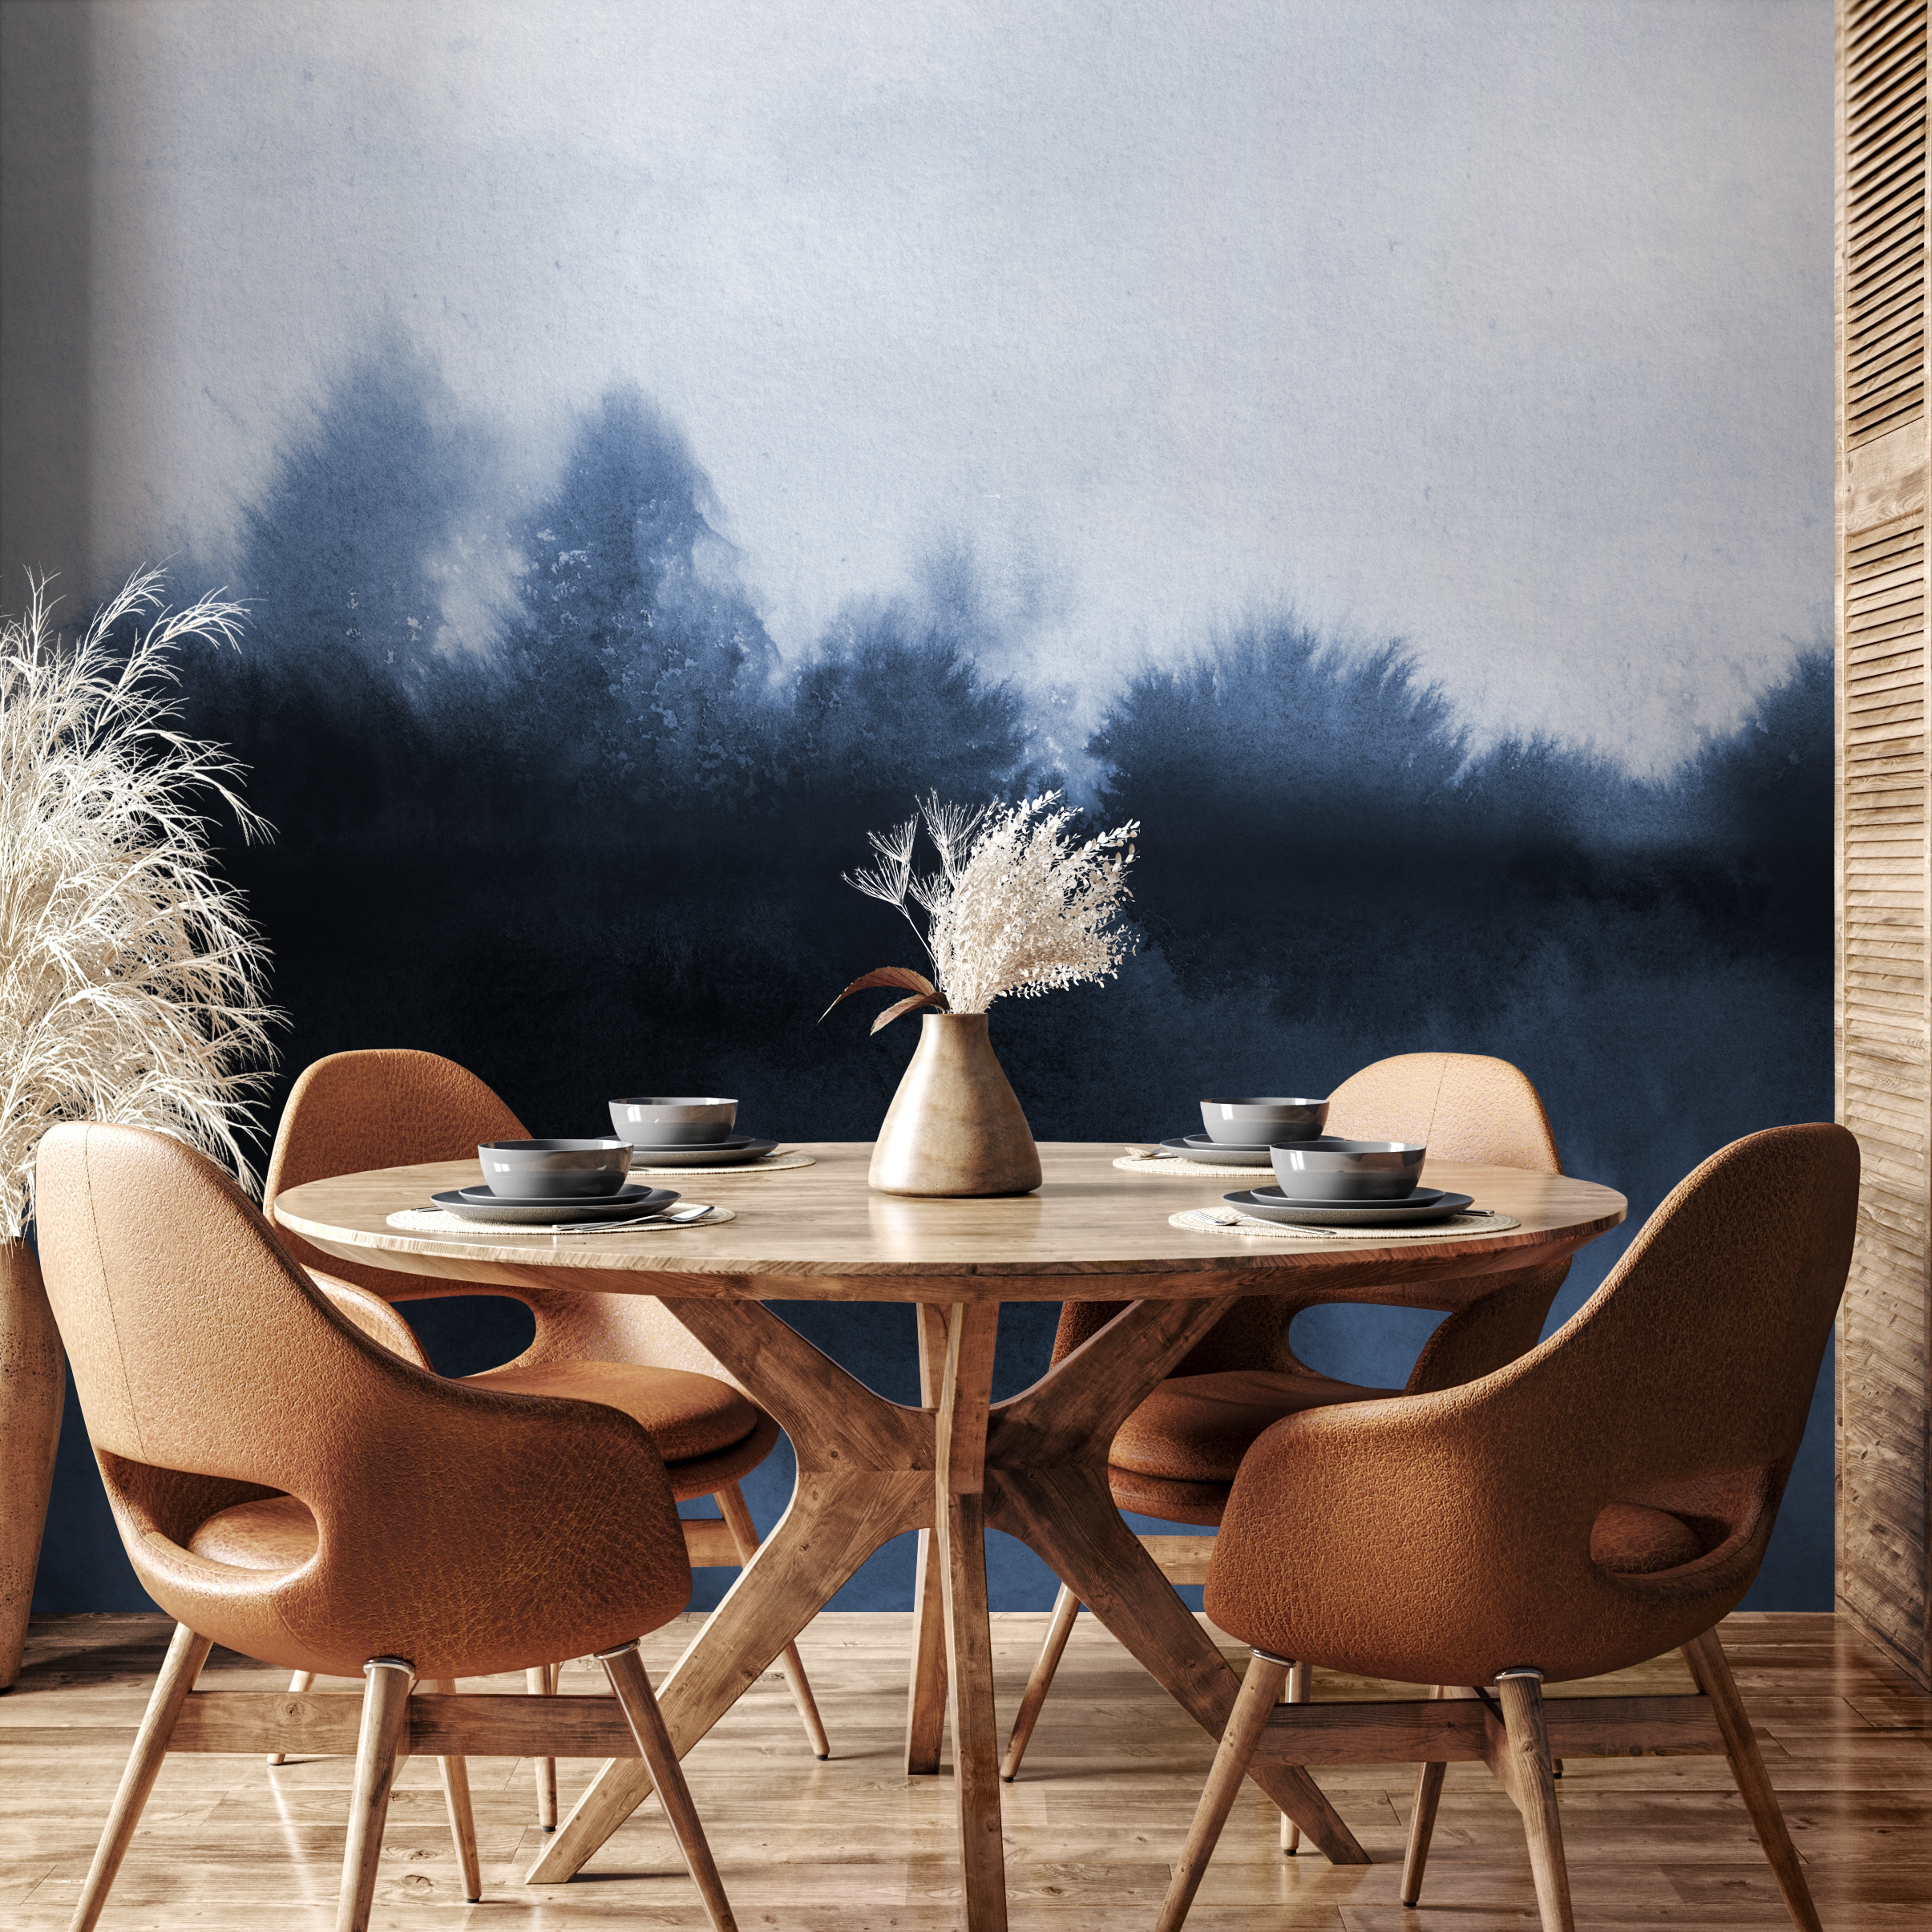
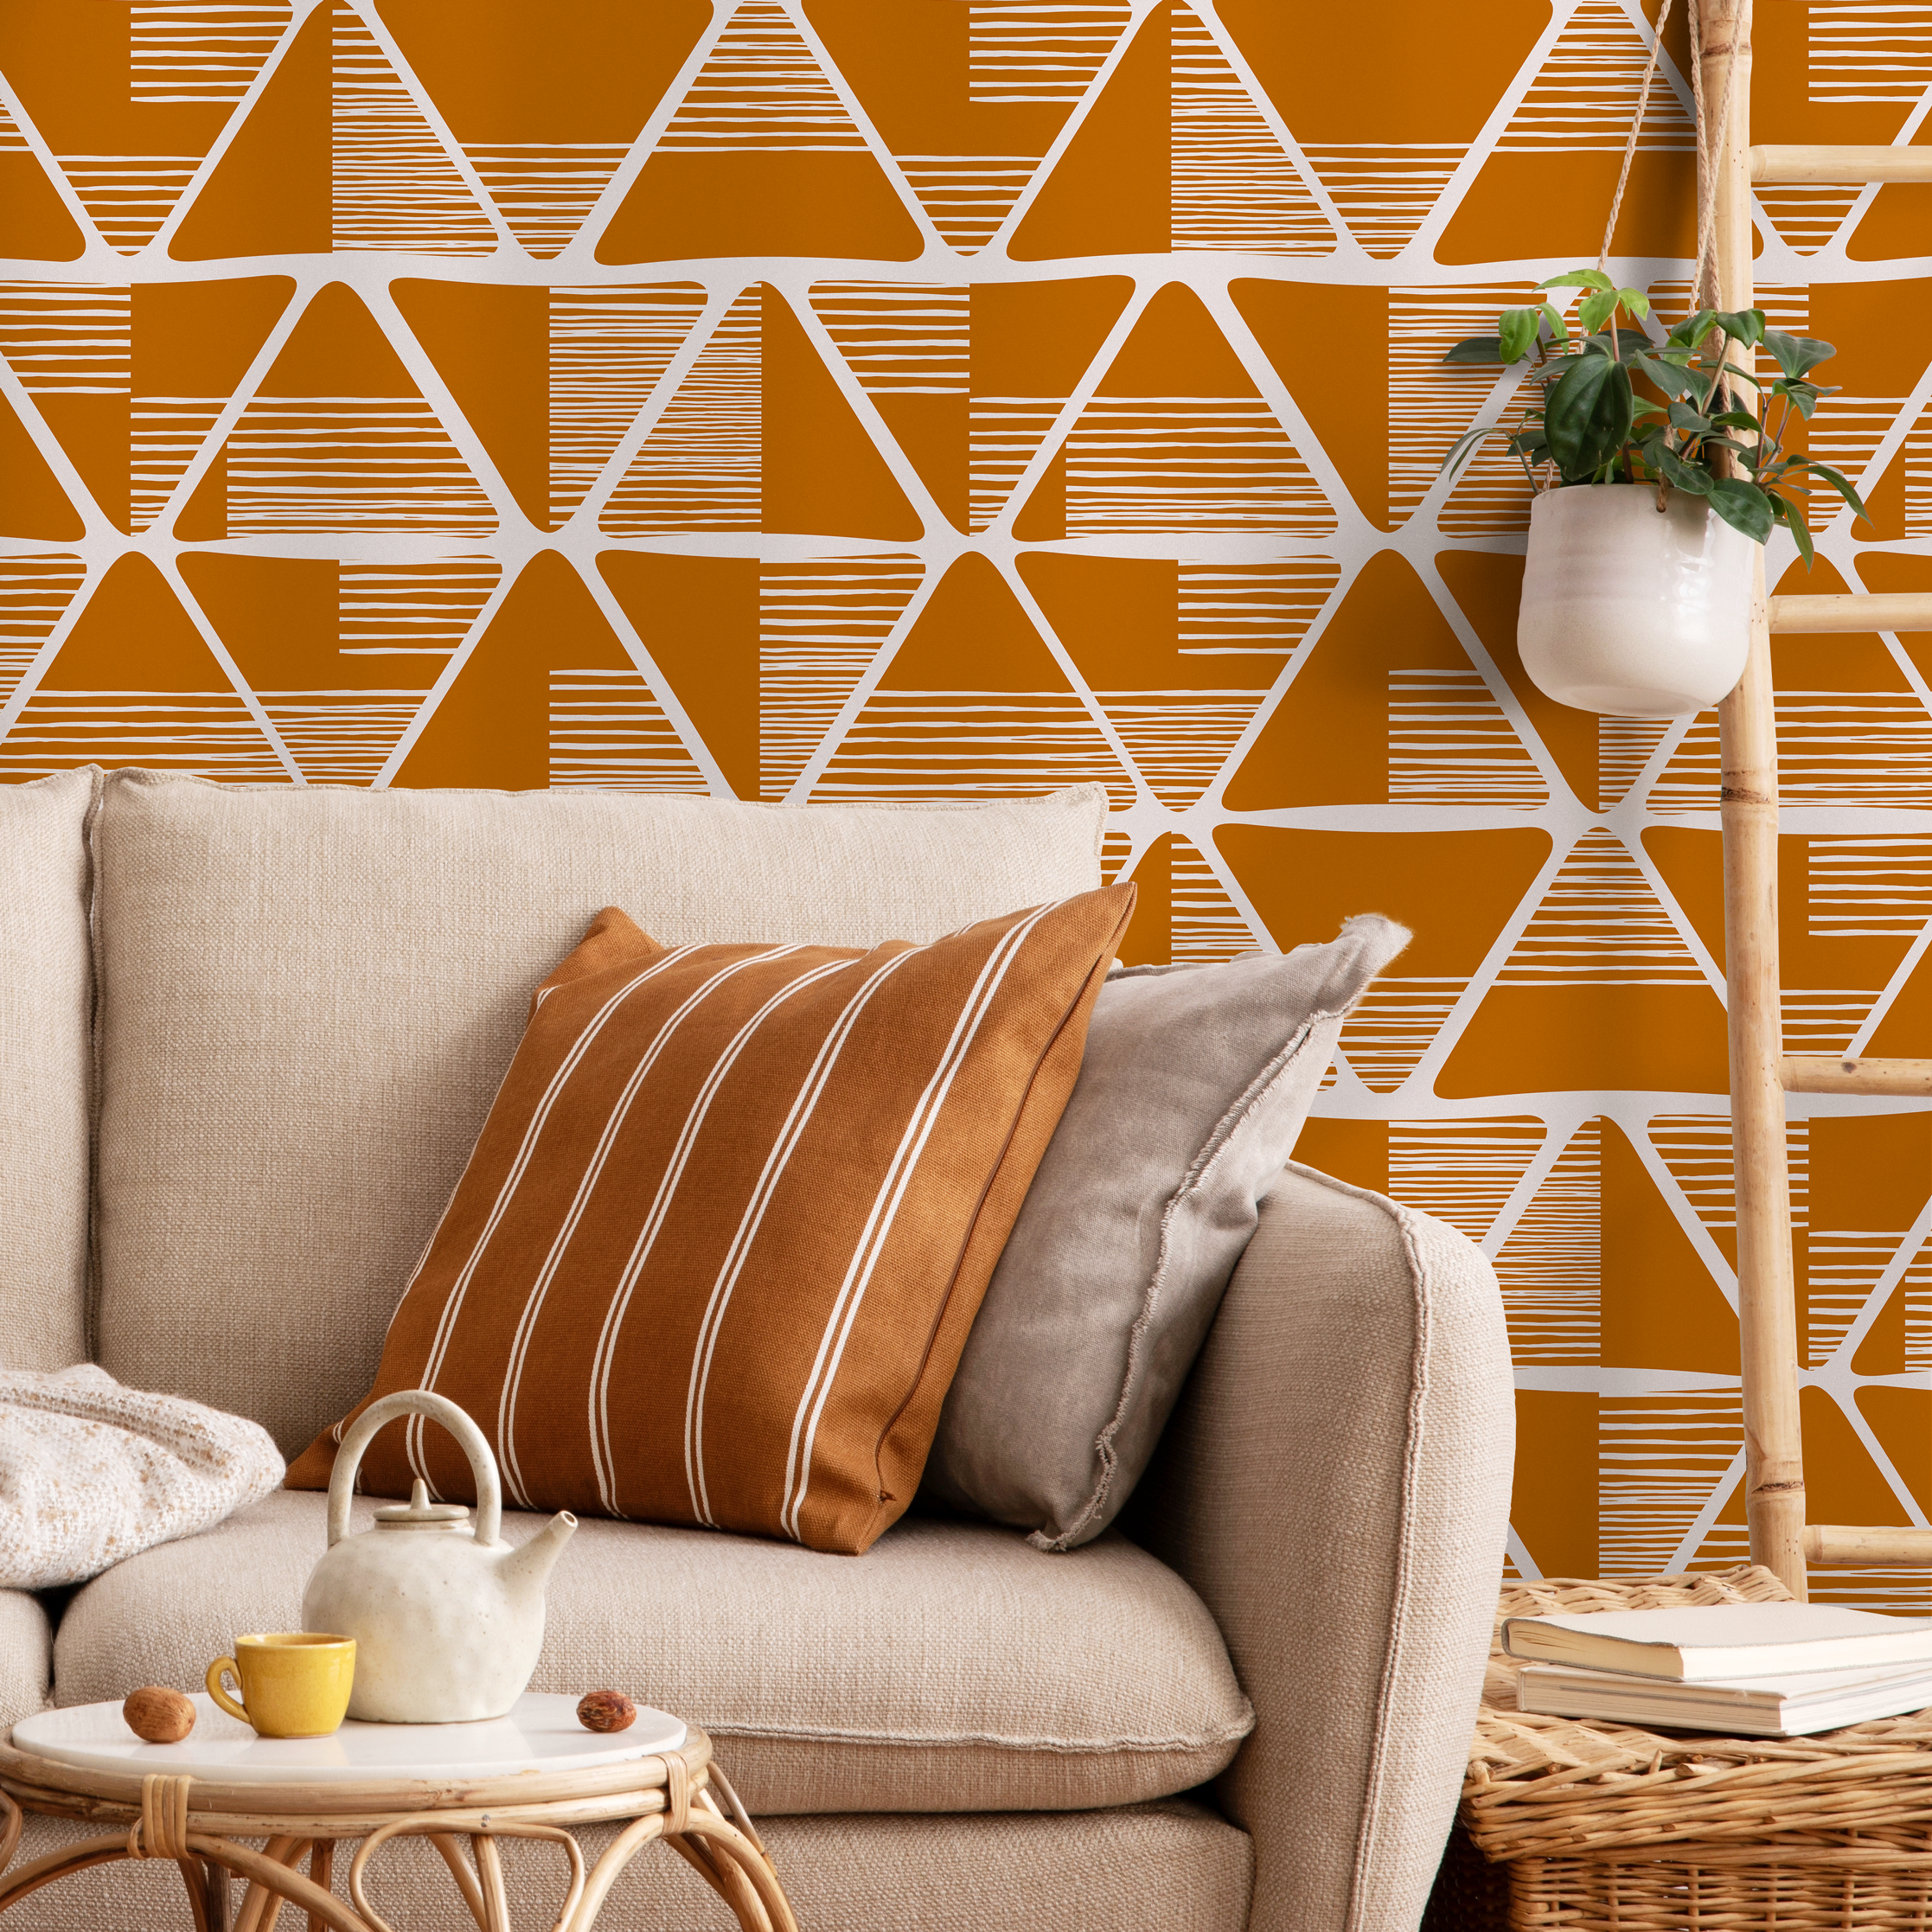
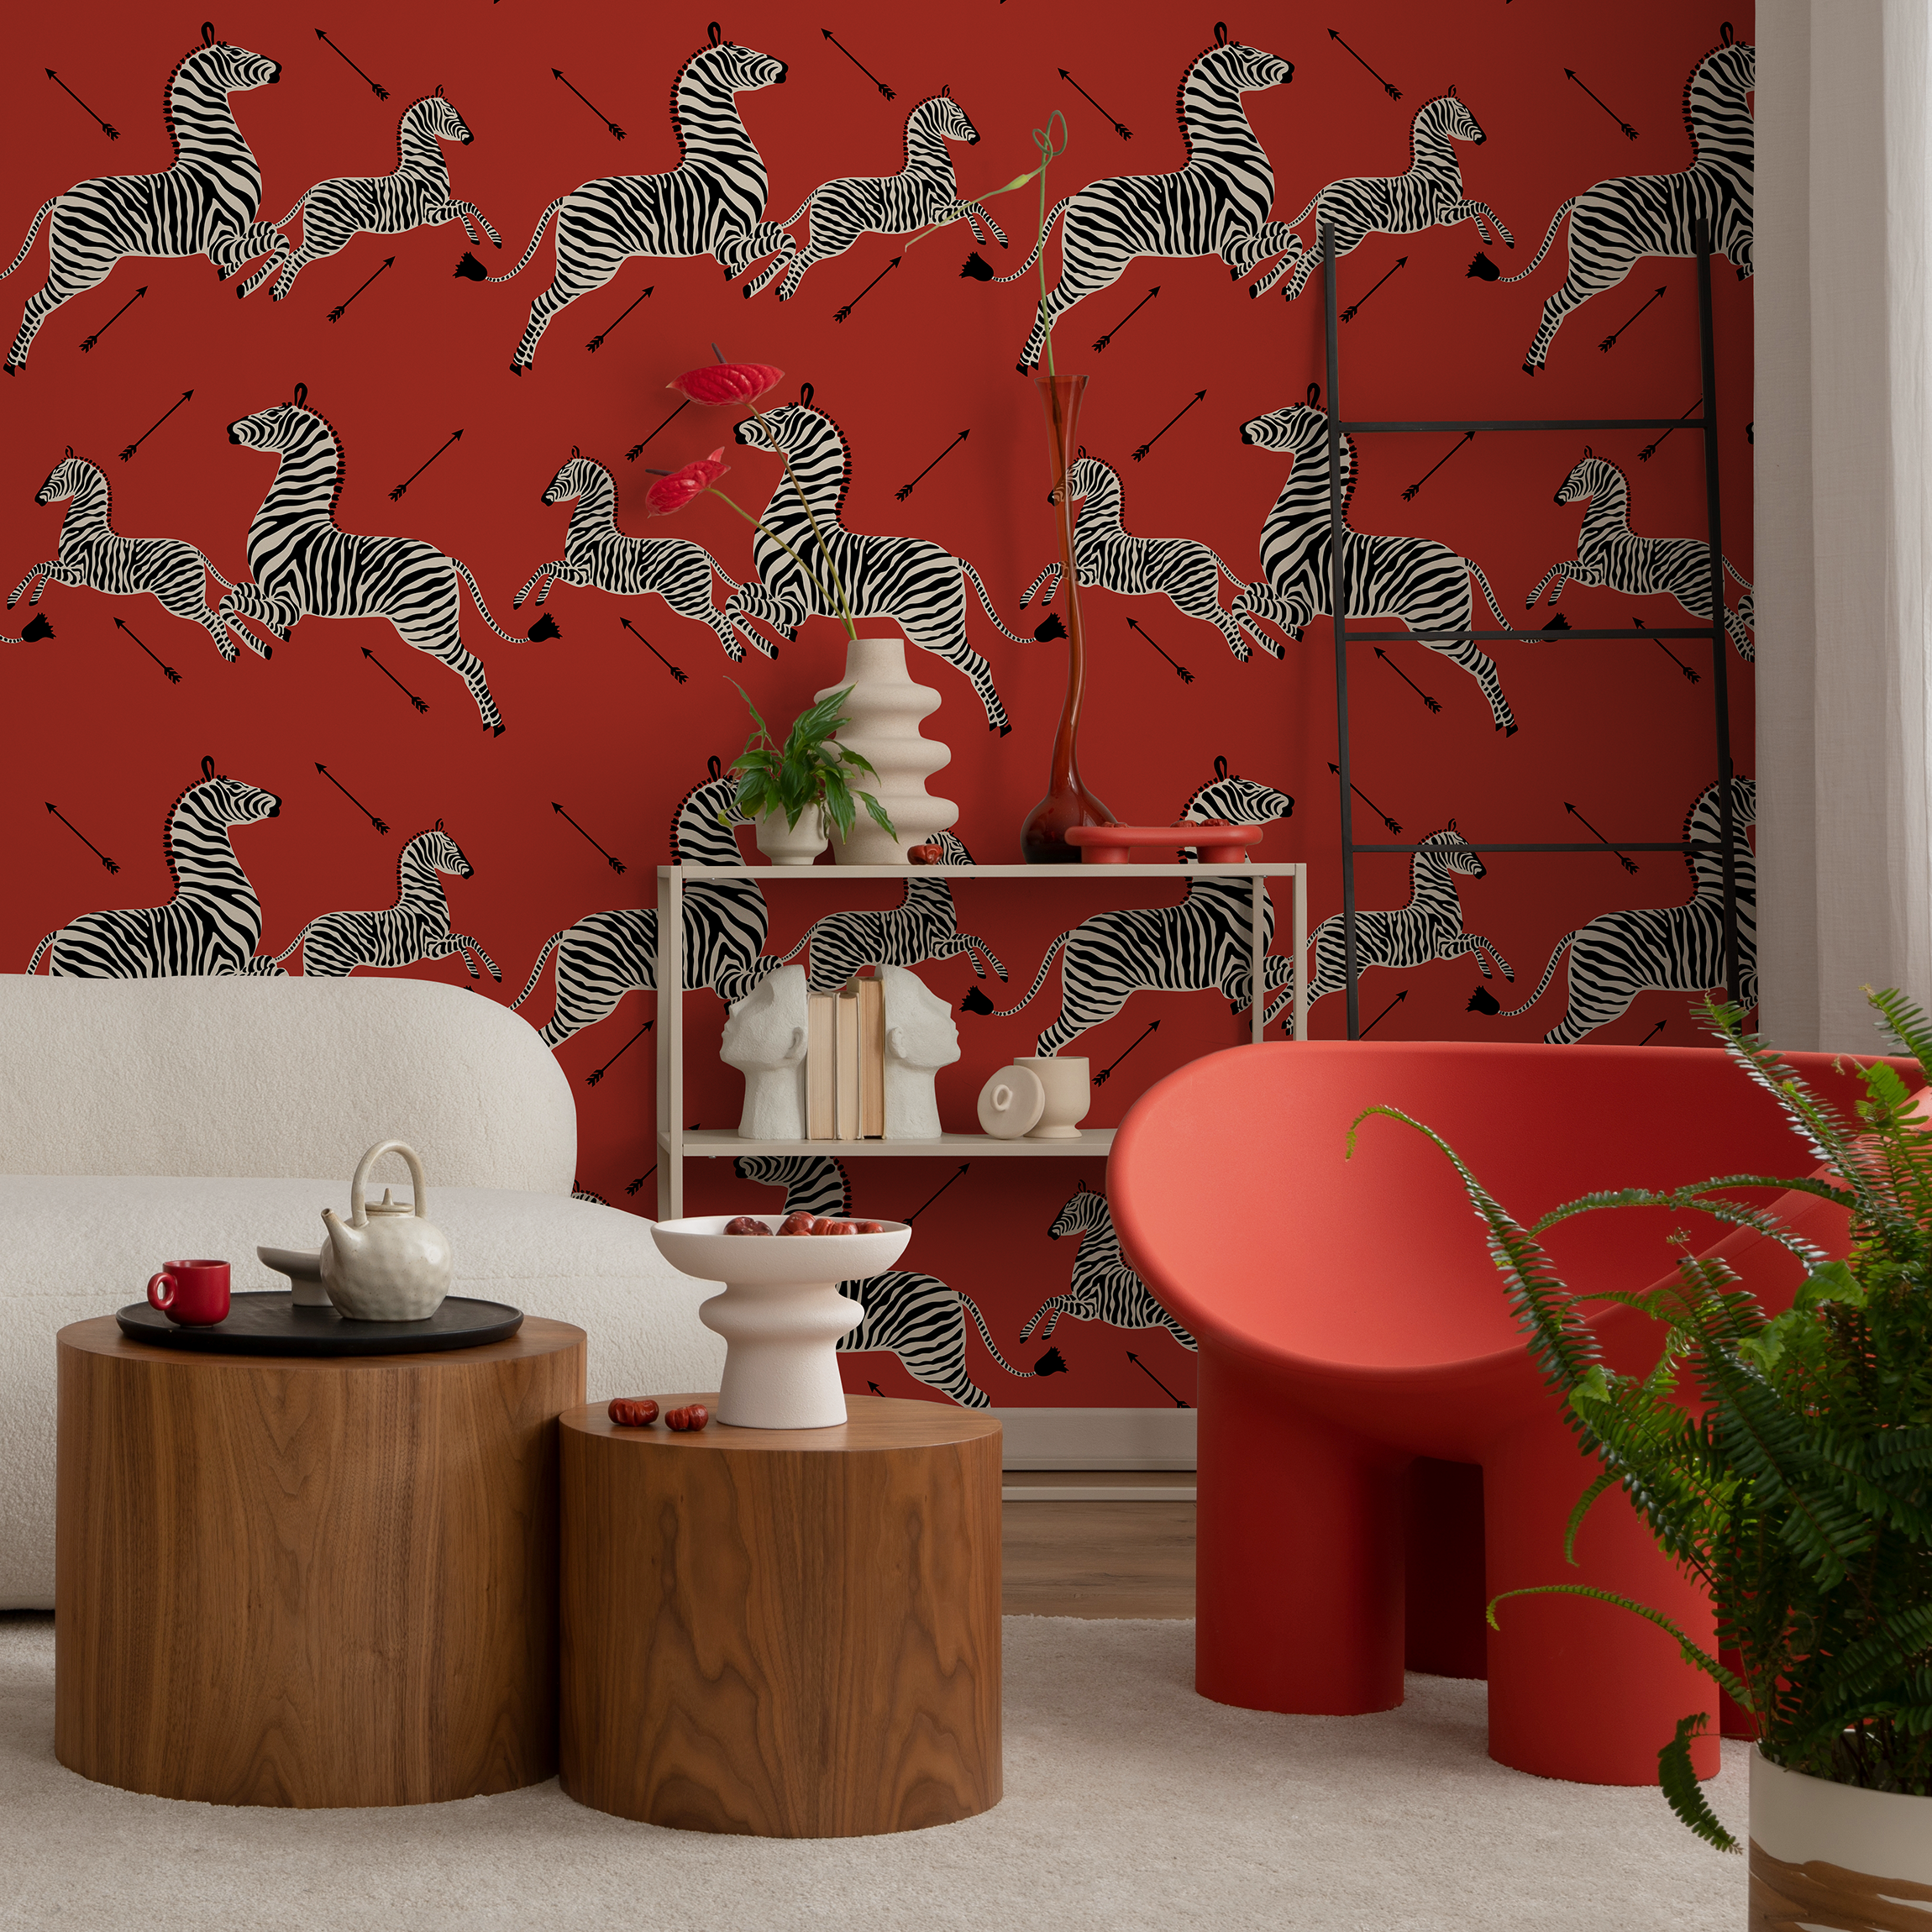
The type of design or pattern on the wallpaper can also help mask the texture of the wall beneath. Opt for darker colors, like Mercury Row’s Clinton geometric wallpaper, as they tend to hide textured walls better than lighter hues. Wallpapers with small, intricate patterns can also divert attention from the wall texture. Moreover, a textured or thicker wallpaper, such as Graham & Brown’s white geometric paper, can effectively camouflage the wall texture underneath.
Eco-friendly and Non-toxic Wallpaper Options from ONDECOR
As you ponder over the perfect wallpaper for your rough walls, consider the environmental impact of your choice. As a responsible homeowner, you'd want a wallpaper that's safe for both your home and the planet. ONDECOR has a commendable commitment to offering eco-friendly and non-toxic wallpapers. All their products are proudly made in the USA, ensuring strict adherence to manufacturing standards. This not only safeguards your home from harmful materials but also supports local businesses and contributes to a sustainable economy.
When making your selection, remember, the right wallpaper can not only cover up the rough texture of your walls but also add a dash of style and character to your space. Whether you're a fan of modern minimalism or vintage romanticism, the perfect wallpaper is out there waiting for you.
In the next section, we'll guide you through the step-by-step process of applying wallpaper to your prepared rough walls. Stay tuned to transform your walls and give your space a whole new look.

Step-by-Step Guide to Wallpapering Rough Walls
When it comes to decorating, nothing beats the transformative power of wallpaper. But applying wallpaper on rough walls can seem a daunting task. Don't worry, with our easy-to-follow guide you'll be able to confidently tackle this project, creating that show-stopping feature wall you've been dreaming of.
Creating an Outline for Your Wallpaper
Your first step is to create an outline for your wallpaper. This step is crucial to ensure that your pattern aligns properly and the end result is visually appealing. Start by measuring the length and height of your wall. Use a level to draw a straight vertical line from top to bottom where the edge of your first strip of wallpaper will be. This line serves as a guide for the first piece of wallpaper, helping you ensure it's straight. This is particularly important when wallpapering rough walls, as the texture can make it challenging to align your wallpaper accurately.
Priming Your Walls
Once your outline is in place, it's time to prime your walls. Priming your walls provides a clean, smooth surface for the wallpaper to adhere to and can help prevent future issues like peeling or shrinking. This step is important for all wallpaper projects, but especially so when working with rough walls. Use a primer specifically designed for wallpaper to ensure best results. Apply the primer evenly over your walls and allow it to dry according to the manufacturer's instructions.
Installing the Wallpaper
Now, the moment of truth: installing your wallpaper. Start by cutting your wallpaper strips, allowing for a few extra inches at the top and bottom for trimming. Apply adhesive to the back of your wallpaper, if it's not pre-pasted. Carefully align the first strip with your drawn line, smoothing it onto the wall from top to bottom. Use a wallpaper smoother to remove any bubbles and ensure a snug fit, particularly important on textured walls.
Repeat this process with each subsequent strip, making sure to align the patterns and seams perfectly. Once a strip is in place, trim the excess at the top and bottom using a sharp utility knife.
Remember, patience is key when applying wallpaper to rough walls. You might encounter some challenges along the way due to the wall texture, but don't be discouraged. With careful preparation and precise application, you can achieve a stunning result.
In the end, the transformation that wallpaper brings to your space will be well worth the effort. Up next, we'll discuss some important tips for maintaining your new wallpaper, particularly in high humidity areas where moisture can be a concern.
Maintaining Your Wallpaper: Dealing with High Humidity Areas and Potential Moisture Issues
You've put in the time and effort to prepare your rough walls and apply your chosen wallpaper. Now, it's crucial to ensure that your hard work isn't undone by environmental factors like humidity and moisture.
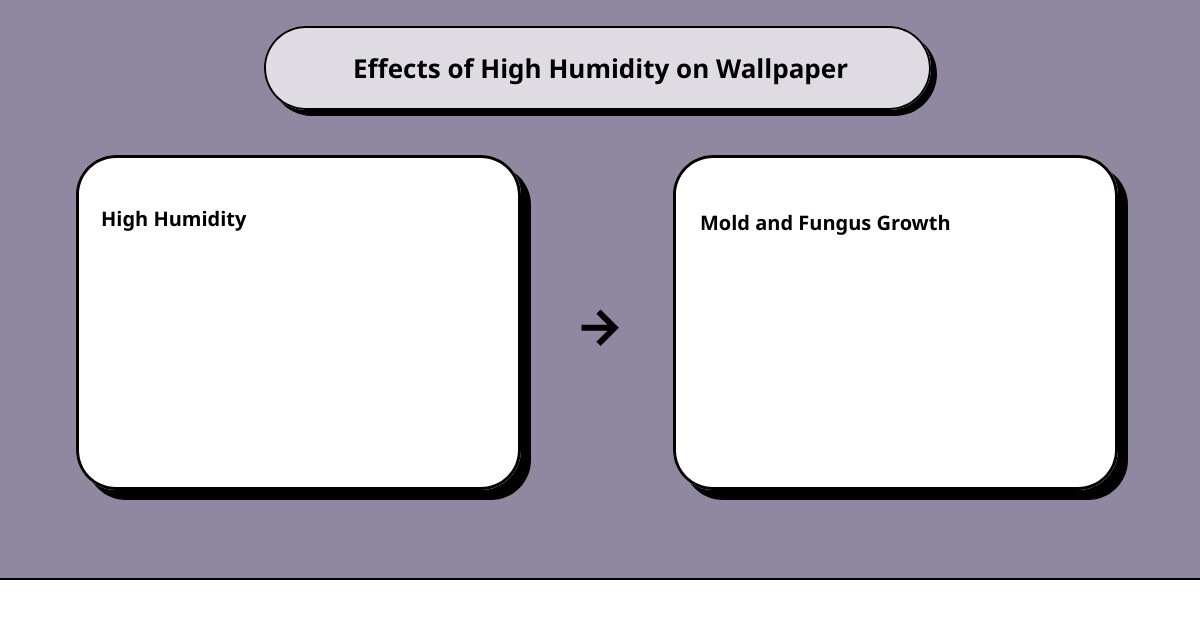
How to Prevent Mold and Fungus Growth Behind Wallpaper
Certain areas in our homes, like bathrooms, kitchens and laundry rooms, are prone to high levels of humidity. When wallpaper is applied to walls in these areas, moisture can get trapped in the tiny crevices of the wall texture. Over time, this can lead to the growth of mold and fungus behind the wallpaper, which can potentially damage the wall and pose health risks.
To prevent this, consider using a paste that is labeled as mold and mildew inhibiting when applying your wallpaper. This type of paste has additives that prevent the growth of mold and fungus. However, it's important to remember that this alone may not be enough in high humidity areas. Ensuring adequate ventilation and controlling the humidity levels in these rooms is also crucial.
When to Consider Repainting or Replacing Your Wallpaper
Despite our best efforts, sometimes wear and tear, moisture damage, or simply the desire for a new look can necessitate the repainting or replacement of wallpaper. So, how do you know when it's time?
If you start to notice peeling or bubbling in your wallpaper, or if the color starts to fade, it might be time to consider a change. These signs can indicate that the wallpaper adhesive is failing, possibly due to moisture issues or simply the age of the wallpaper.
Furthermore, if you spot any signs of mold or mildew – such as a musty smell, dark spots on the wallpaper or worsening allergy symptoms – it's essential to take action immediately. This will likely involve removing the wallpaper, treating the mold and then repainting the wall or applying new wallpaper.
When it comes to repainting, it's often possible to paint over wallpaper, provided the surface is in good condition. However, for the best results, it's generally recommended to remove the wallpaper, prep the wall and then apply the paint.
In conclusion, while applying wallpaper on rough walls may require a bit of extra effort in the preparation stage, the stunning transformation it brings to your space makes it all worth it. With careful maintenance and timely updates, your wallpaper can remain a beautiful feature in your home for years to come.
Conclusion: Transforming Your Space with Wallpaper on Rough Walls
And there you have it! Wallpapering rough walls may be perceived as a daunting task, but with the right knowledge and tools, you can achieve a captivating transformation. Working with textured walls is not a limitation, but an opportunity to showcase creativity and personality in your living space.
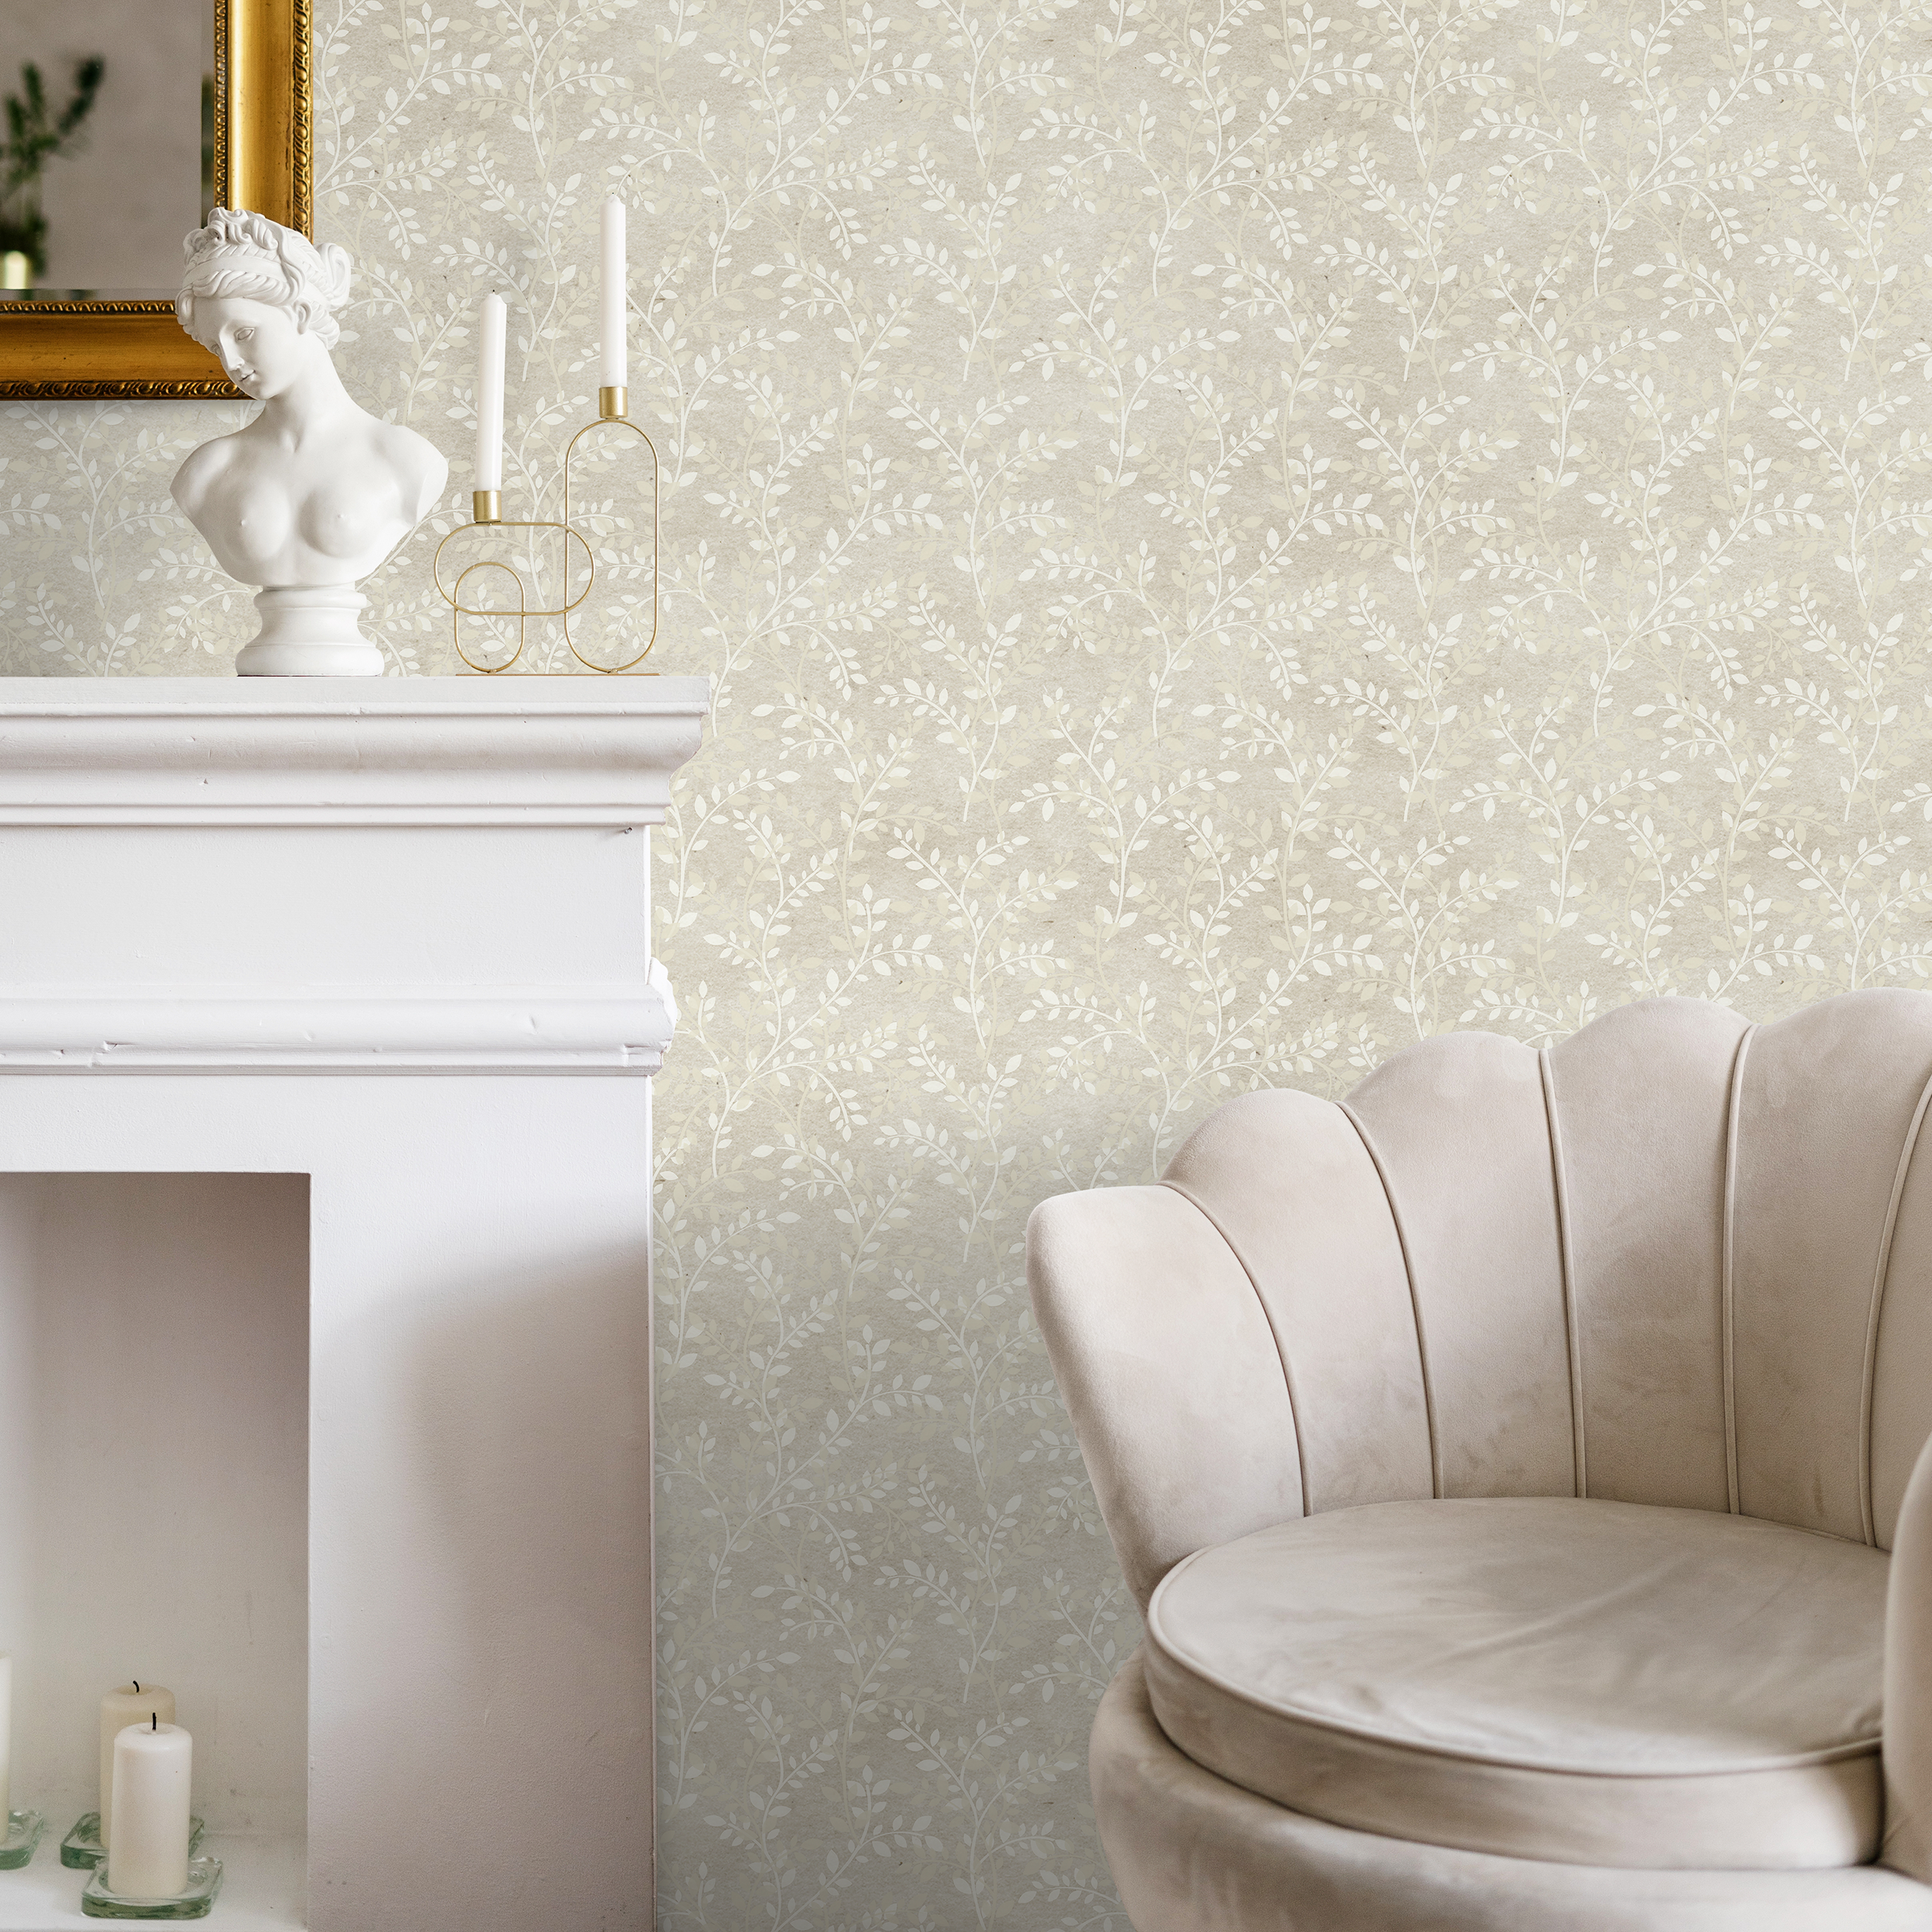
Remember, the secret to success is in the wall preparation and choosing the right wallpaper. Opt for textured or patterned wallpapers that not only mask the imperfections of your rough walls but also add depth and tactile appeal to a room.
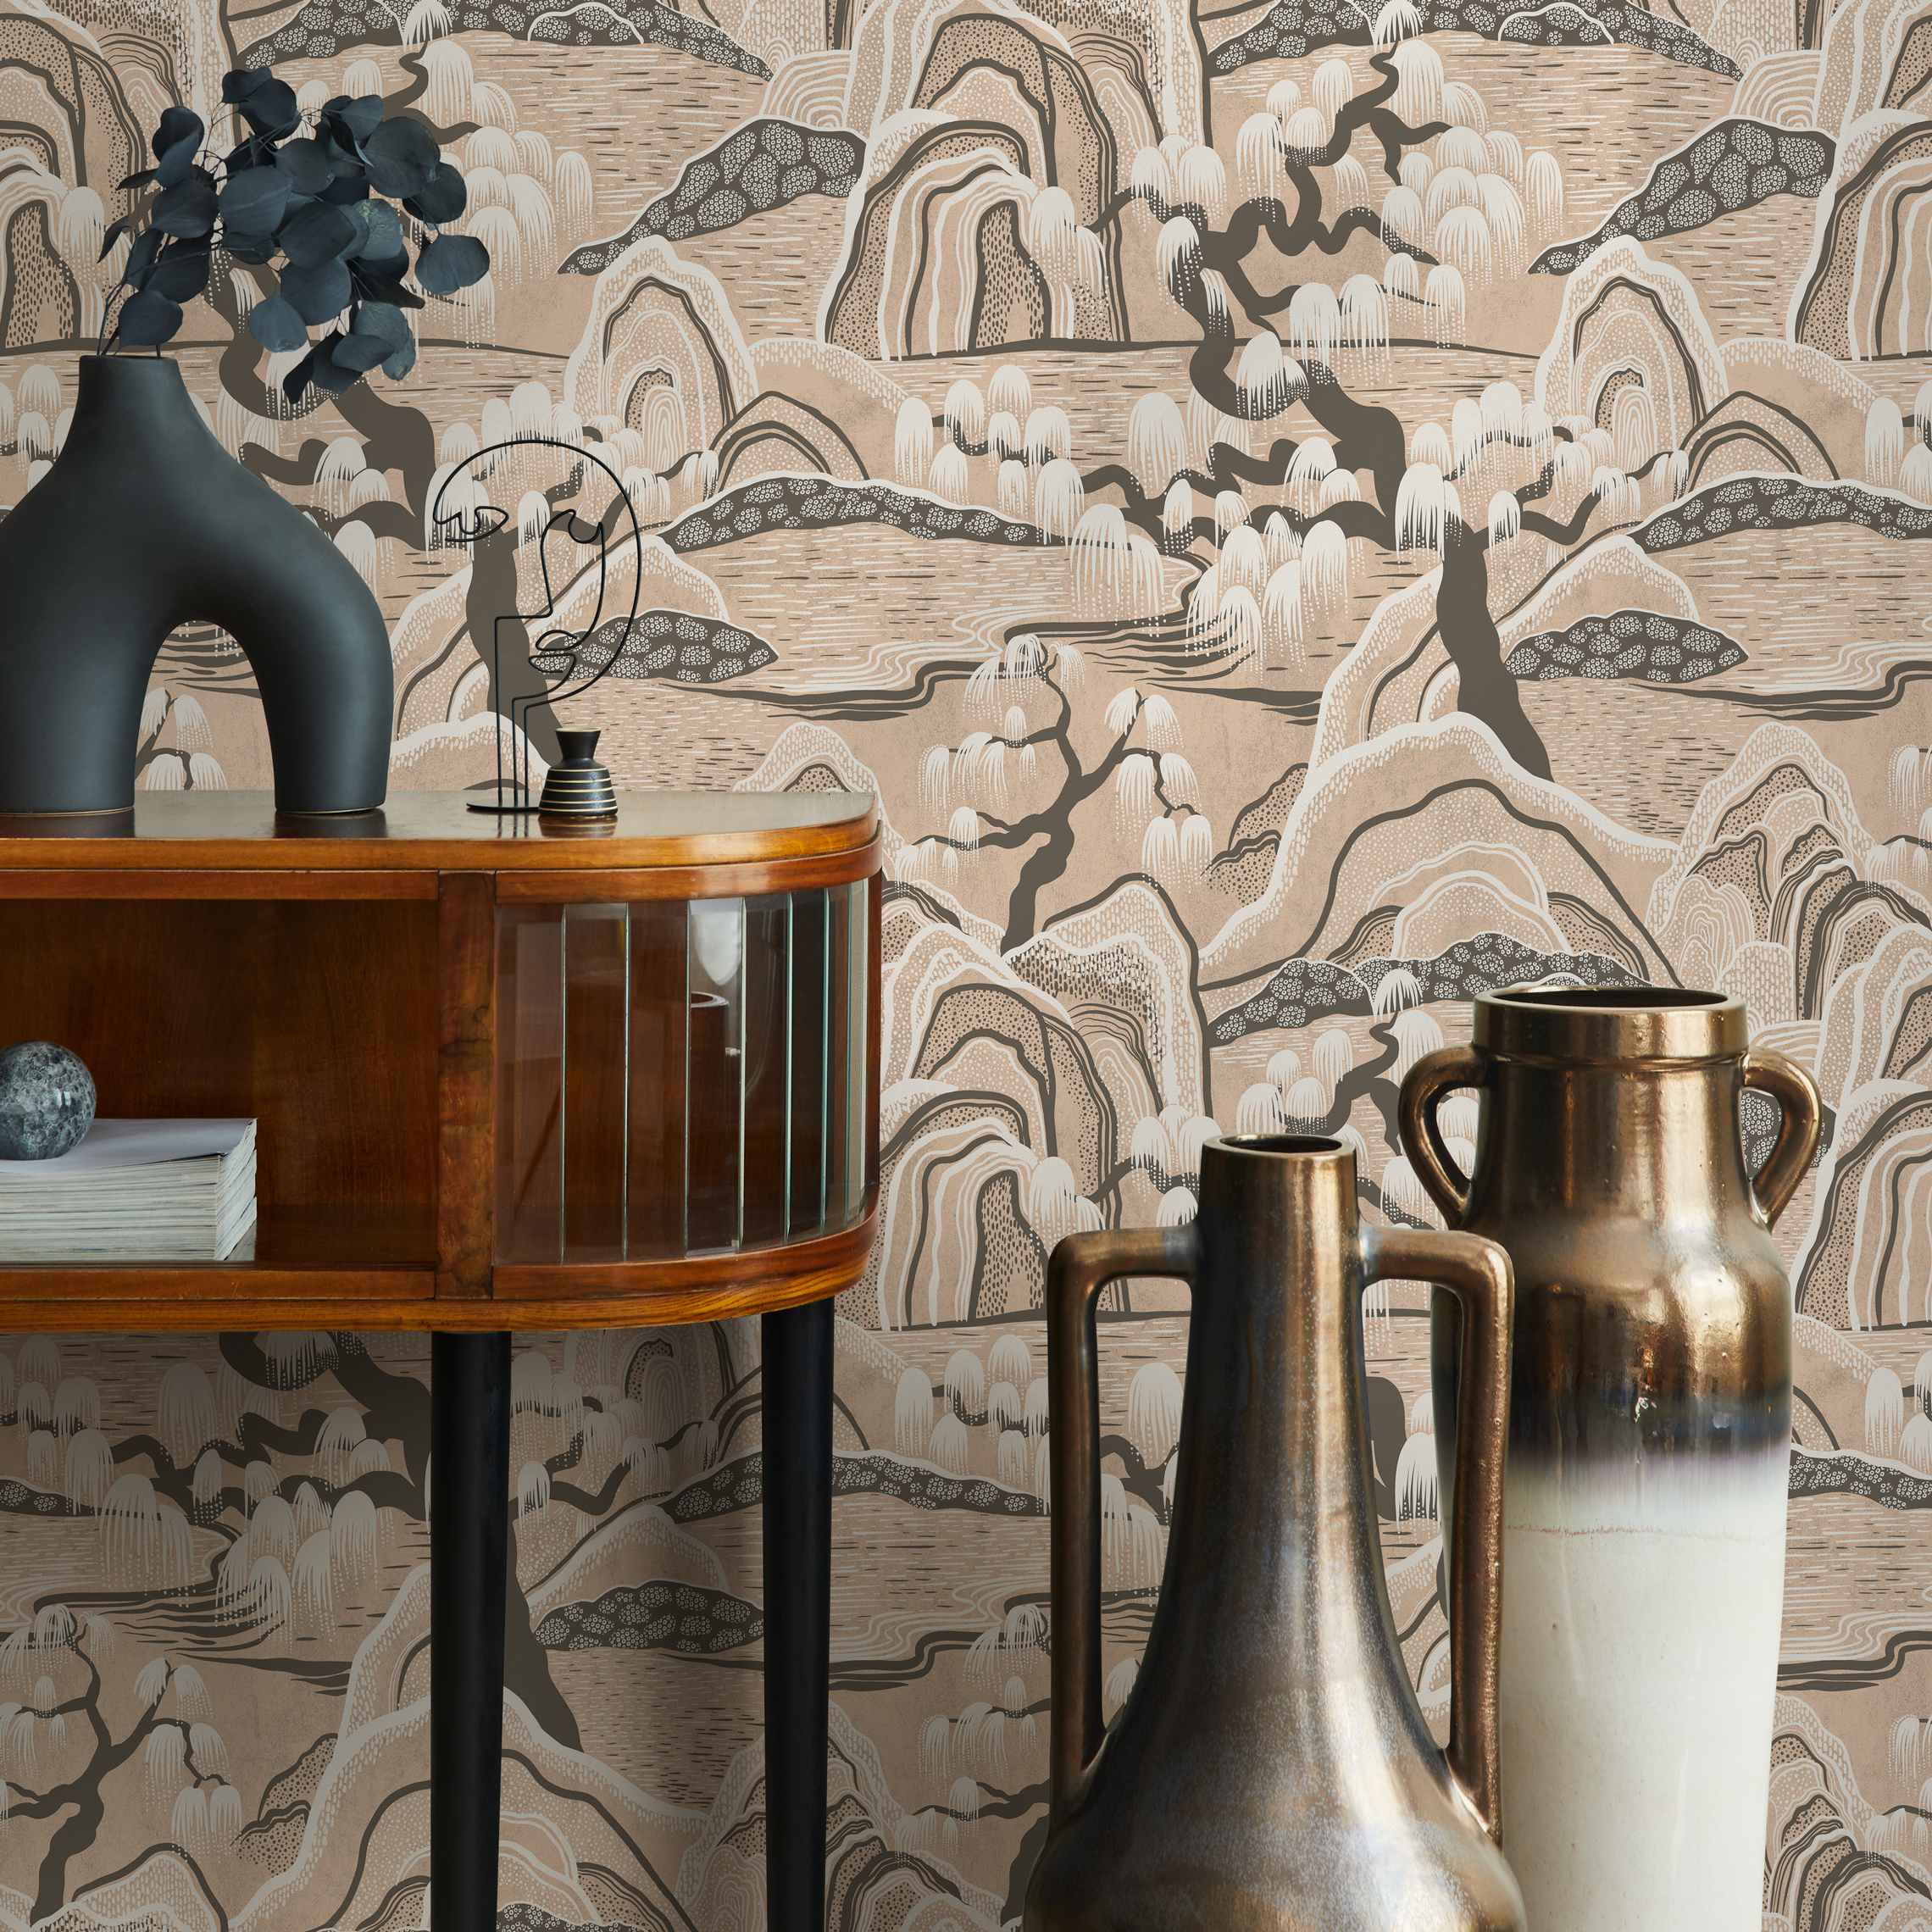
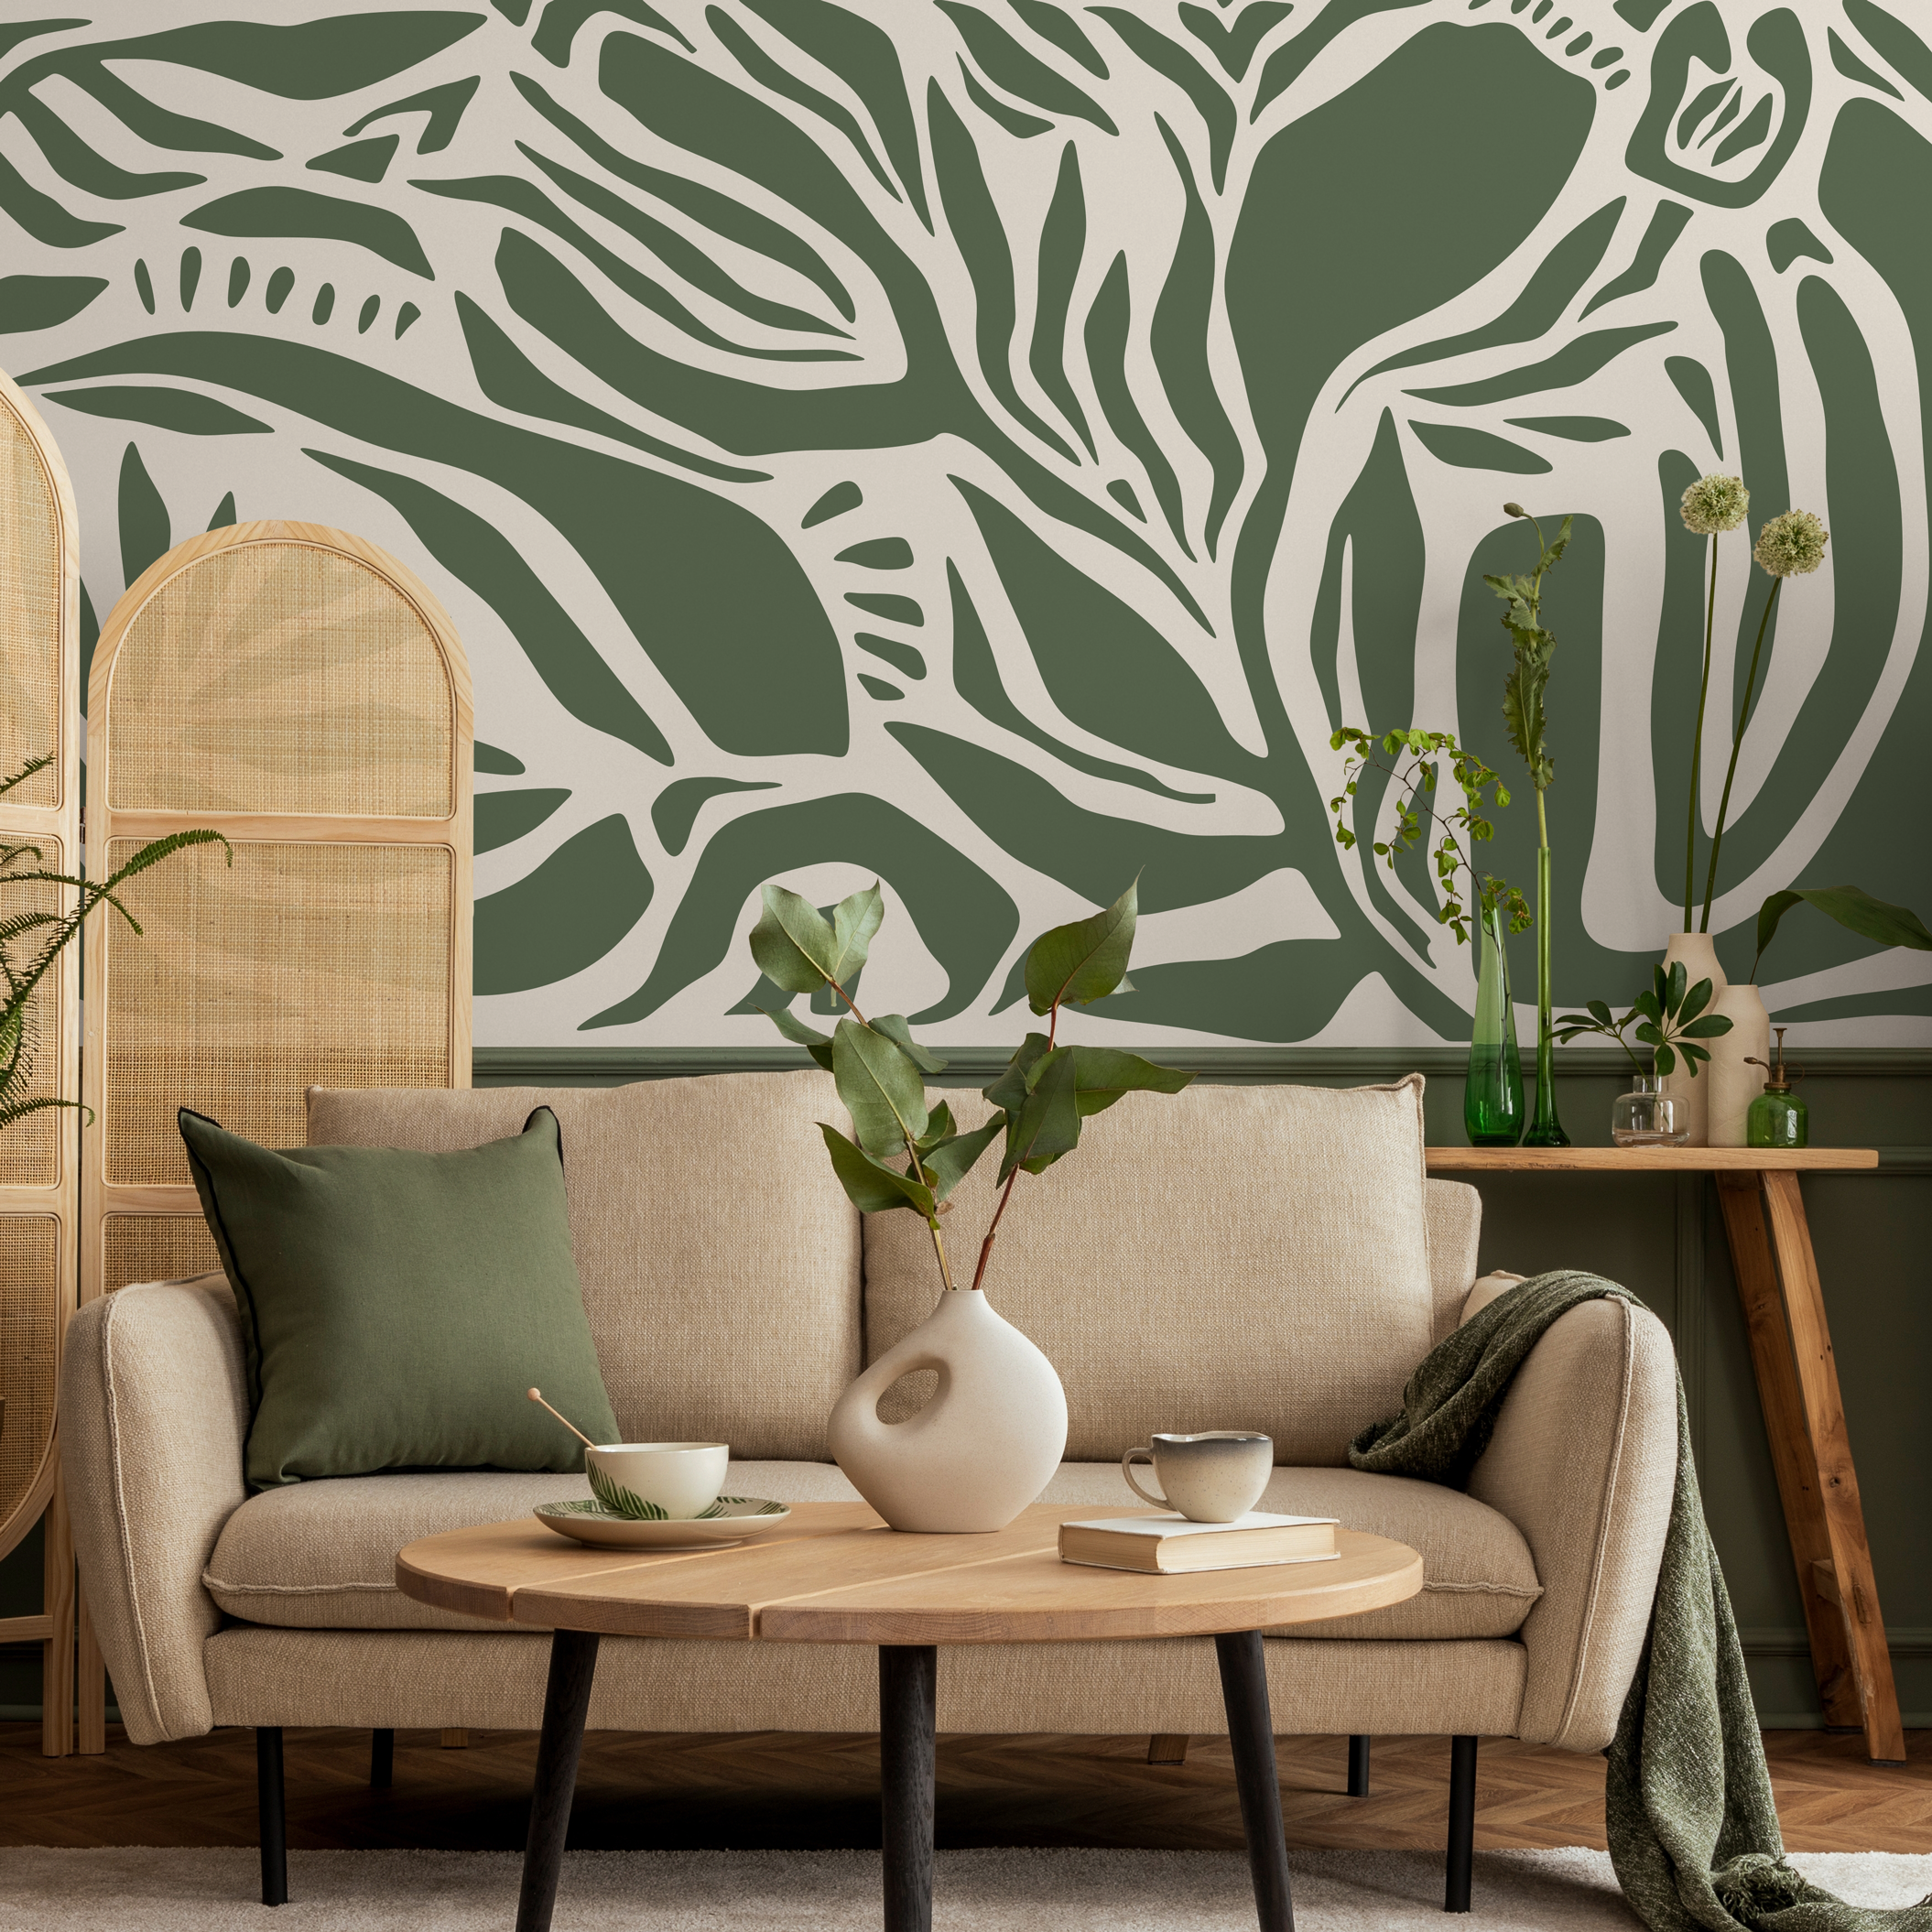
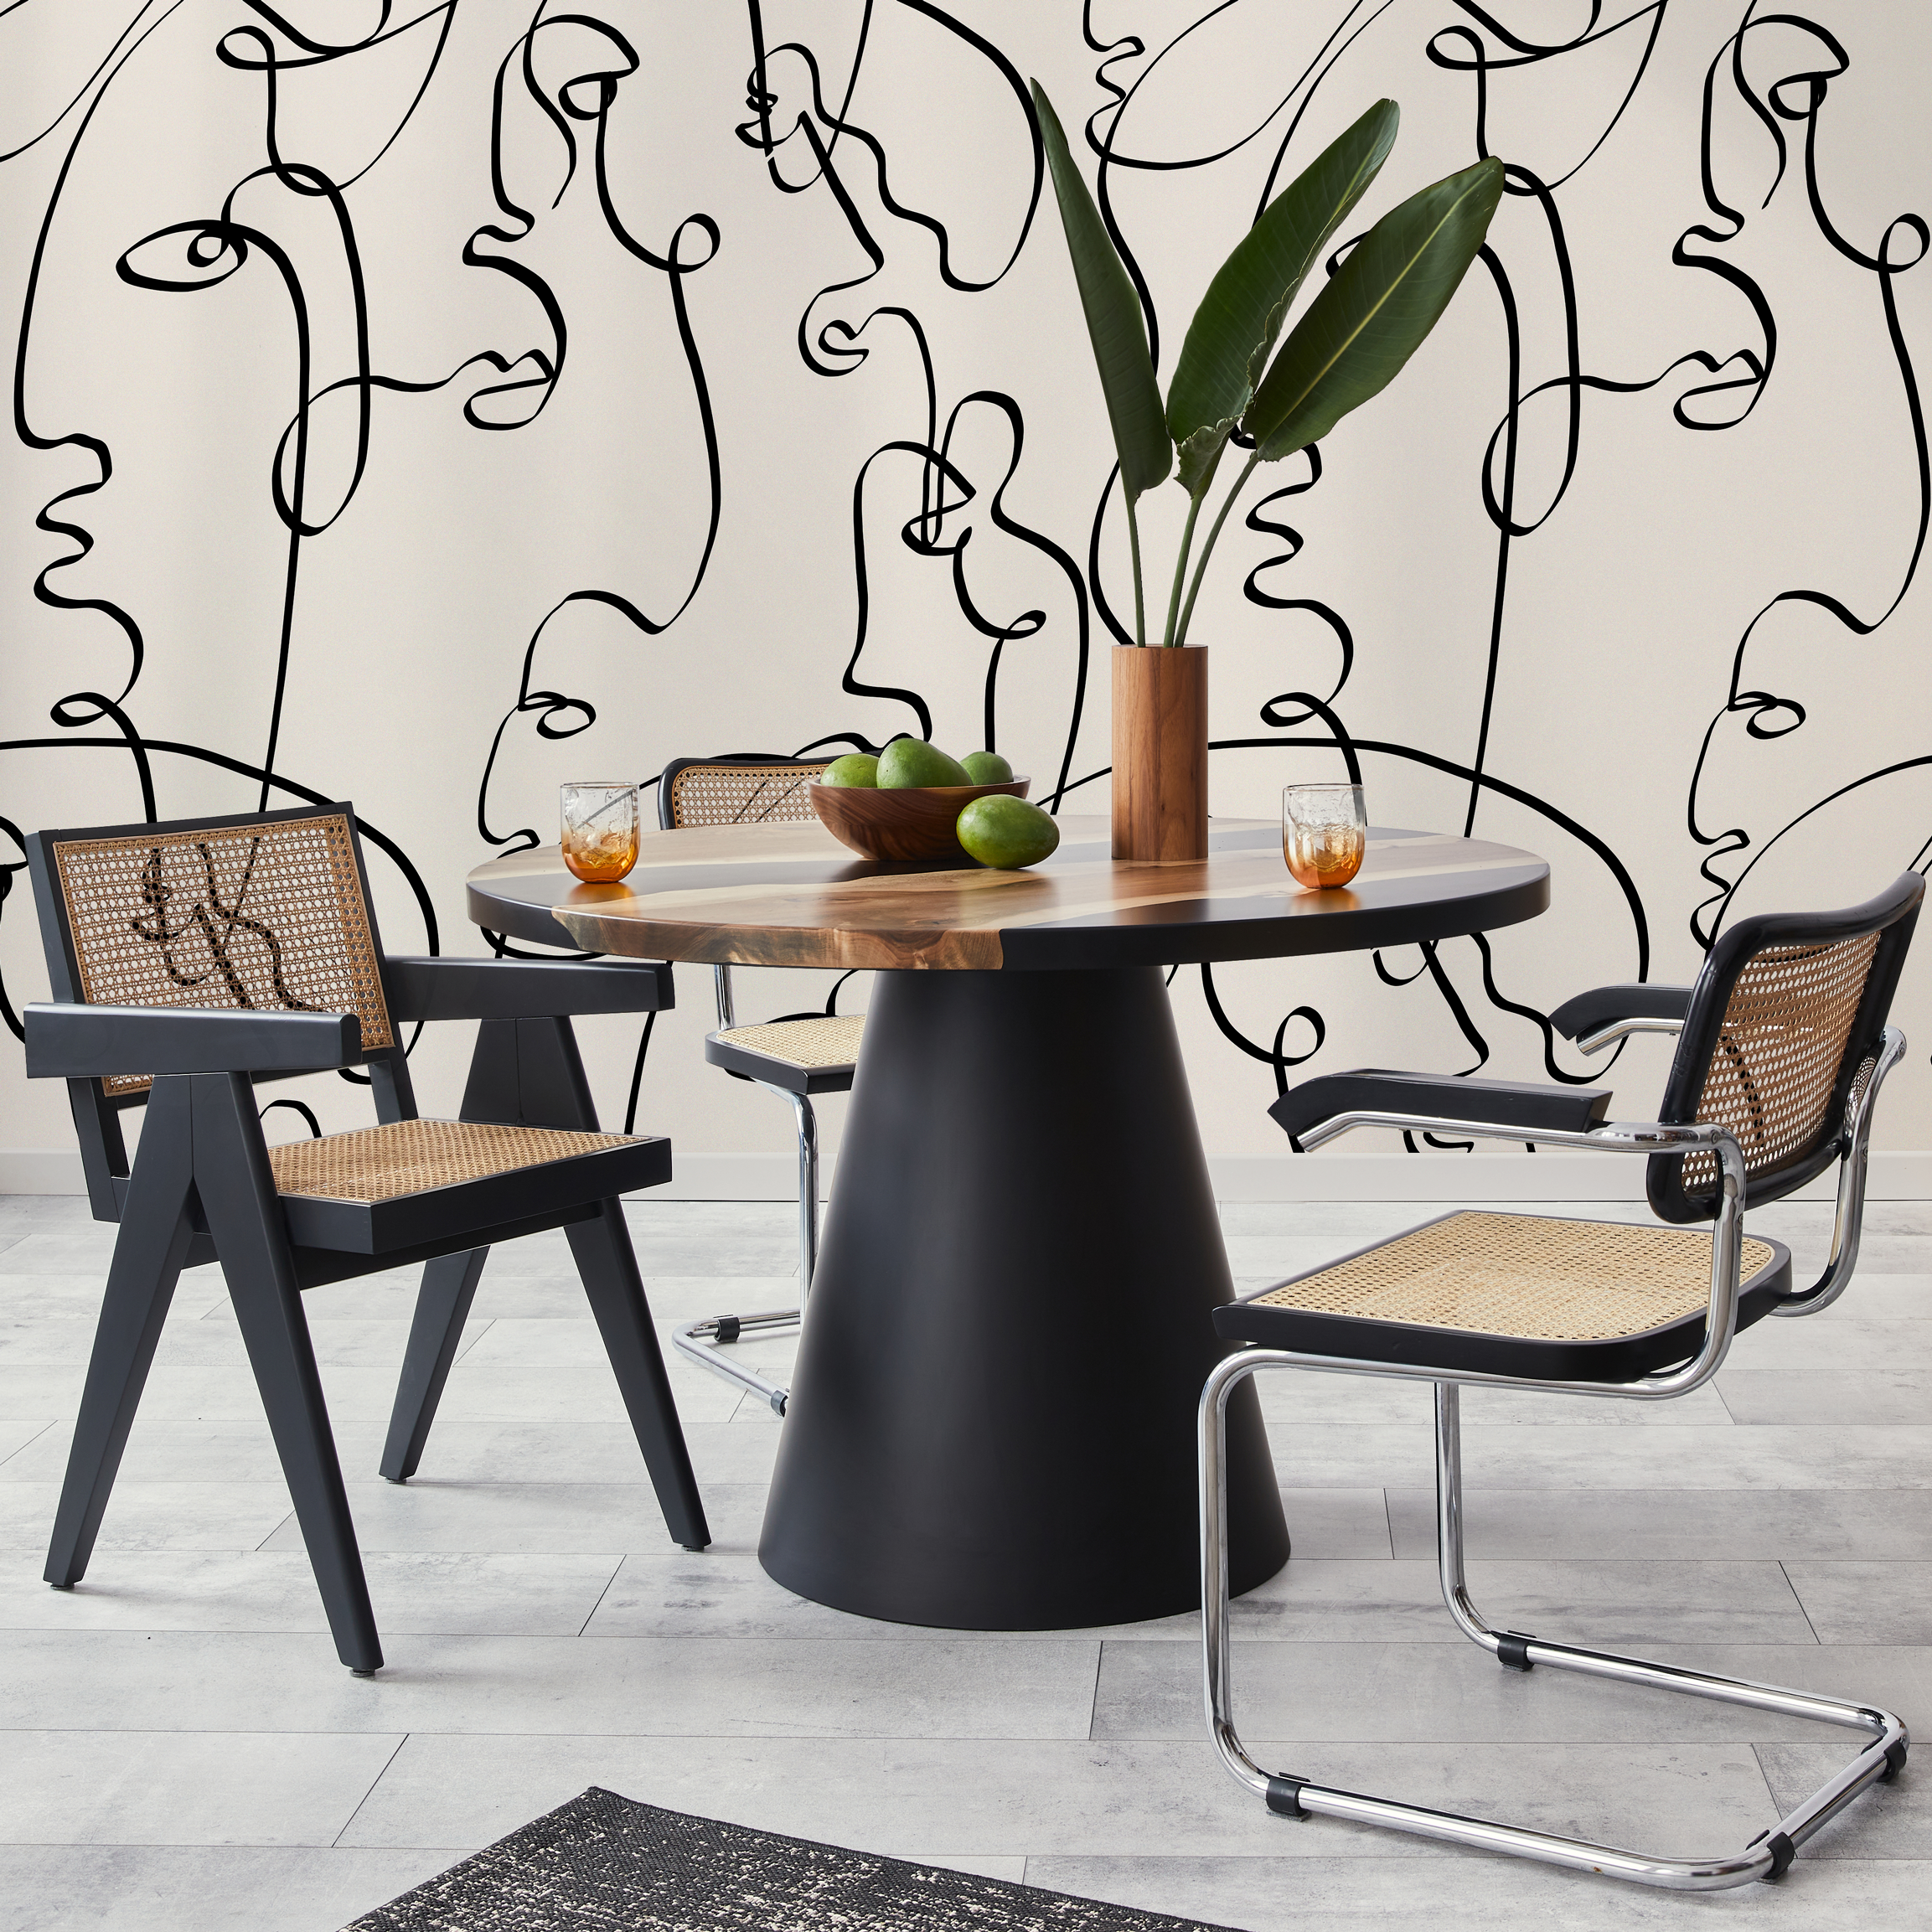
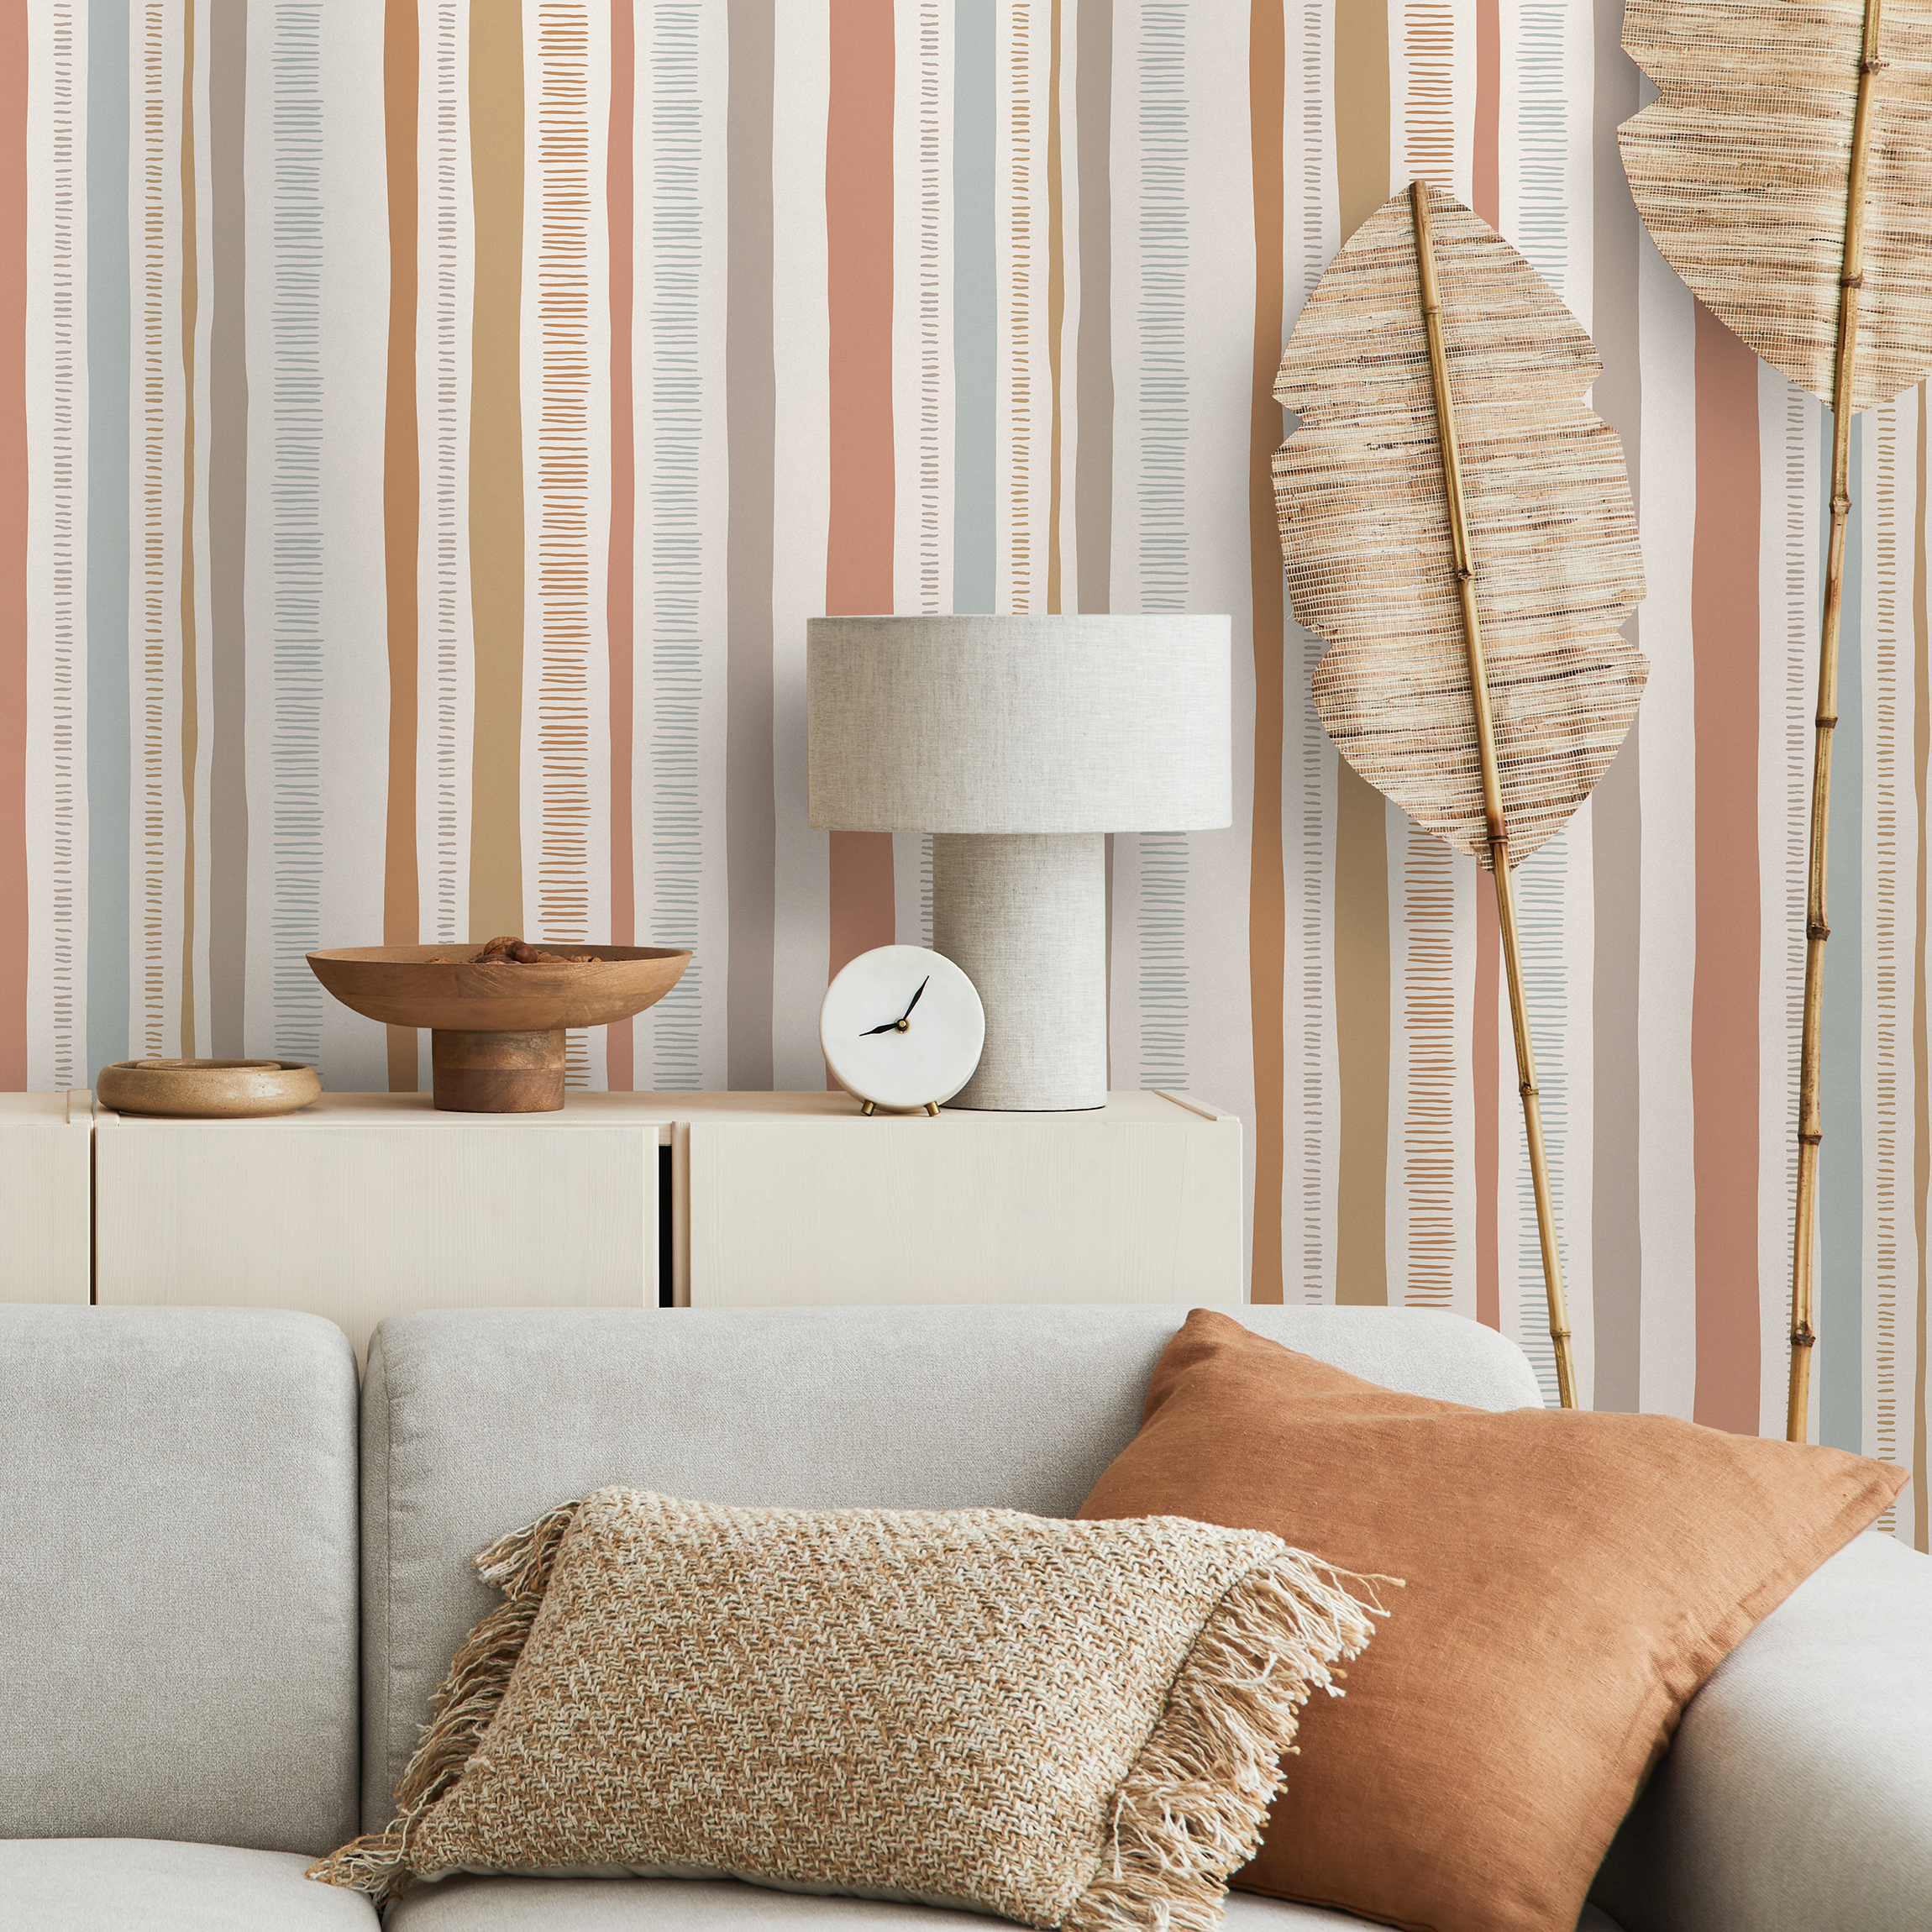
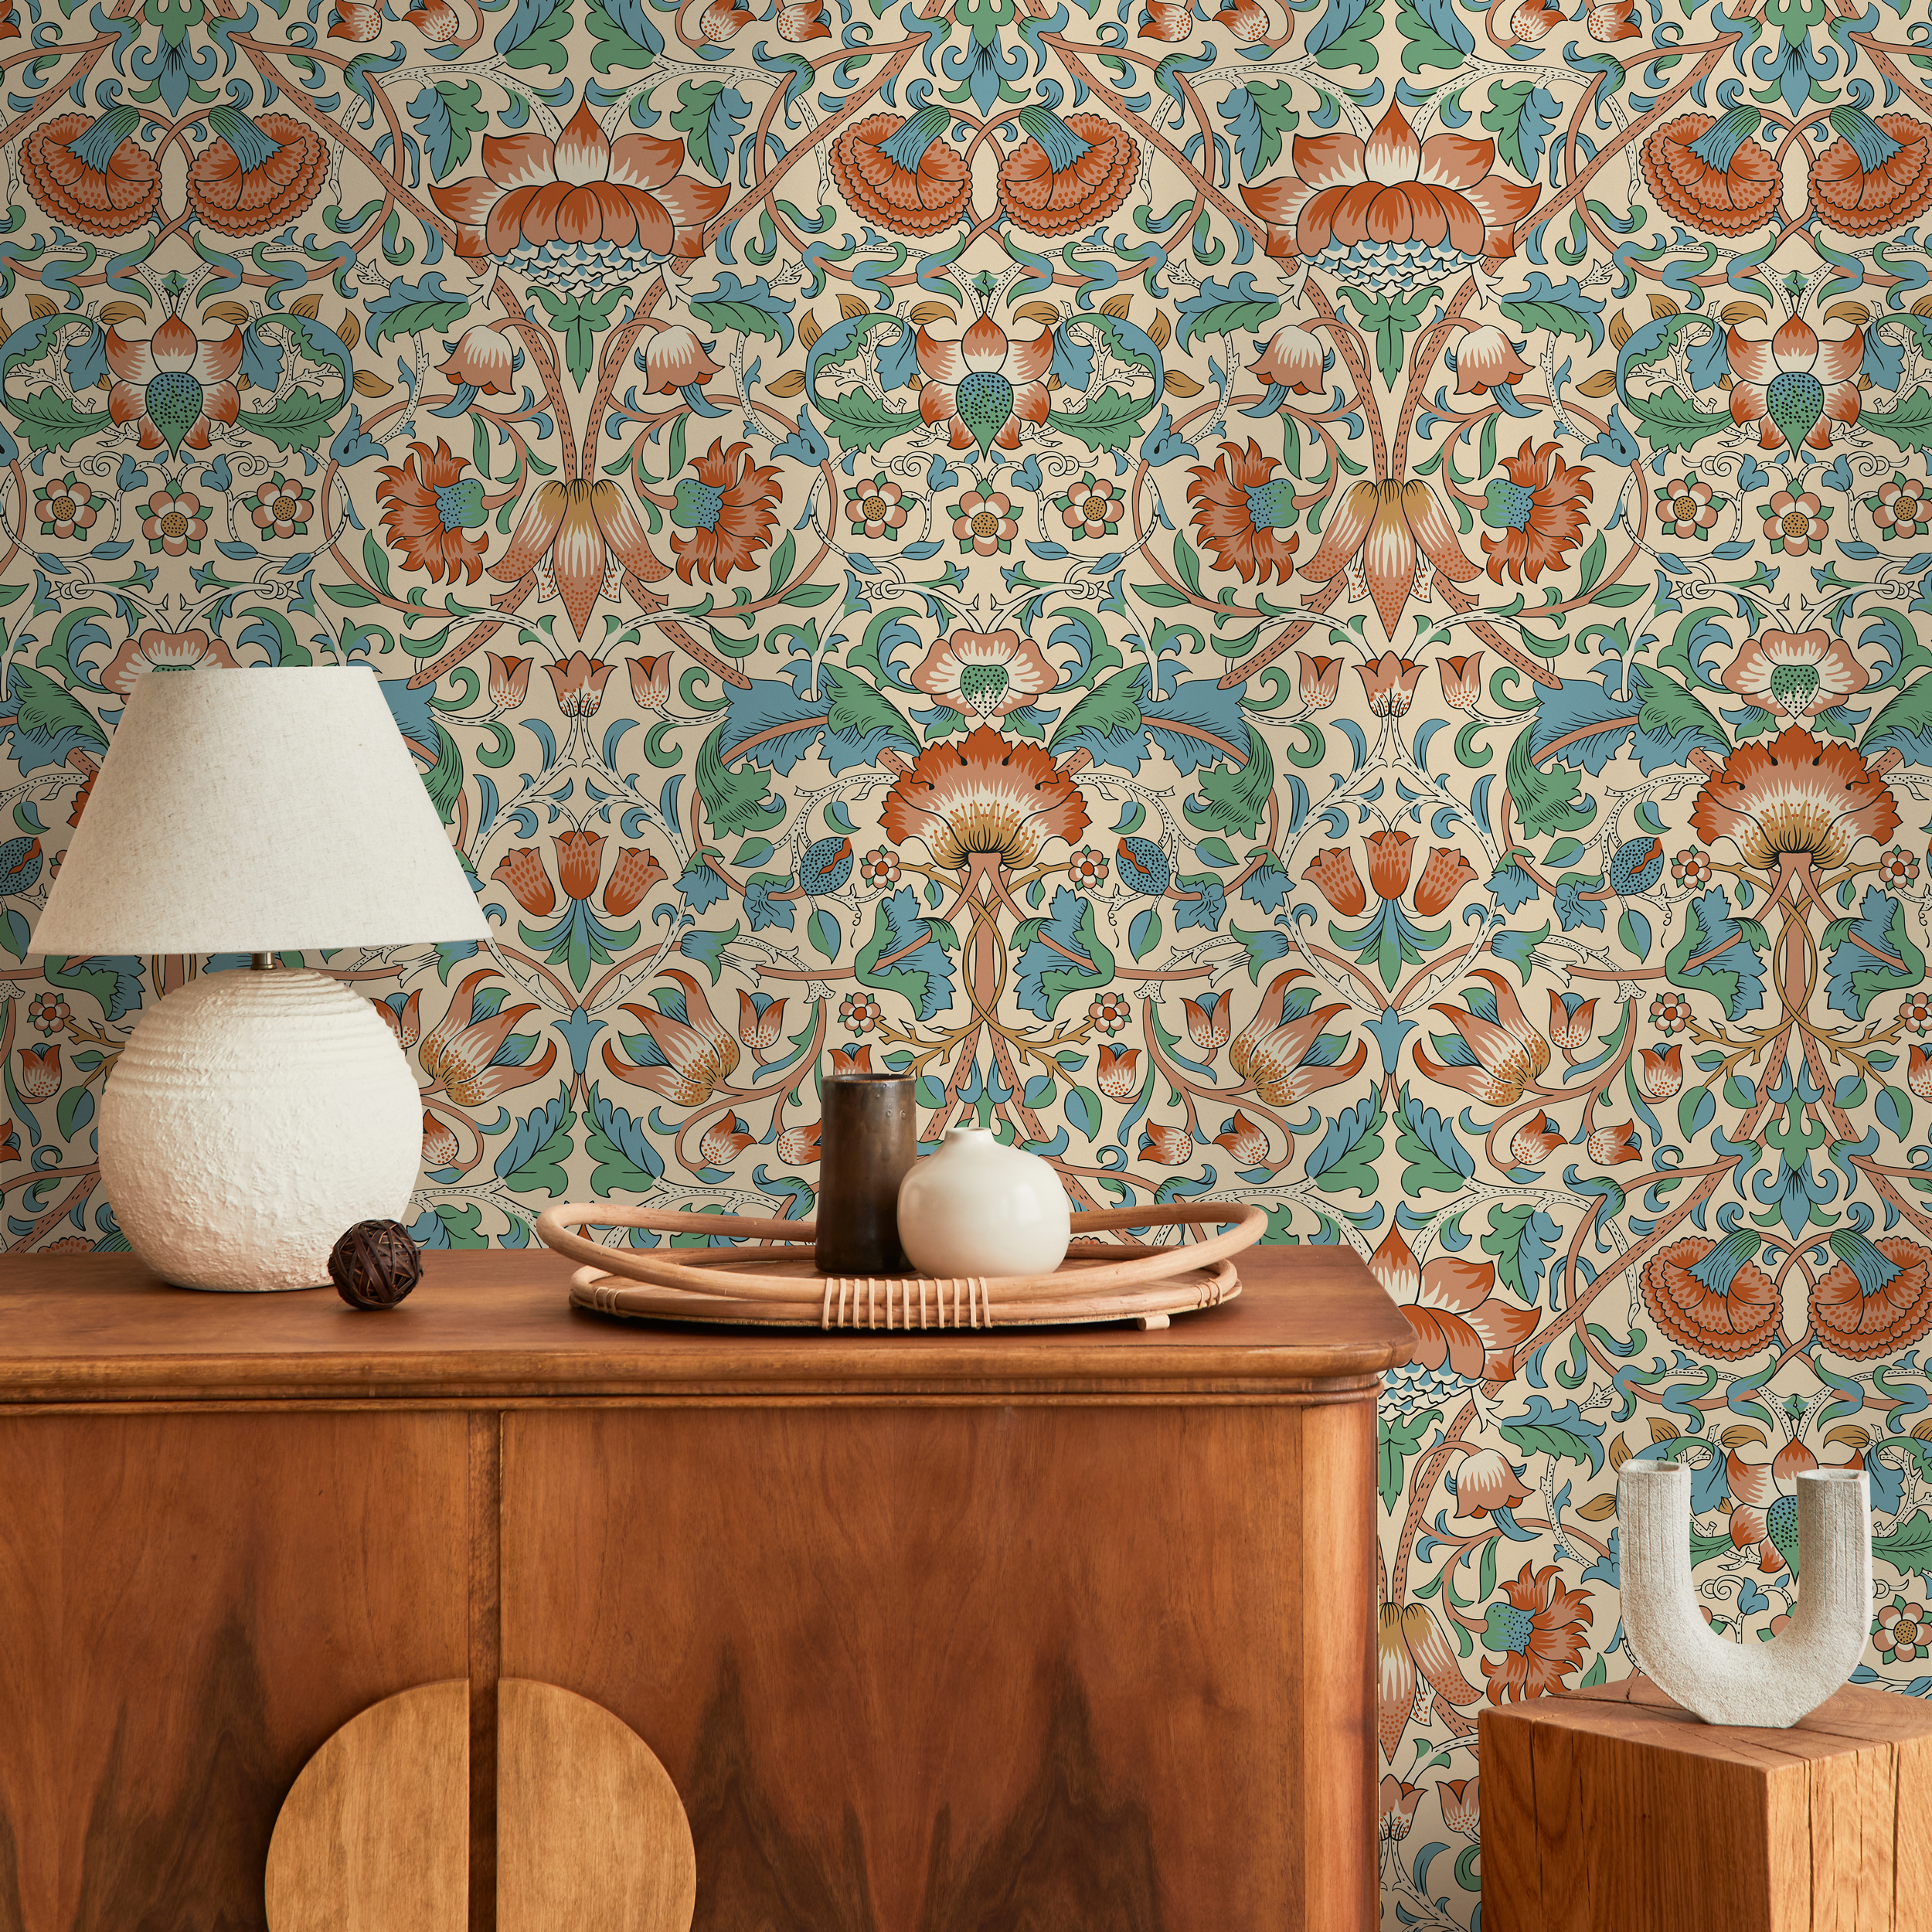
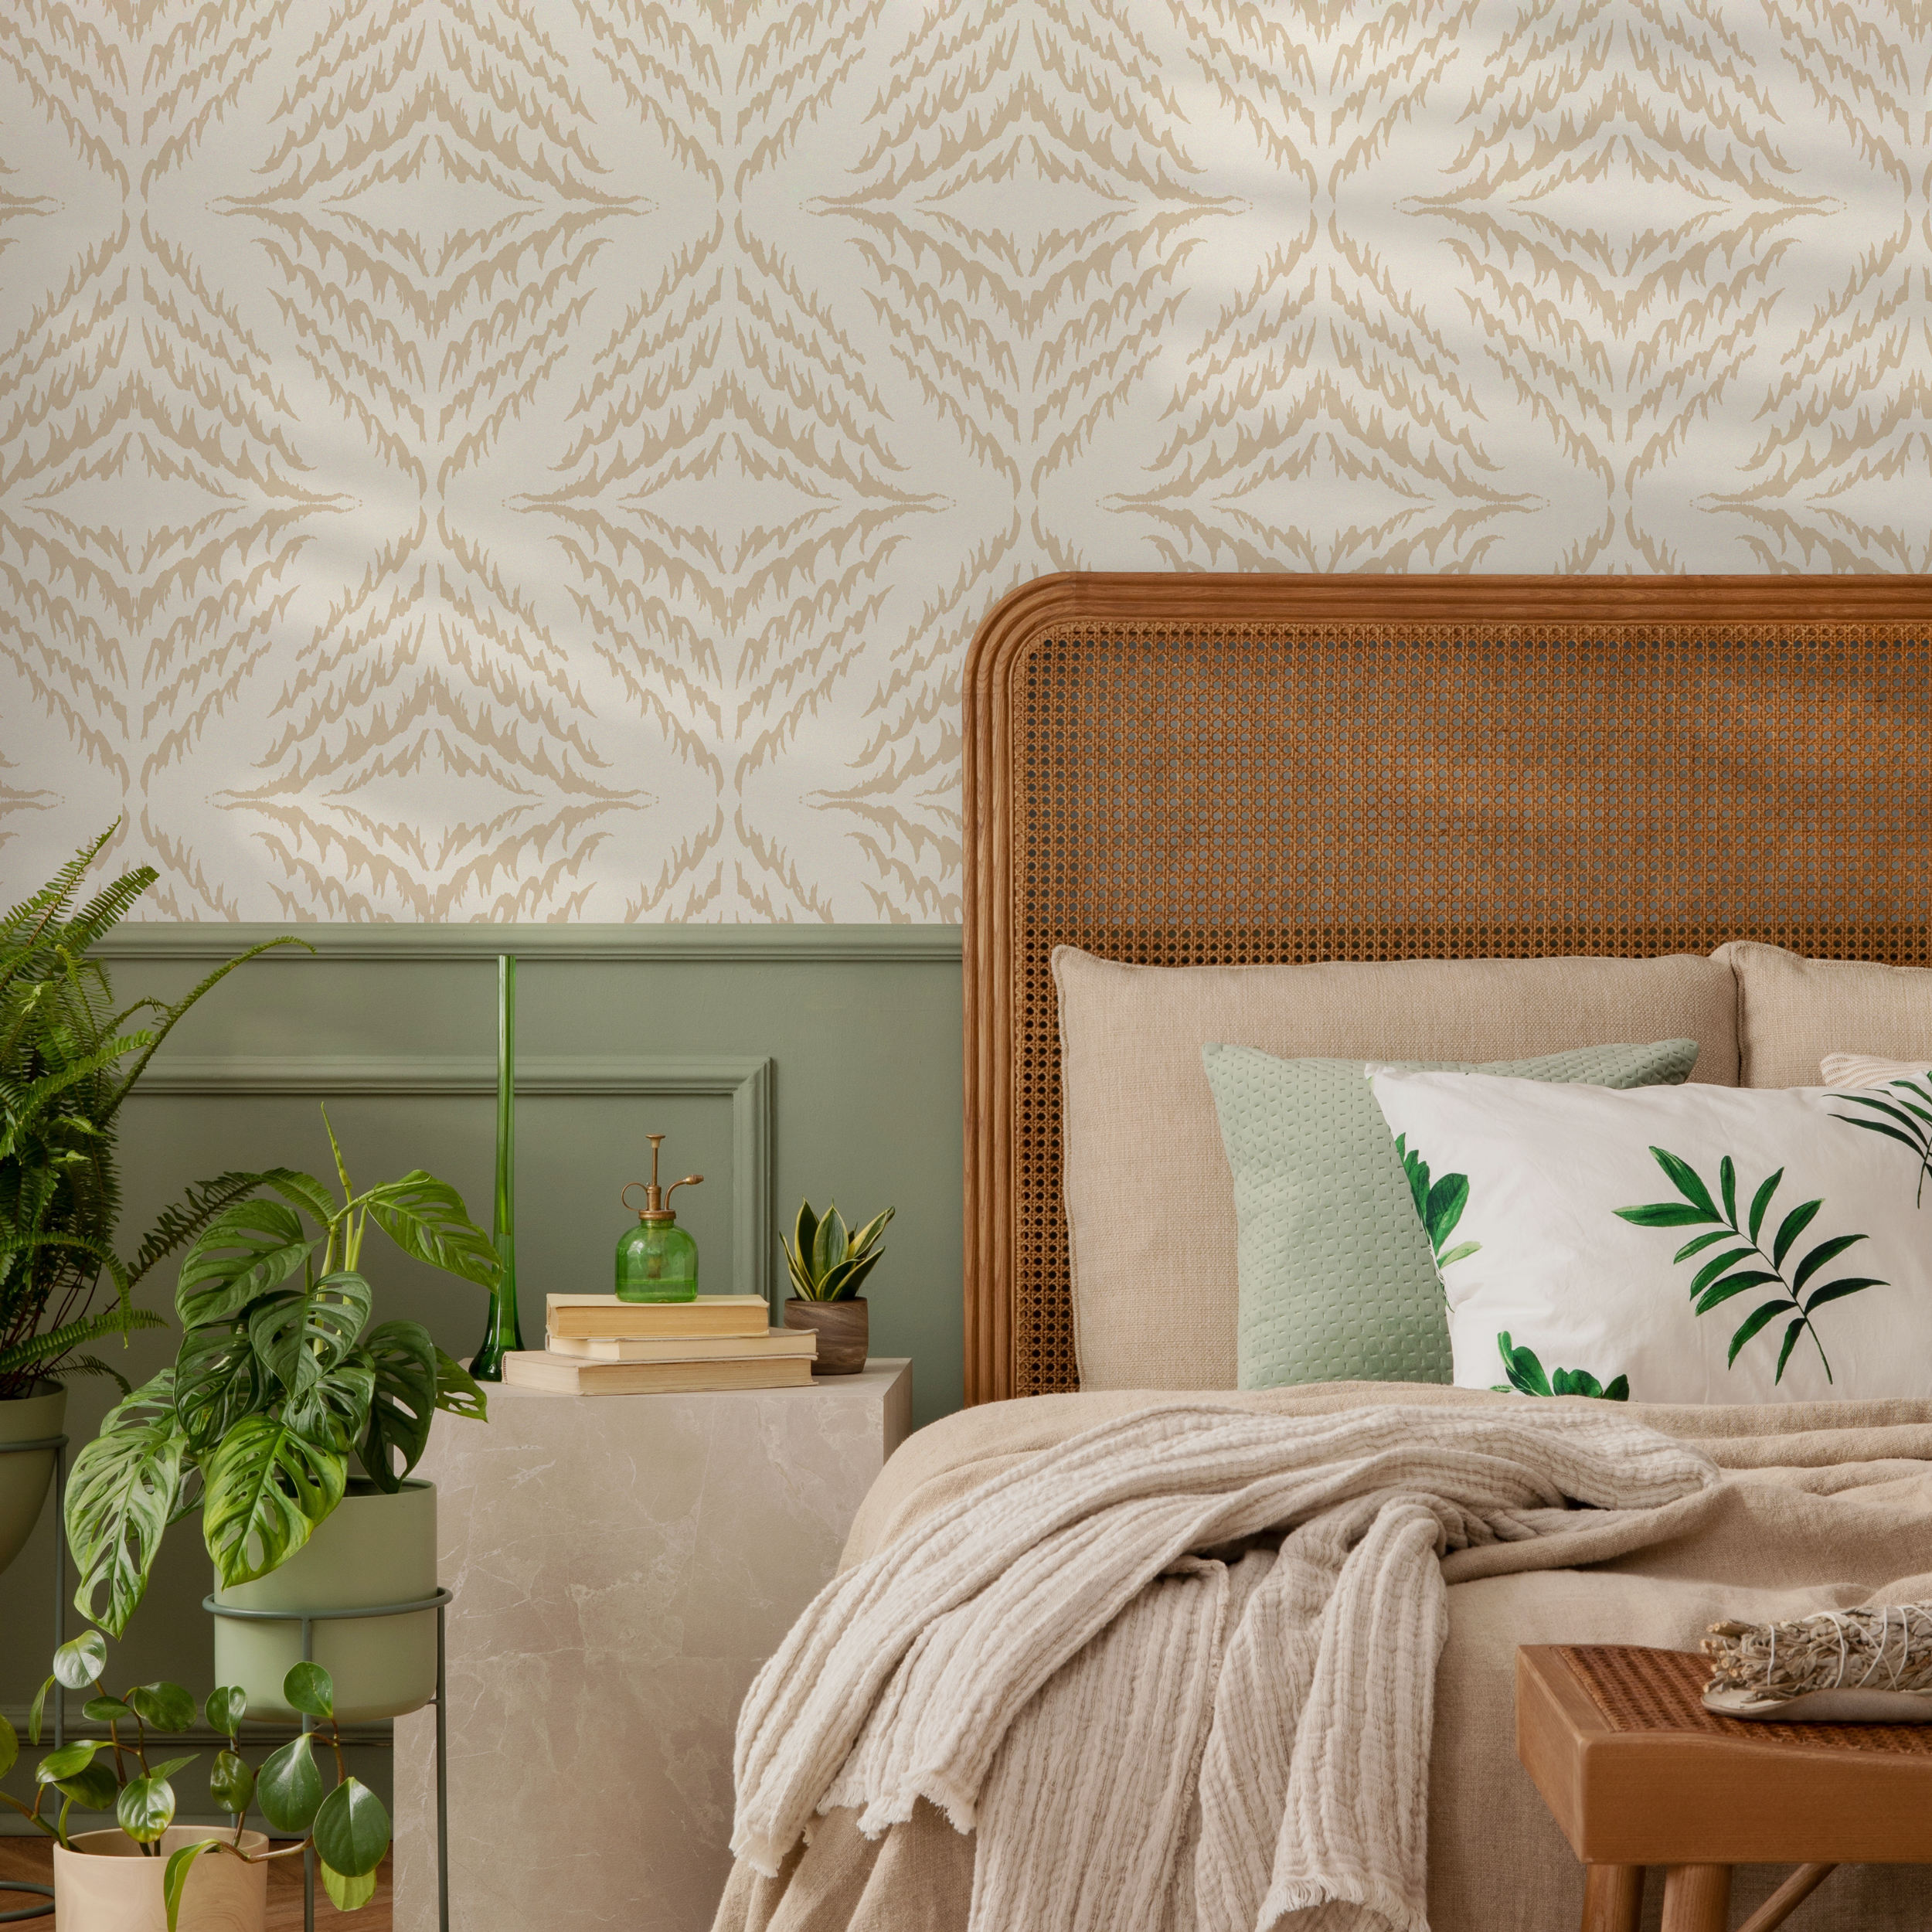
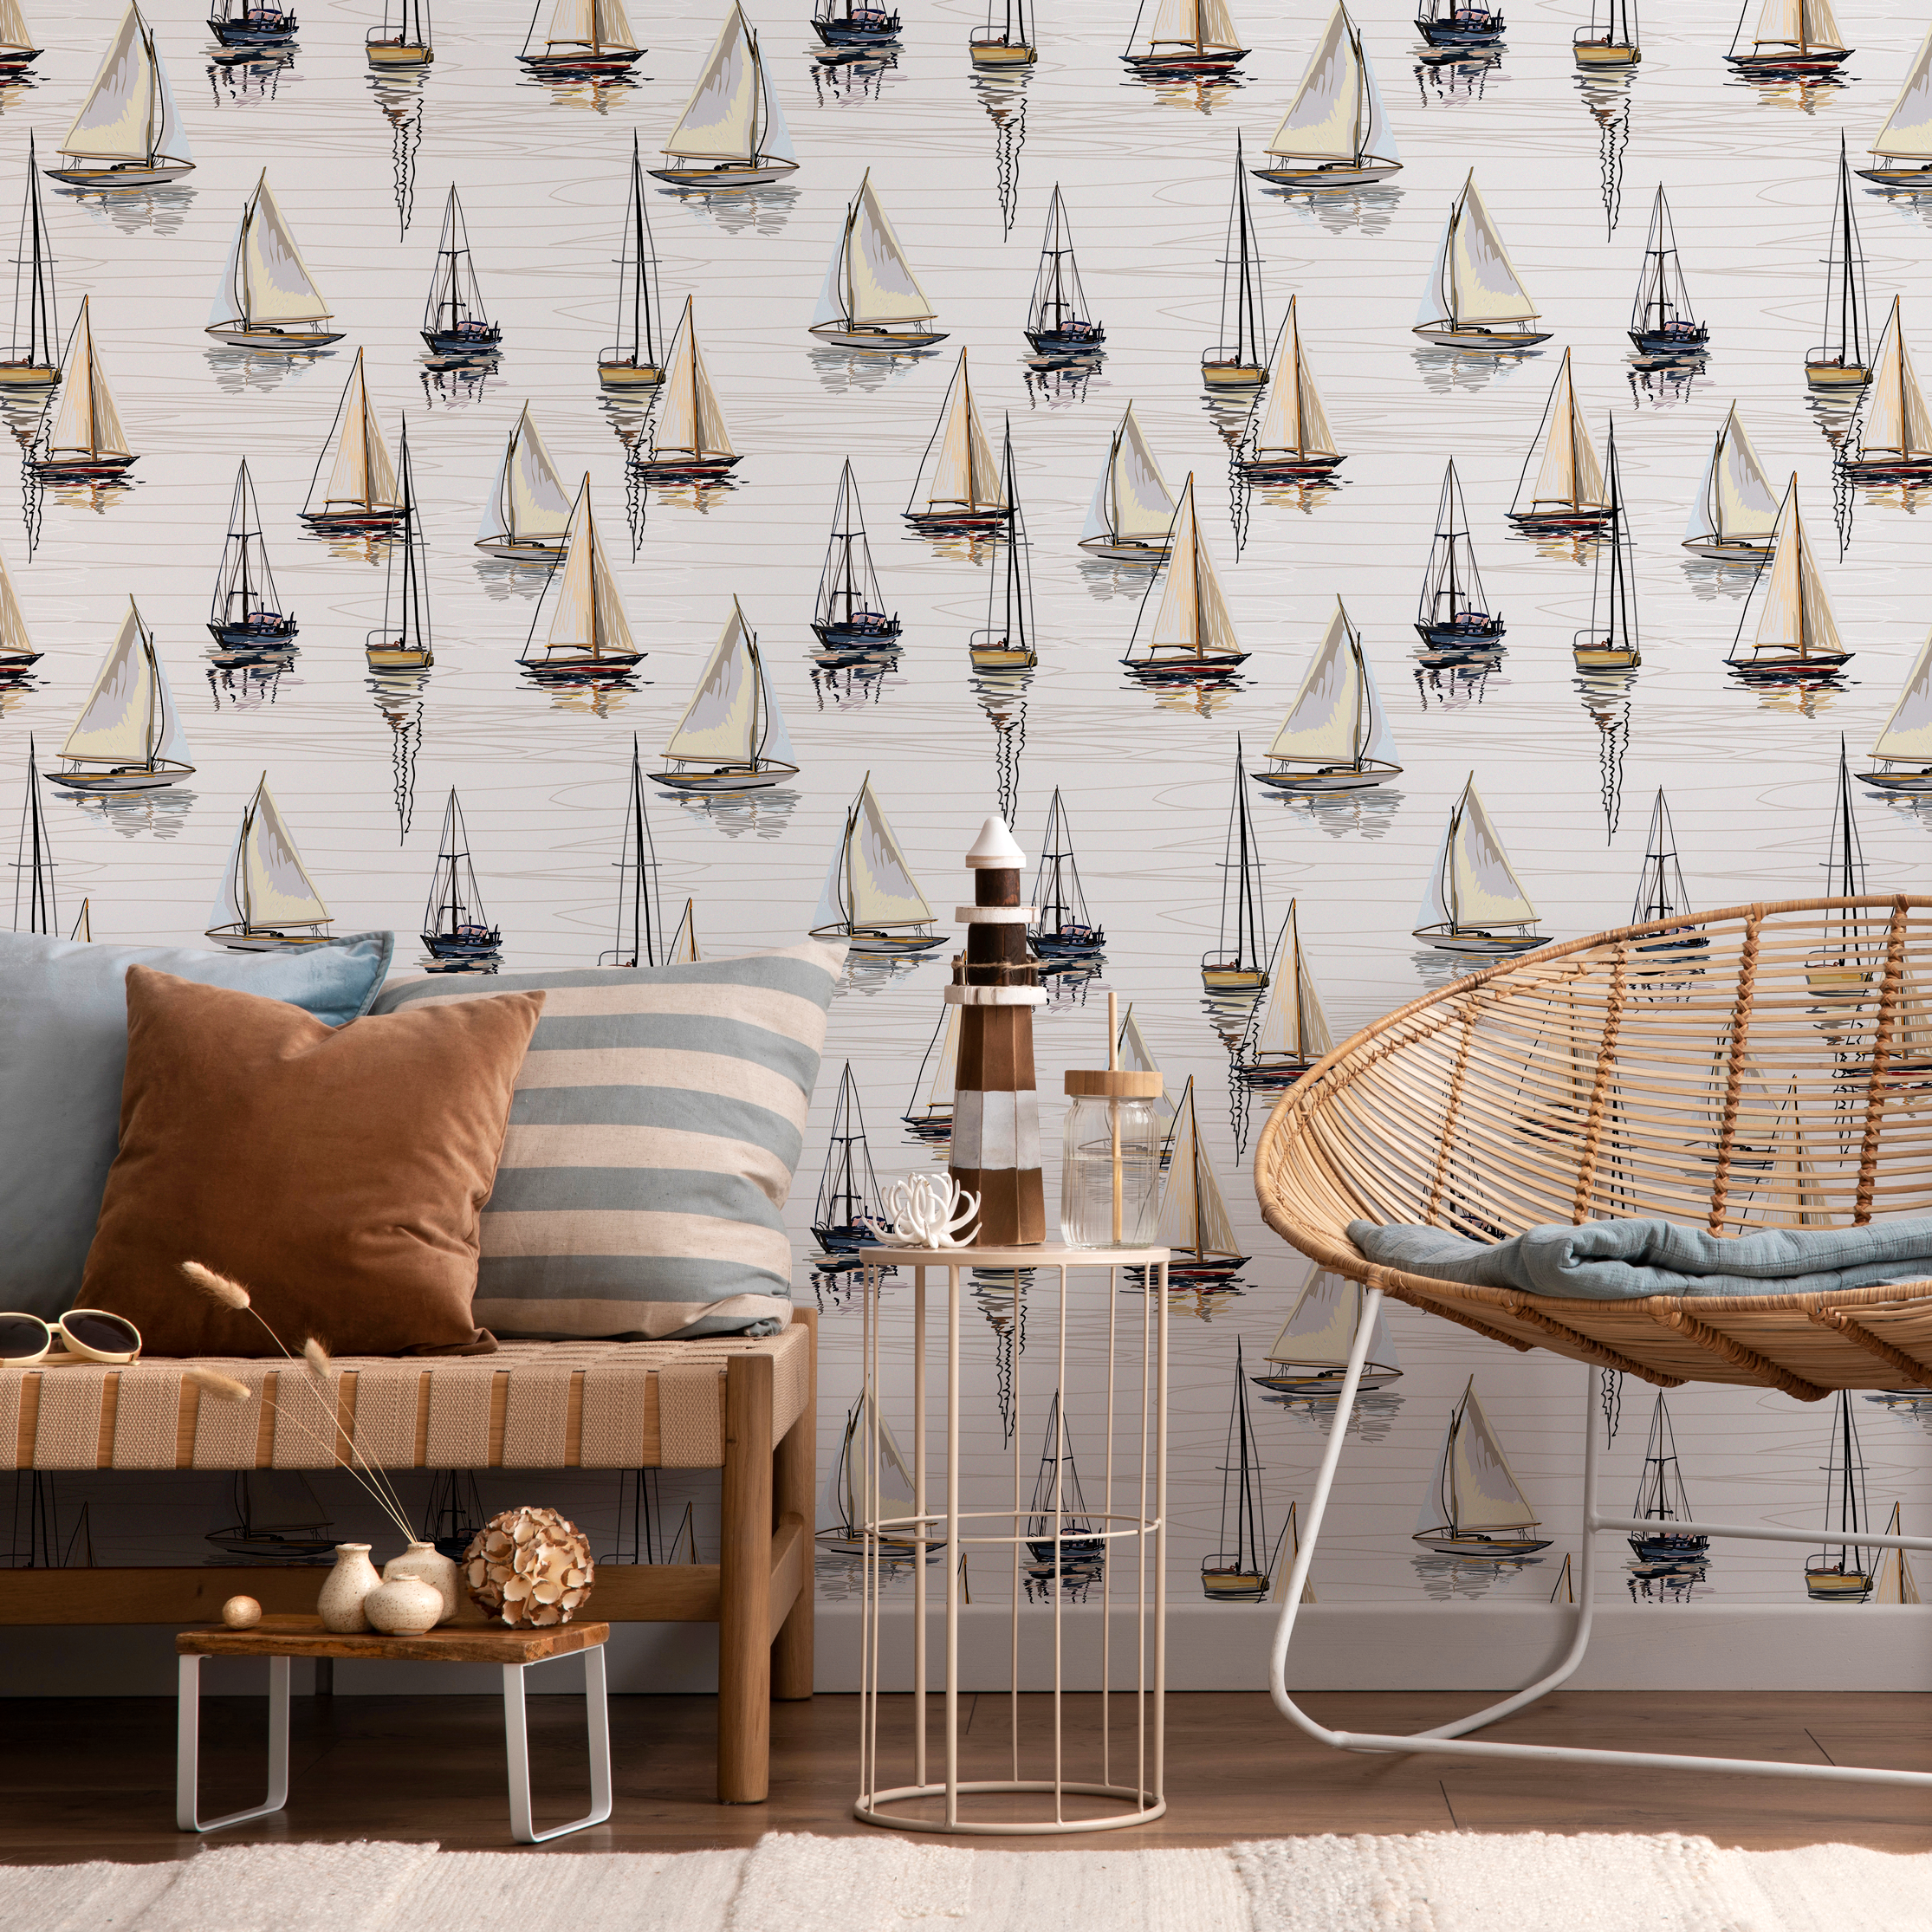
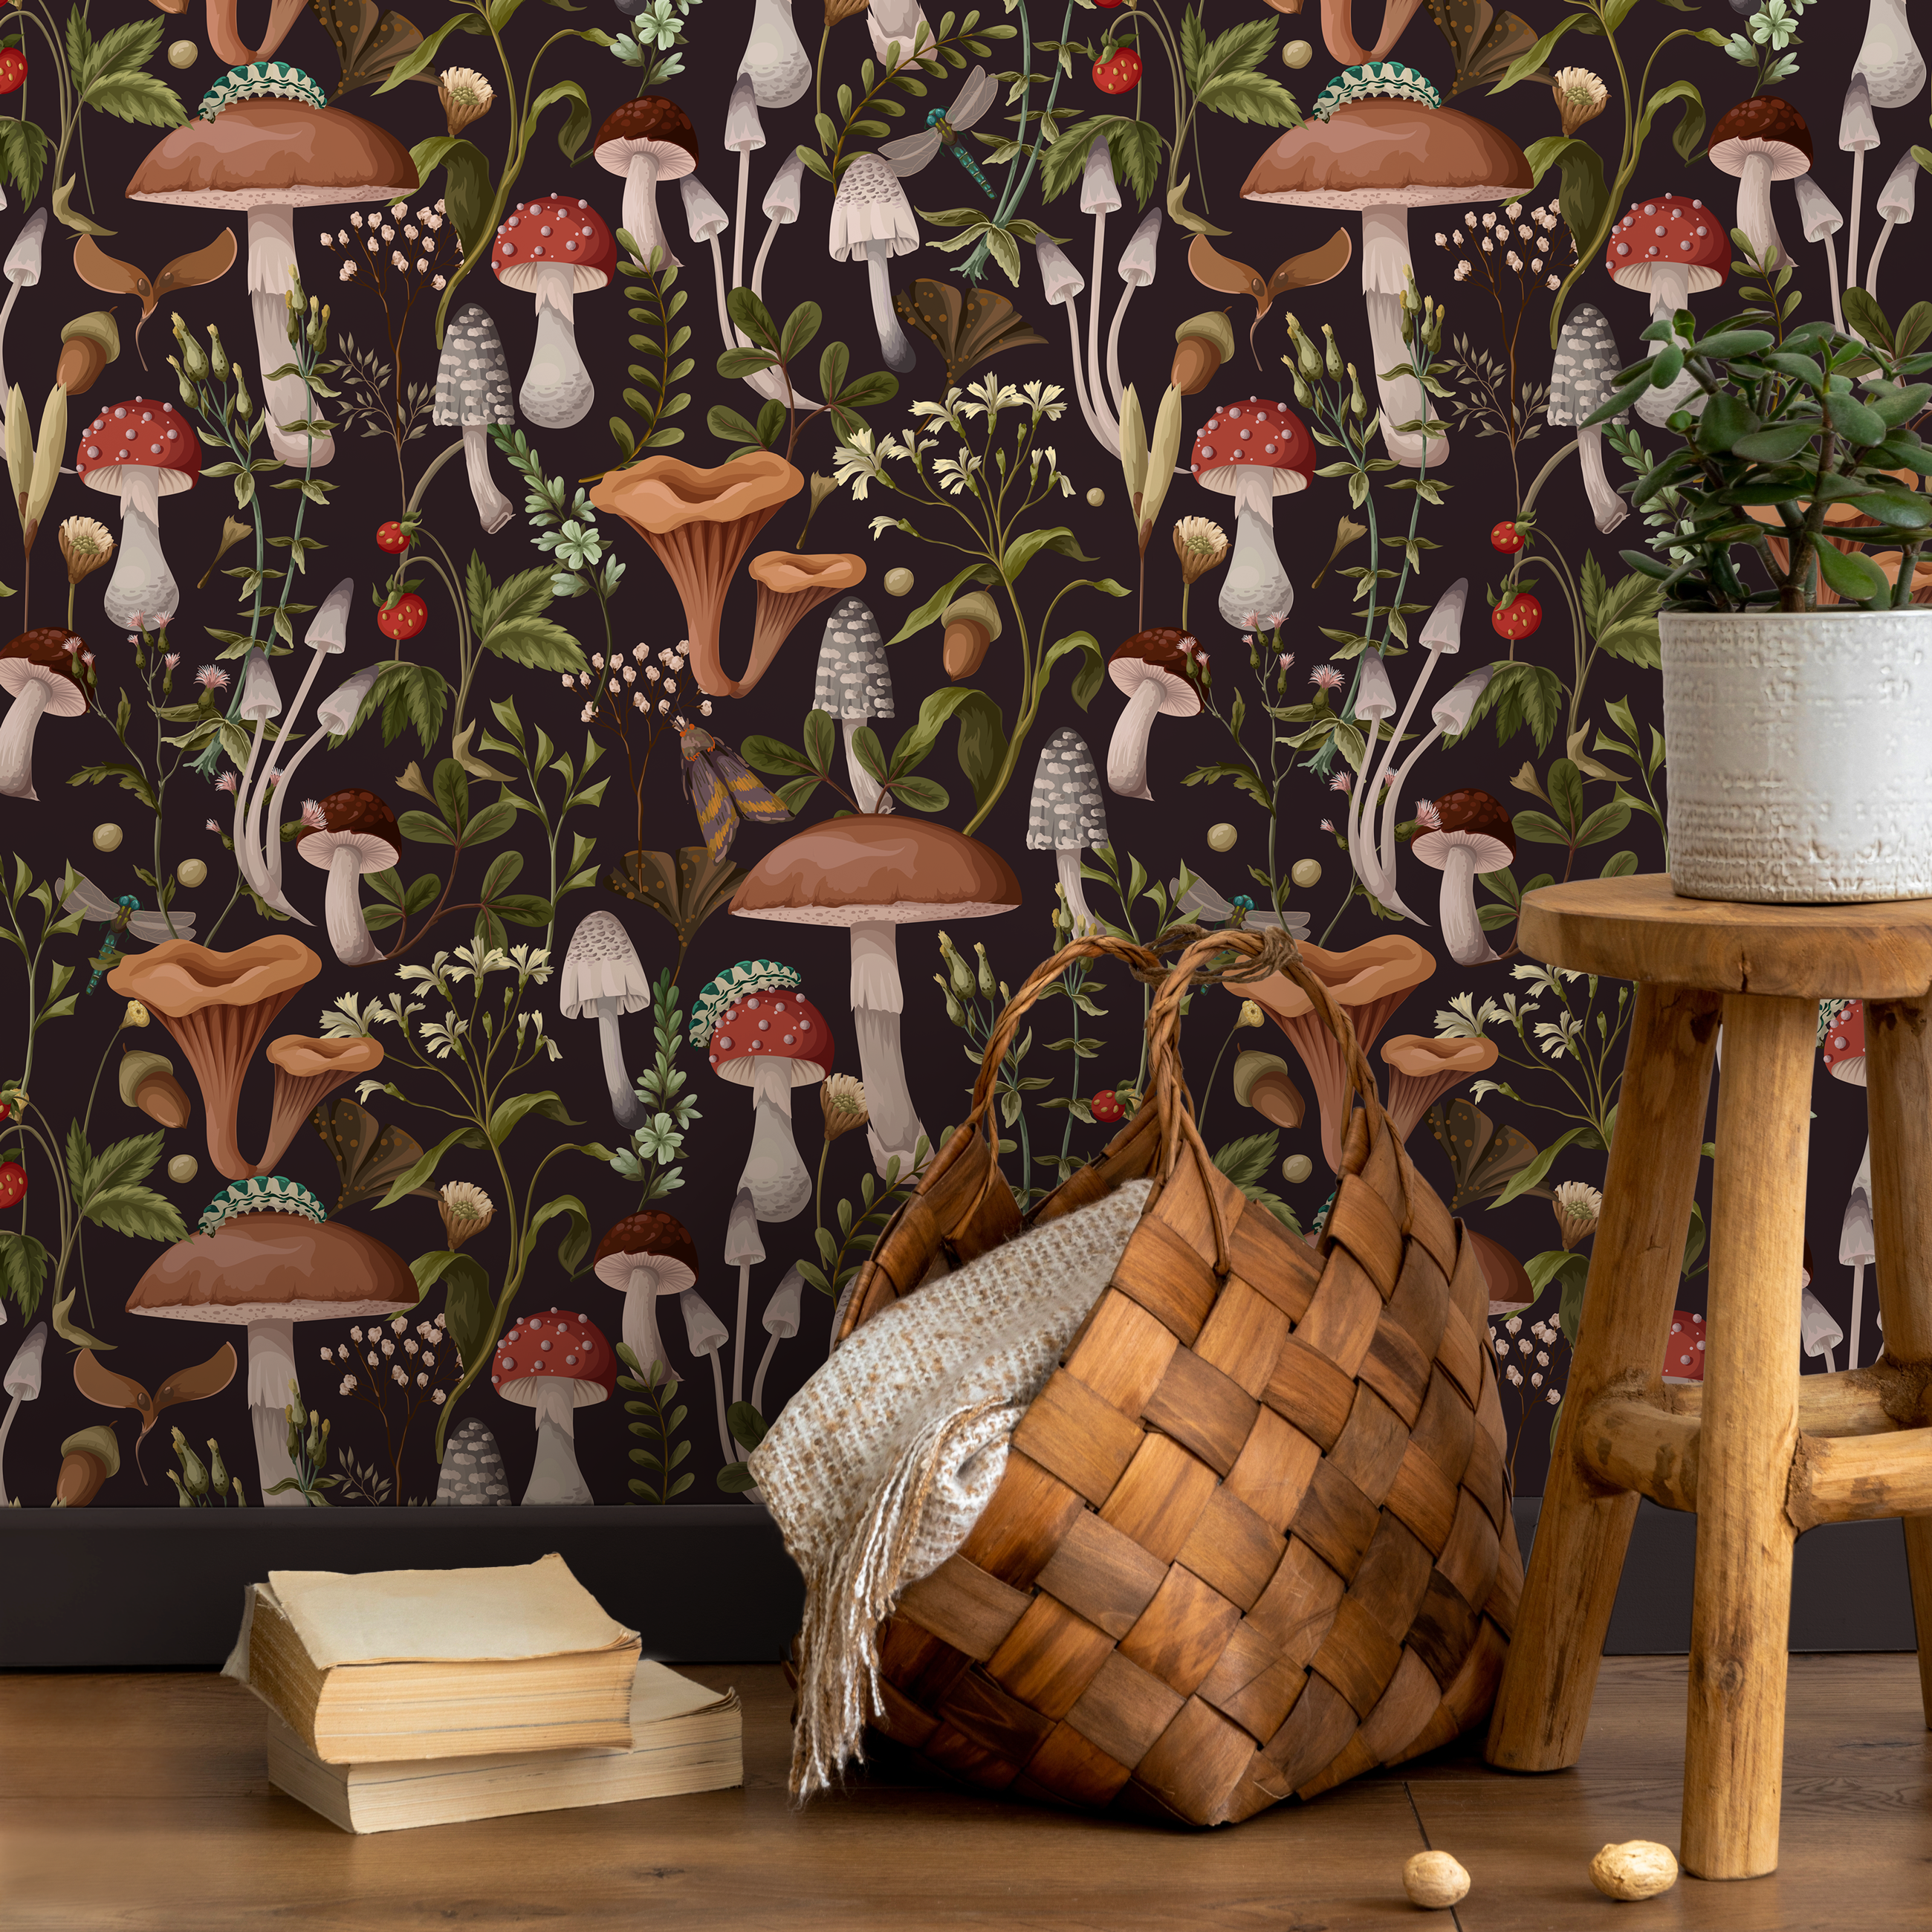
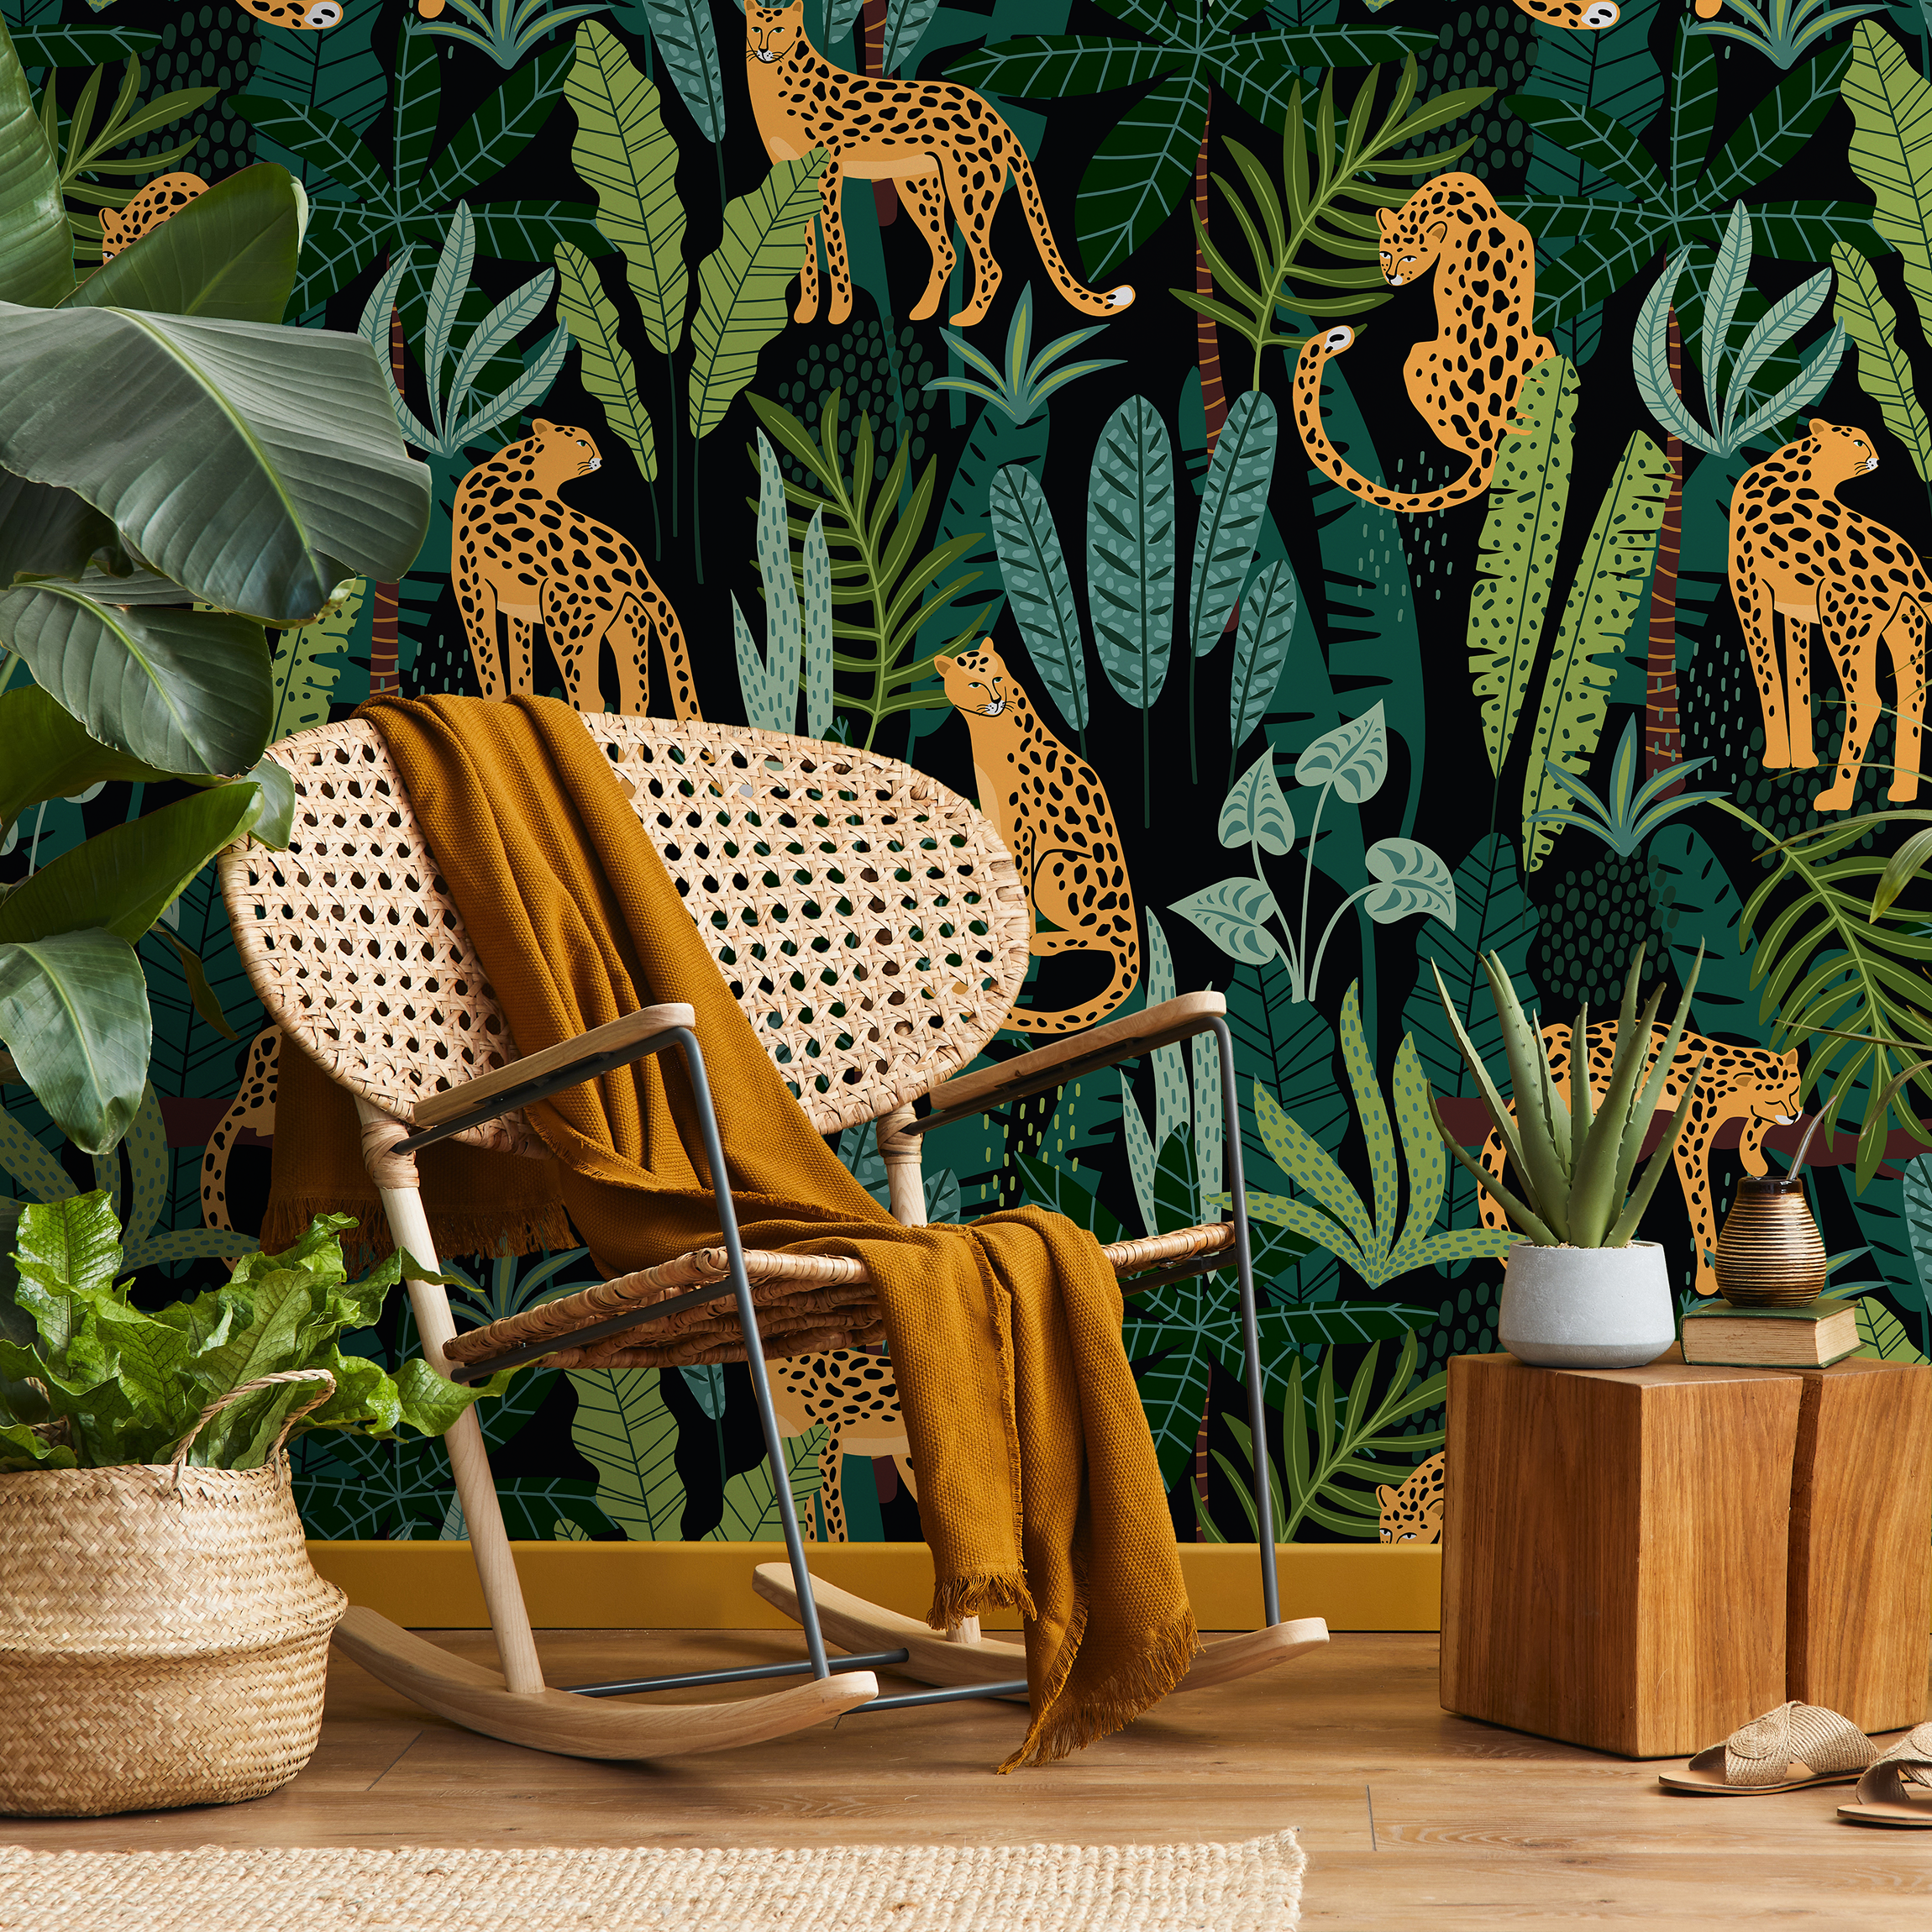
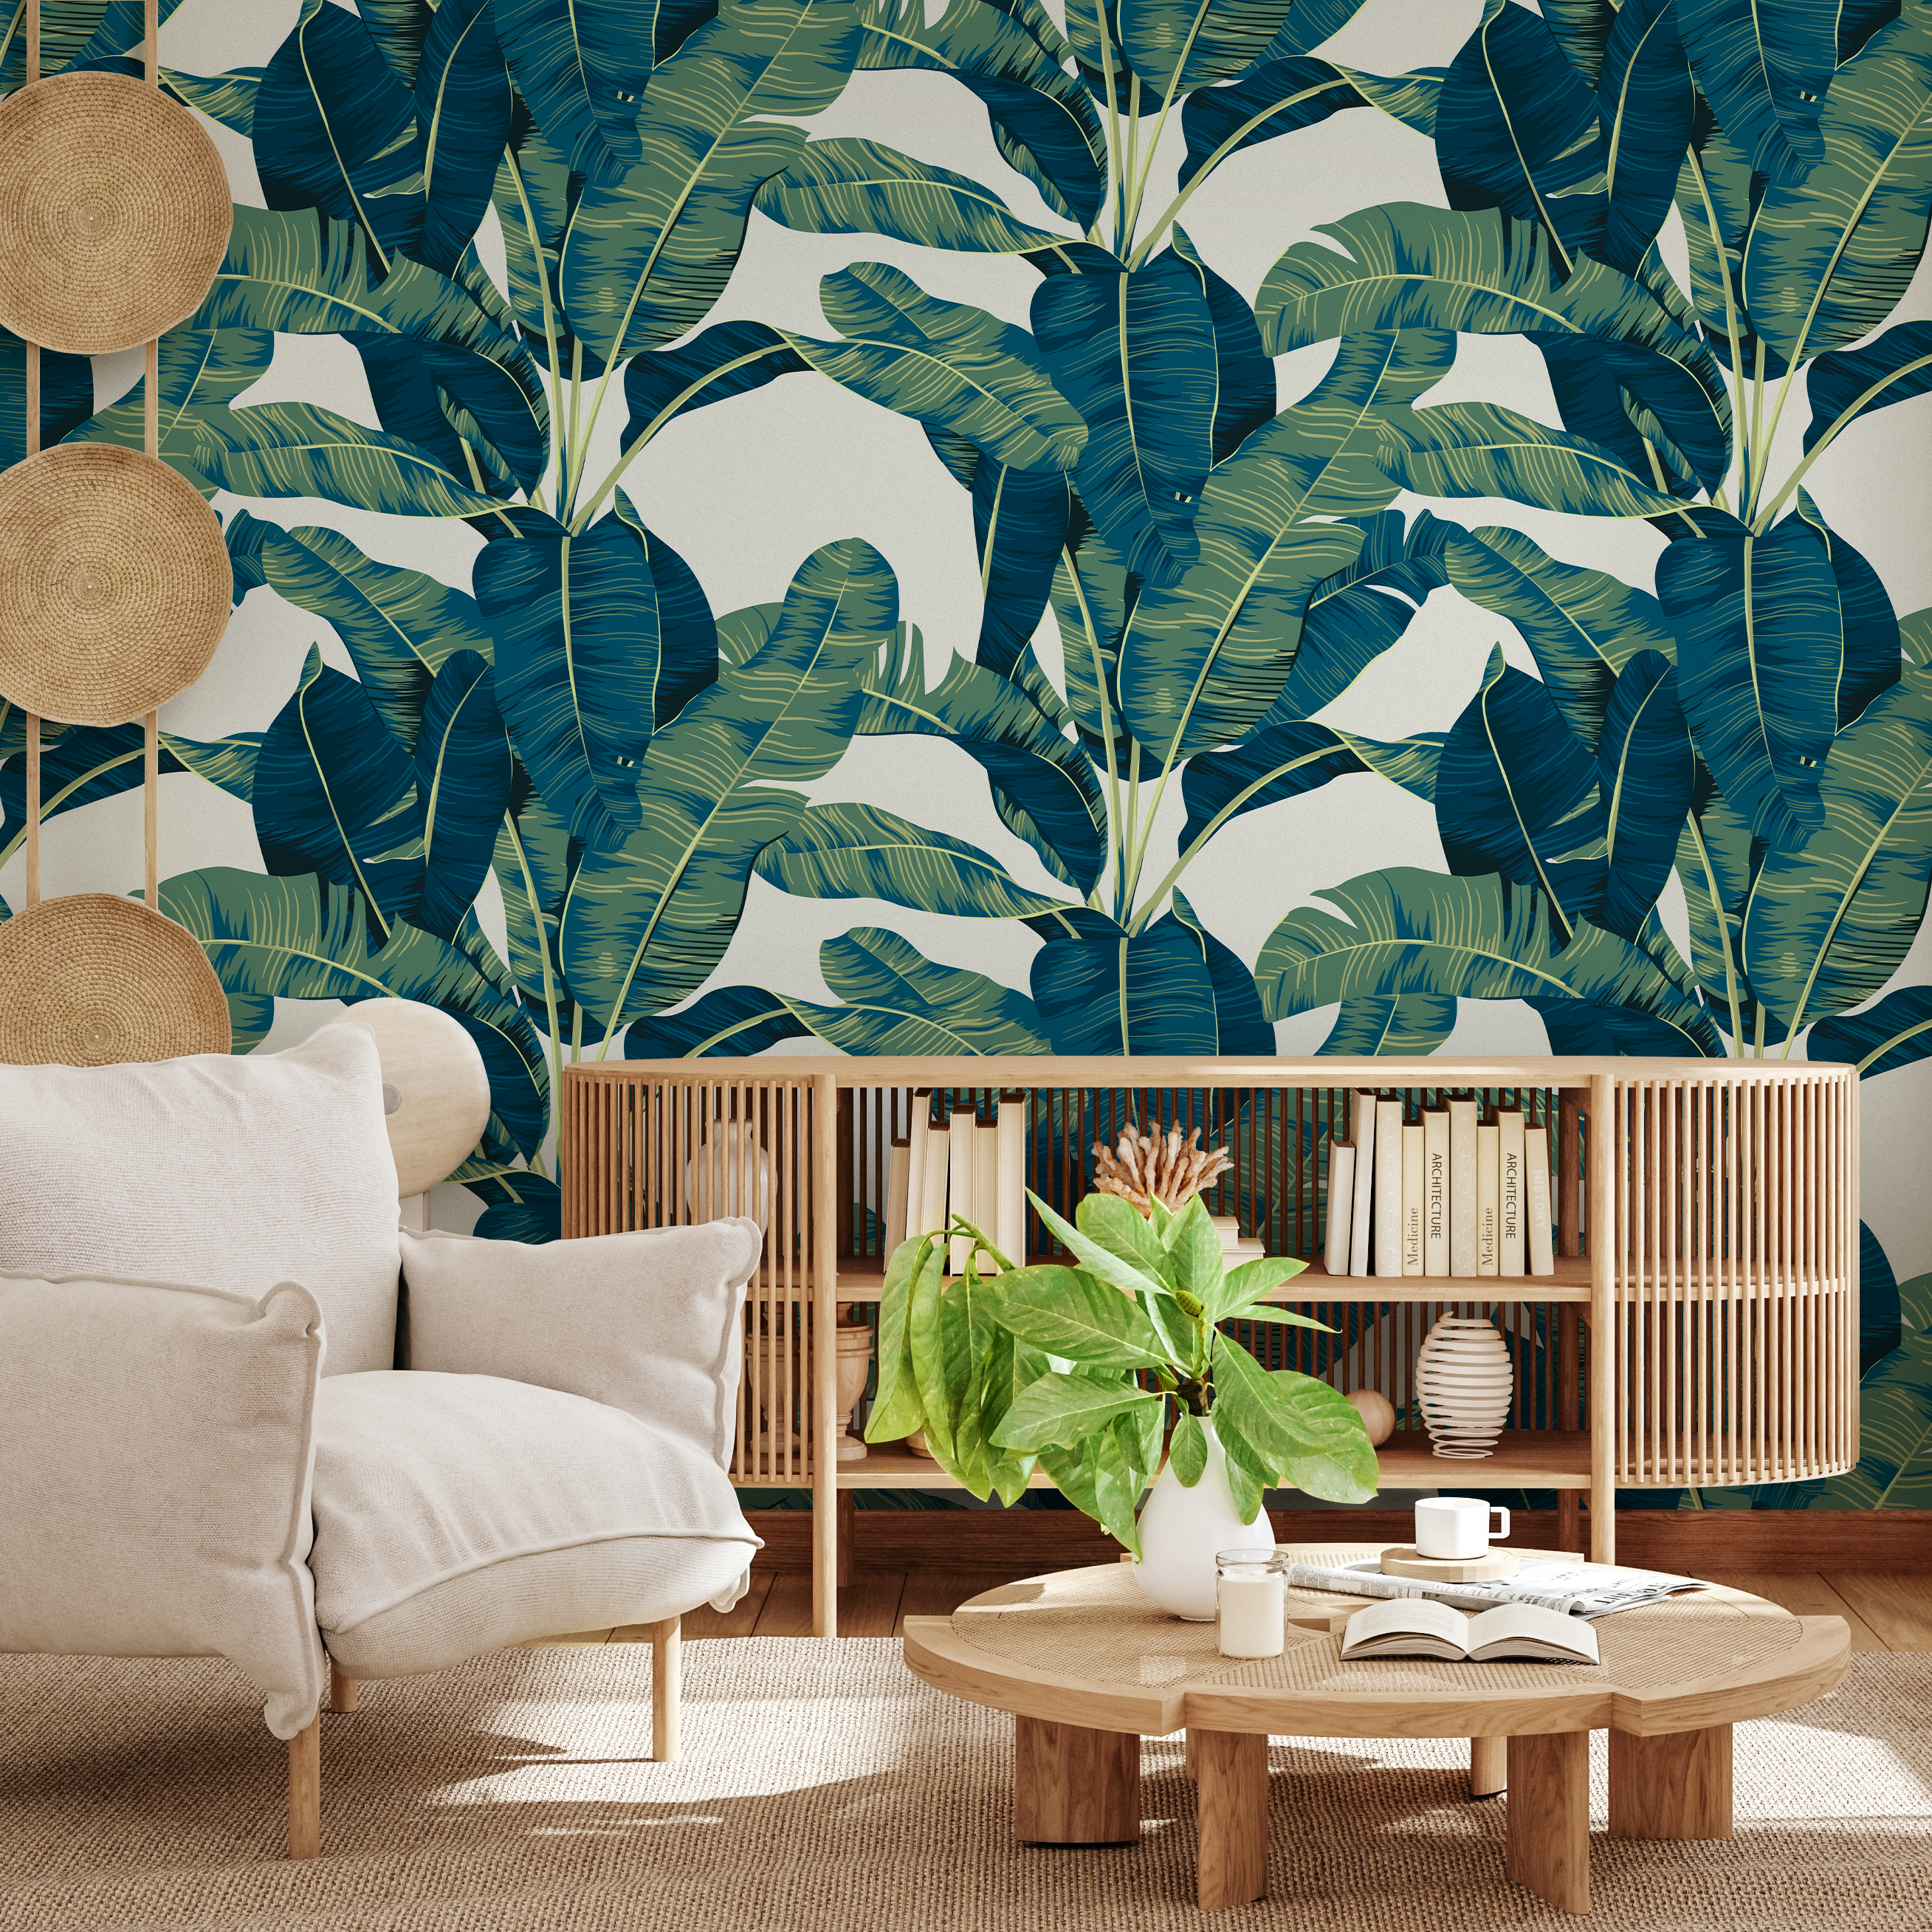
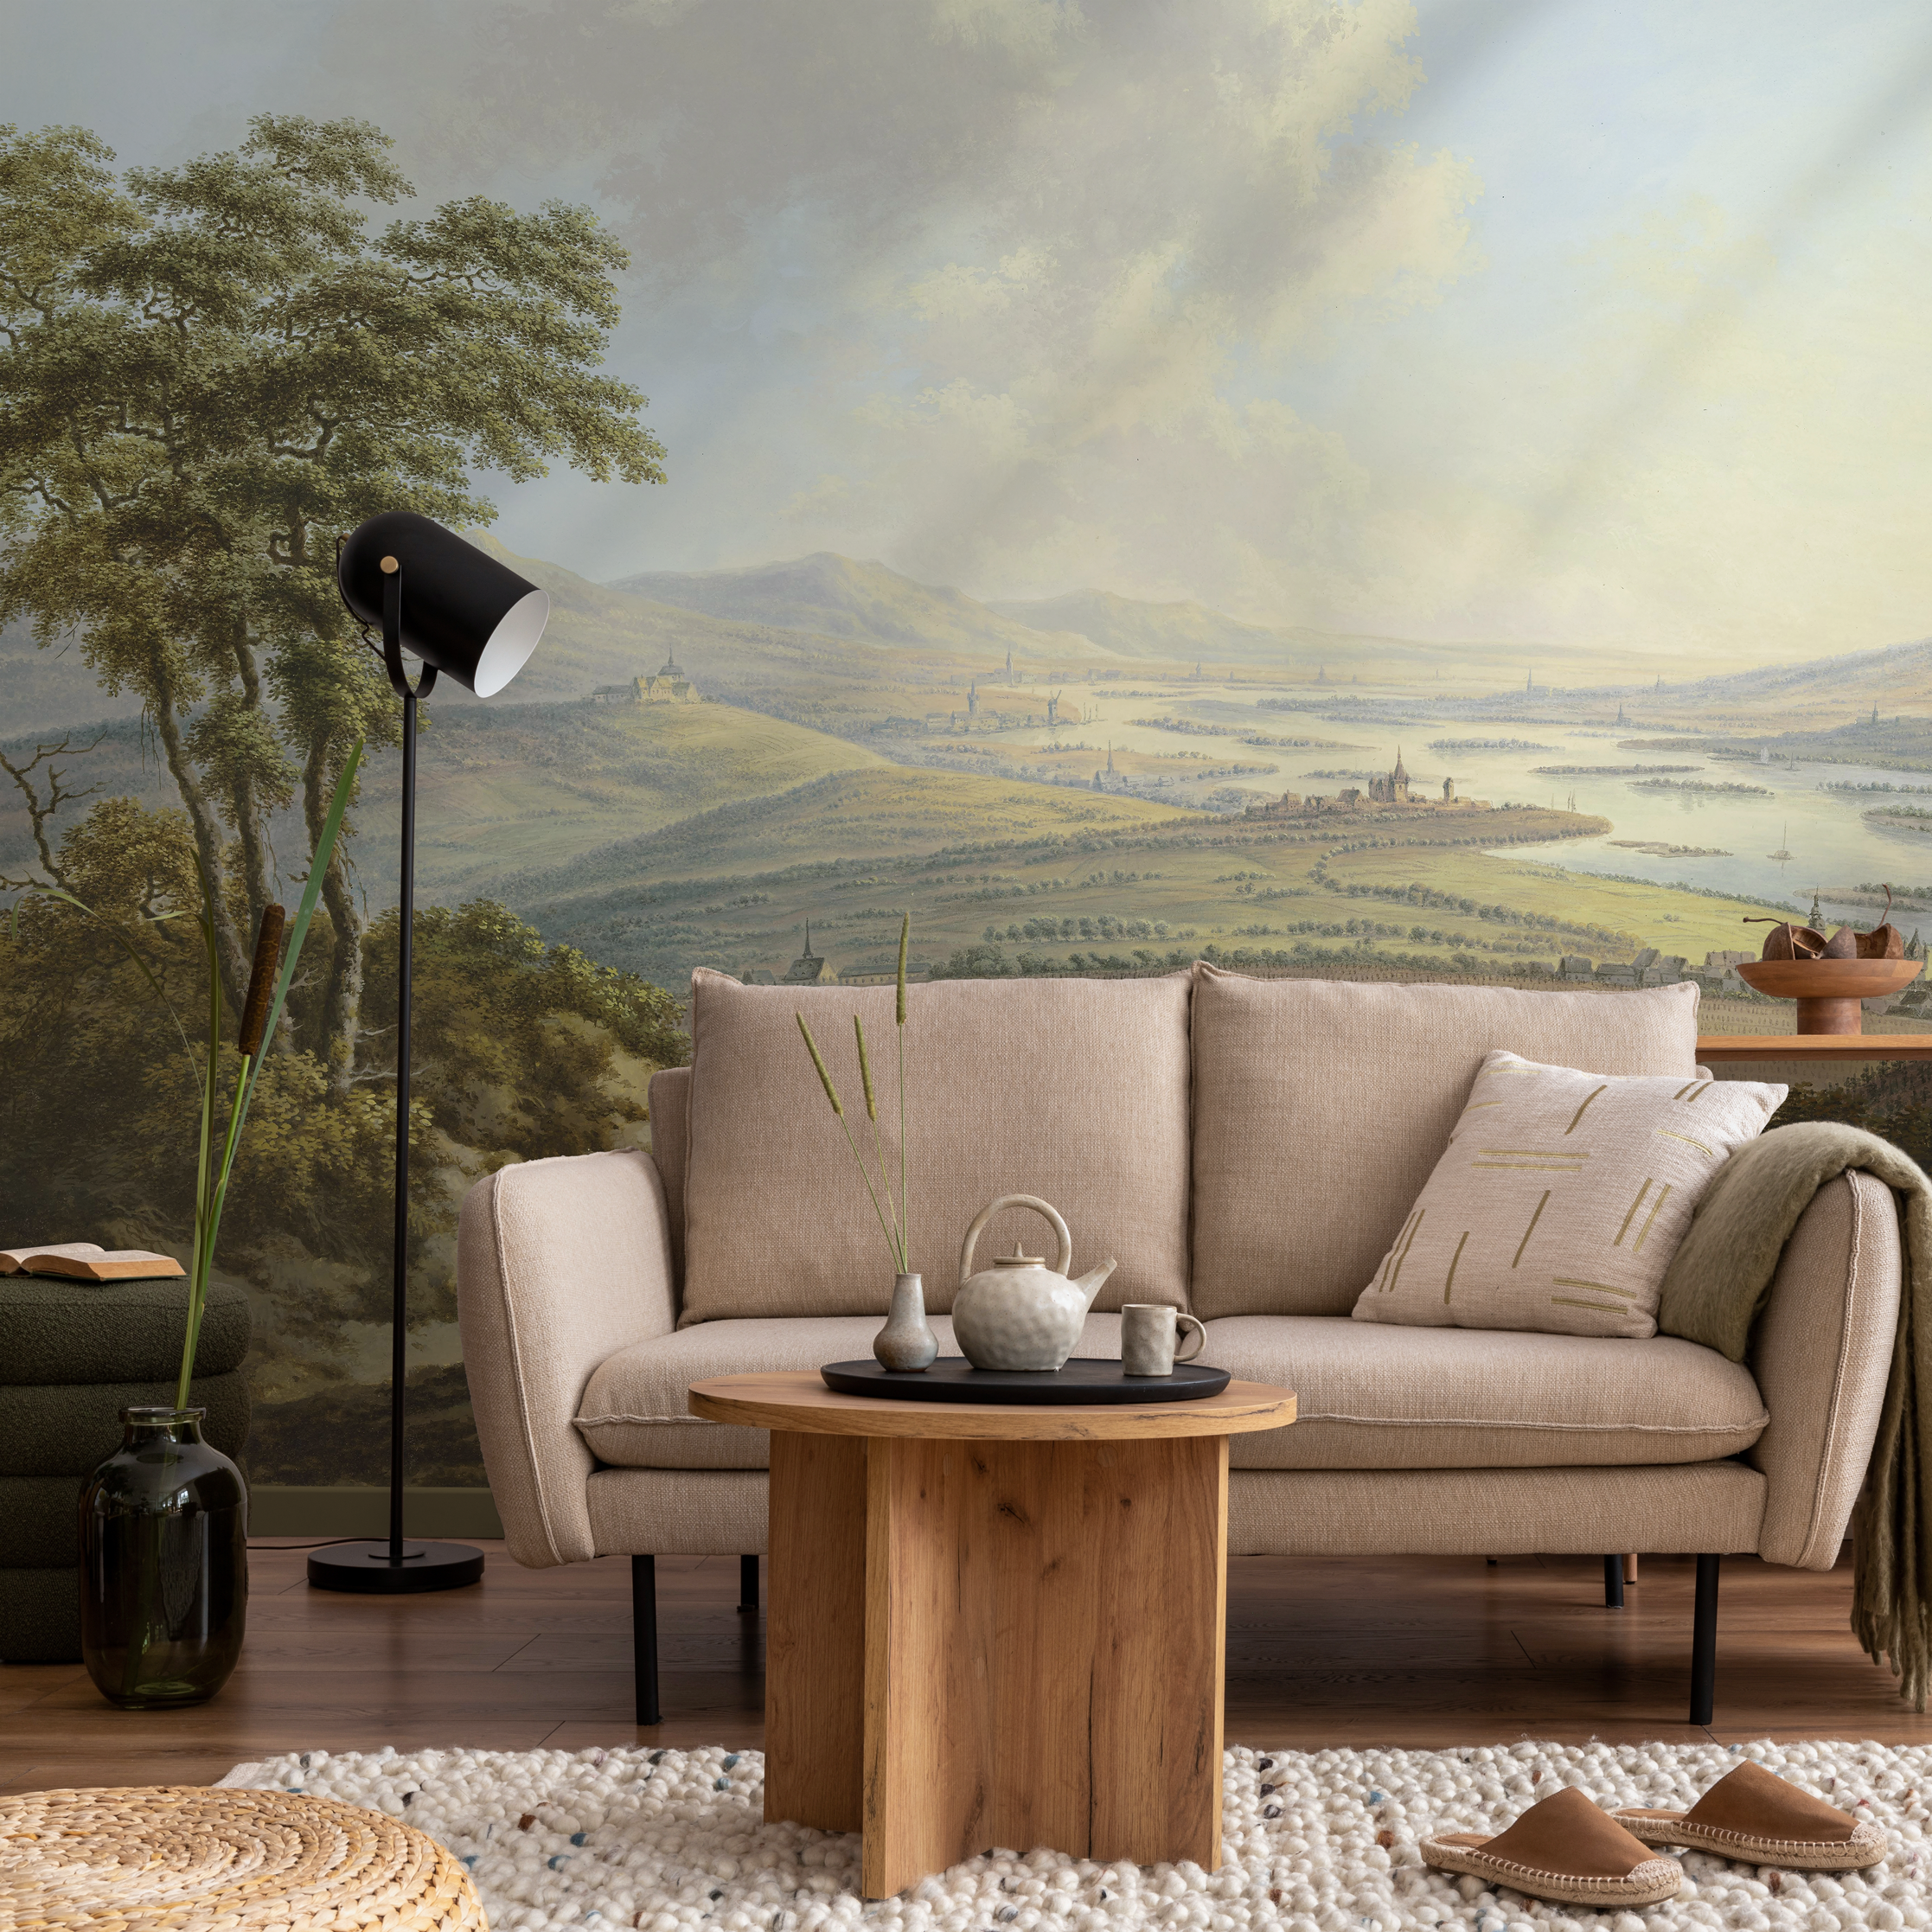
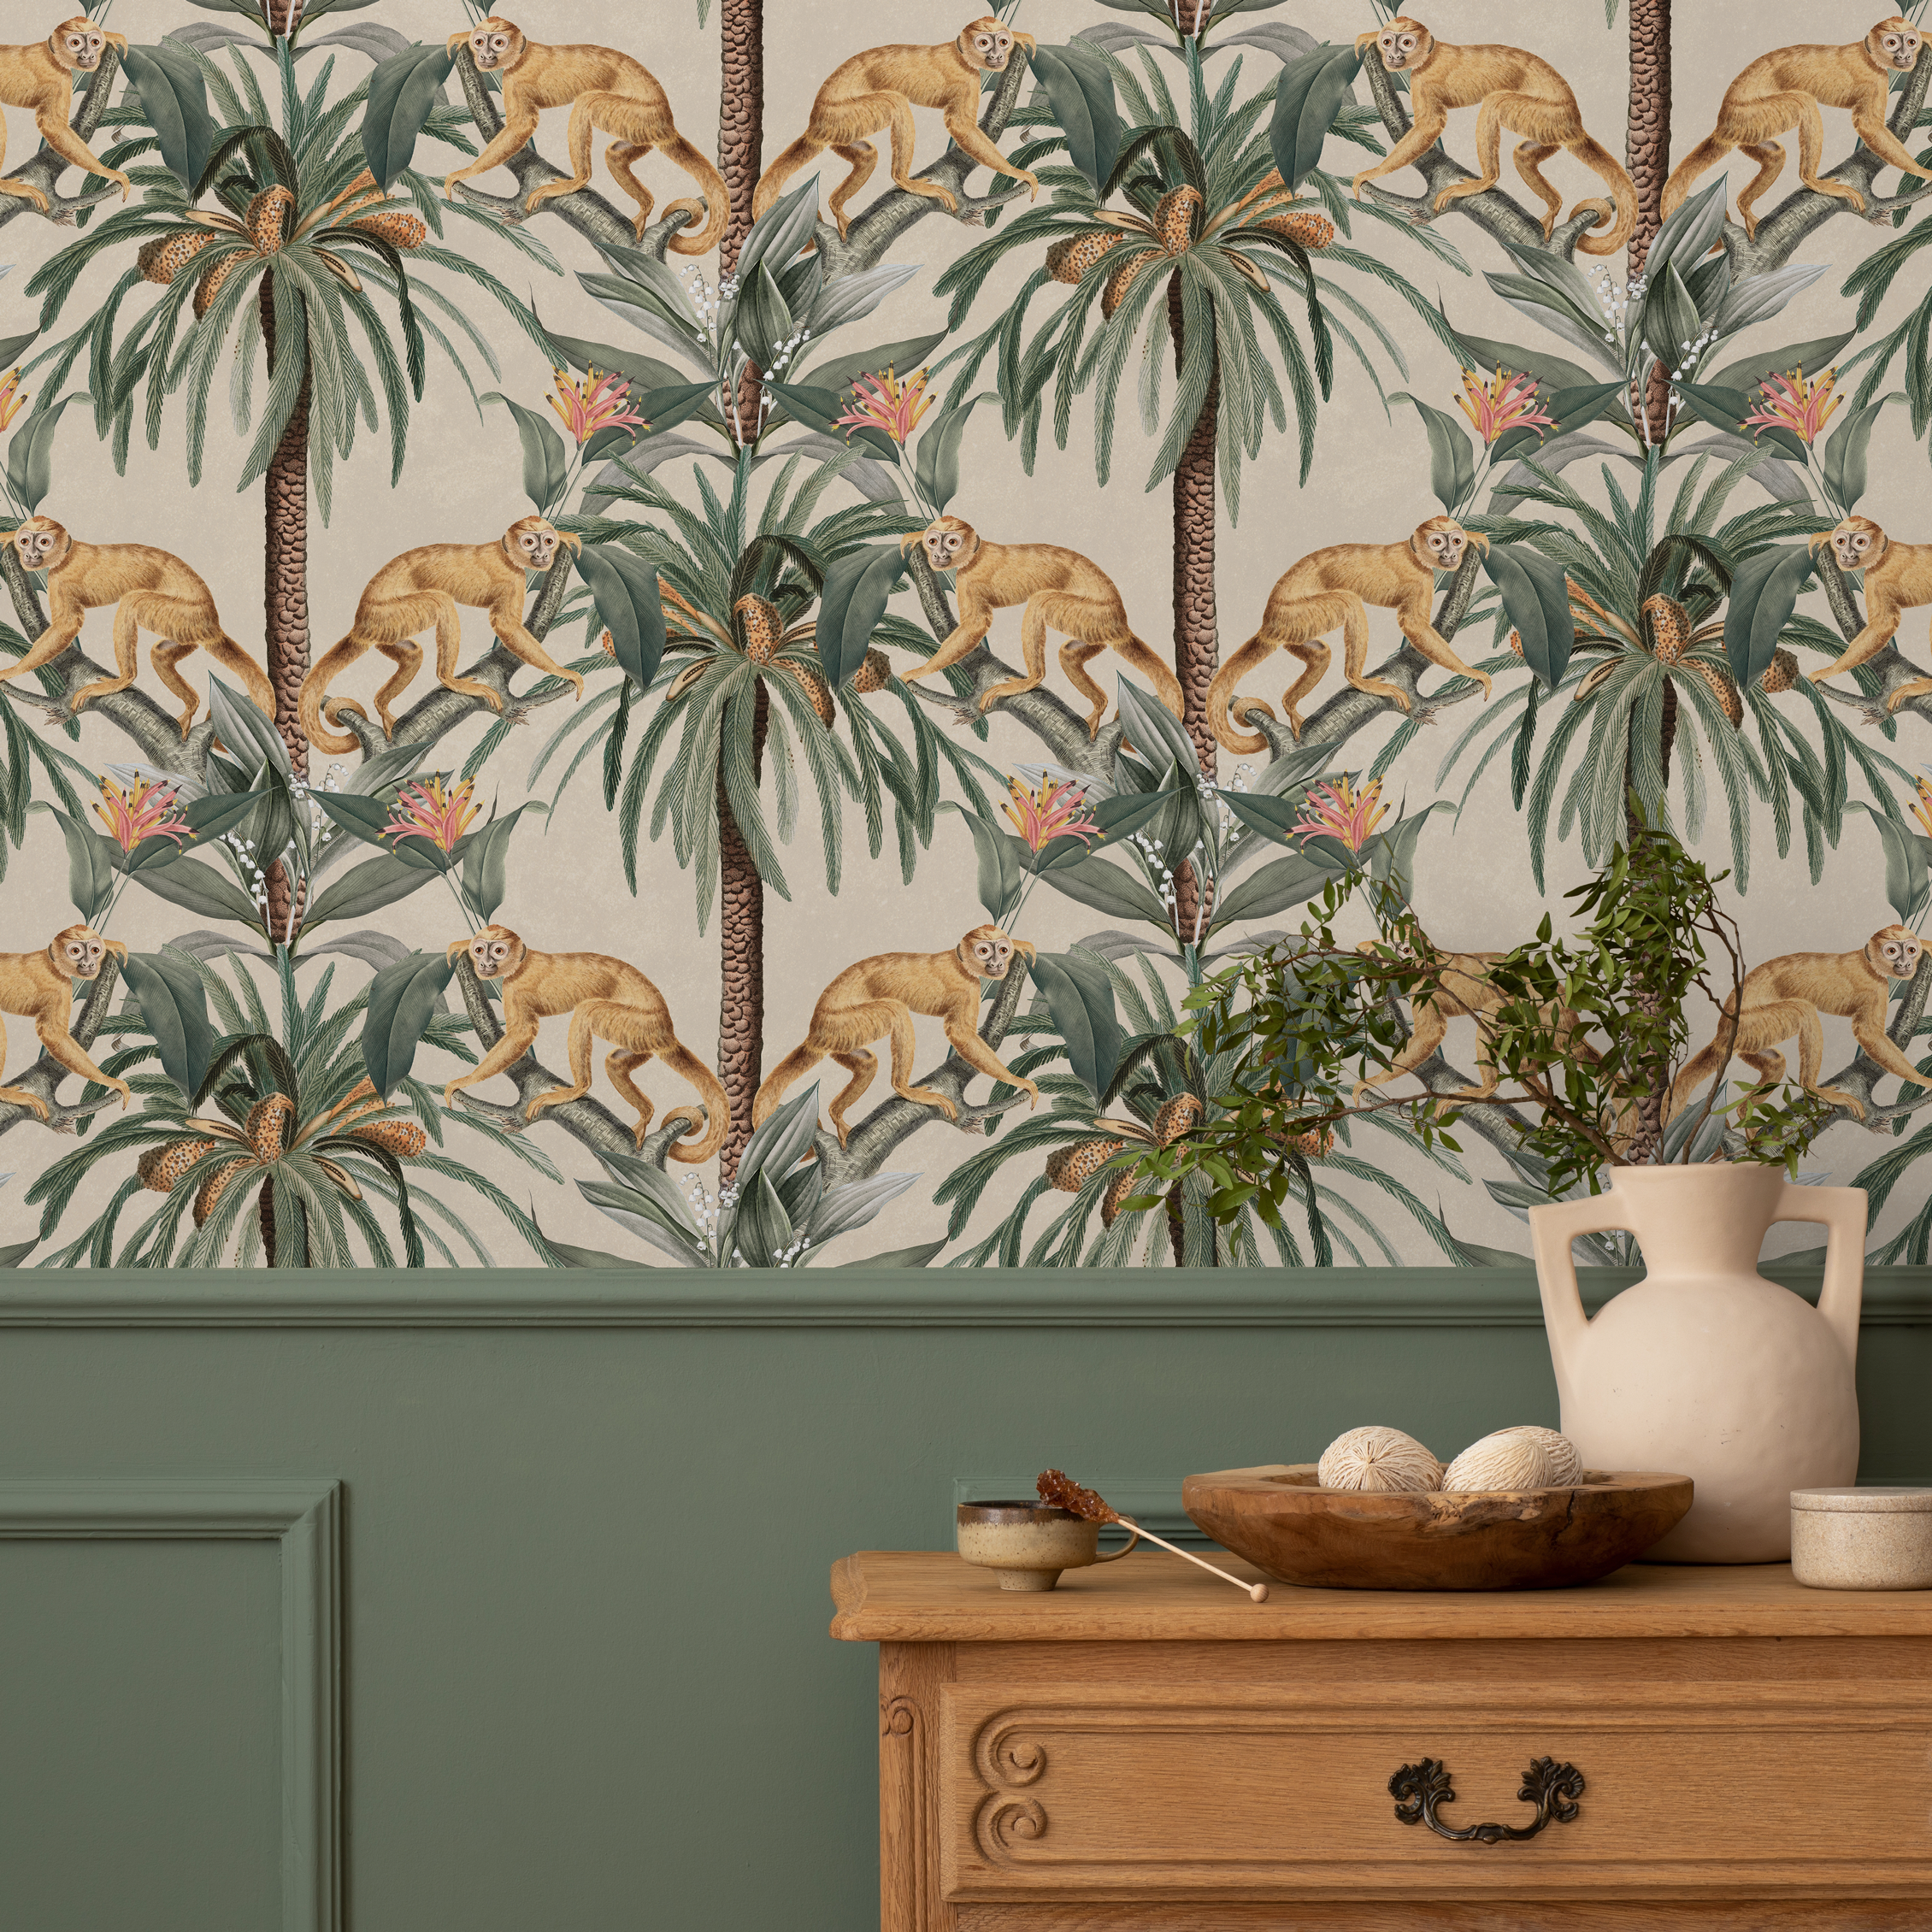
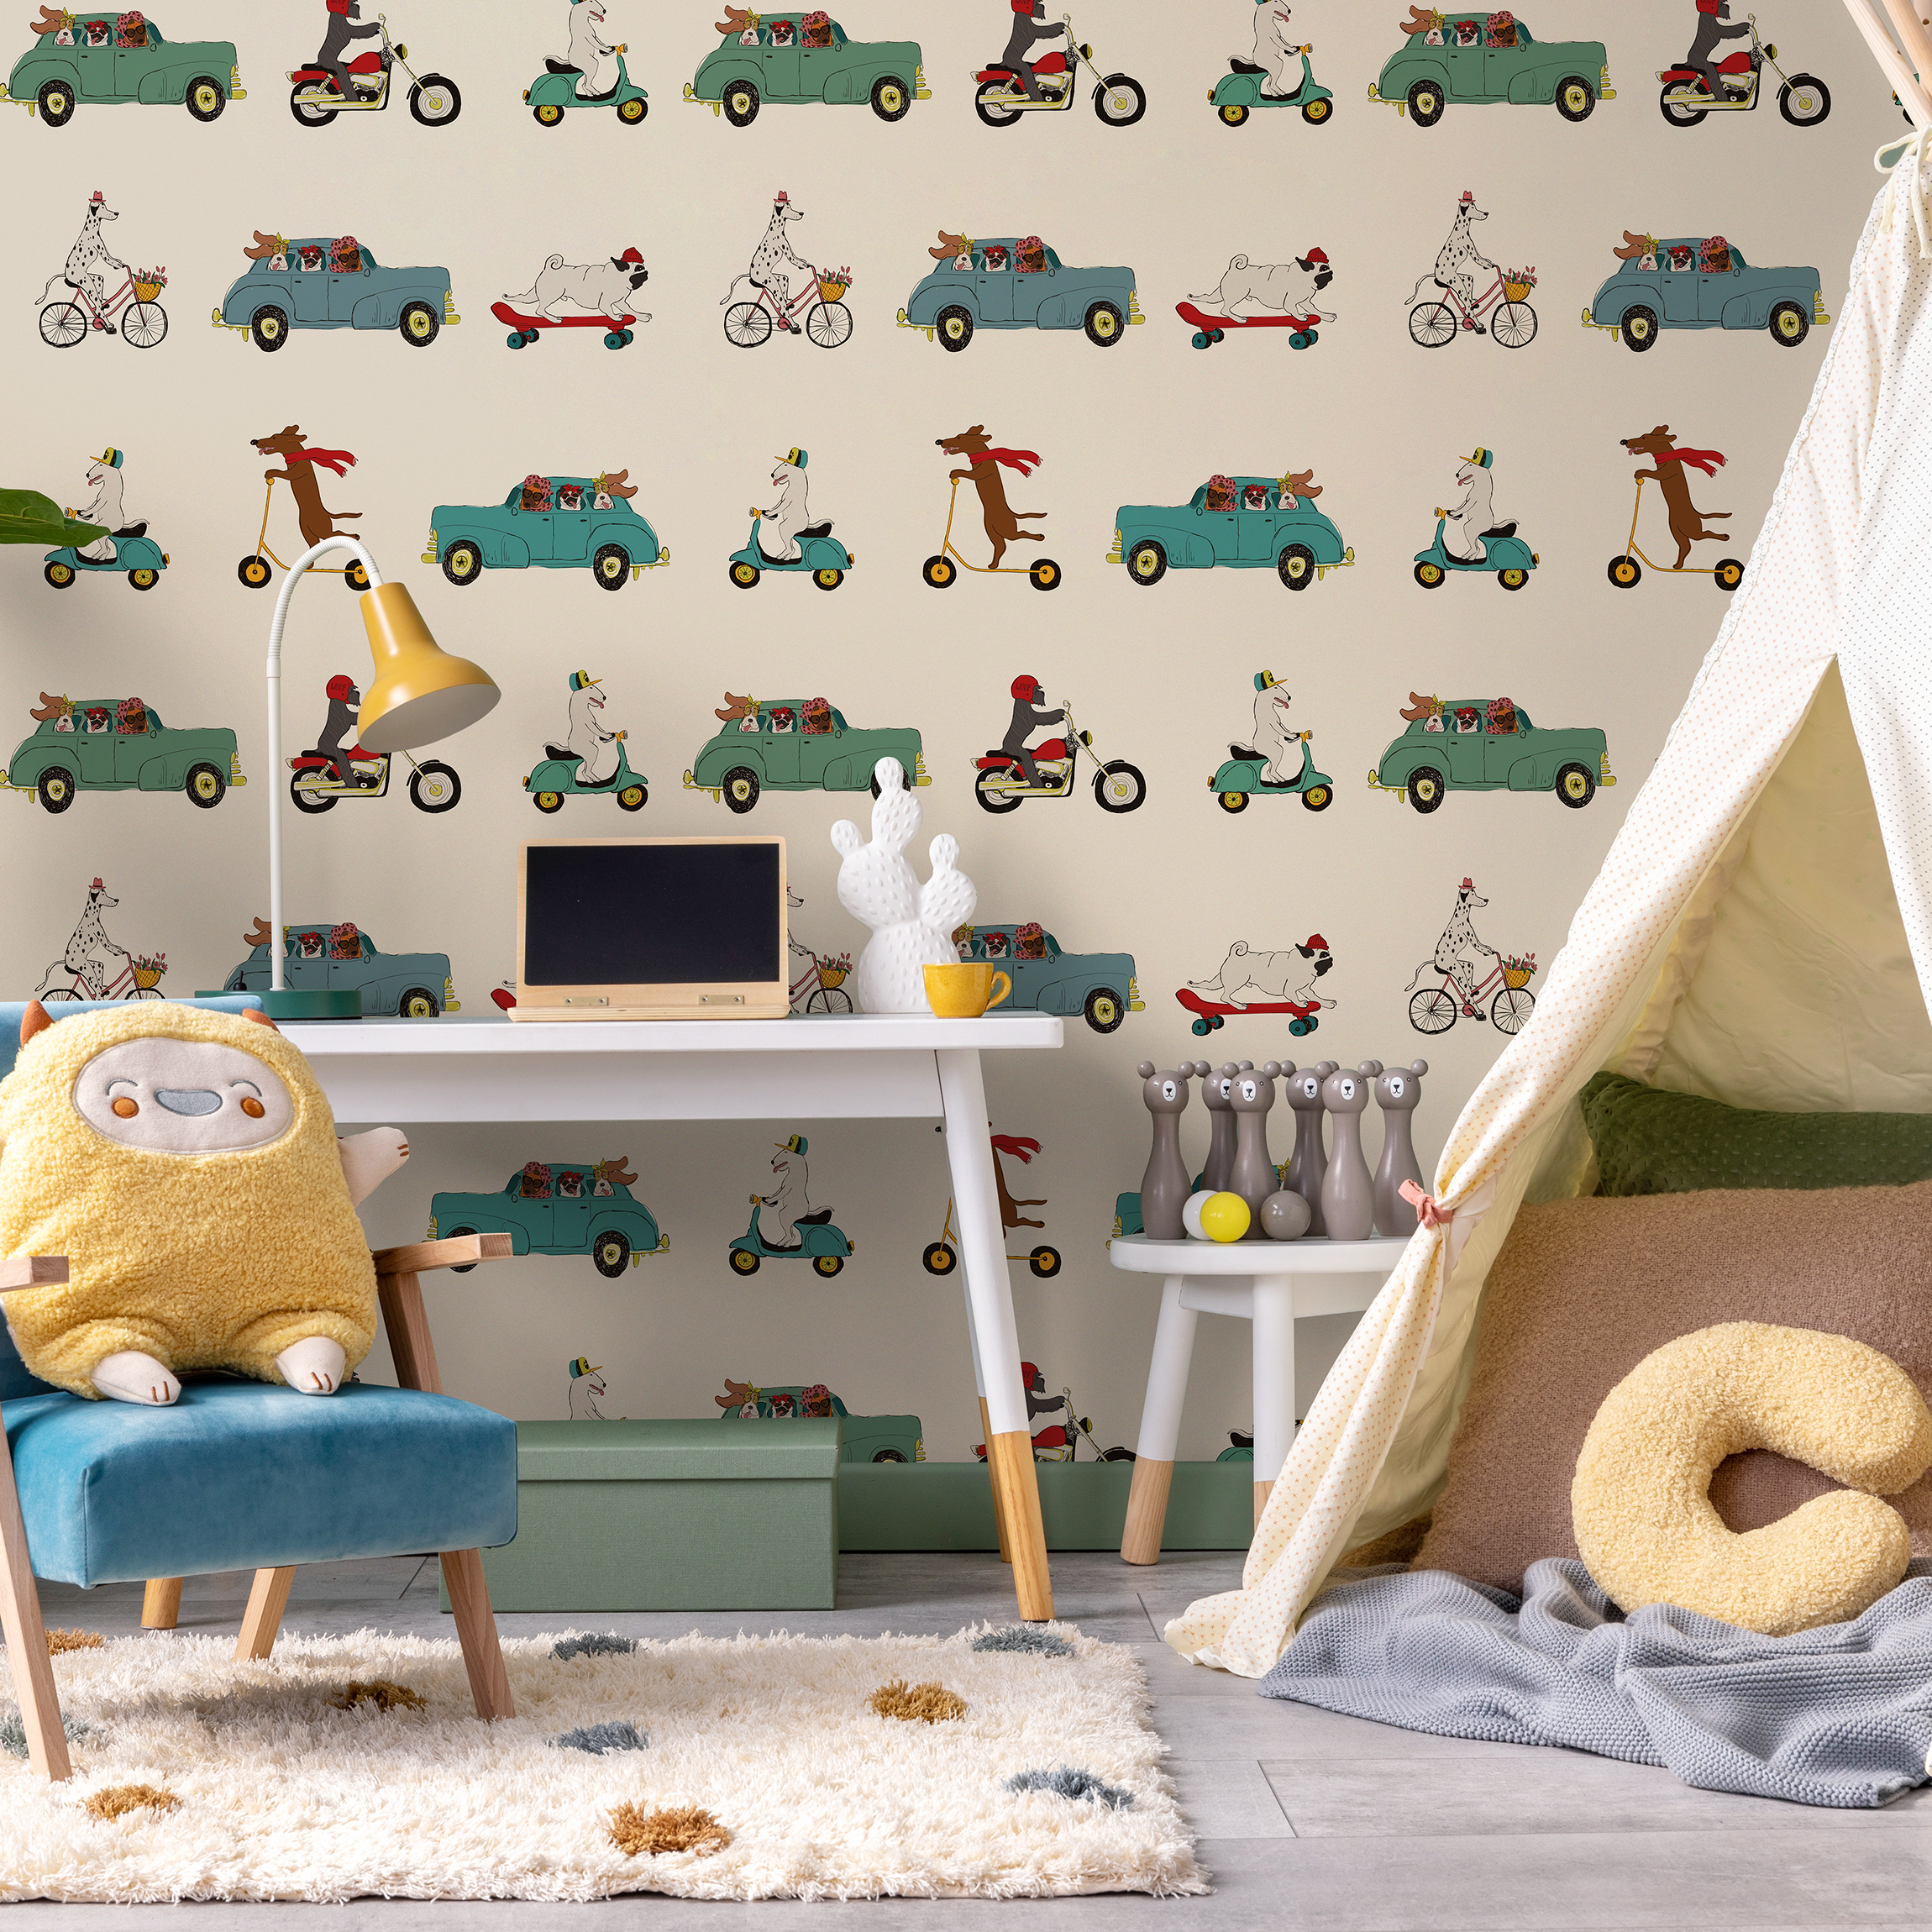
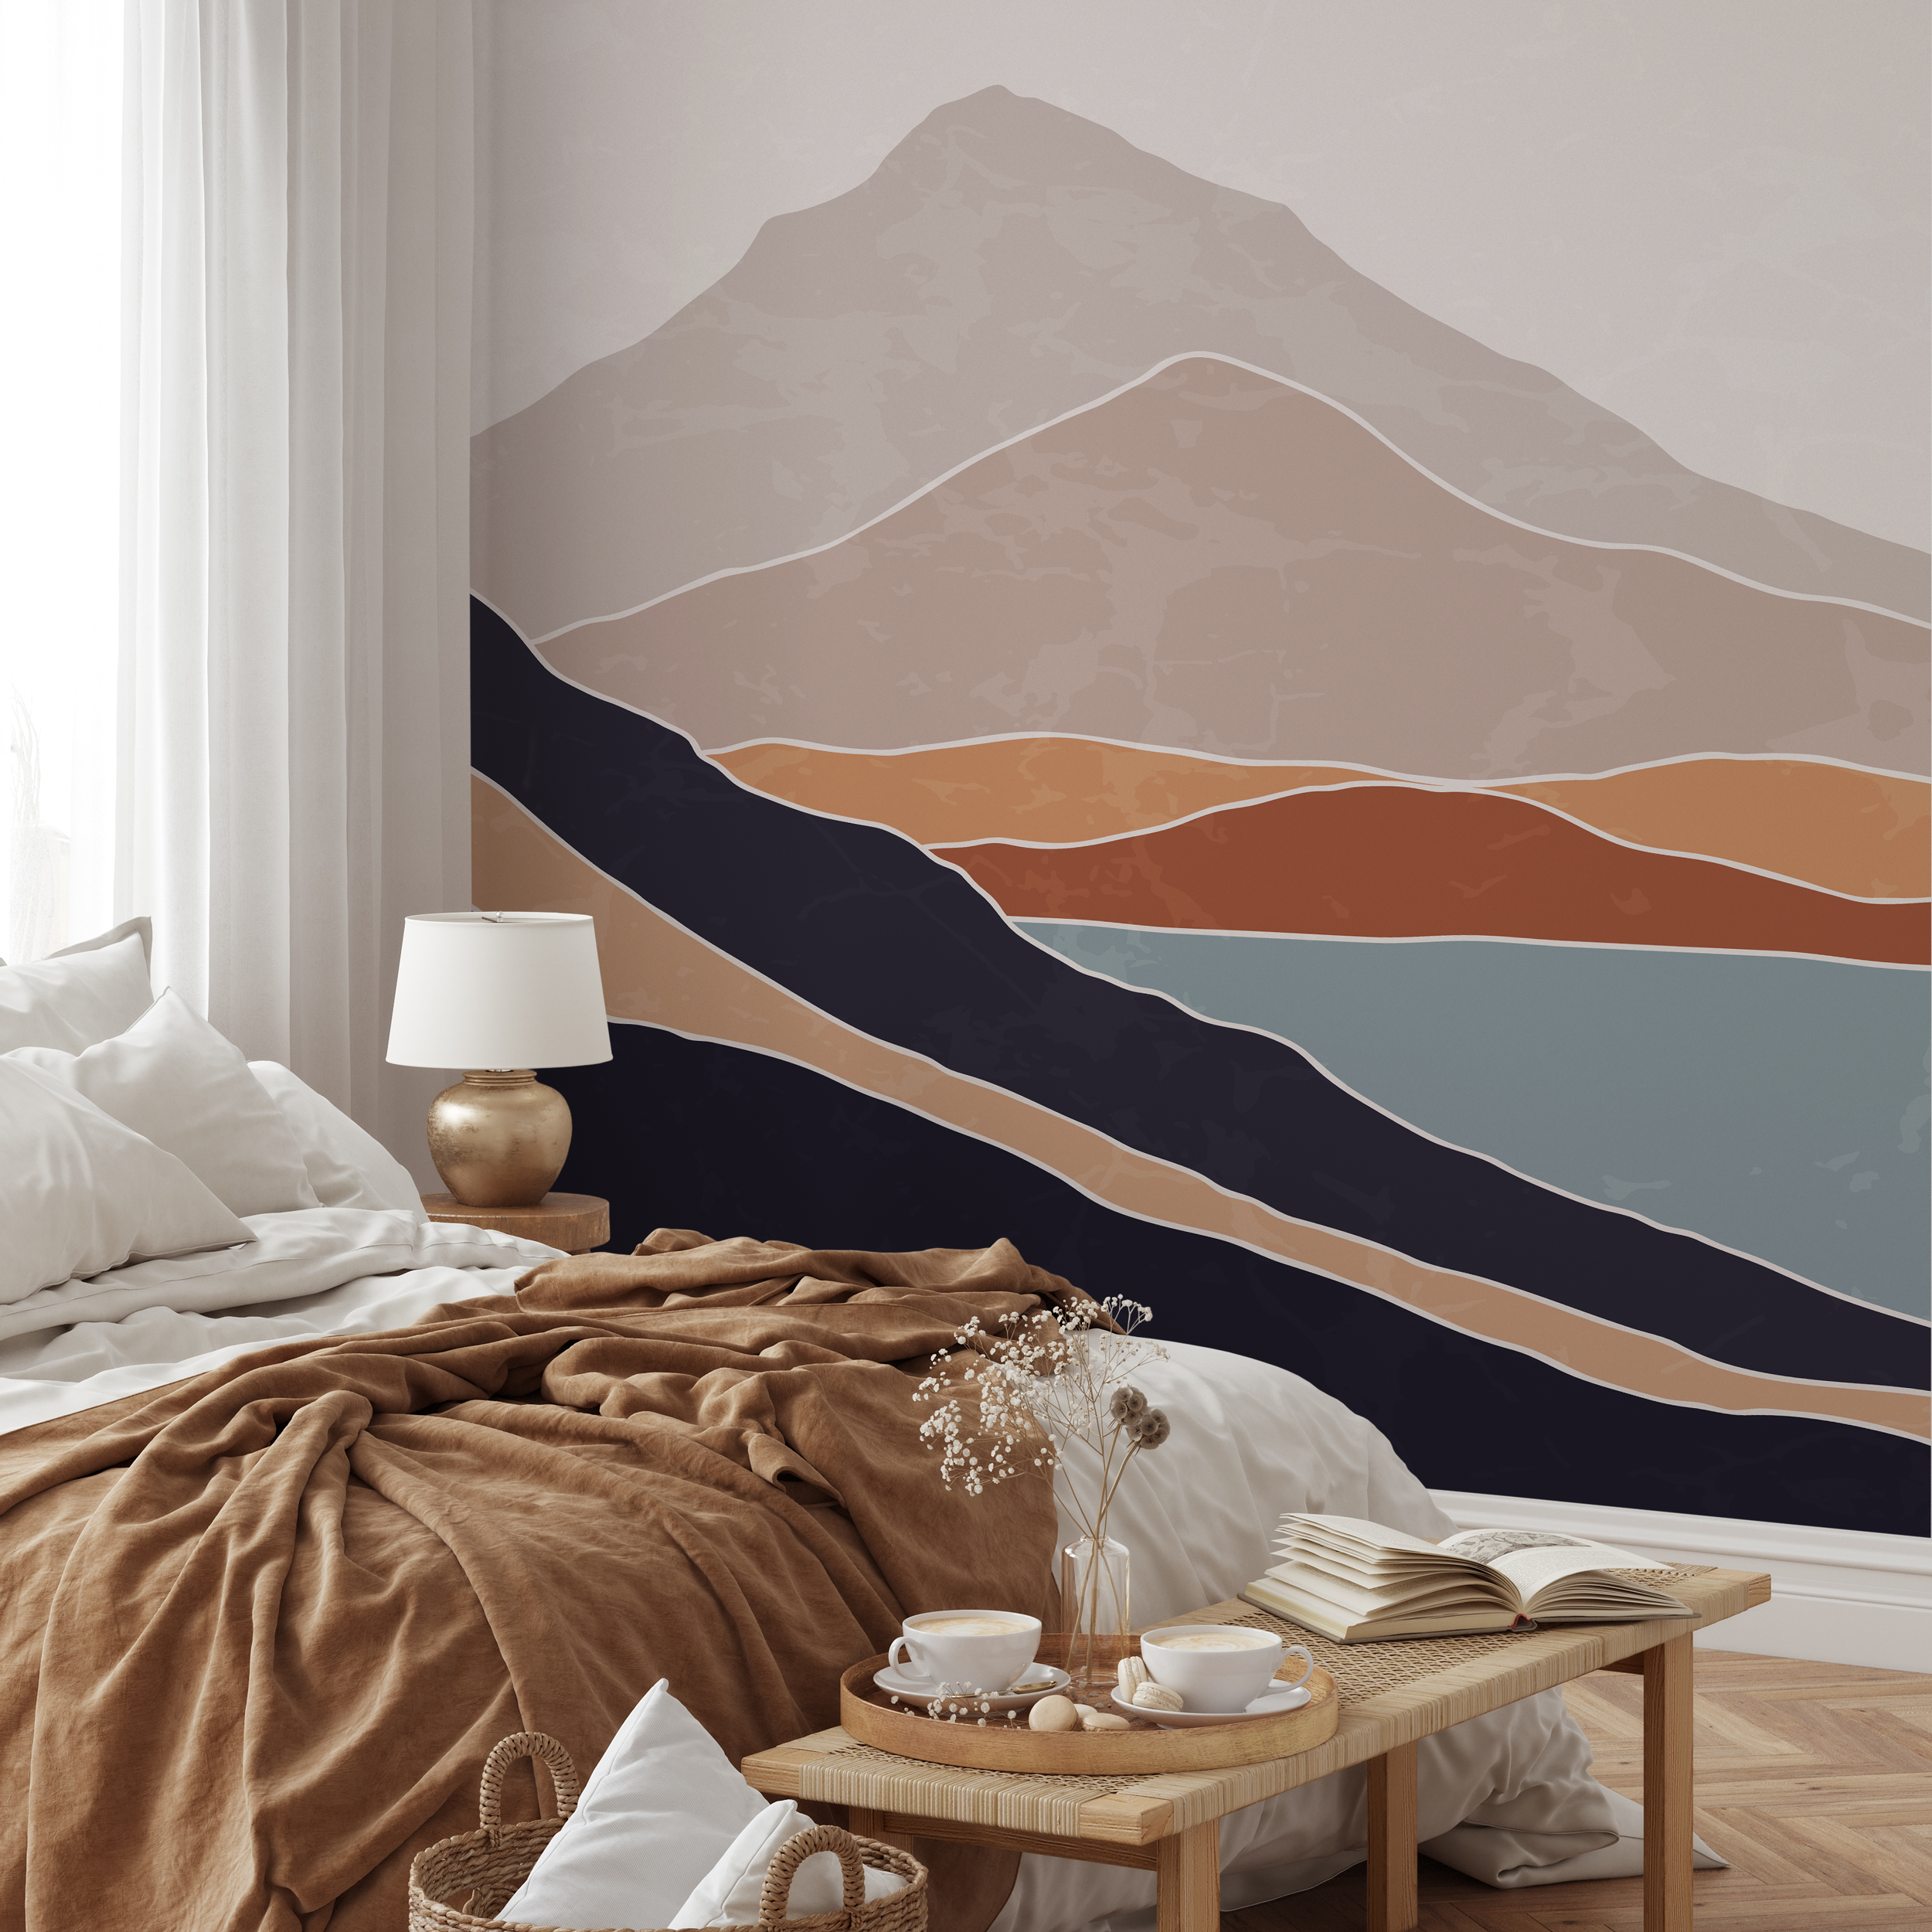
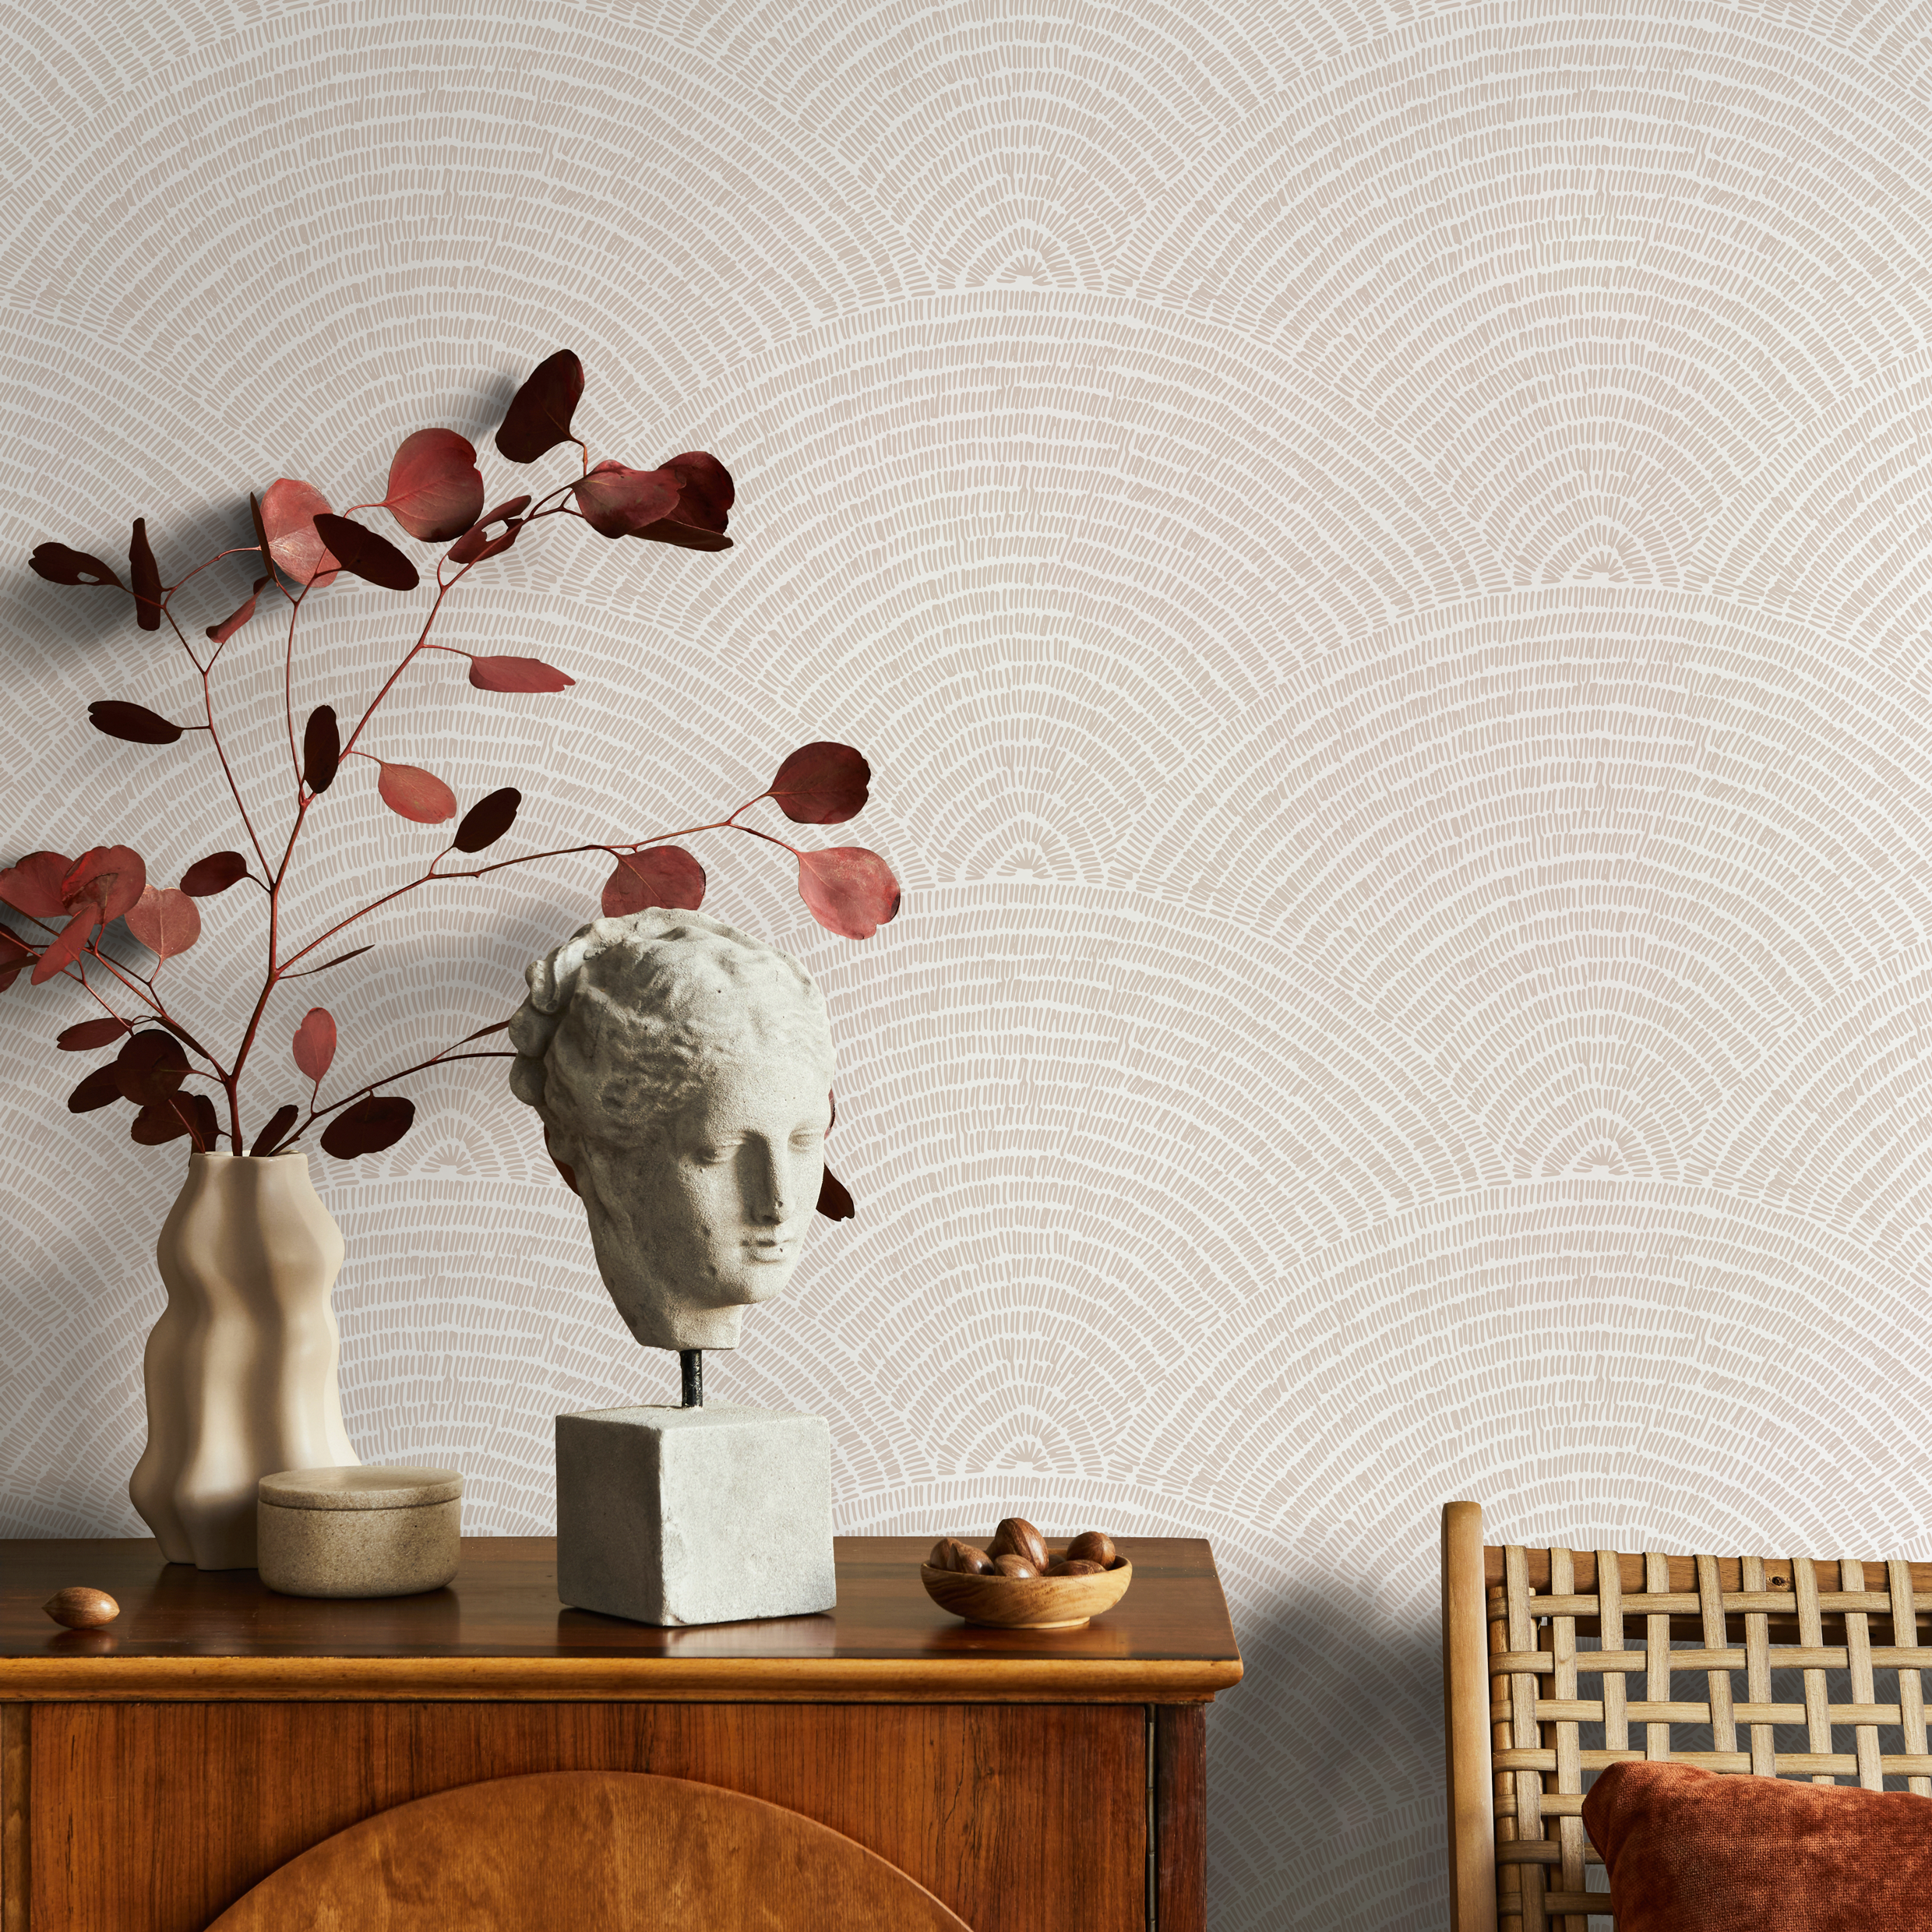
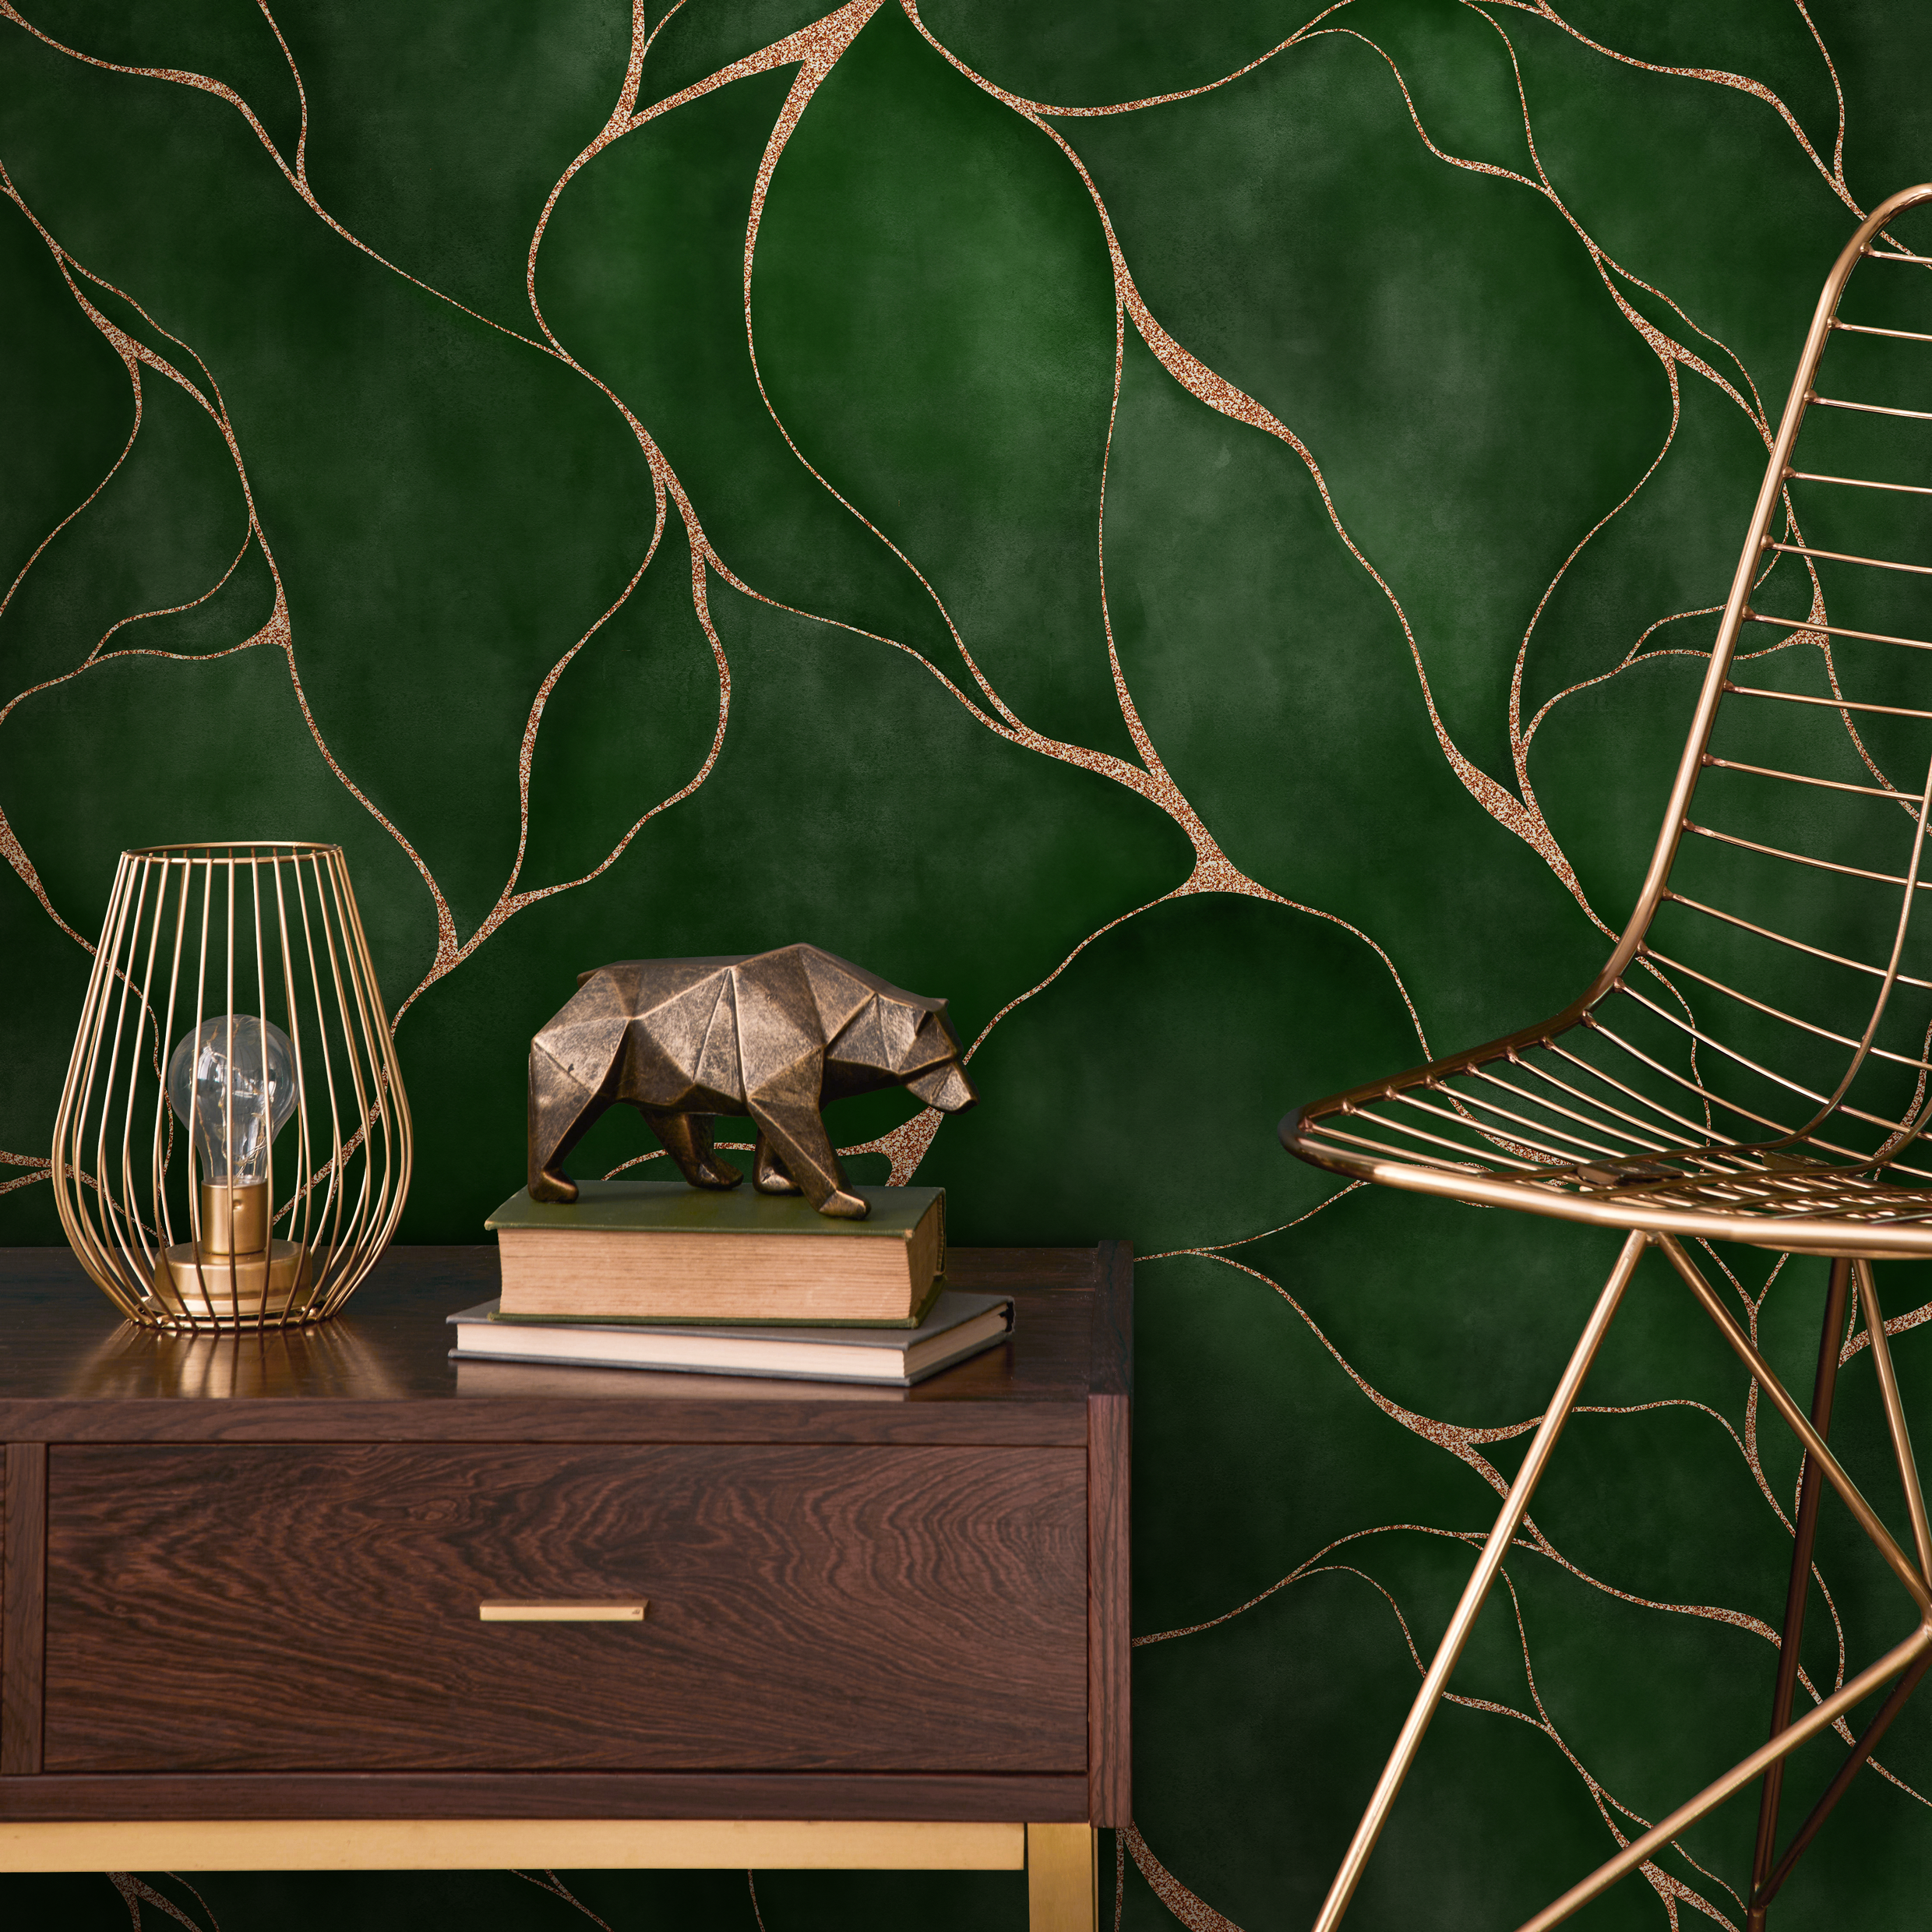
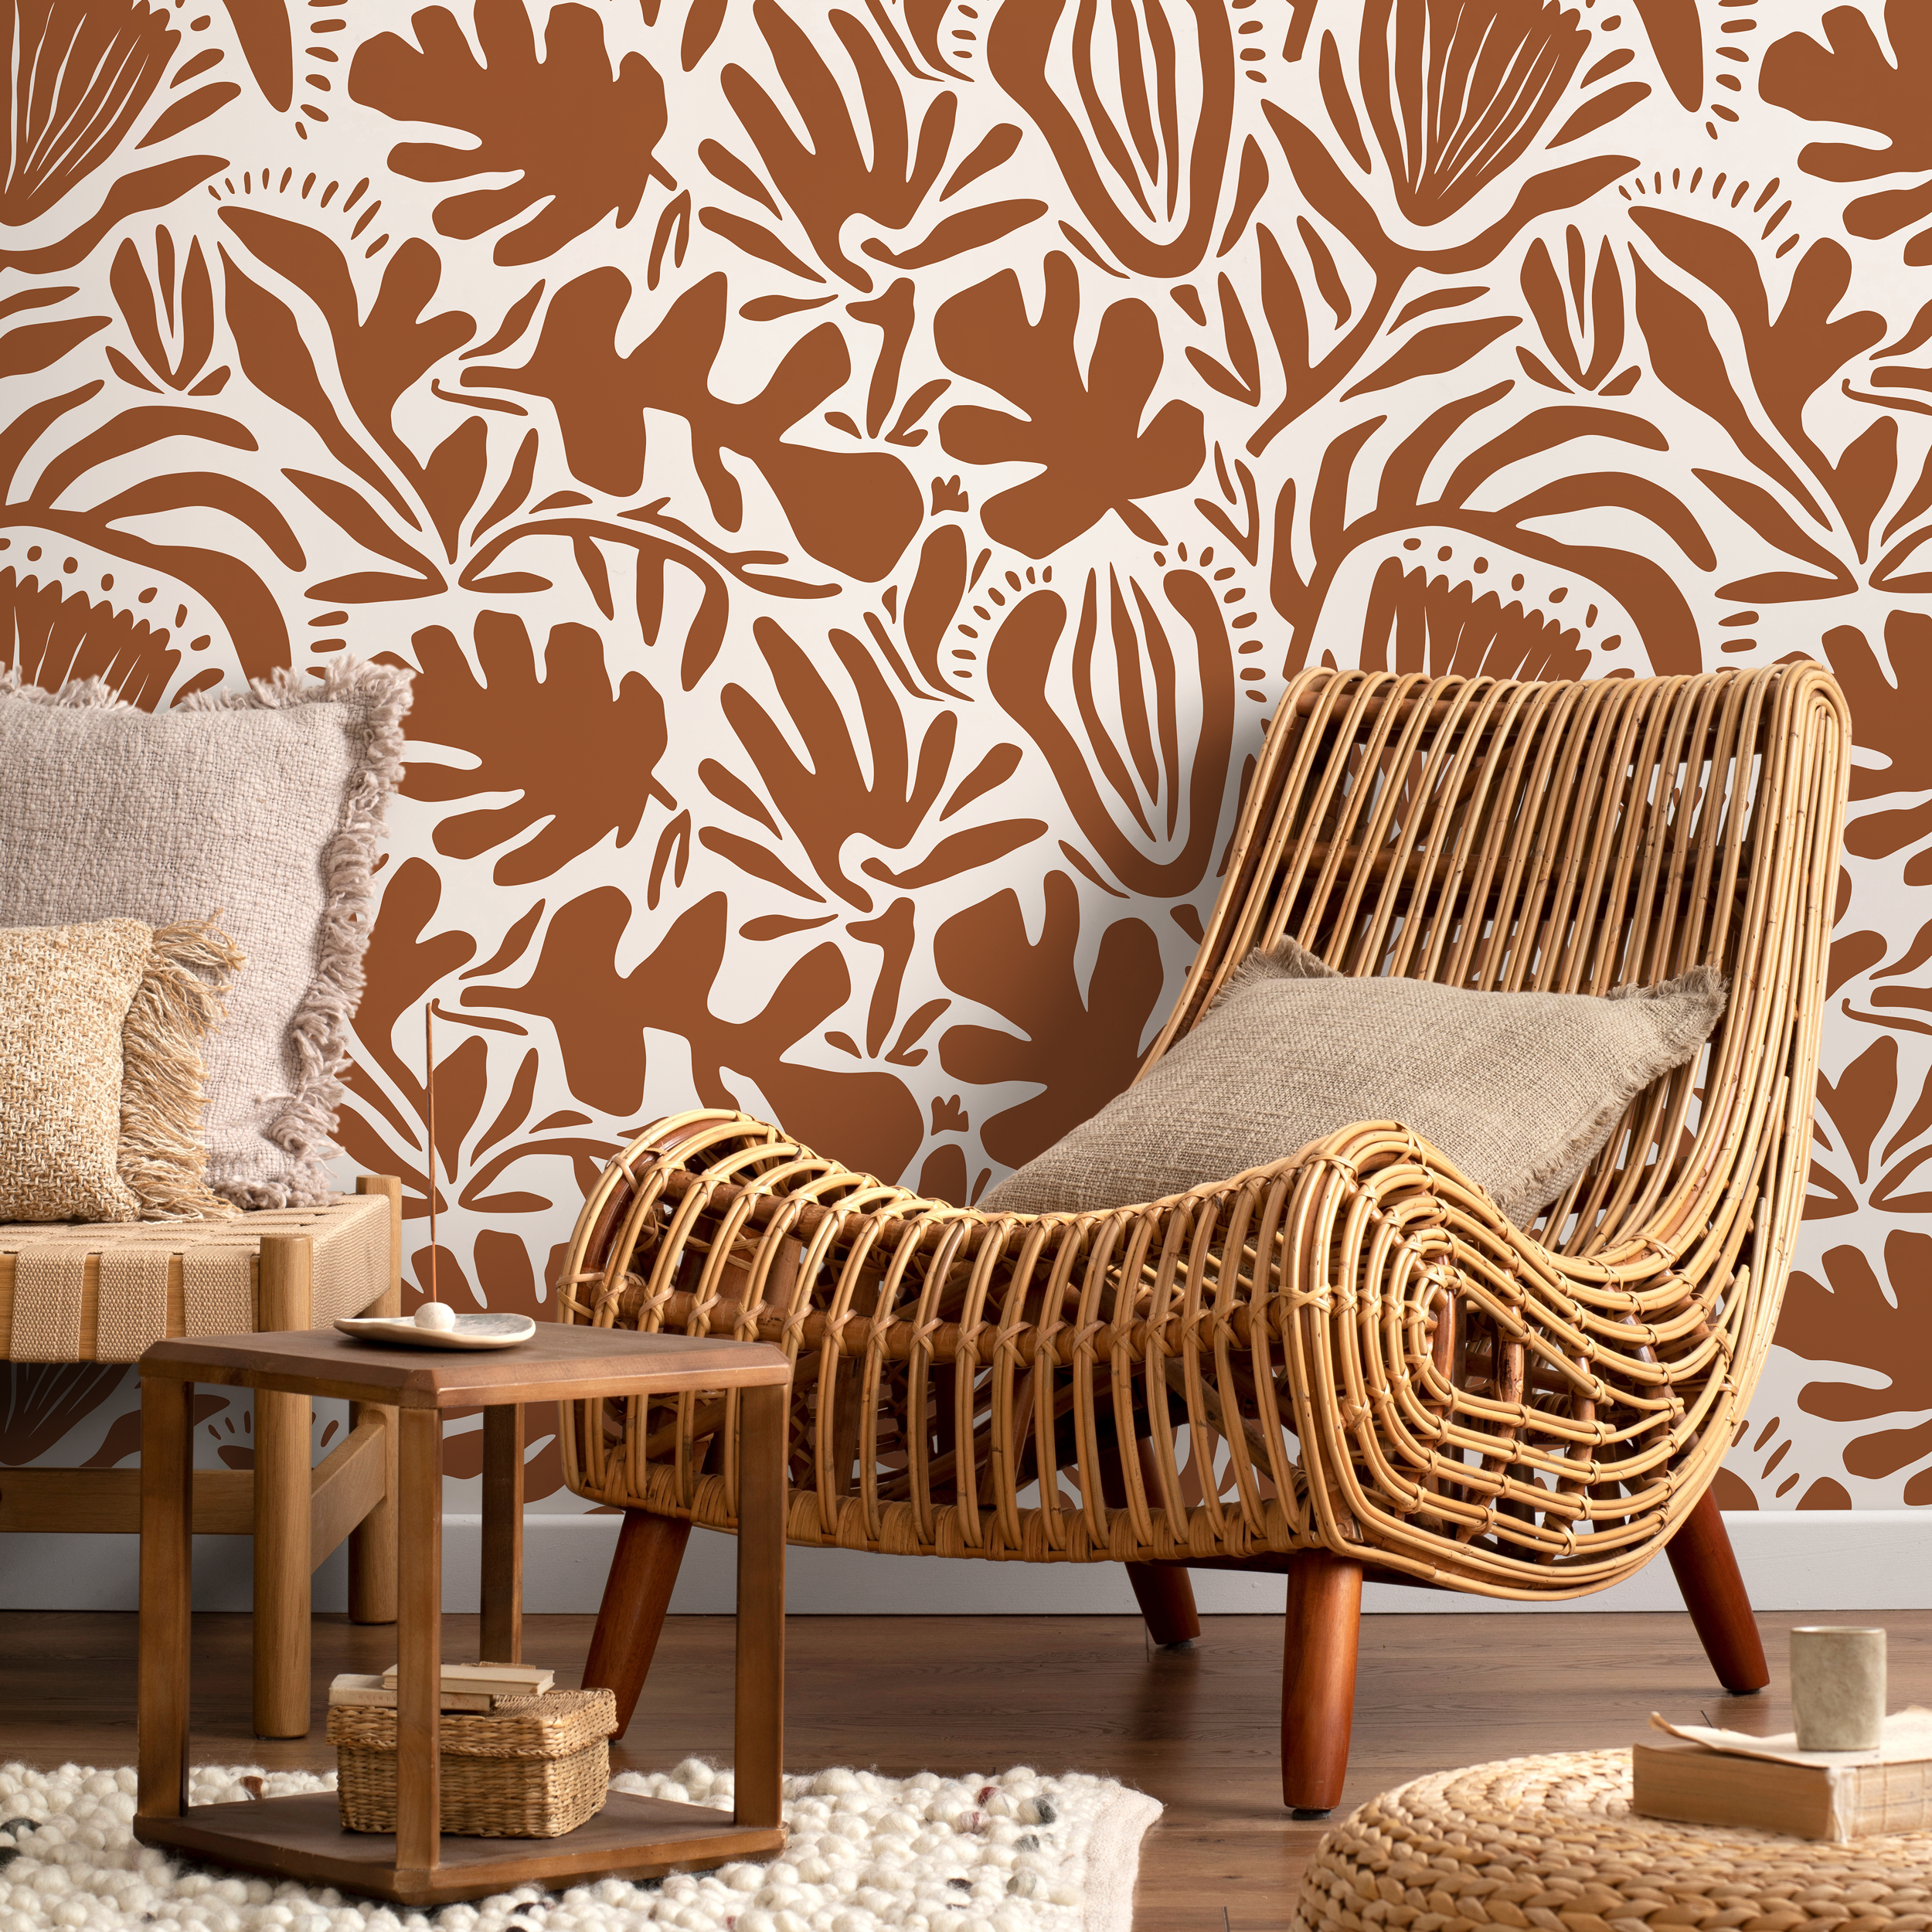
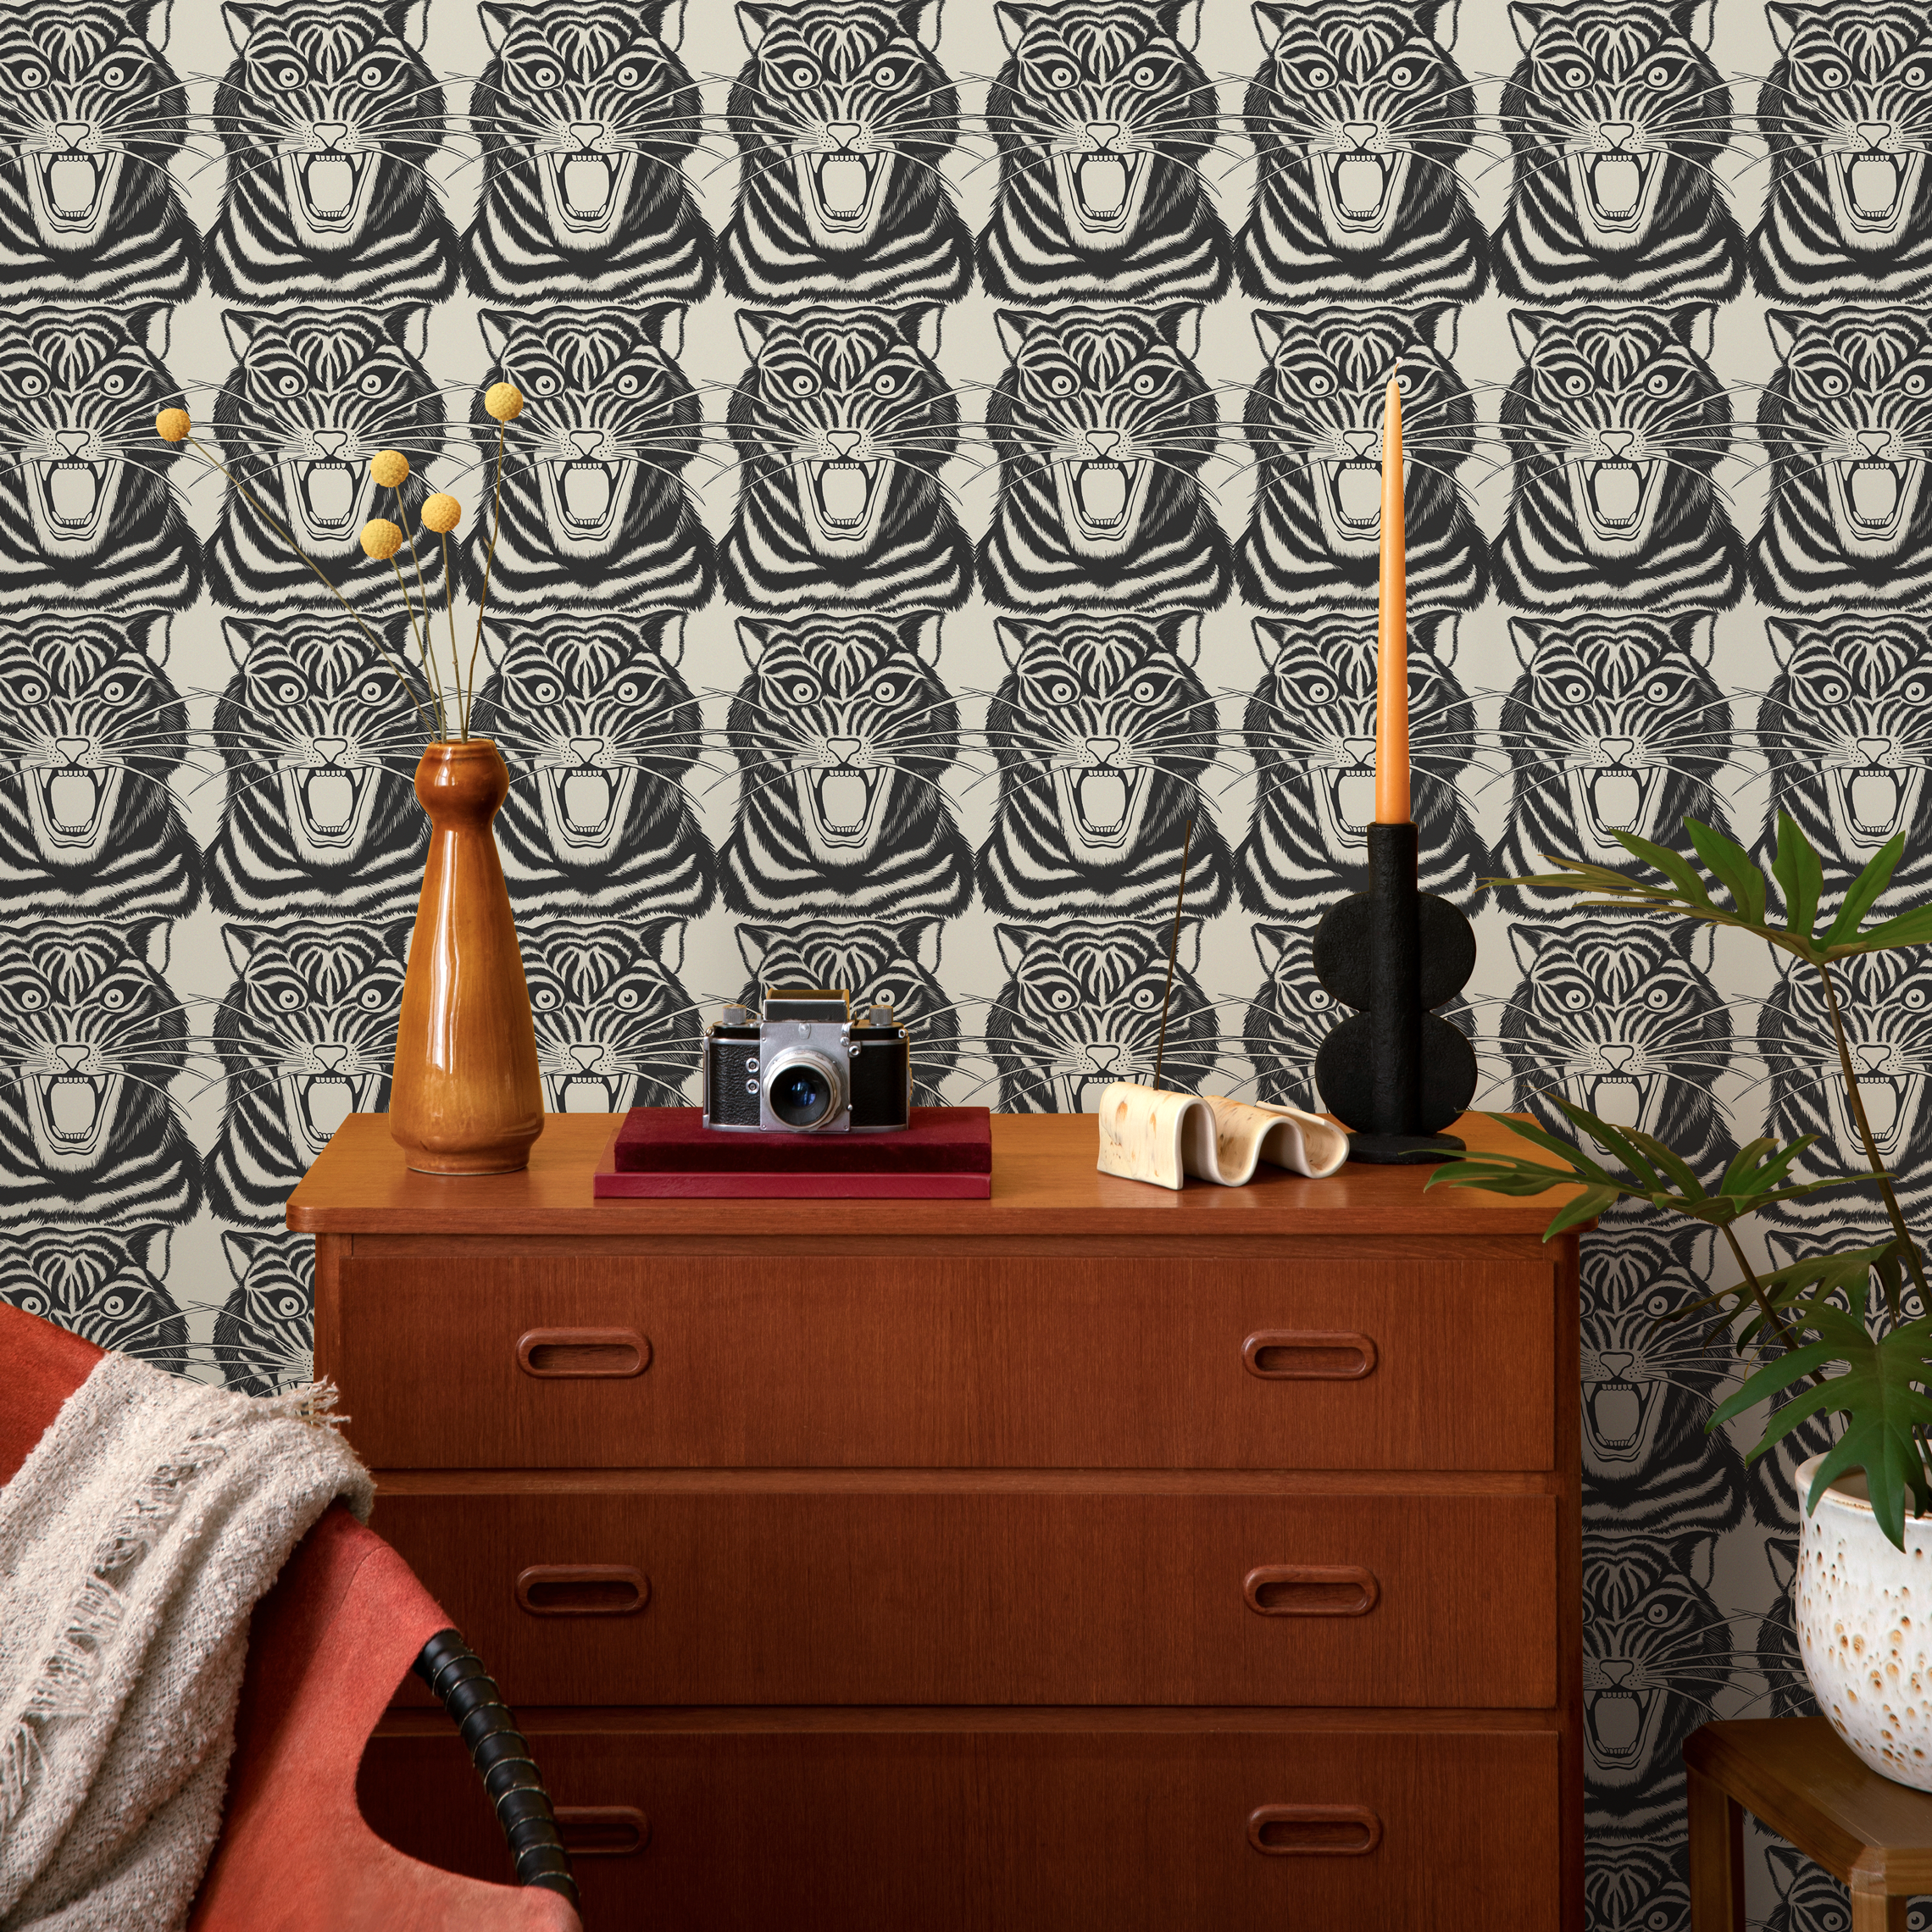
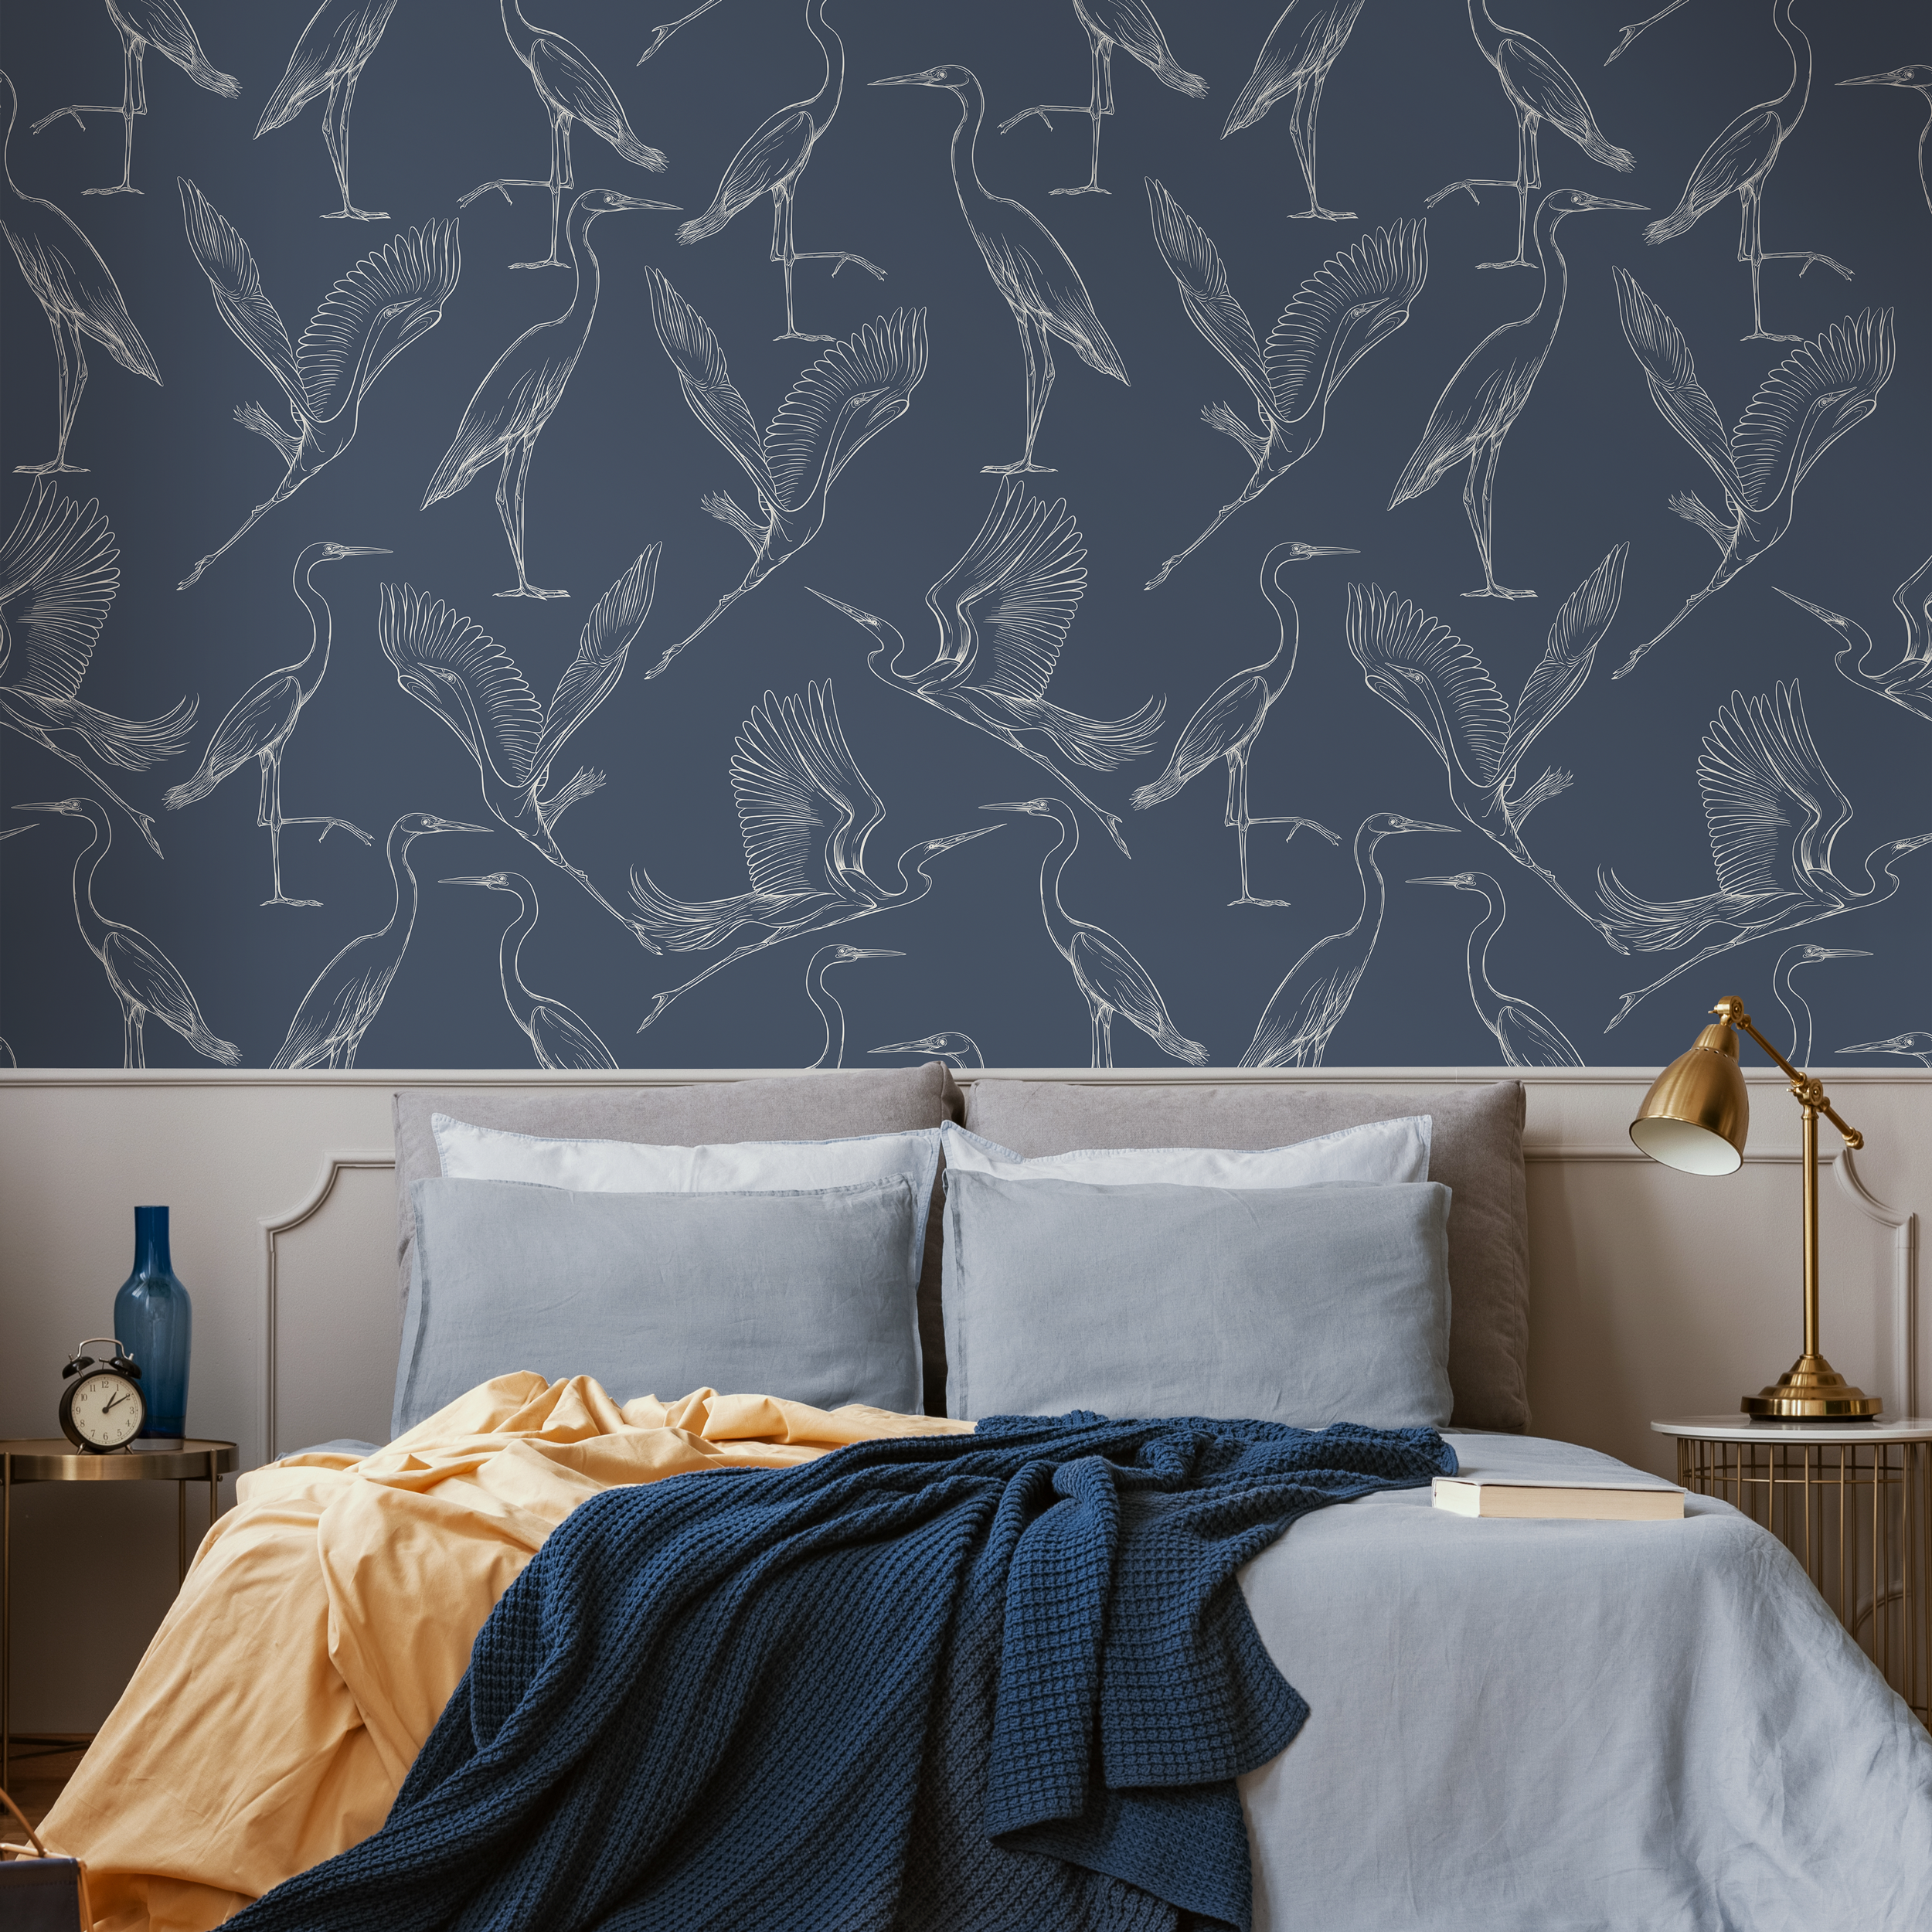
Don't let rough walls deter you from exploring the world of wallpapers. With a plethora of designs and textures available, you can select the perfect one that resonates with your style and enhances the ambiance of your home. You can choose from nature-inspired prints for a calming effect, geometric patterns for a contemporary vibe, or even an alluring modern mural wallpaper for a statement piece.
Remember, wallpapers aren't just about aesthetics. They can also provide a layer of insulation, reduce noise, and hide wall imperfections, offering practical benefits along with visual appeal.
When it comes to options, ONDECOR offers a range of high-quality, eco-friendly wallpapers to suit different design styles and preferences. With our easy-to-apply wallpapers, you can turn your rough walls into a masterpiece that reflects your unique style, enhancing the beauty of your space.
Your walls are your canvas, and wallpaper is your paint. With a bit of patience and creativity, you can transform your rough walls into a stunning feature of your home. So, roll up your sleeves and let the transformation begin!
Remember, your home should tell the story of who you are, and be a collection of what you love. So, don't be afraid to experiment, mix and match, and create a home that truly represents you.
To wrap it up, wallpapering on rough walls is not just possible; it's a fantastic way to inject character and style into your space. So, don't let the texture of your walls limit your creativity. Instead, embrace the challenge and let the transformation begin!
Share