


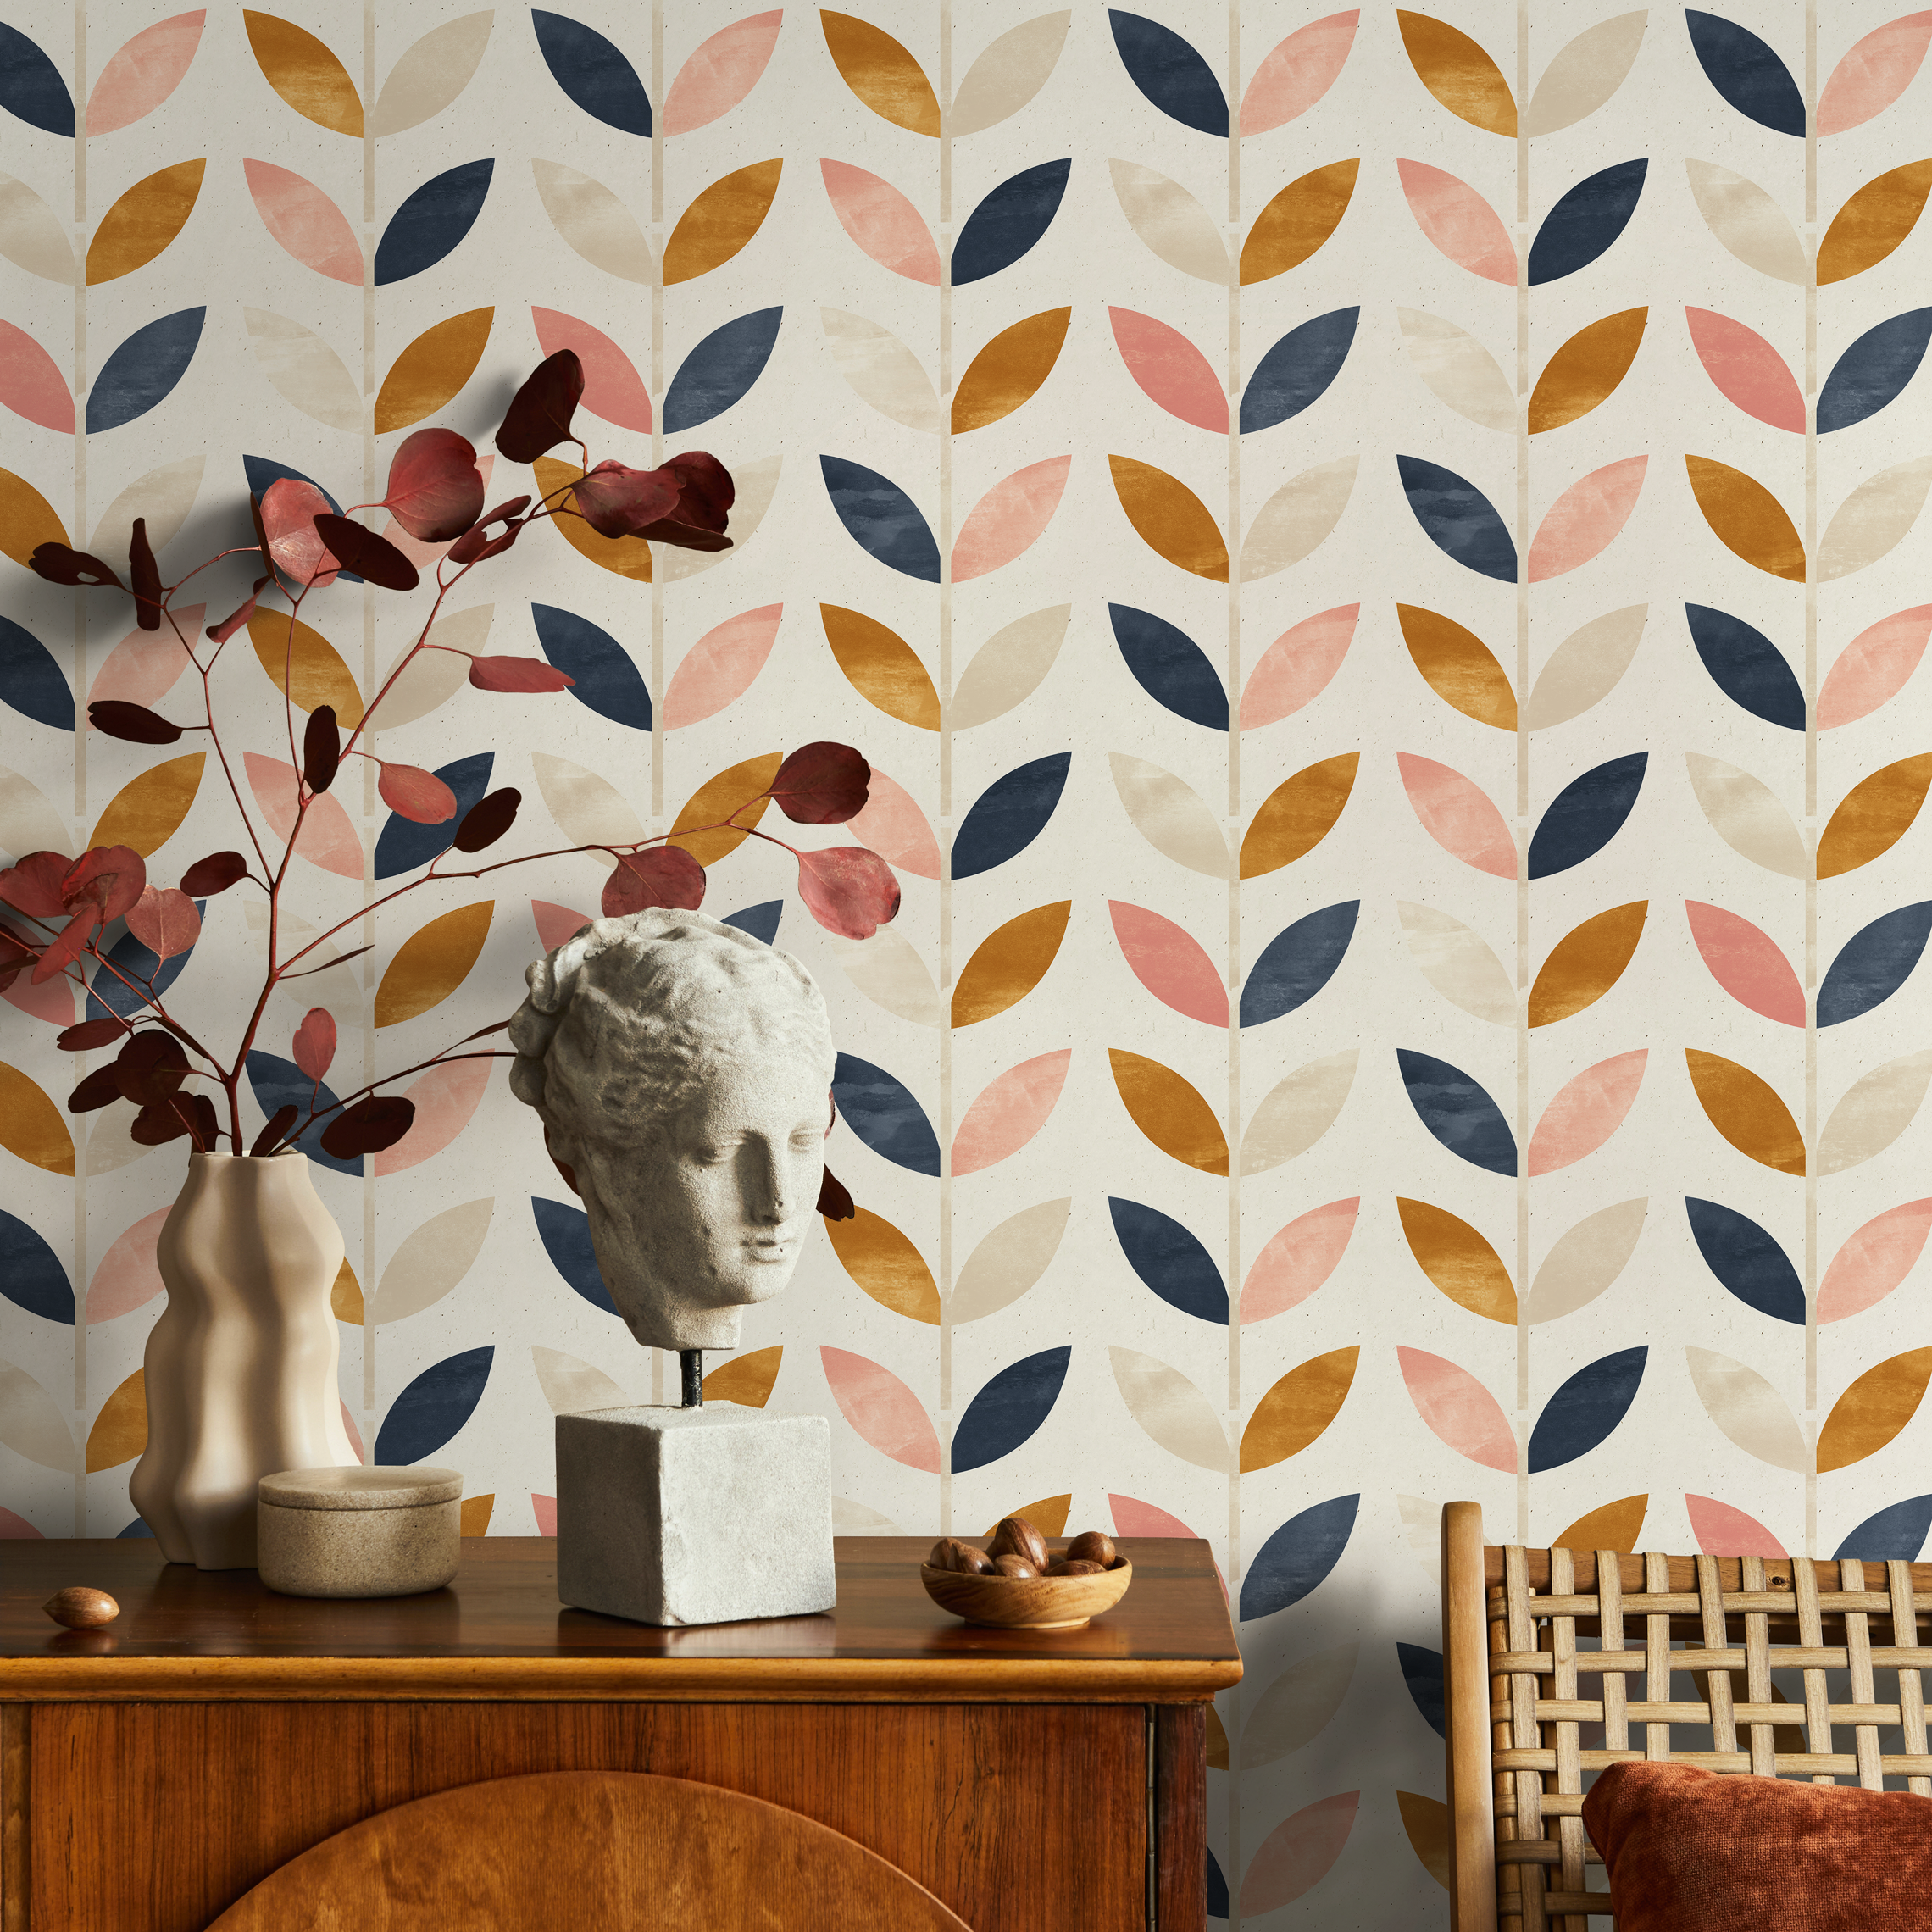

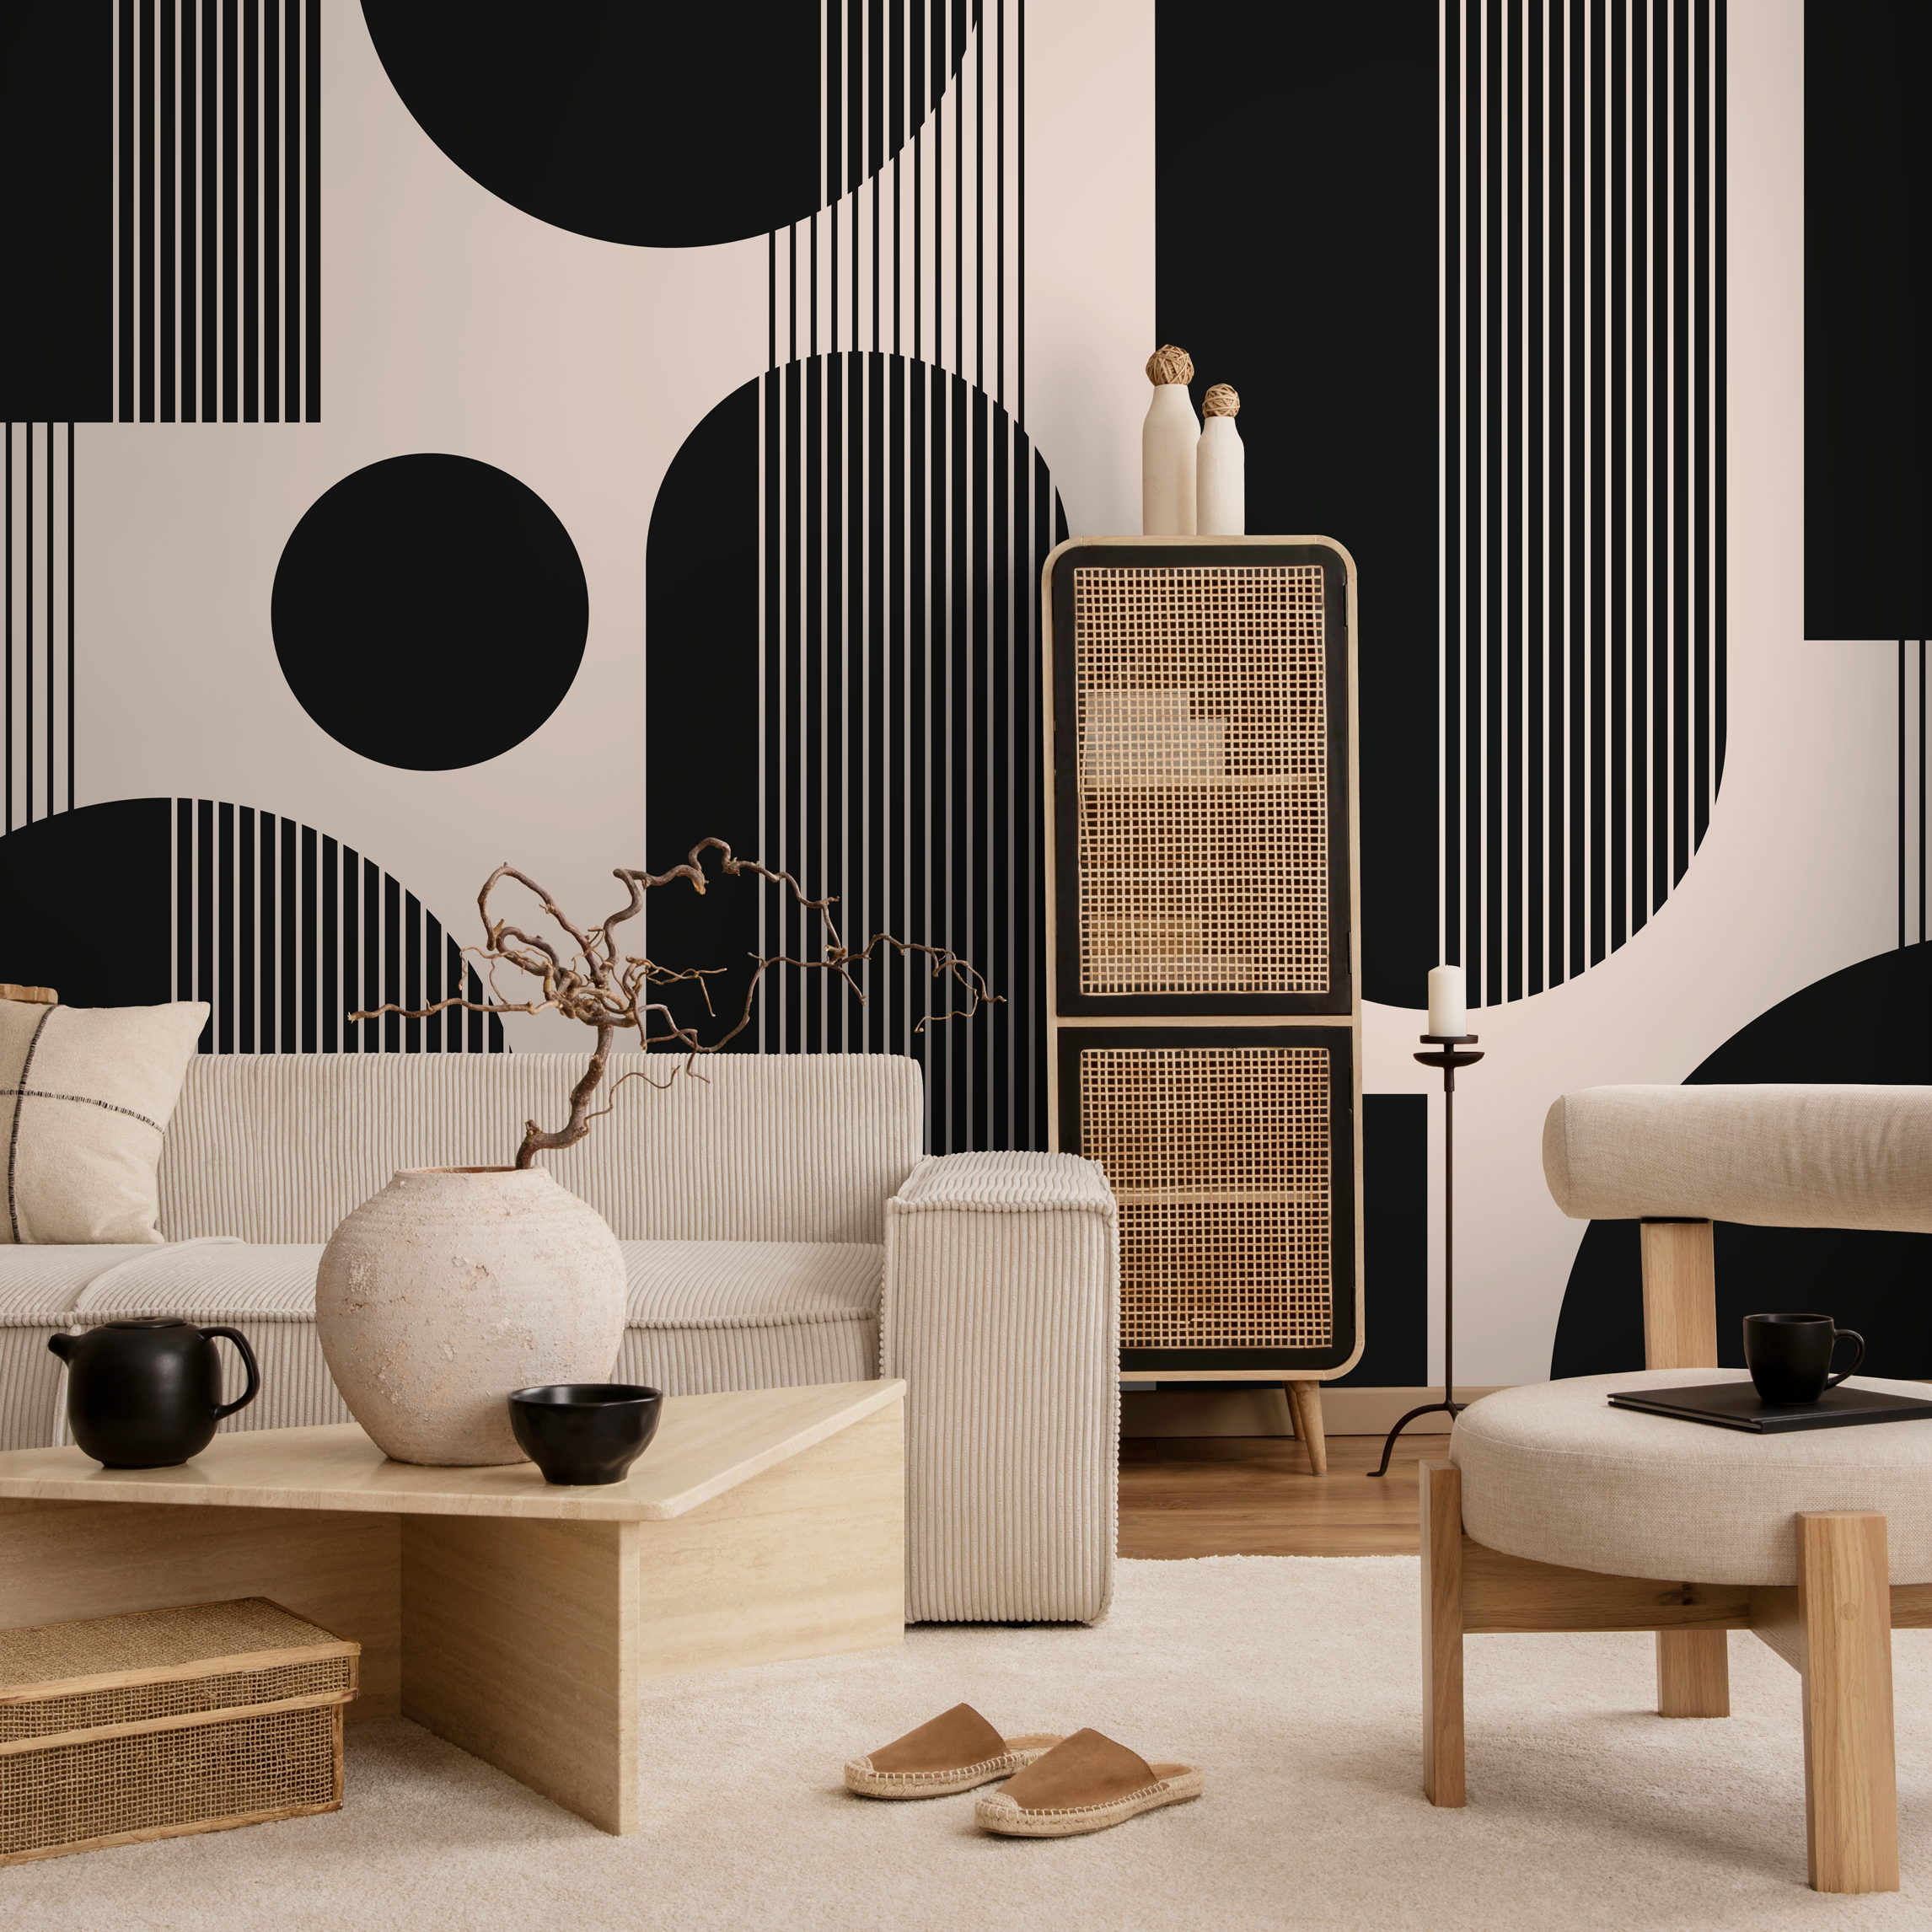


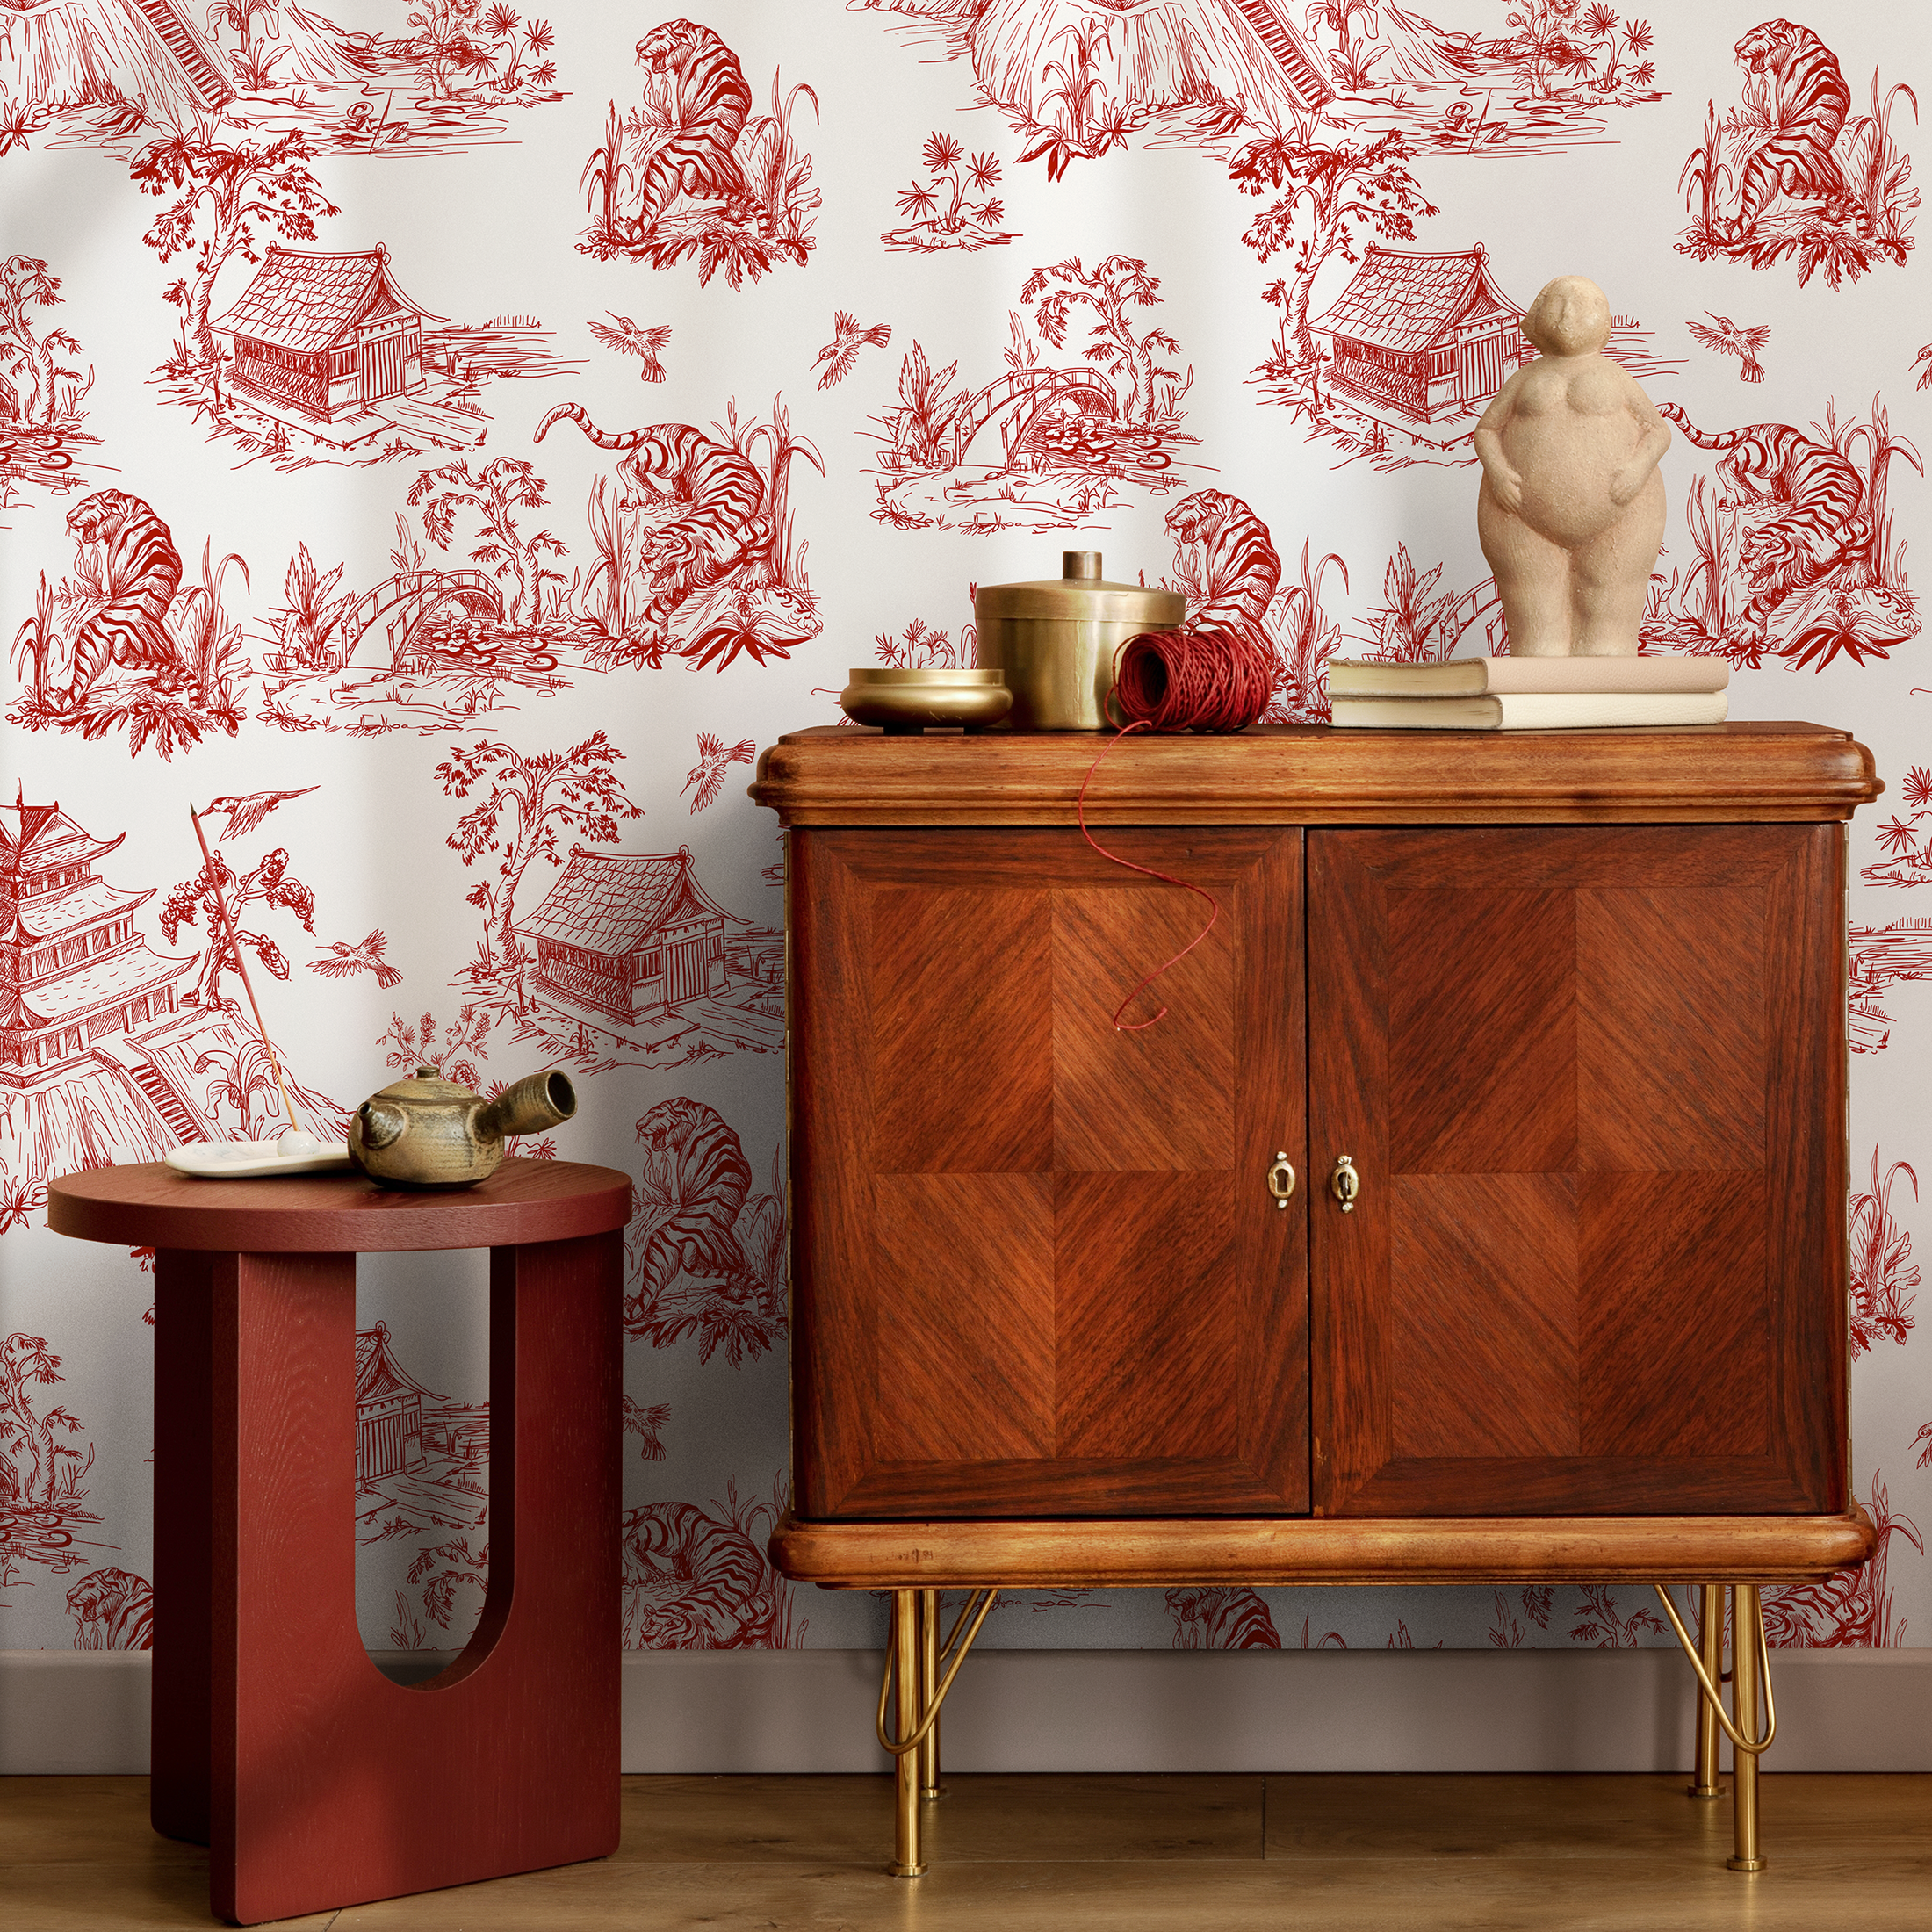
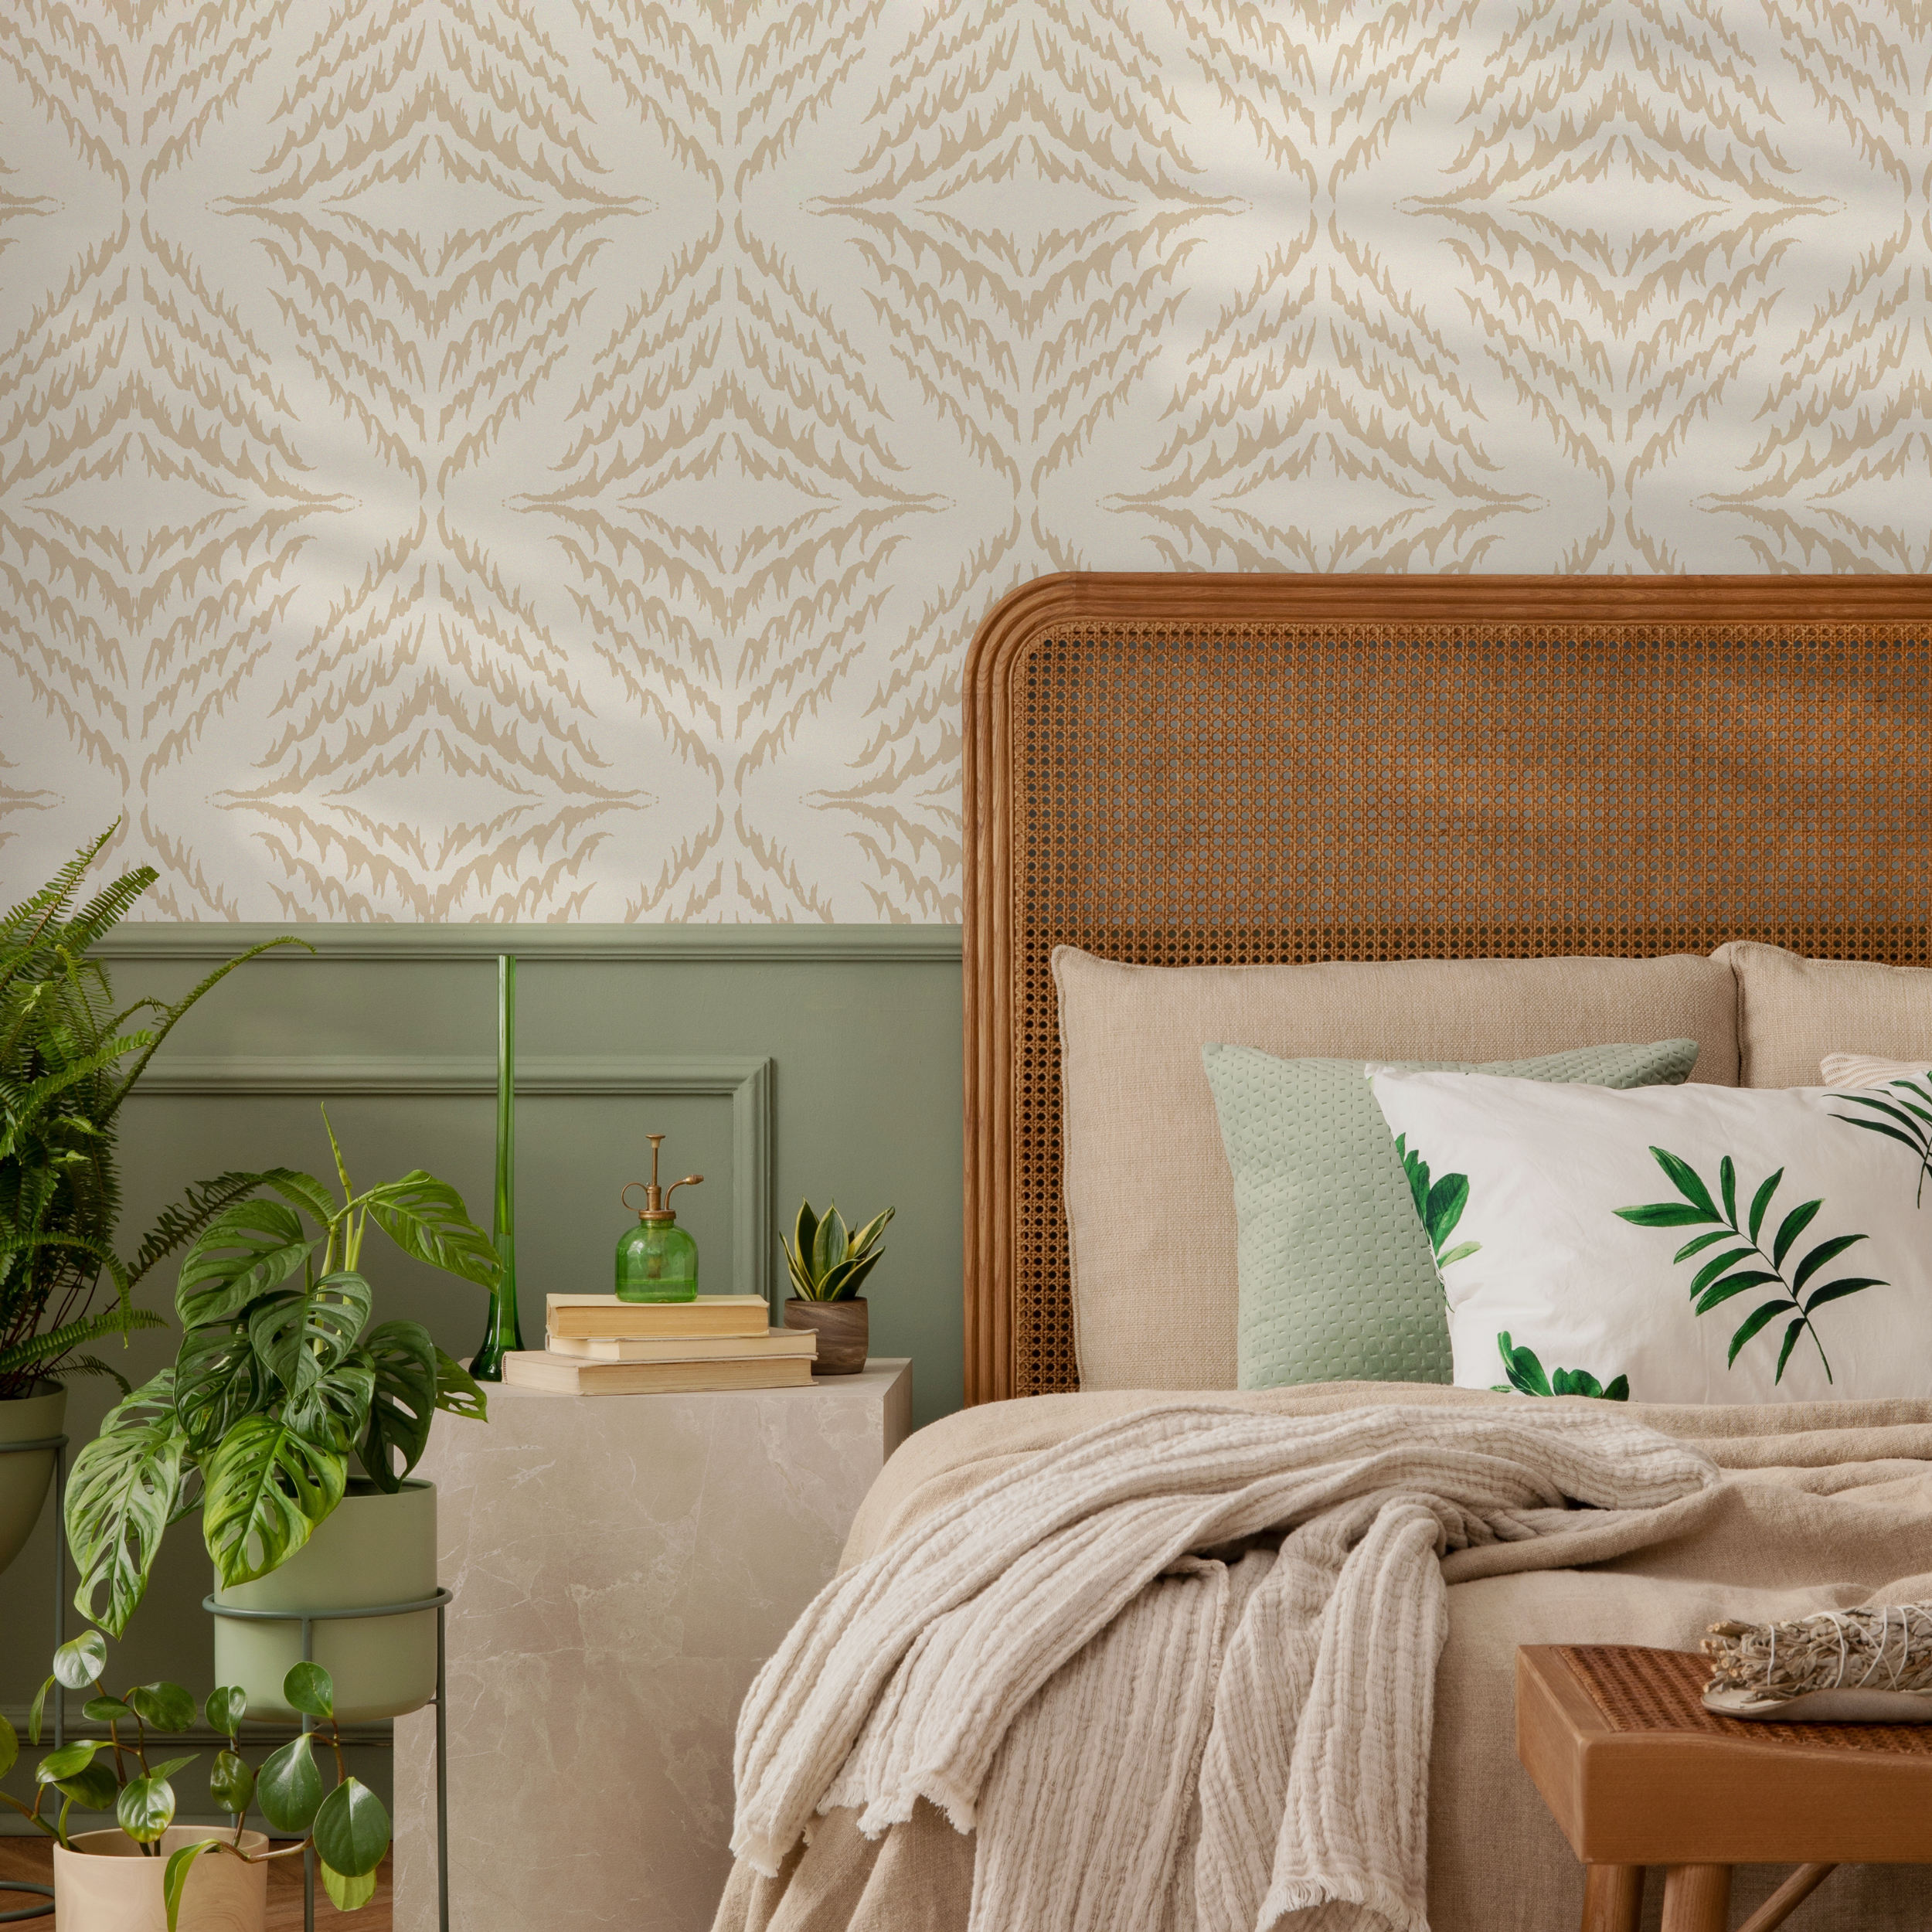

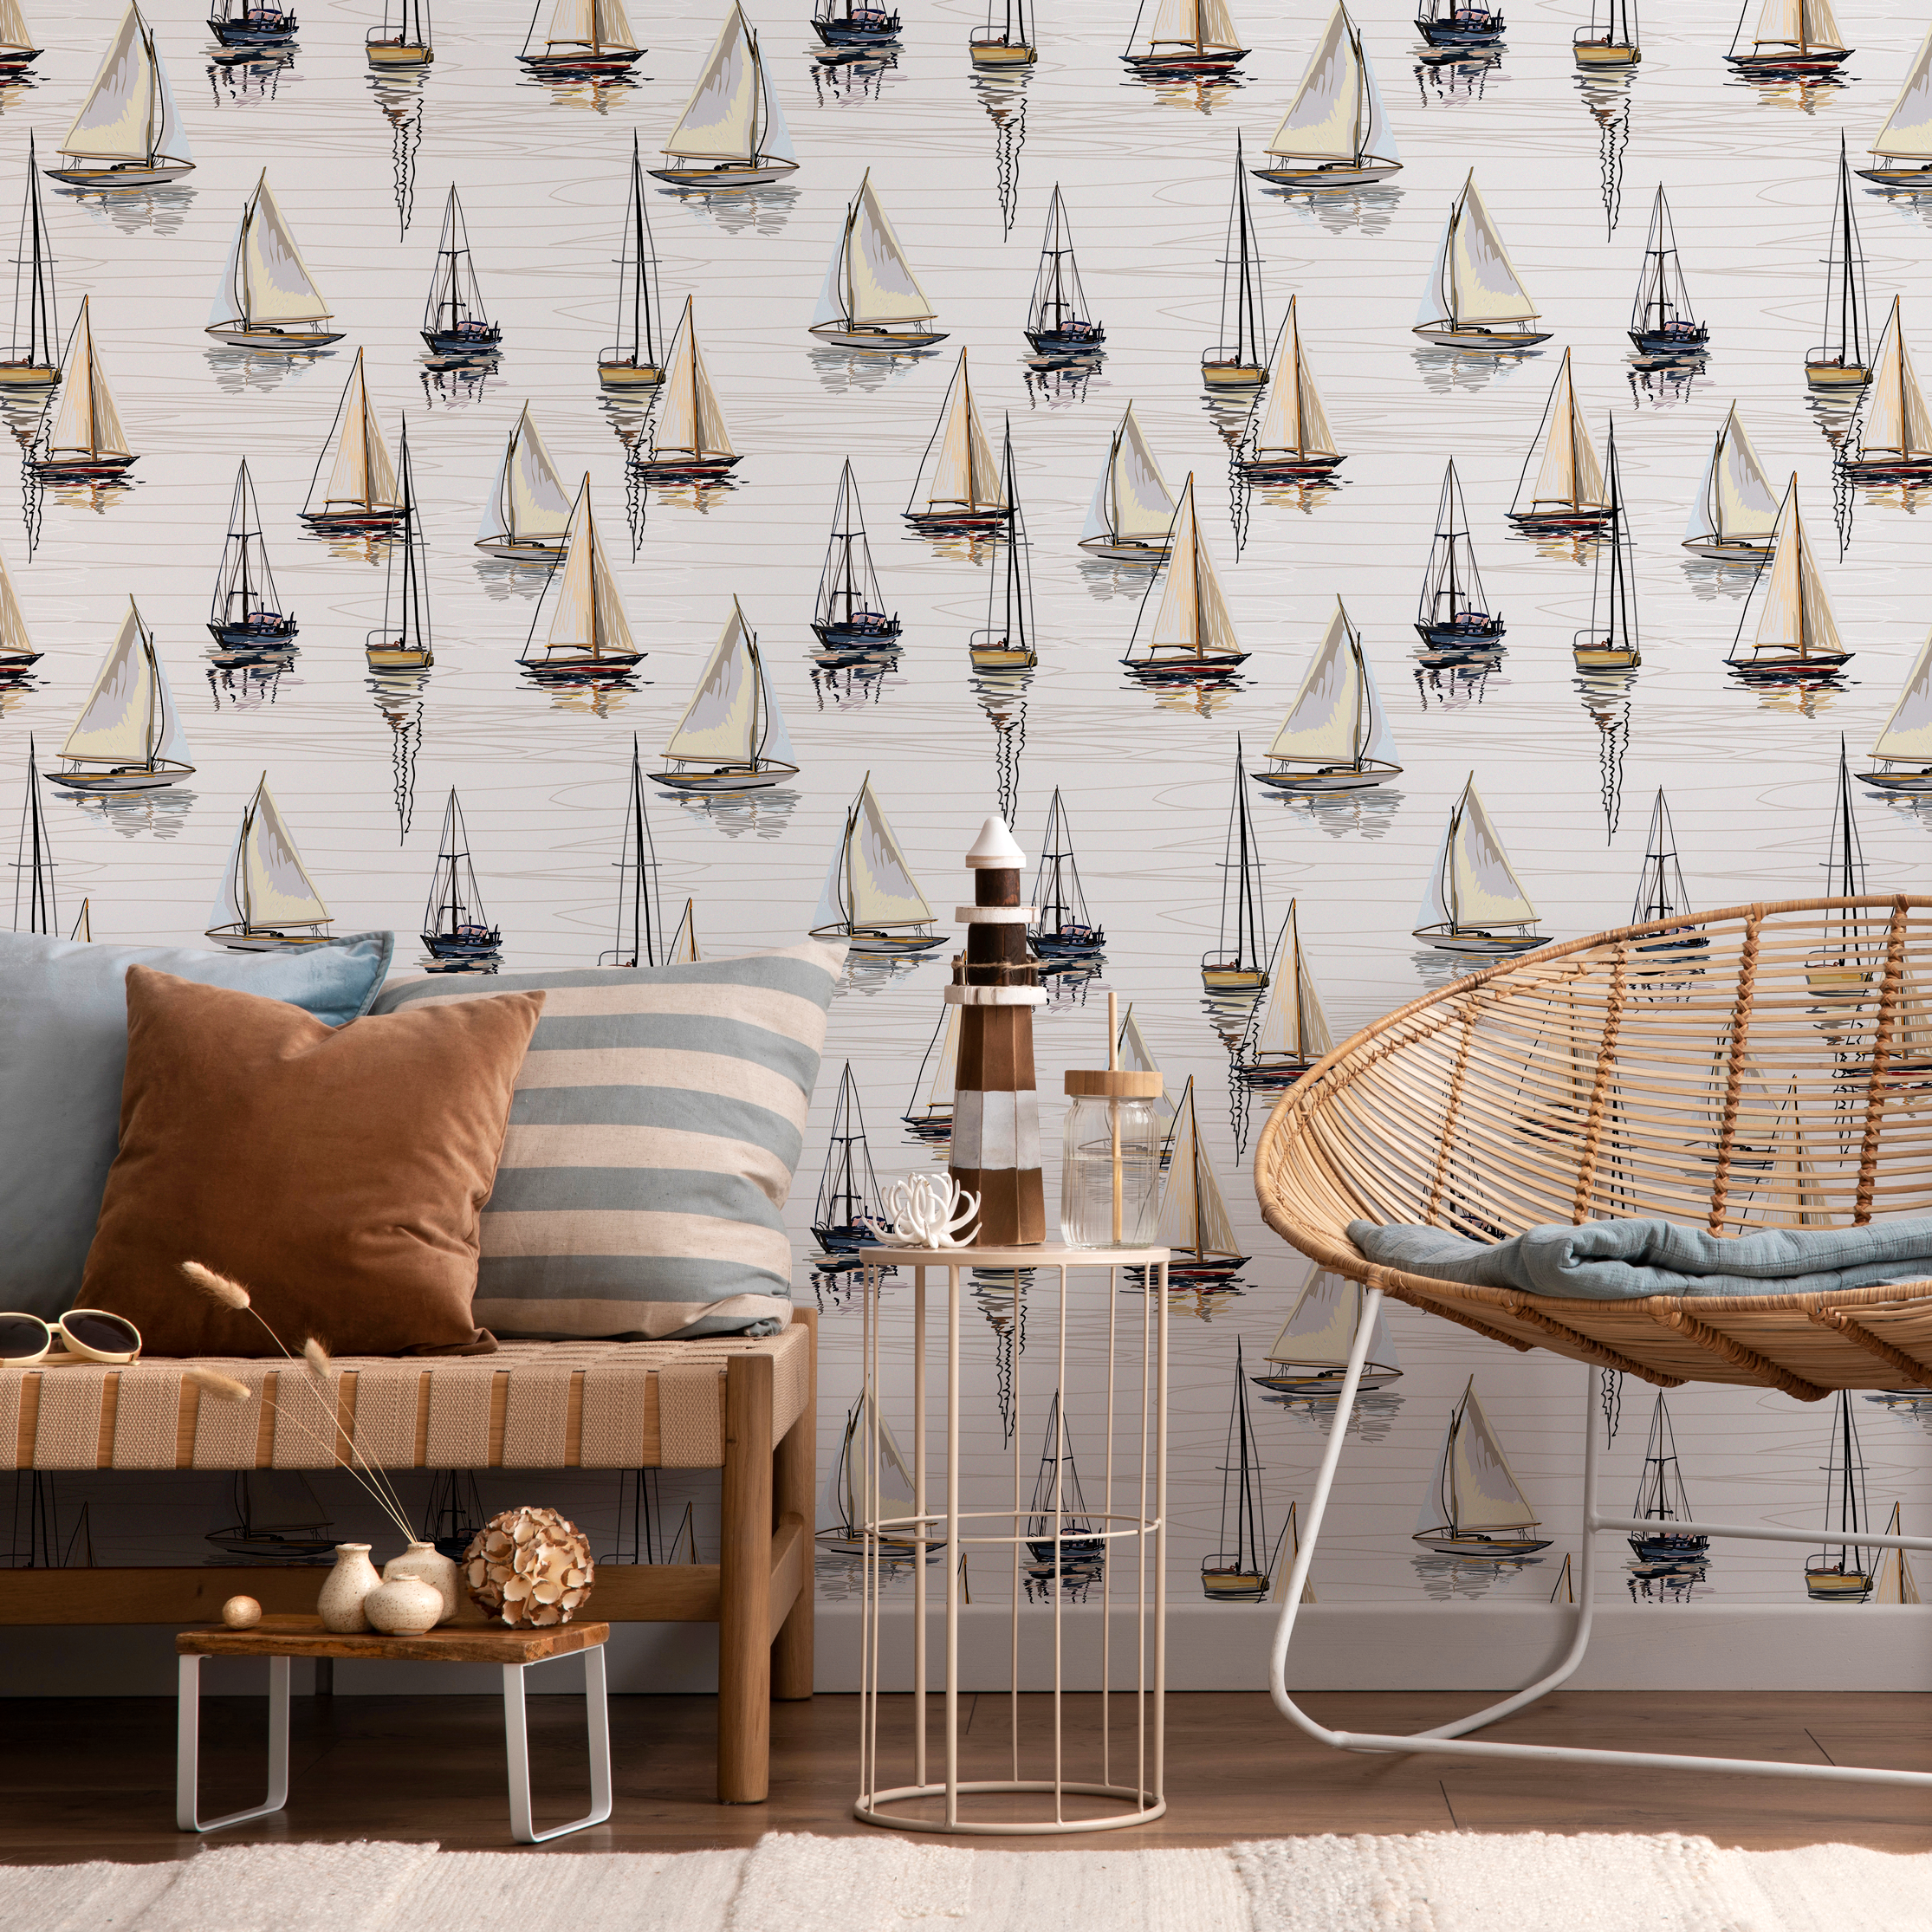
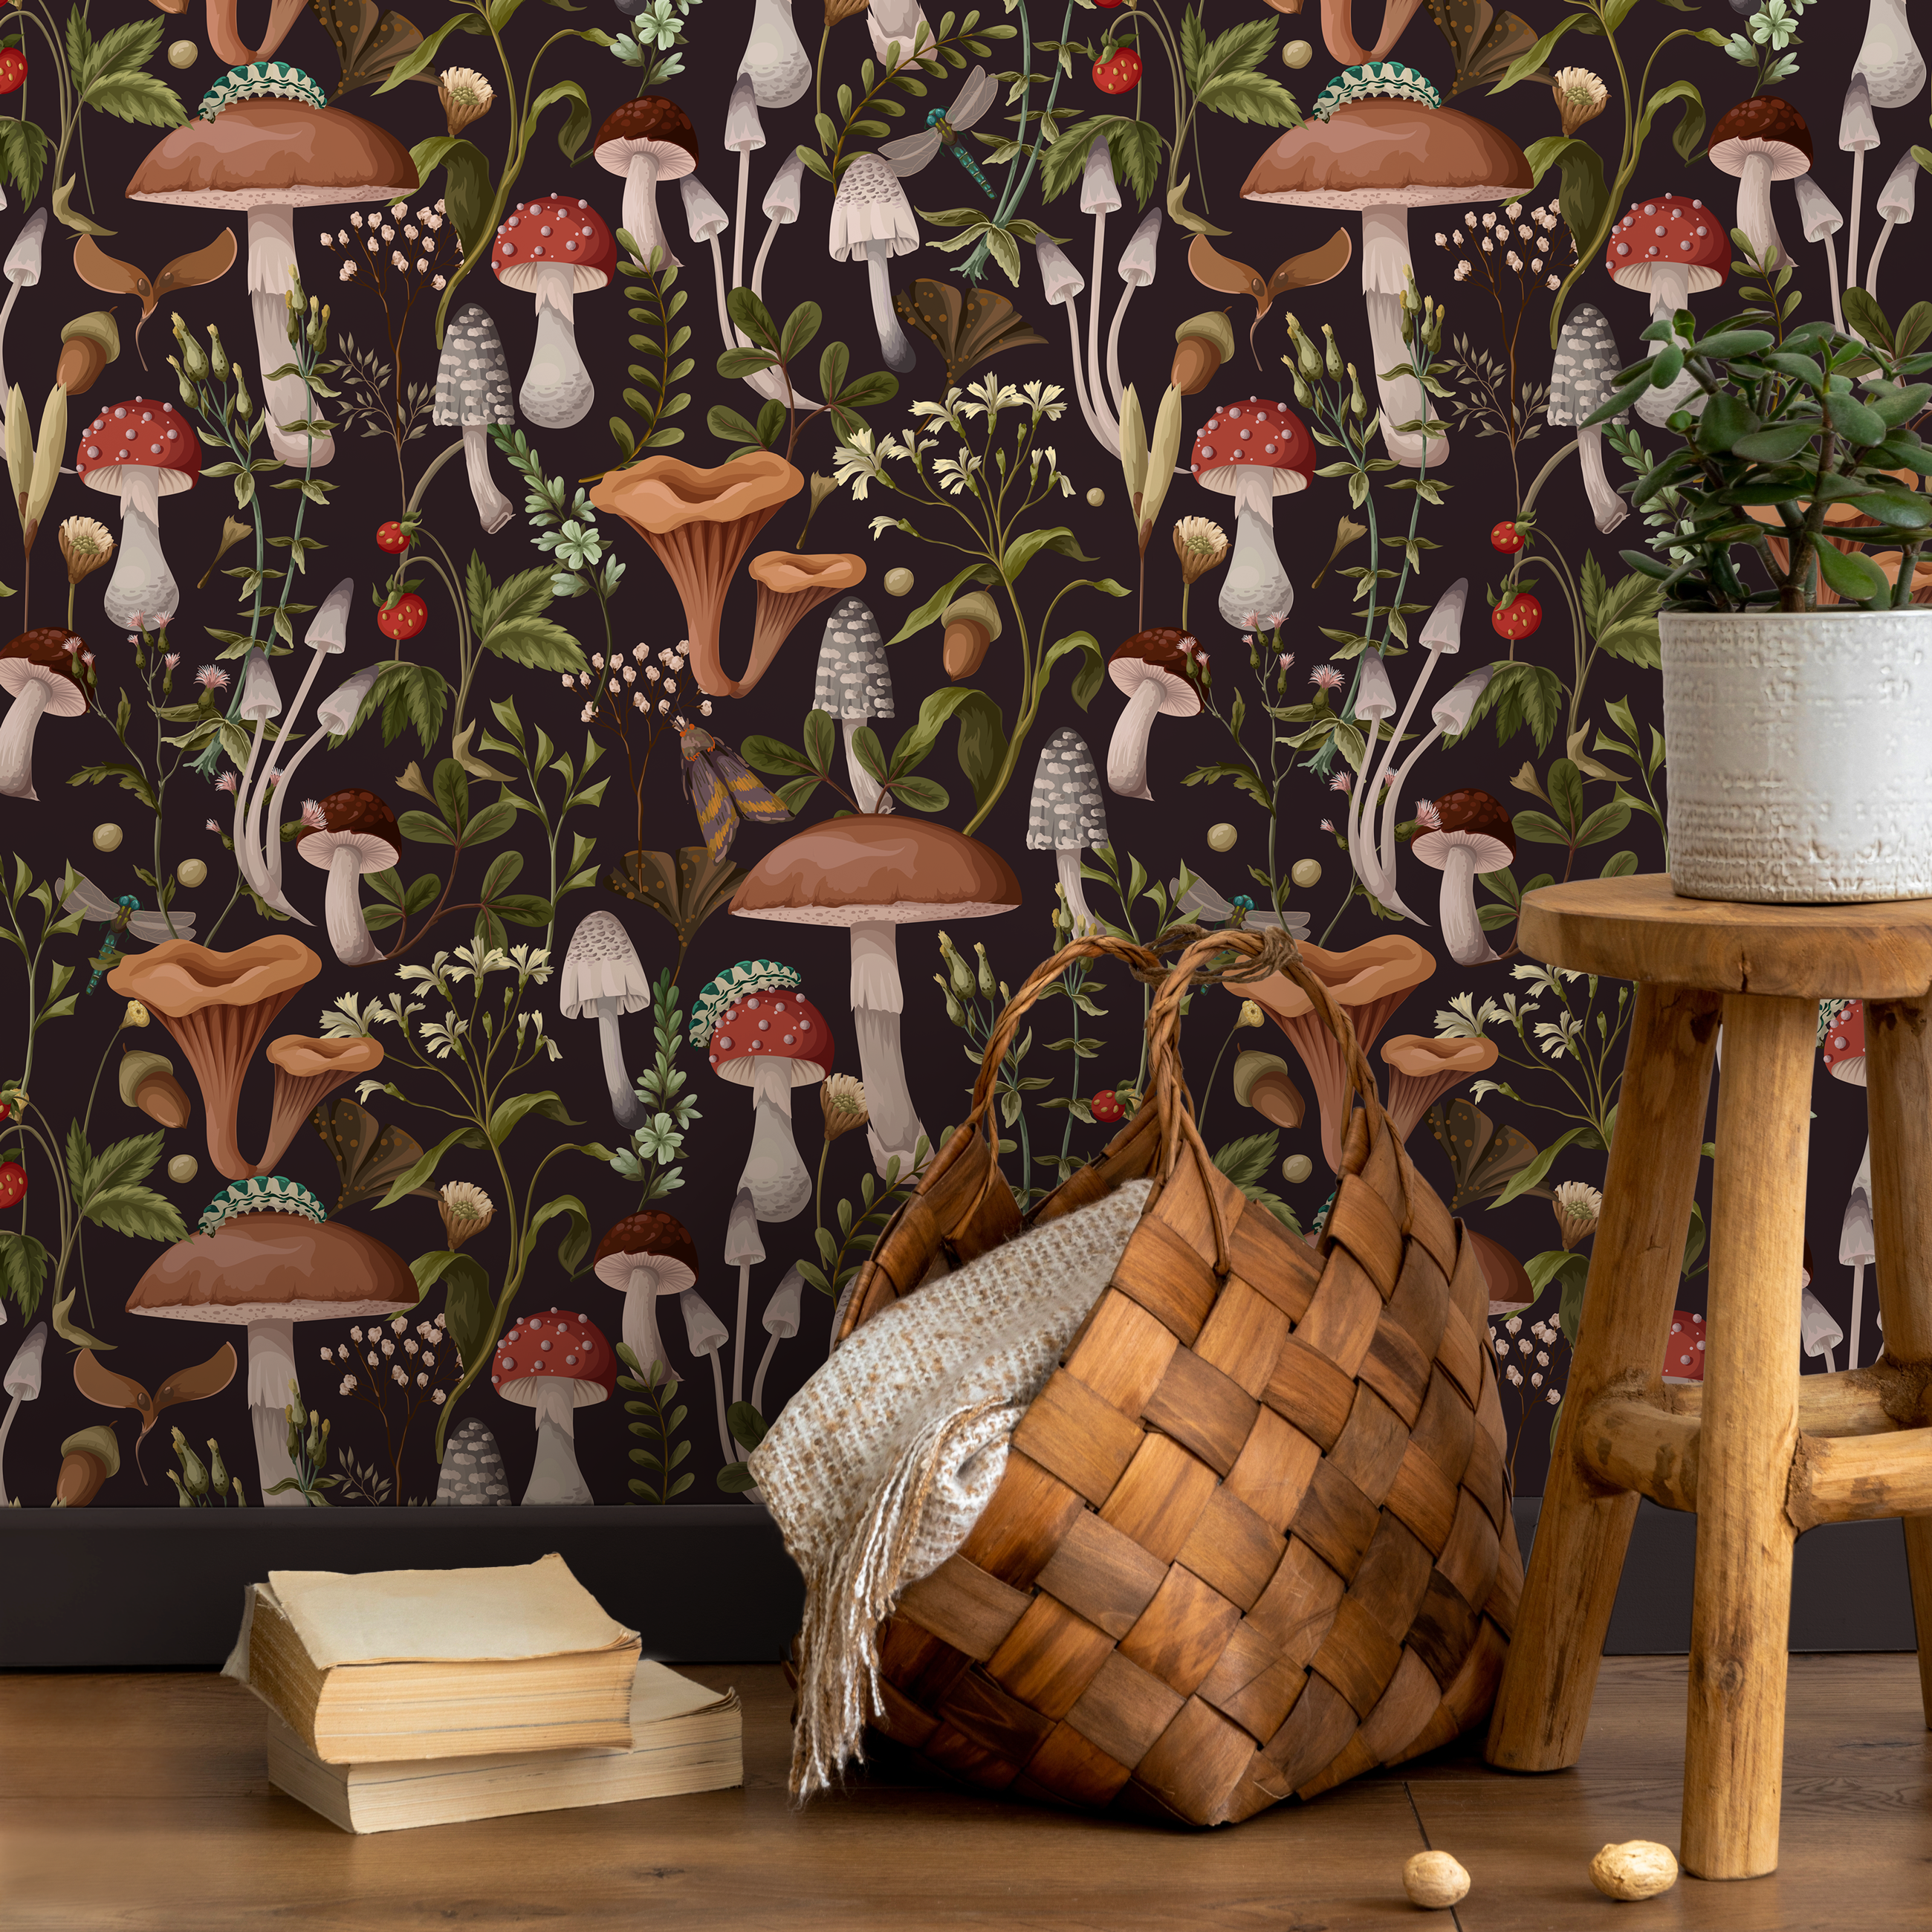


How to Install Wallpaper: The Complete DIY Guide
Learning how to install wallpaper is mostly about preparation, patience, and clean alignment. The process is approachable for a first-time DIYer, especially with peel-and-stick wallpaper, but the best results come from measuring carefully, smoothing slowly, and fixing small issues before they become visible across the wall.
This guide covers tools, wall prep, peel-and-stick installation, traditional paste wallpaper, corners, outlets, common mistakes, and when to call a professional. Use it before ordering so you understand the project from start to finish.
## How to Install Wallpaper: Tools You'll Need
For most DIY wallpaper projects, gather these tools before opening the first roll or panel:
- Tape measure
- Pencil
- Level or laser level
- Smoothing tool or wallpaper smoother
- Sharp utility knife with extra blades
- Straight edge
- Step ladder
- Clean cloth or sponge
- Mild wall cleaner
- Drop cloth
- Seam roller, if recommended for your wallpaper type
- Paste, brush, tray, and water bucket for paste wallpaper
For peel-and-stick wallpaper, you usually do not need paste. For traditional wallpaper, follow the adhesive instructions for the product you choose.
It is also worth setting up the room before you start. Move furniture away from the wall, protect the floor, and create a clean cutting surface. Keep extra blades nearby because wallpaper cuts best with a sharp edge. A blade that feels only slightly dull can drag the paper, especially around trim and corners.
## How to Prep Your Walls
Wall prep is the part of wallpaper installation that most affects the final result. Wallpaper needs a smooth, clean, dry surface. Dust, grease, peeling paint, holes, and texture can all cause poor adhesion or visible bumps.
Start by removing art, shelves, outlet covers, and switch plates. Patch holes and sand raised spots. Clean the wall with a mild solution, then let it dry completely. If the wall was recently painted, wait until the paint has fully cured before installing wallpaper. Many paint products need more than a few days before adhesive products should be applied.
Check the wall from the side with a light. Small bumps become more visible after wallpaper is installed, especially with smooth or light-colored designs.
If your wall has heavy orange-peel texture, knockdown texture, or old wallpaper residue, address that before installing. Peel-and-stick wallpaper usually performs best on smooth painted walls. Traditional wallpaper may hide very minor imperfections, but it will not fix damaged drywall or loose paint. If you are unsure, test a small area first and wait long enough to confirm adhesion.
Marking the wall also helps. Measure the panel width, then draw a light plumb line where the first panel edge should sit. Continue checking with a level every few panels. Even a small drift can become noticeable by the end of a wall.
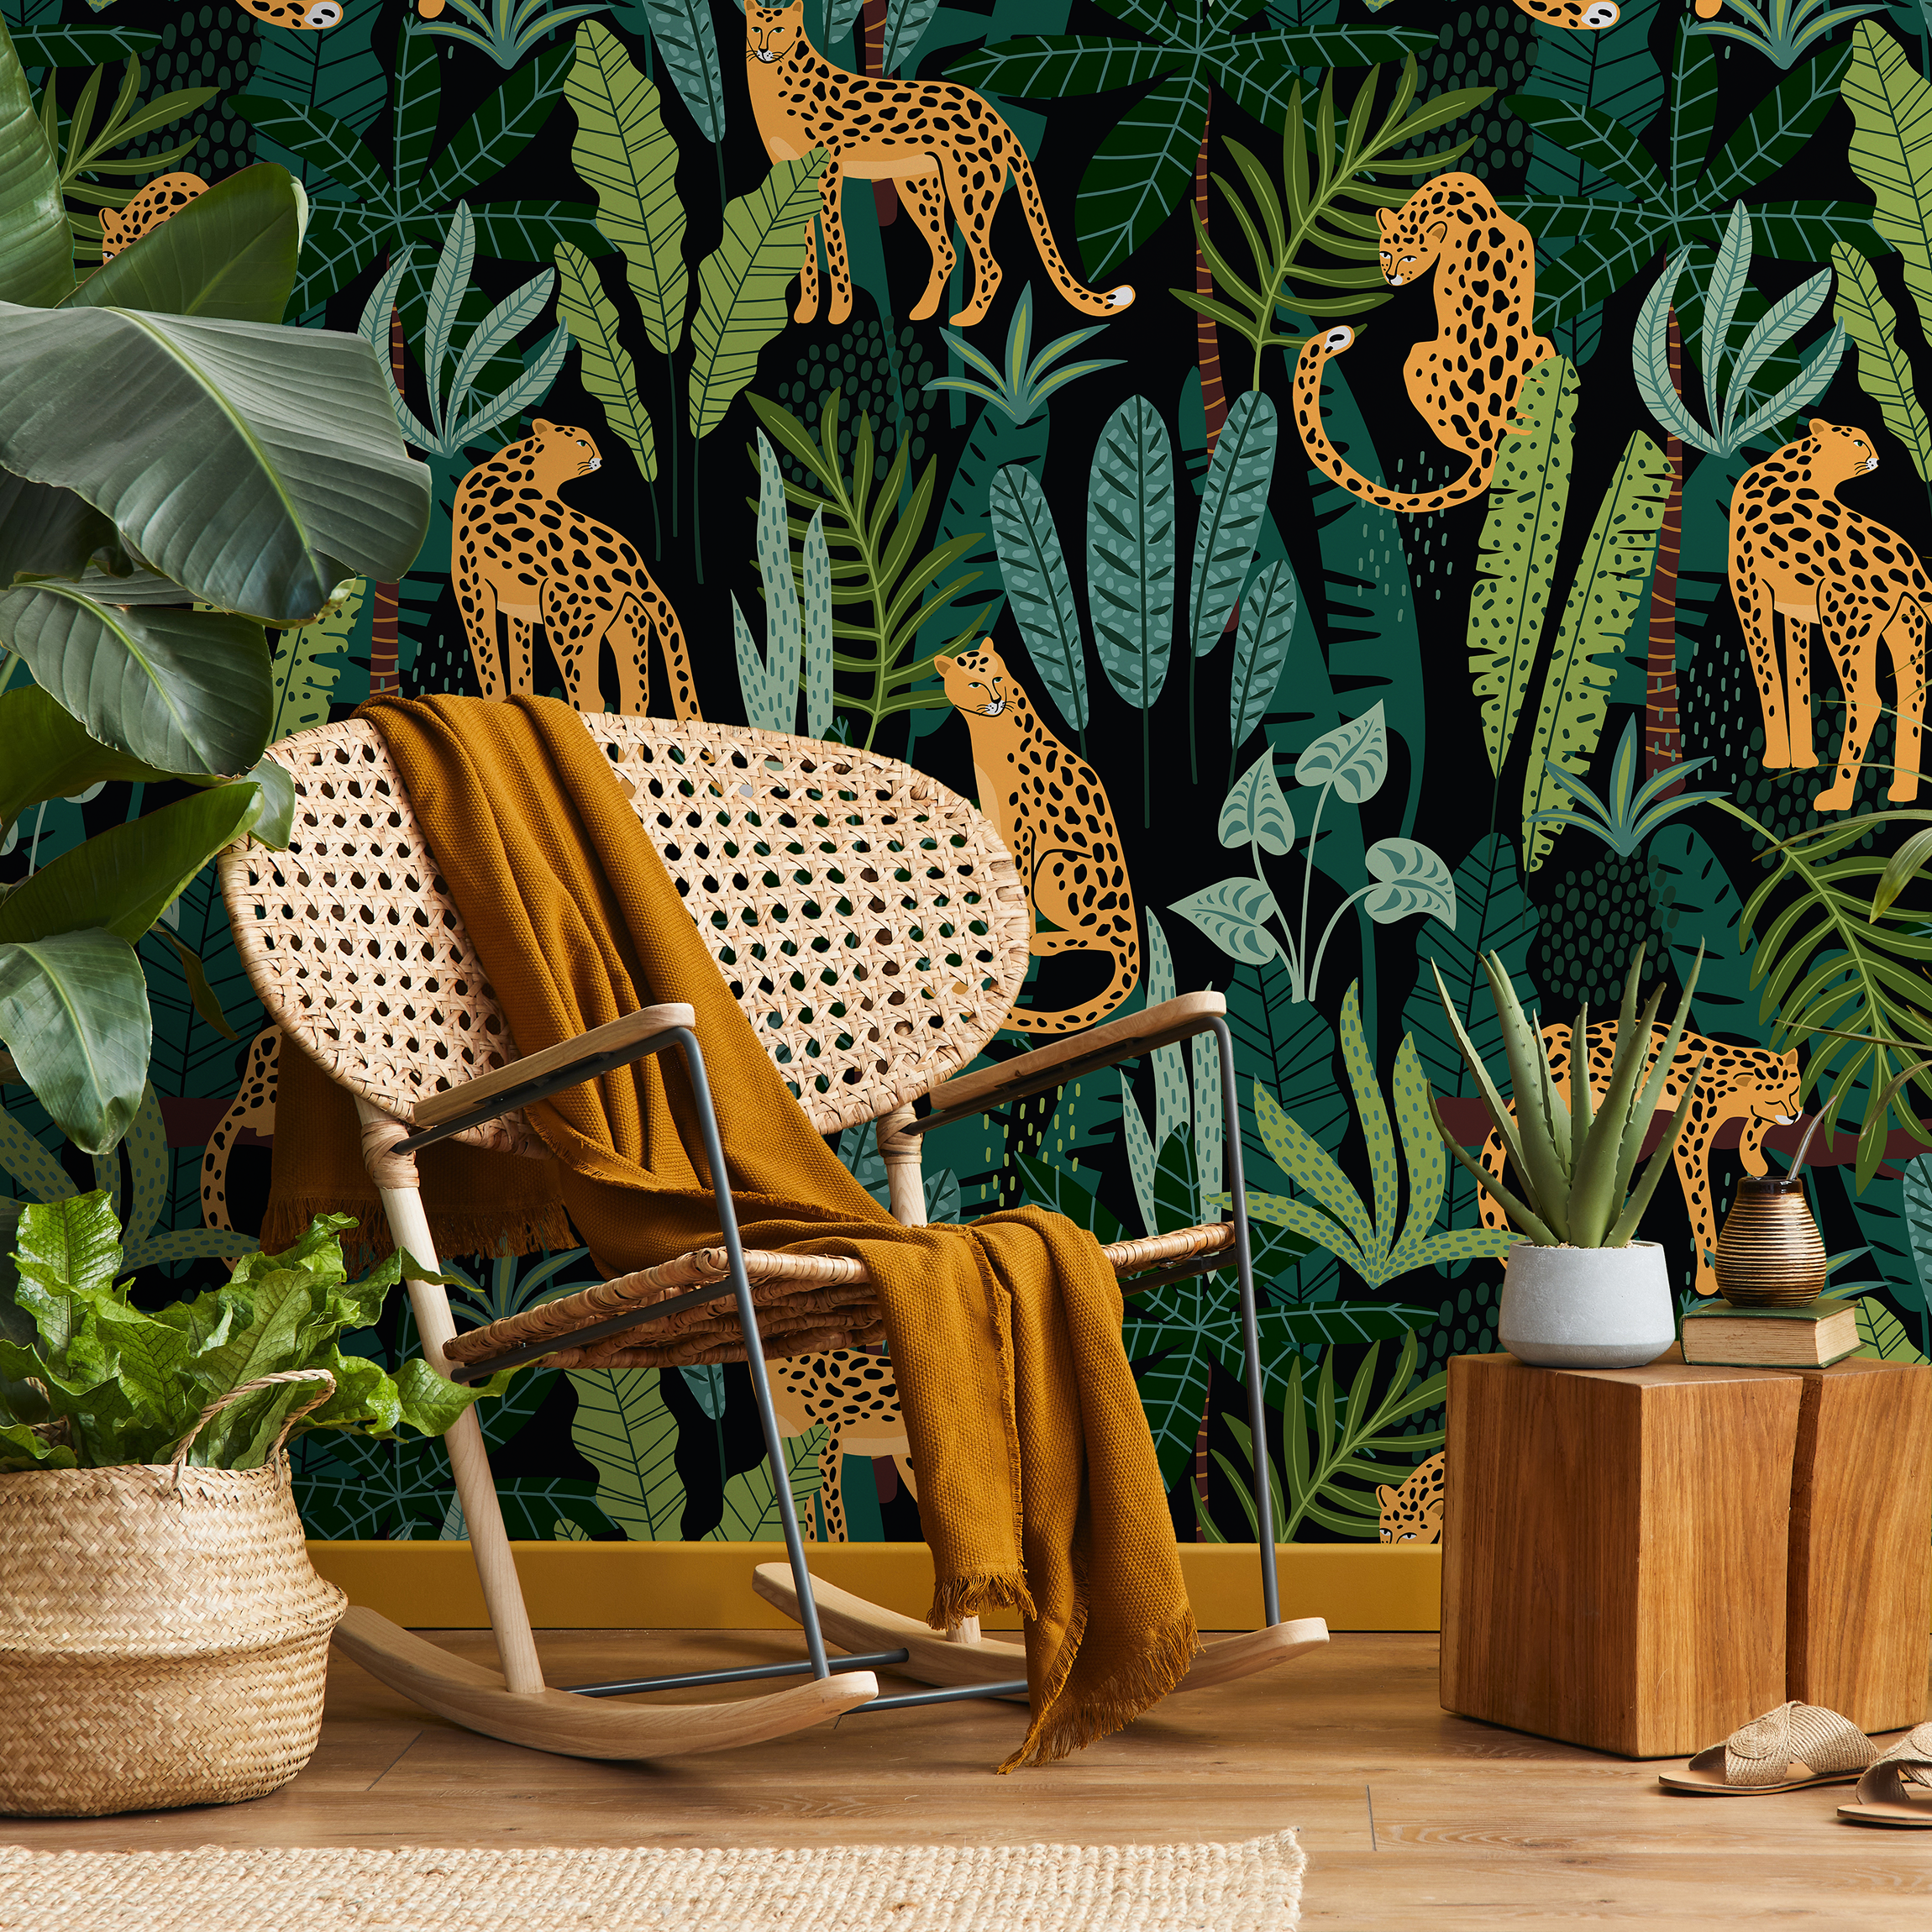
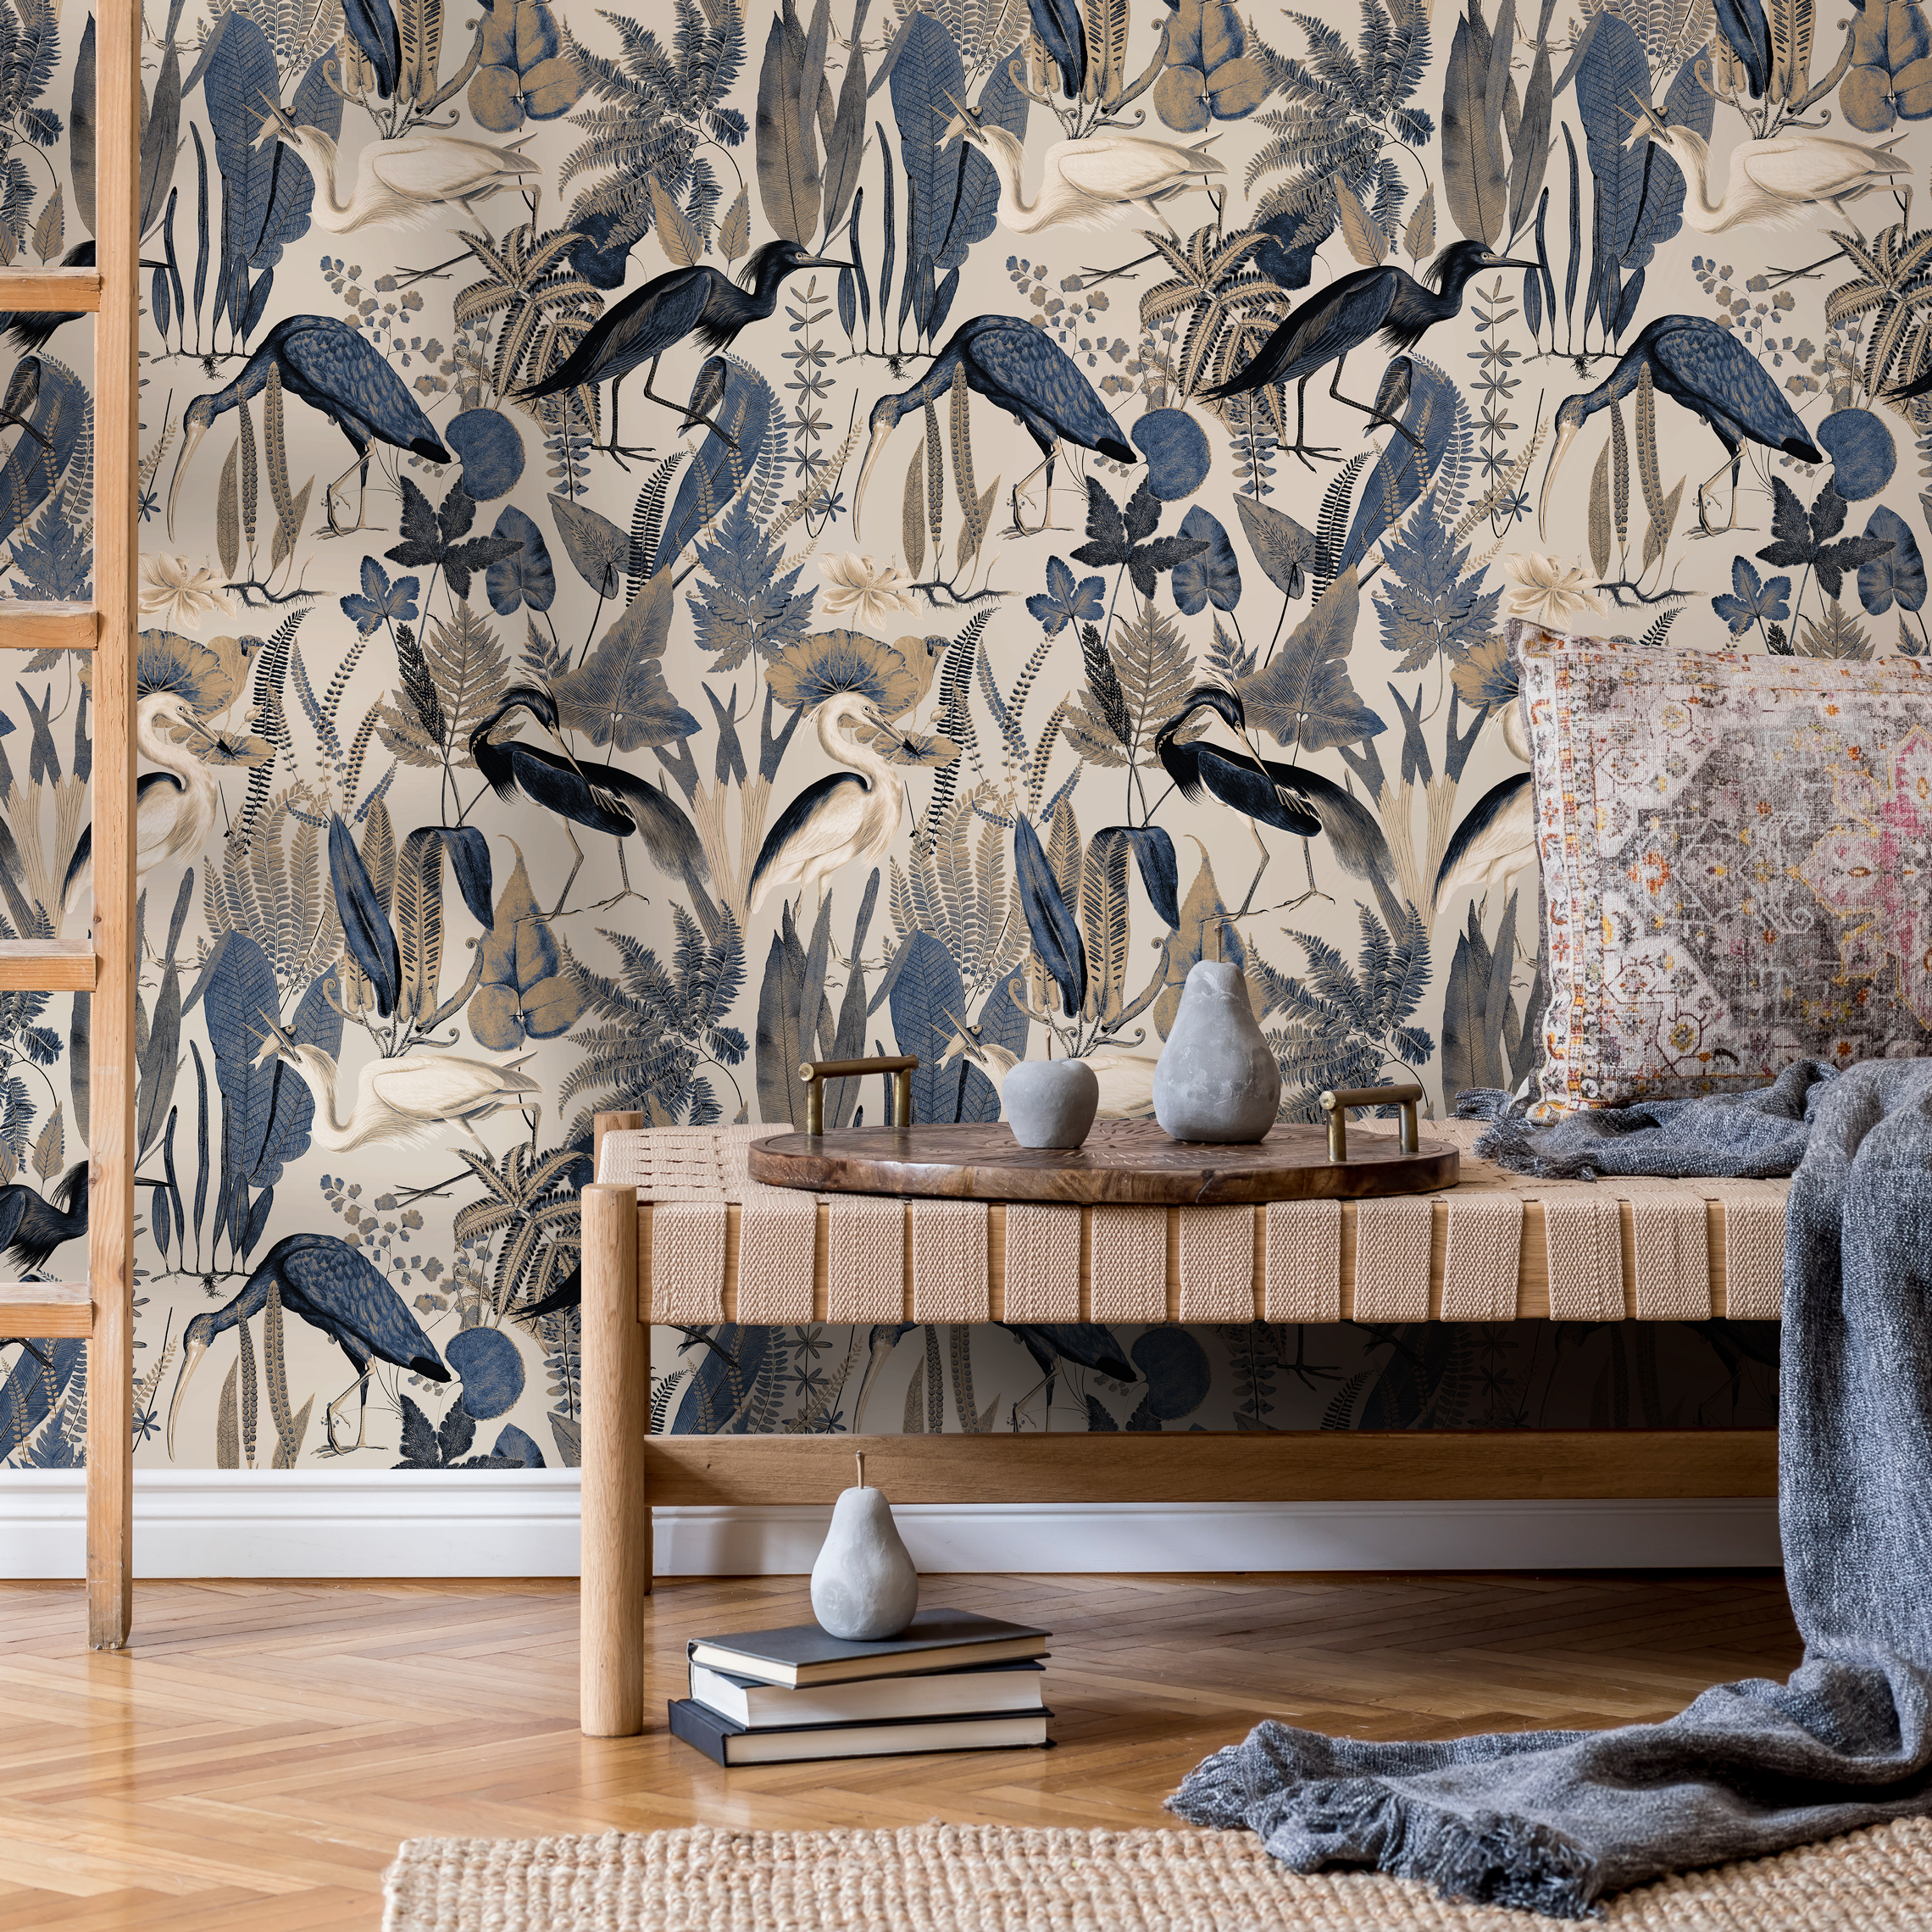
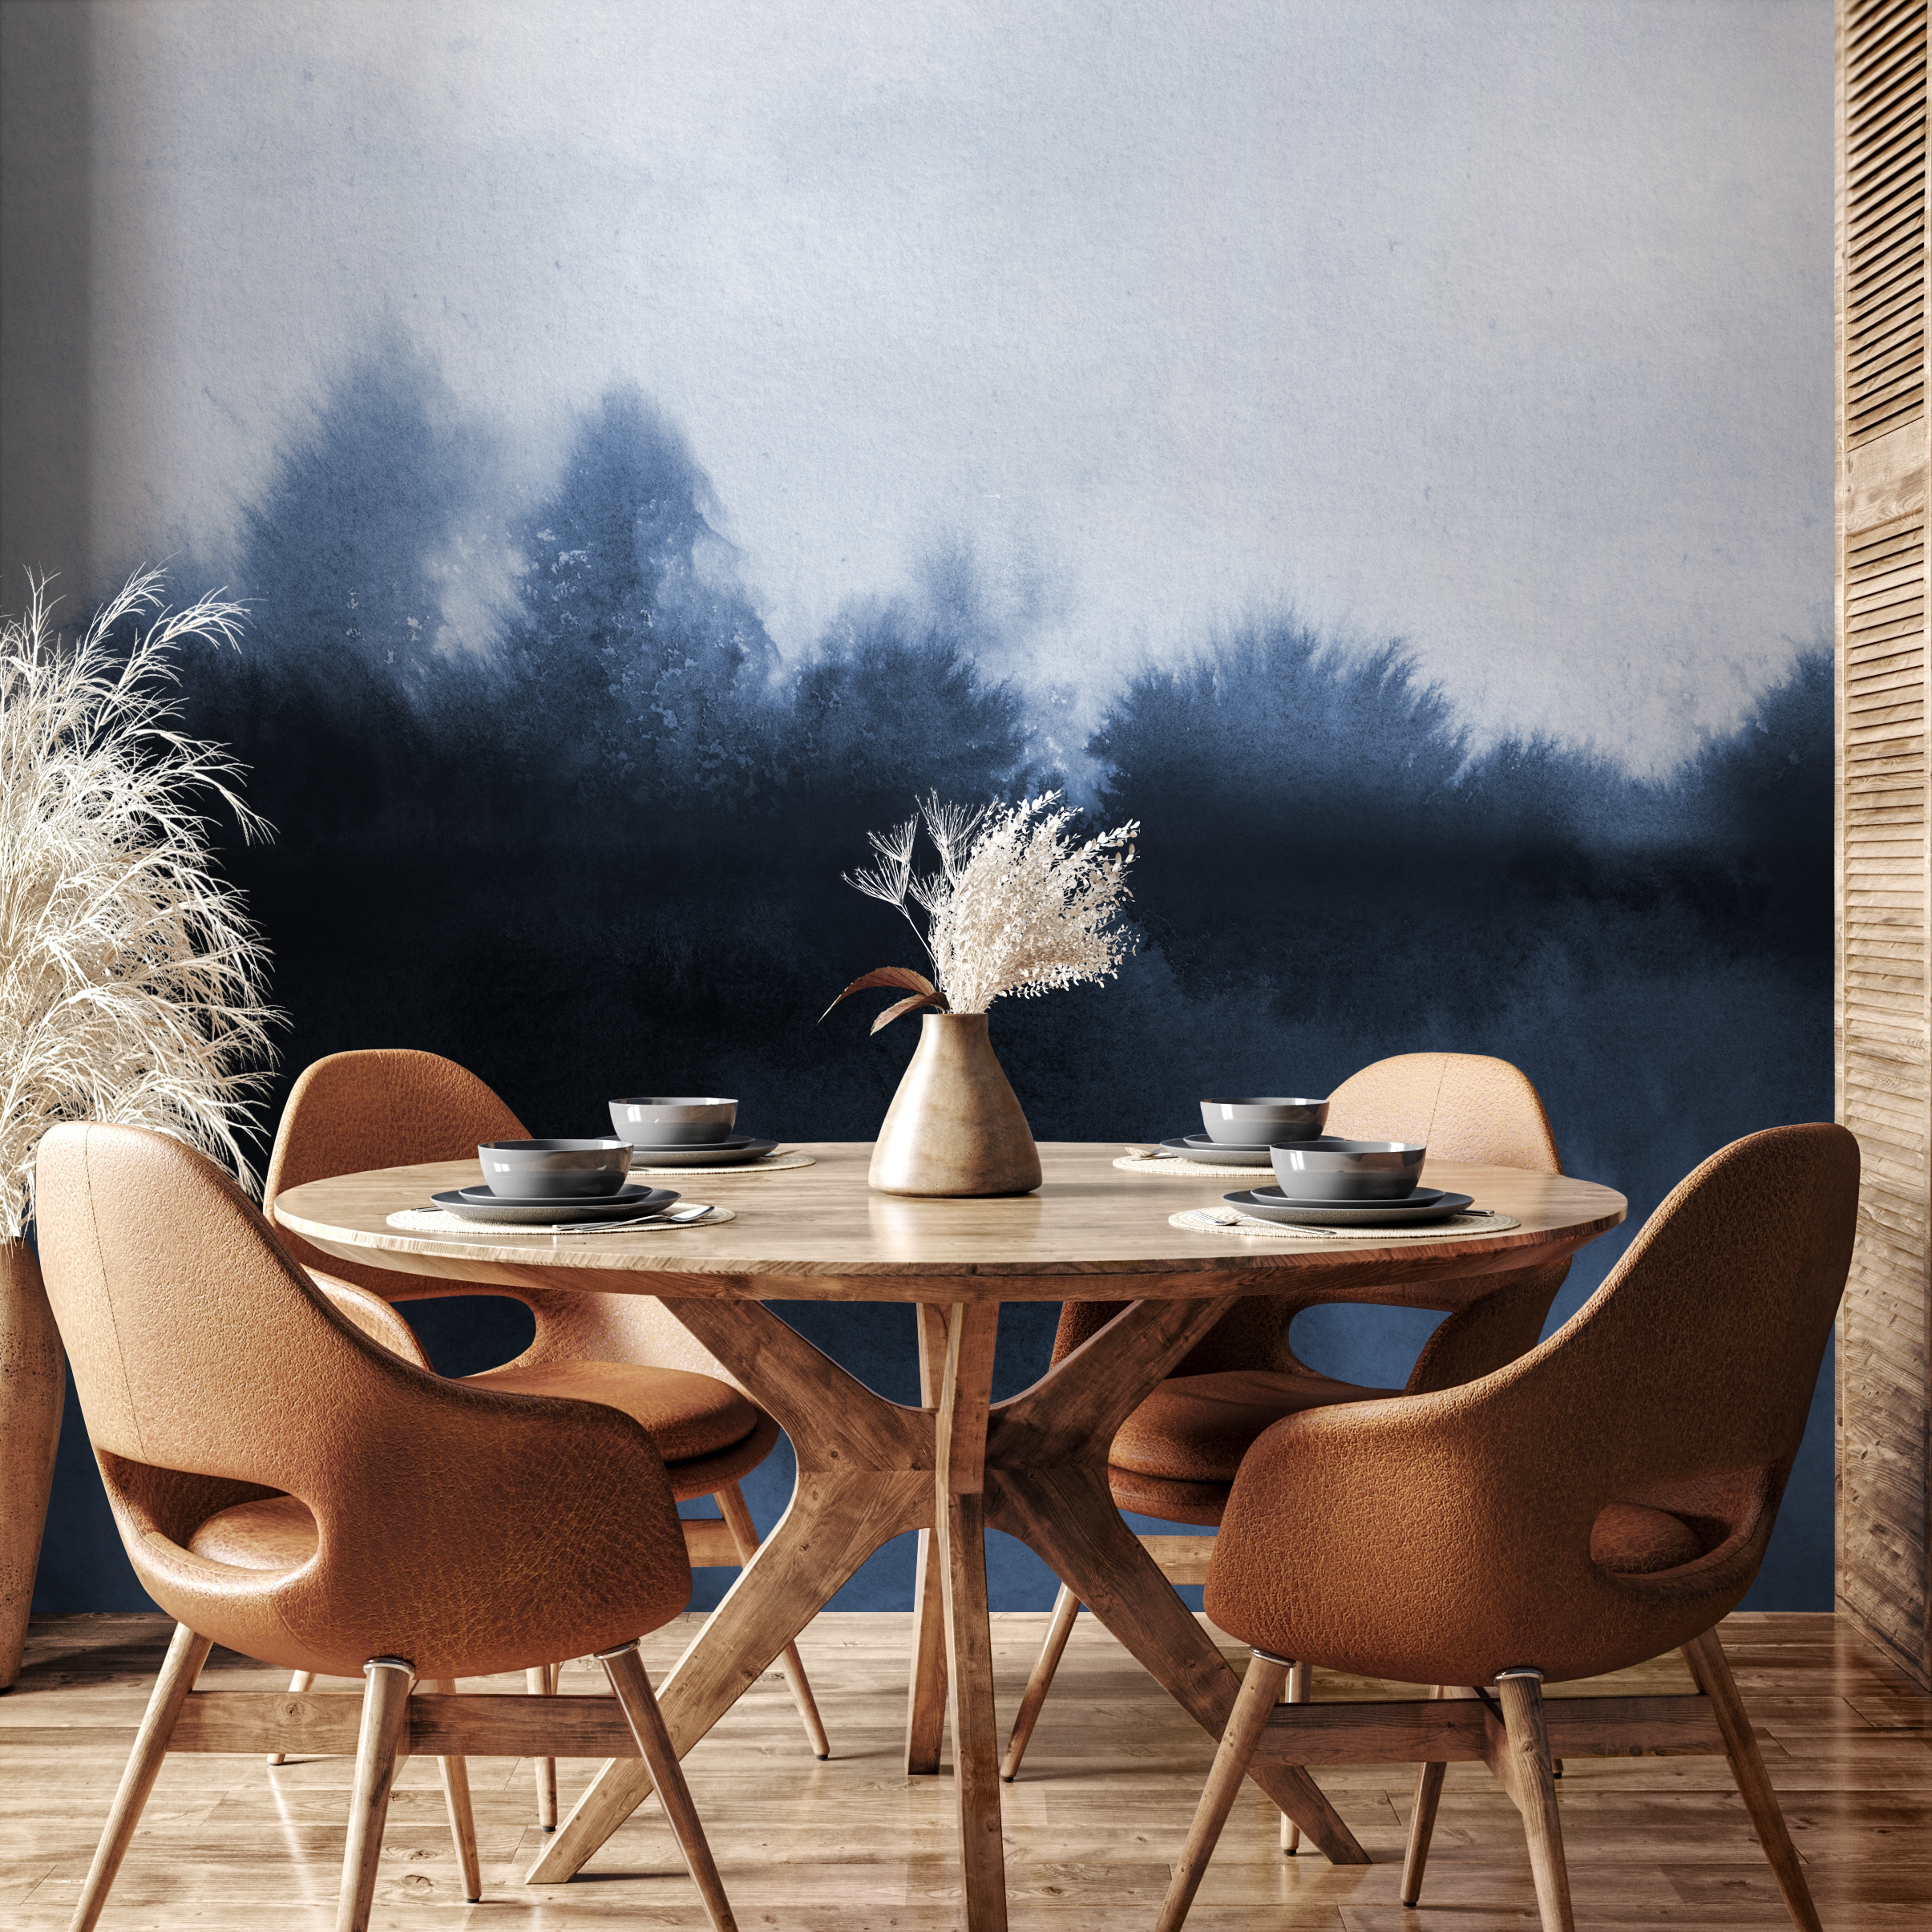
## How to Install Peel and Stick Wallpaper
Peel and Stick Wallpaper is the easiest entry point for many DIY projects because the adhesive is already on the back. Still, the process requires alignment and slow smoothing.
1. Measure the wall height and cut the first panel with a little extra at the top and bottom. 2. Mark a vertical plumb line with a level. Do not rely on the corner, because corners are often not straight. 3. Peel back a small section of backing from the top of the panel. 4. Align the panel to your plumb line and press the top into place. 5. Slowly pull the backing downward while smoothing from the center outward. 6. Push air bubbles toward the nearest edge with a smoothing tool. 7. Trim excess at the ceiling, baseboard, and edges with a sharp blade. 8. Align the next panel's pattern before pressing it fully to the wall.
If a panel starts crooked, gently lift and reposition it early. Do not wait until the full panel is attached.
Avoid stretching the material as you work. Stretching may seem helpful when matching a pattern, but it can cause seams to separate later. Instead, lift and realign the panel. If a bubble remains, smooth it gently toward an edge. Tiny trapped bubbles can sometimes be released with a very small pin prick, but use that as a last resort and follow product guidance.
## How to Install Traditional Paste Wallpaper
Traditional wallpaper uses adhesive rather than a peel-off backing. Some products are pasted on the paper; others require paste applied to the wall. Always follow the product instructions.
For a typical paste installation:
1. Cut panels to length, allowing extra for trimming. 2. Mix or prepare paste according to the instructions. 3. Apply paste evenly to the paper or wall, depending on product type. 4. Let the paper book if required. Booking means folding pasted sides together for a set time so the adhesive activates. 5. Hang the first panel along a plumb line. 6. Smooth from the center outward and remove excess paste with a damp sponge. 7. Match the pattern on the next panel. 8. Roll seams gently if recommended. 9. Trim edges with a sharp blade.
Paste wallpaper can deliver a refined result, but it is less forgiving than peel-and-stick. Work slowly and keep paste off the finished surface as much as possible.
Traditional wallpaper also requires attention to booking time and paste coverage. Too little paste can cause lifting seams. Too much paste can create mess, staining, or slipping. Keep a clean sponge and fresh water nearby so you can remove excess paste before it dries. Do not scrub the printed surface.
## Corners, Outlets & Tricky Spots
Corners are rarely perfectly straight. Instead of wrapping a full-width panel around a corner, many installers trim into the corner and start the next wall with a new plumb line. This helps prevent the pattern from drifting.
For outlets and switches, turn off power at the breaker before working around electrical areas. Remove the cover plate, install wallpaper over the opening, then carefully cut an X or small opening where needed. Trim only enough for the device and cover plate to sit cleanly.
Around windows, doors, and trim, smooth the wallpaper into the edge first, then trim with a sharp blade. Replace blades often. A dull blade can tear the wallpaper and leave ragged edges.
Inside corners are often the hardest part of a room because walls may lean slightly. If the pattern must continue around a corner, overlap and trim according to product instructions rather than forcing a full sheet to bend perfectly. Around outside corners, take extra time smoothing so the edge stays tight.
For built-ins or alcoves, decide where seams will be least visible before cutting. Sometimes it is better to center a pattern on the visible wall rather than starting from one side and ending with an awkward partial motif.
## Common Mistakes to Avoid
The most common wallpaper mistakes are preventable:
- Skipping wall cleaning and patching
- Starting from an uneven corner instead of a plumb line
- Pulling too much peel-and-stick backing off at once
- Stretching peel-and-stick wallpaper during installation
- Forgetting to account for pattern repeat
- Using a dull blade
- Rushing seams
- Installing in damp or high-splash areas without considering material limits
- Ordering too little wallpaper
For DIY wallpaper, the first panel sets the tone. Take extra time with it, then keep checking alignment as you move across the wall.
Another mistake is ignoring room conditions. Bathrooms, kitchens, laundry rooms, and sunny rooms need extra thought because moisture, heat, and direct sunlight can affect wallpaper over time. Choose the right product for the room and avoid installing over damp or unstable surfaces.
Do not throw away scraps immediately. Small offcuts can be useful for patching, testing cleaning, wrapping around tricky trim, or checking color against decor later.
## When to Call a Professional
Call a professional if the project involves very high walls, stairwells, expensive specialty wallpaper, heavy texture removal, complex murals, or multiple rooms with tight pattern matching. A pro can also help when walls are uneven or damaged.
If you are unsure about your skill level, start with a small accent wall, closet, powder room, or removable panel. That gives you practice before tackling a larger room.
## Get Started with ONDECOR Wallpaper
The best installation starts with the right product for the room. For first-time DIYers, peel-and-stick wallpaper is often the easiest path. For larger or more permanent projects, compare materials and measure carefully before ordering.
Start here:
- Peel and Stick Wallpaper
- All Wallpaper
- Room-by-Room Wallpaper Guide
- Future measurement guide: /blogs/news/how-to-measure-for-wallpaper
Share